How to resize an UIImageView to fit a container view using auto layout
Table of Contents
The Problem
An image view changes its parent frame instead of resizing itself to fit the parent frame. The problem might be hard to understand using words. Let's see what I mean by example.
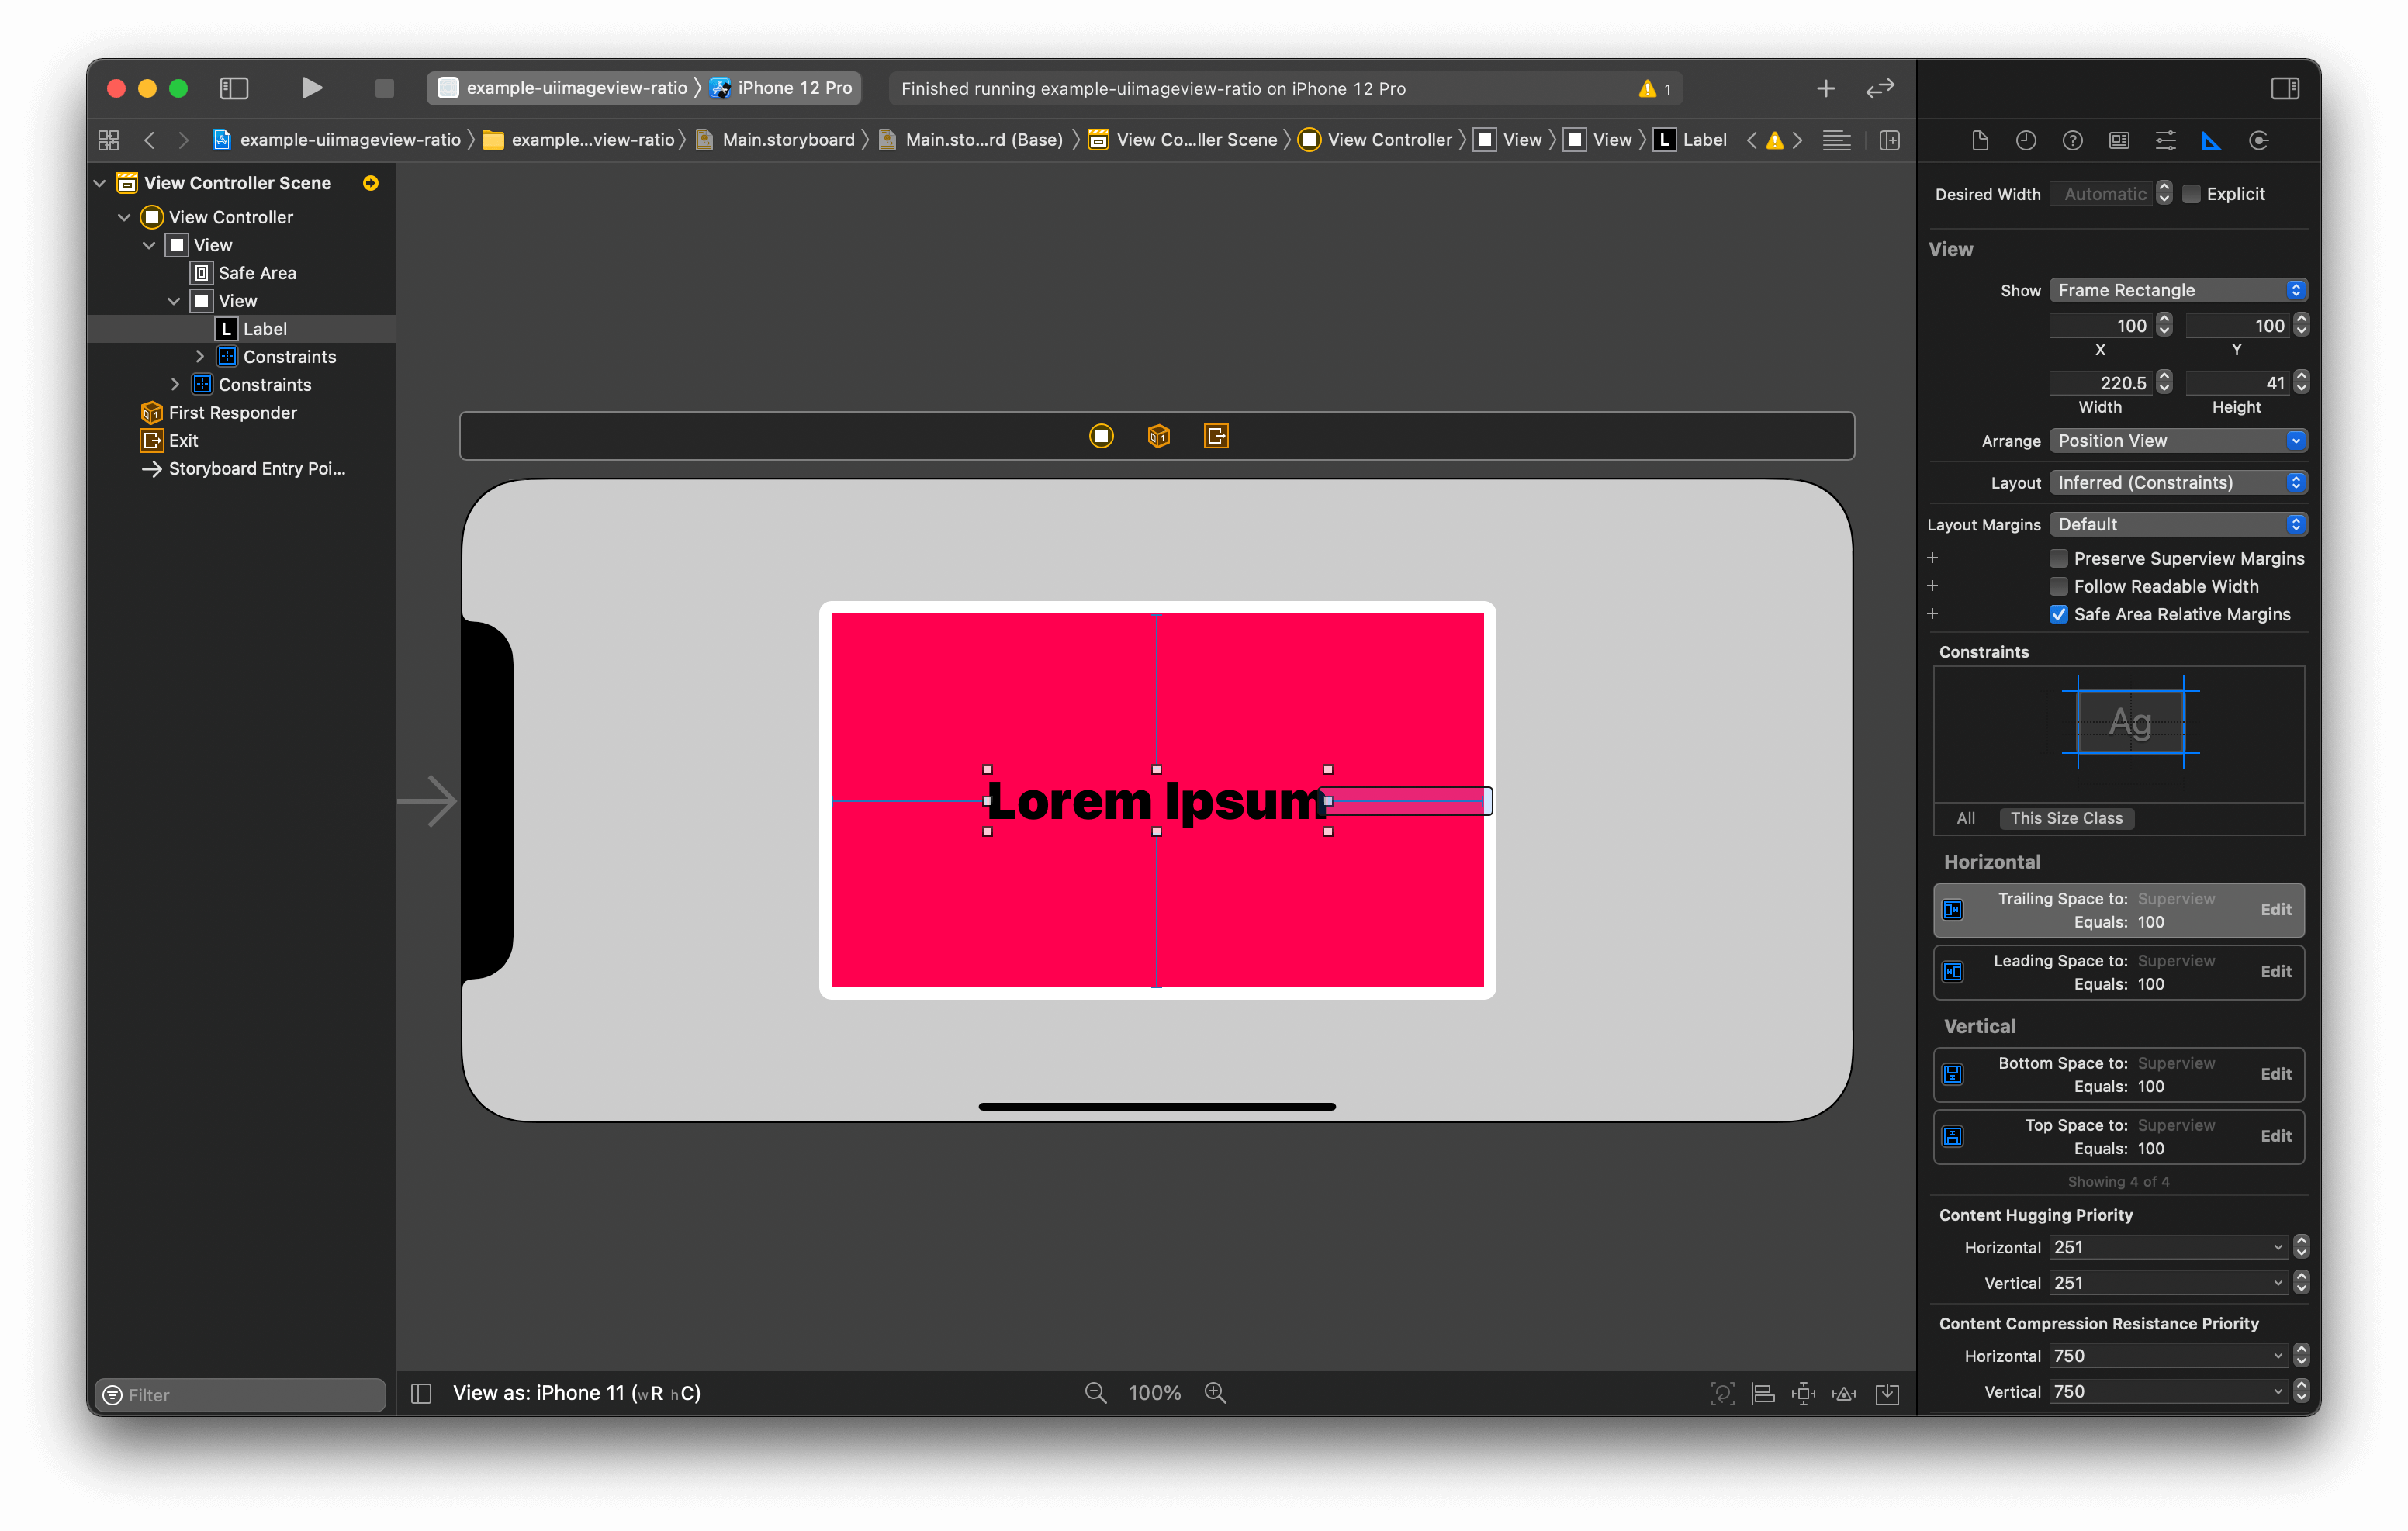
- You have a container view with some content in it. In this case, a label view. The label has all edges constraint to its parent with 100 points padding. The parent view size is determined by label size and padding.
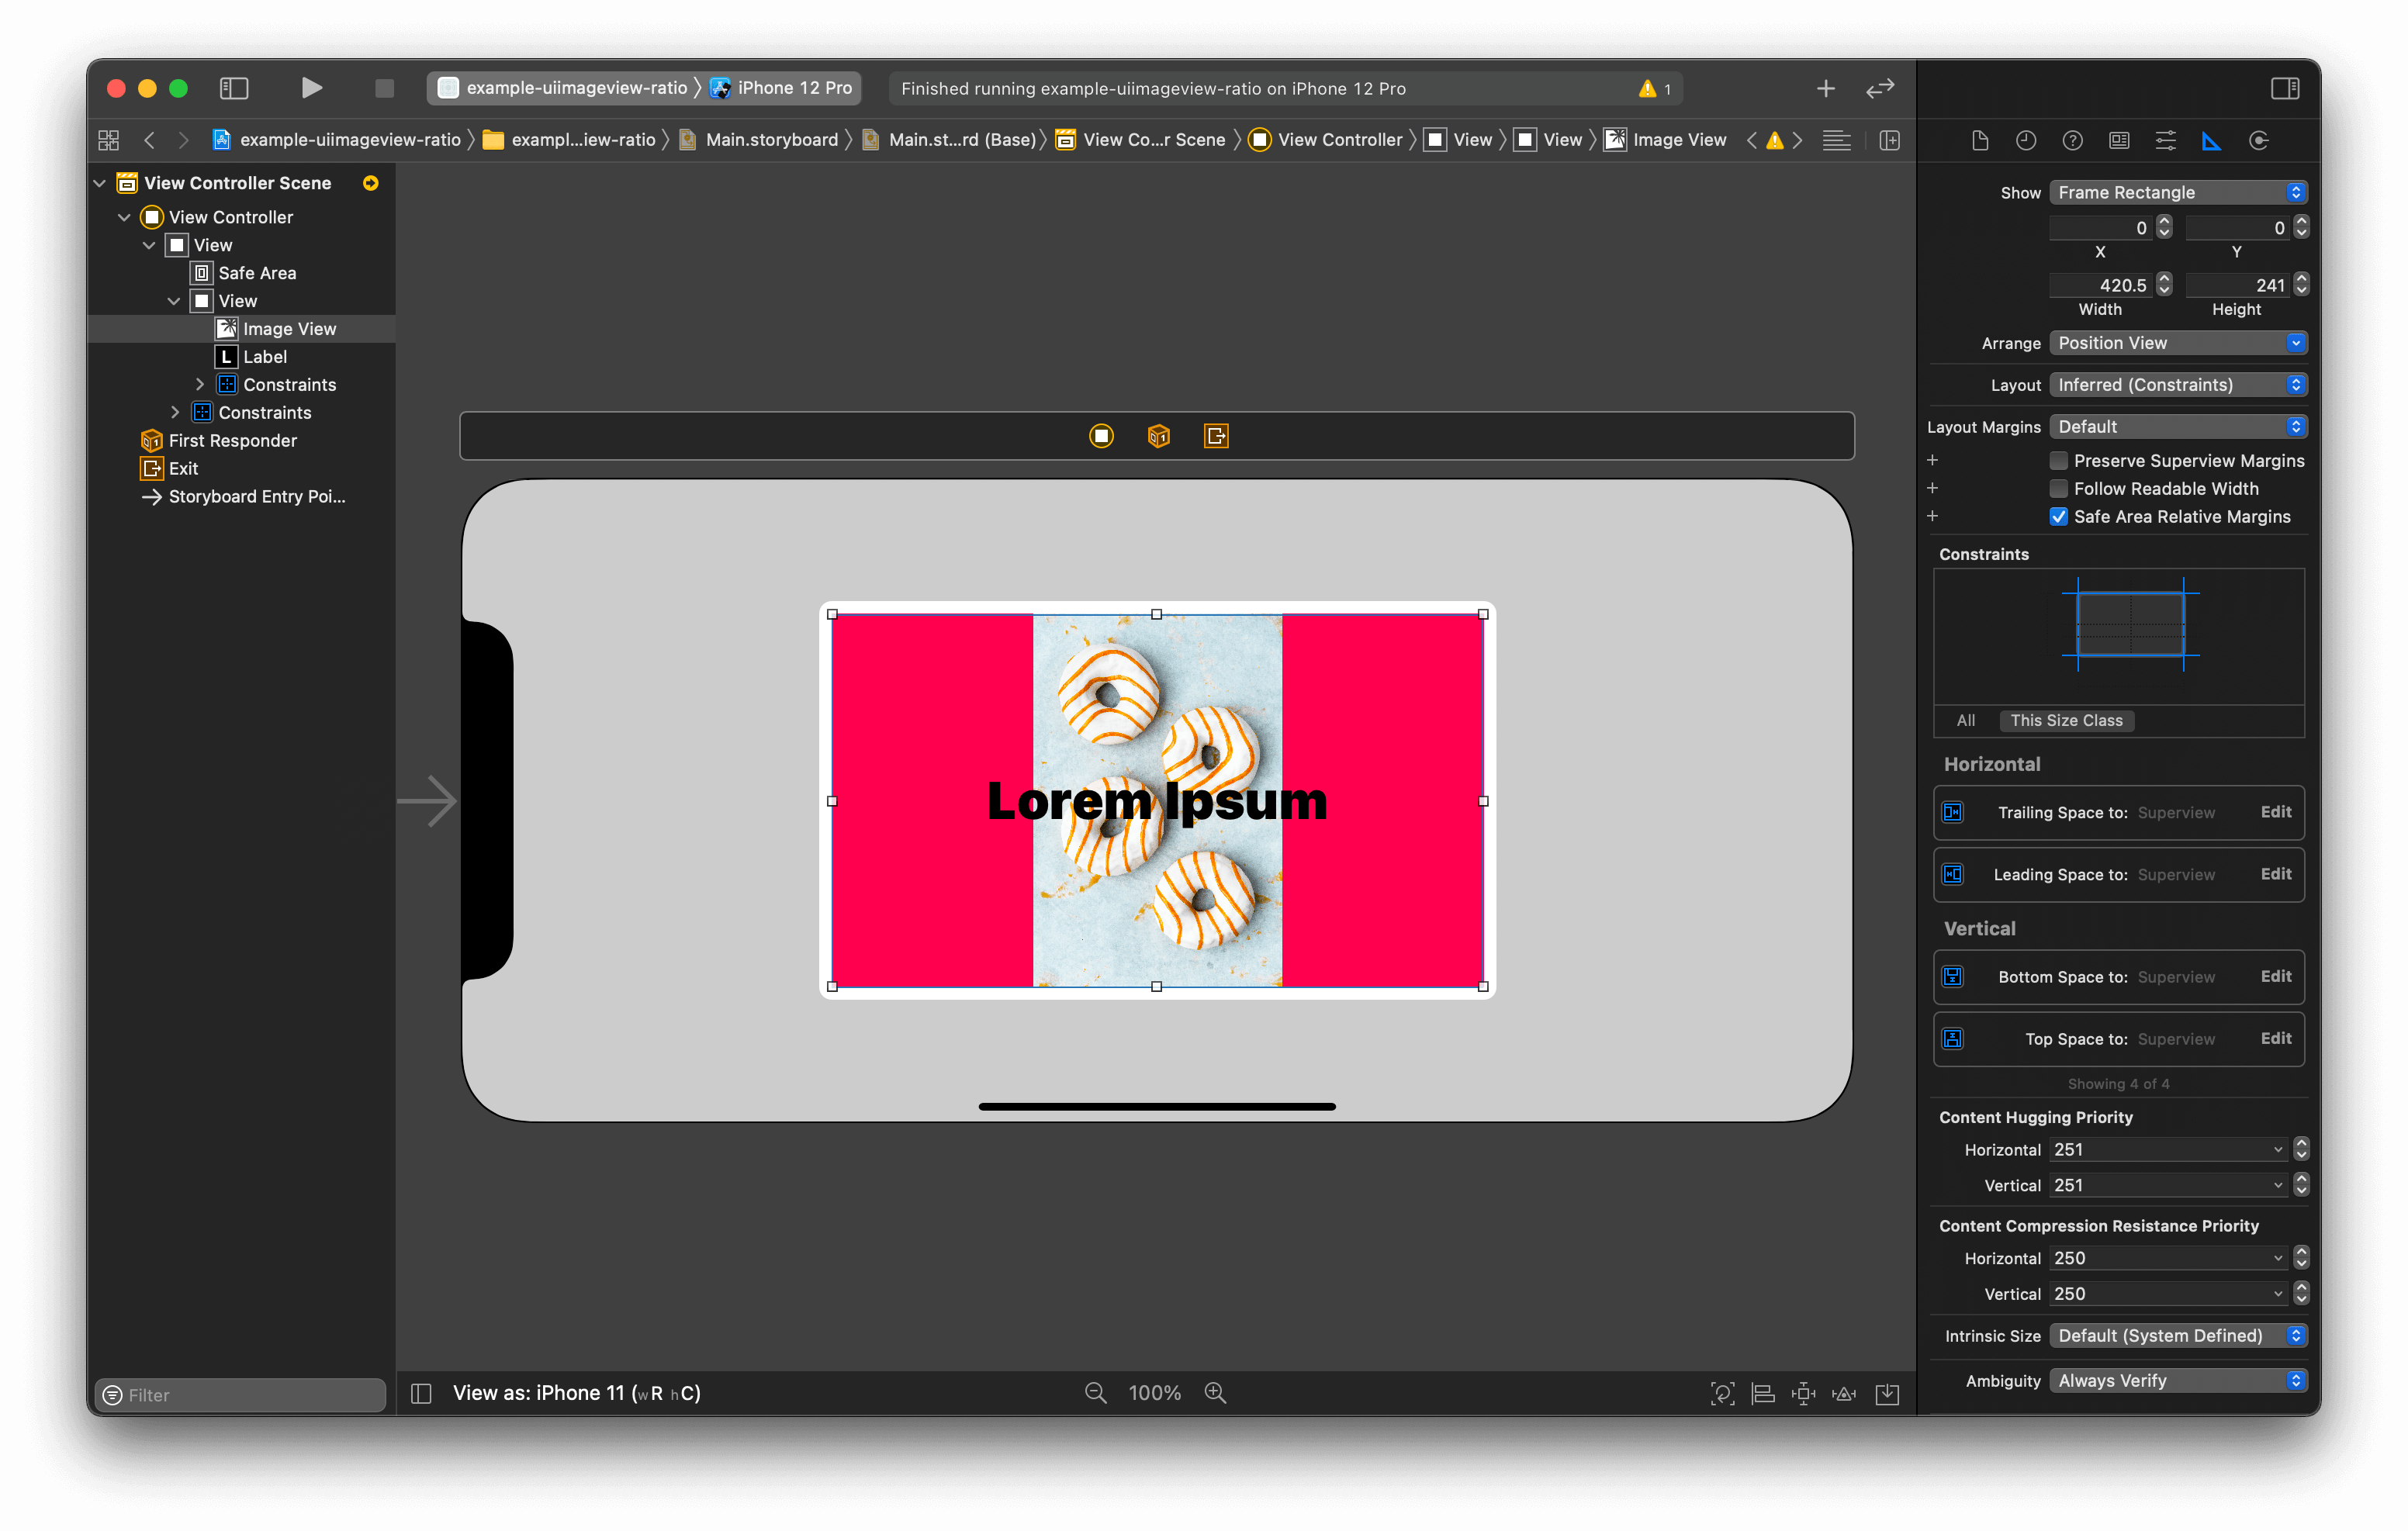
- Then, you add a background image using an aspect fit content mode. I expected the image view to resize itself to fit the container size.
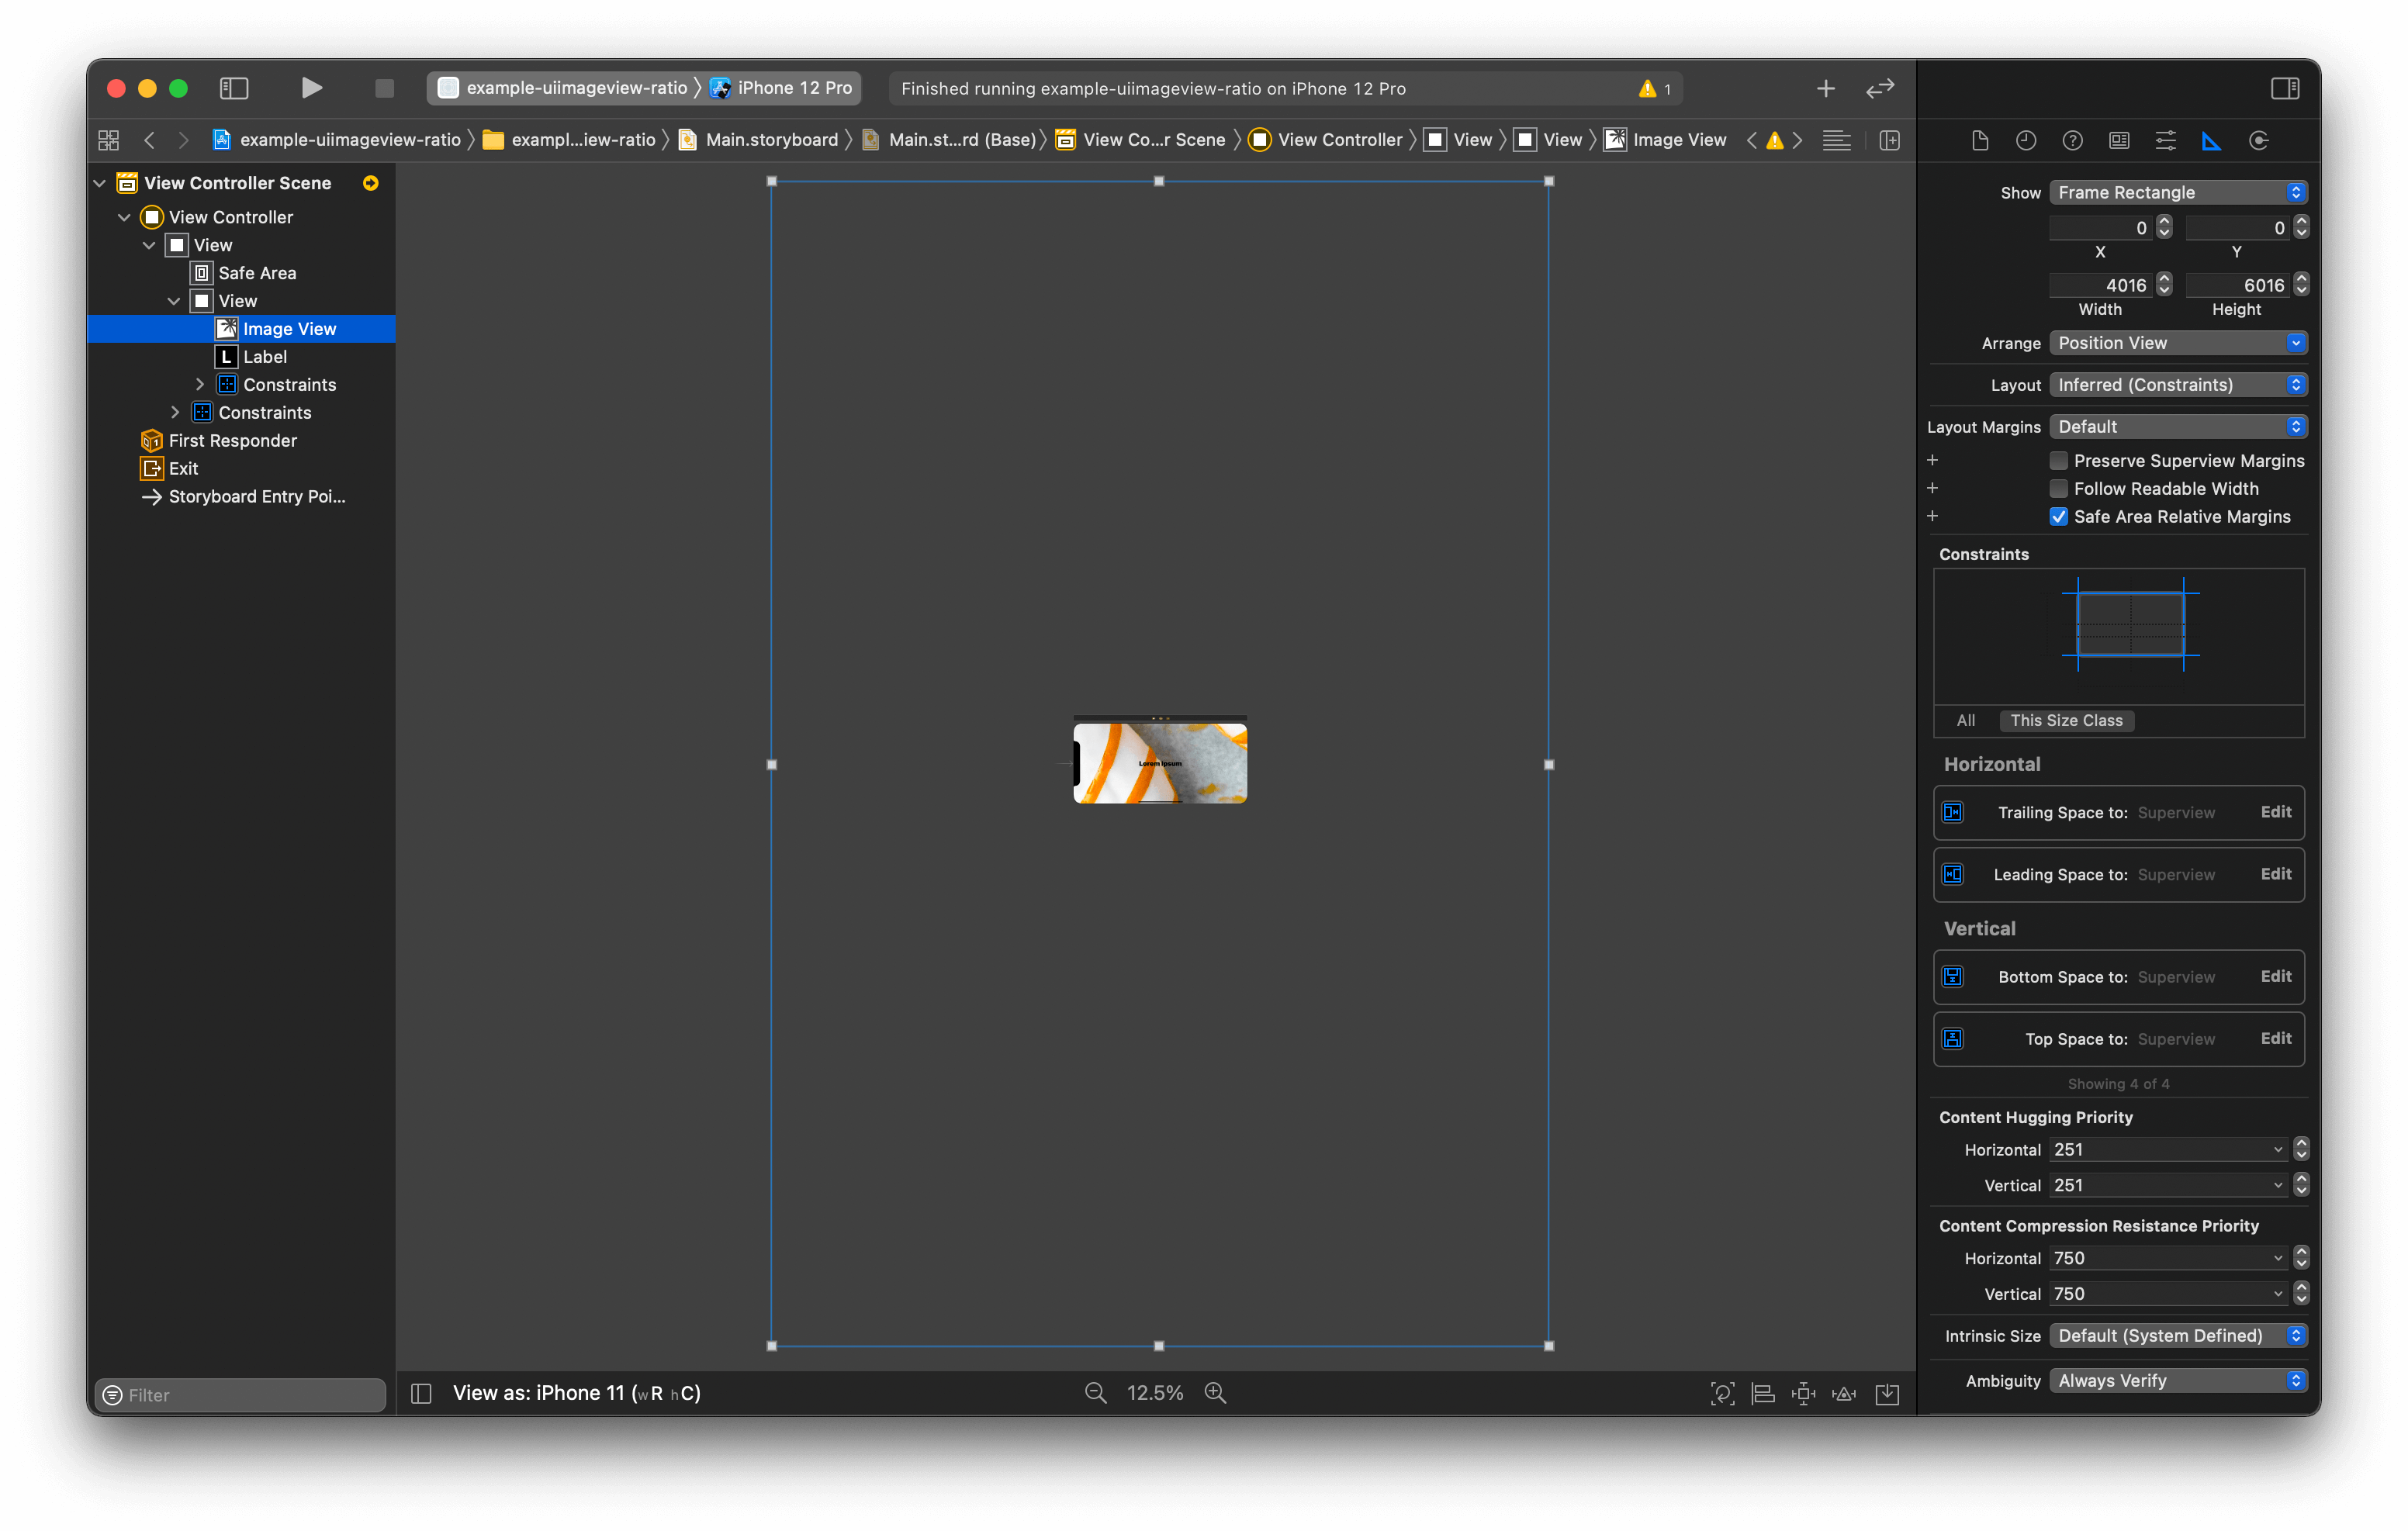
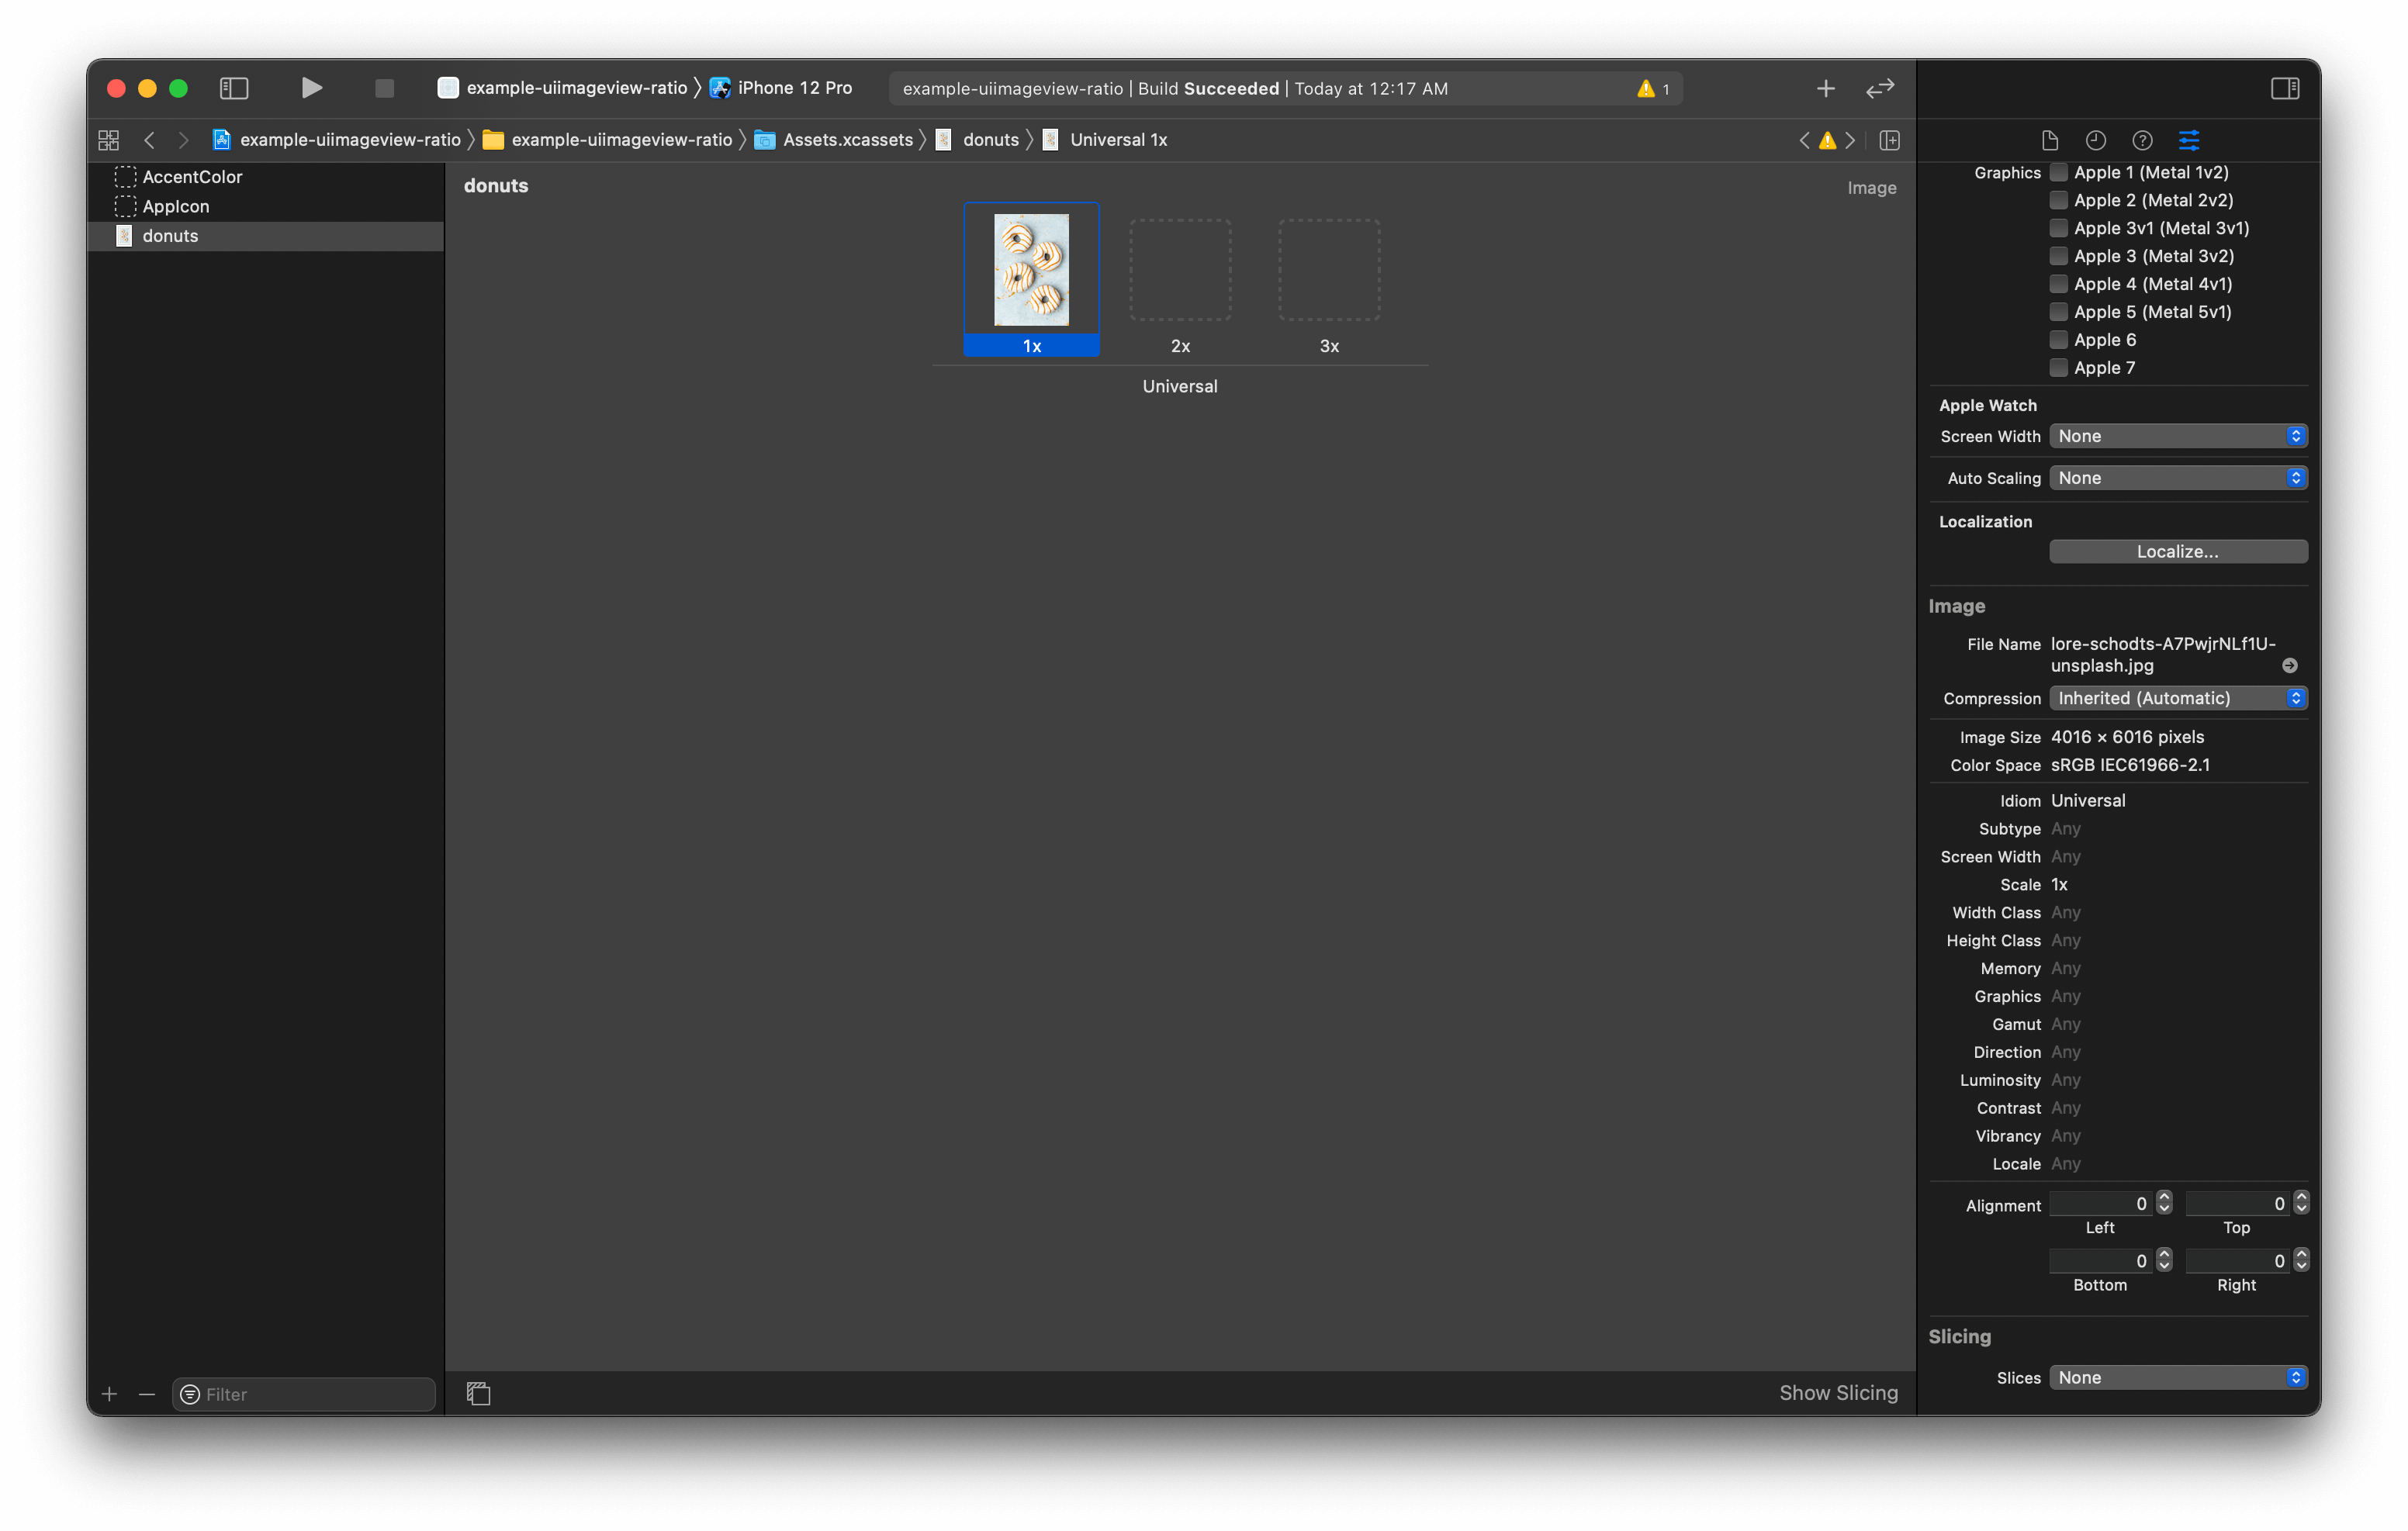
- But this is what you get. A container view expands its size to the same size as the background image. (The image size is 4016 × 6016 pixels).
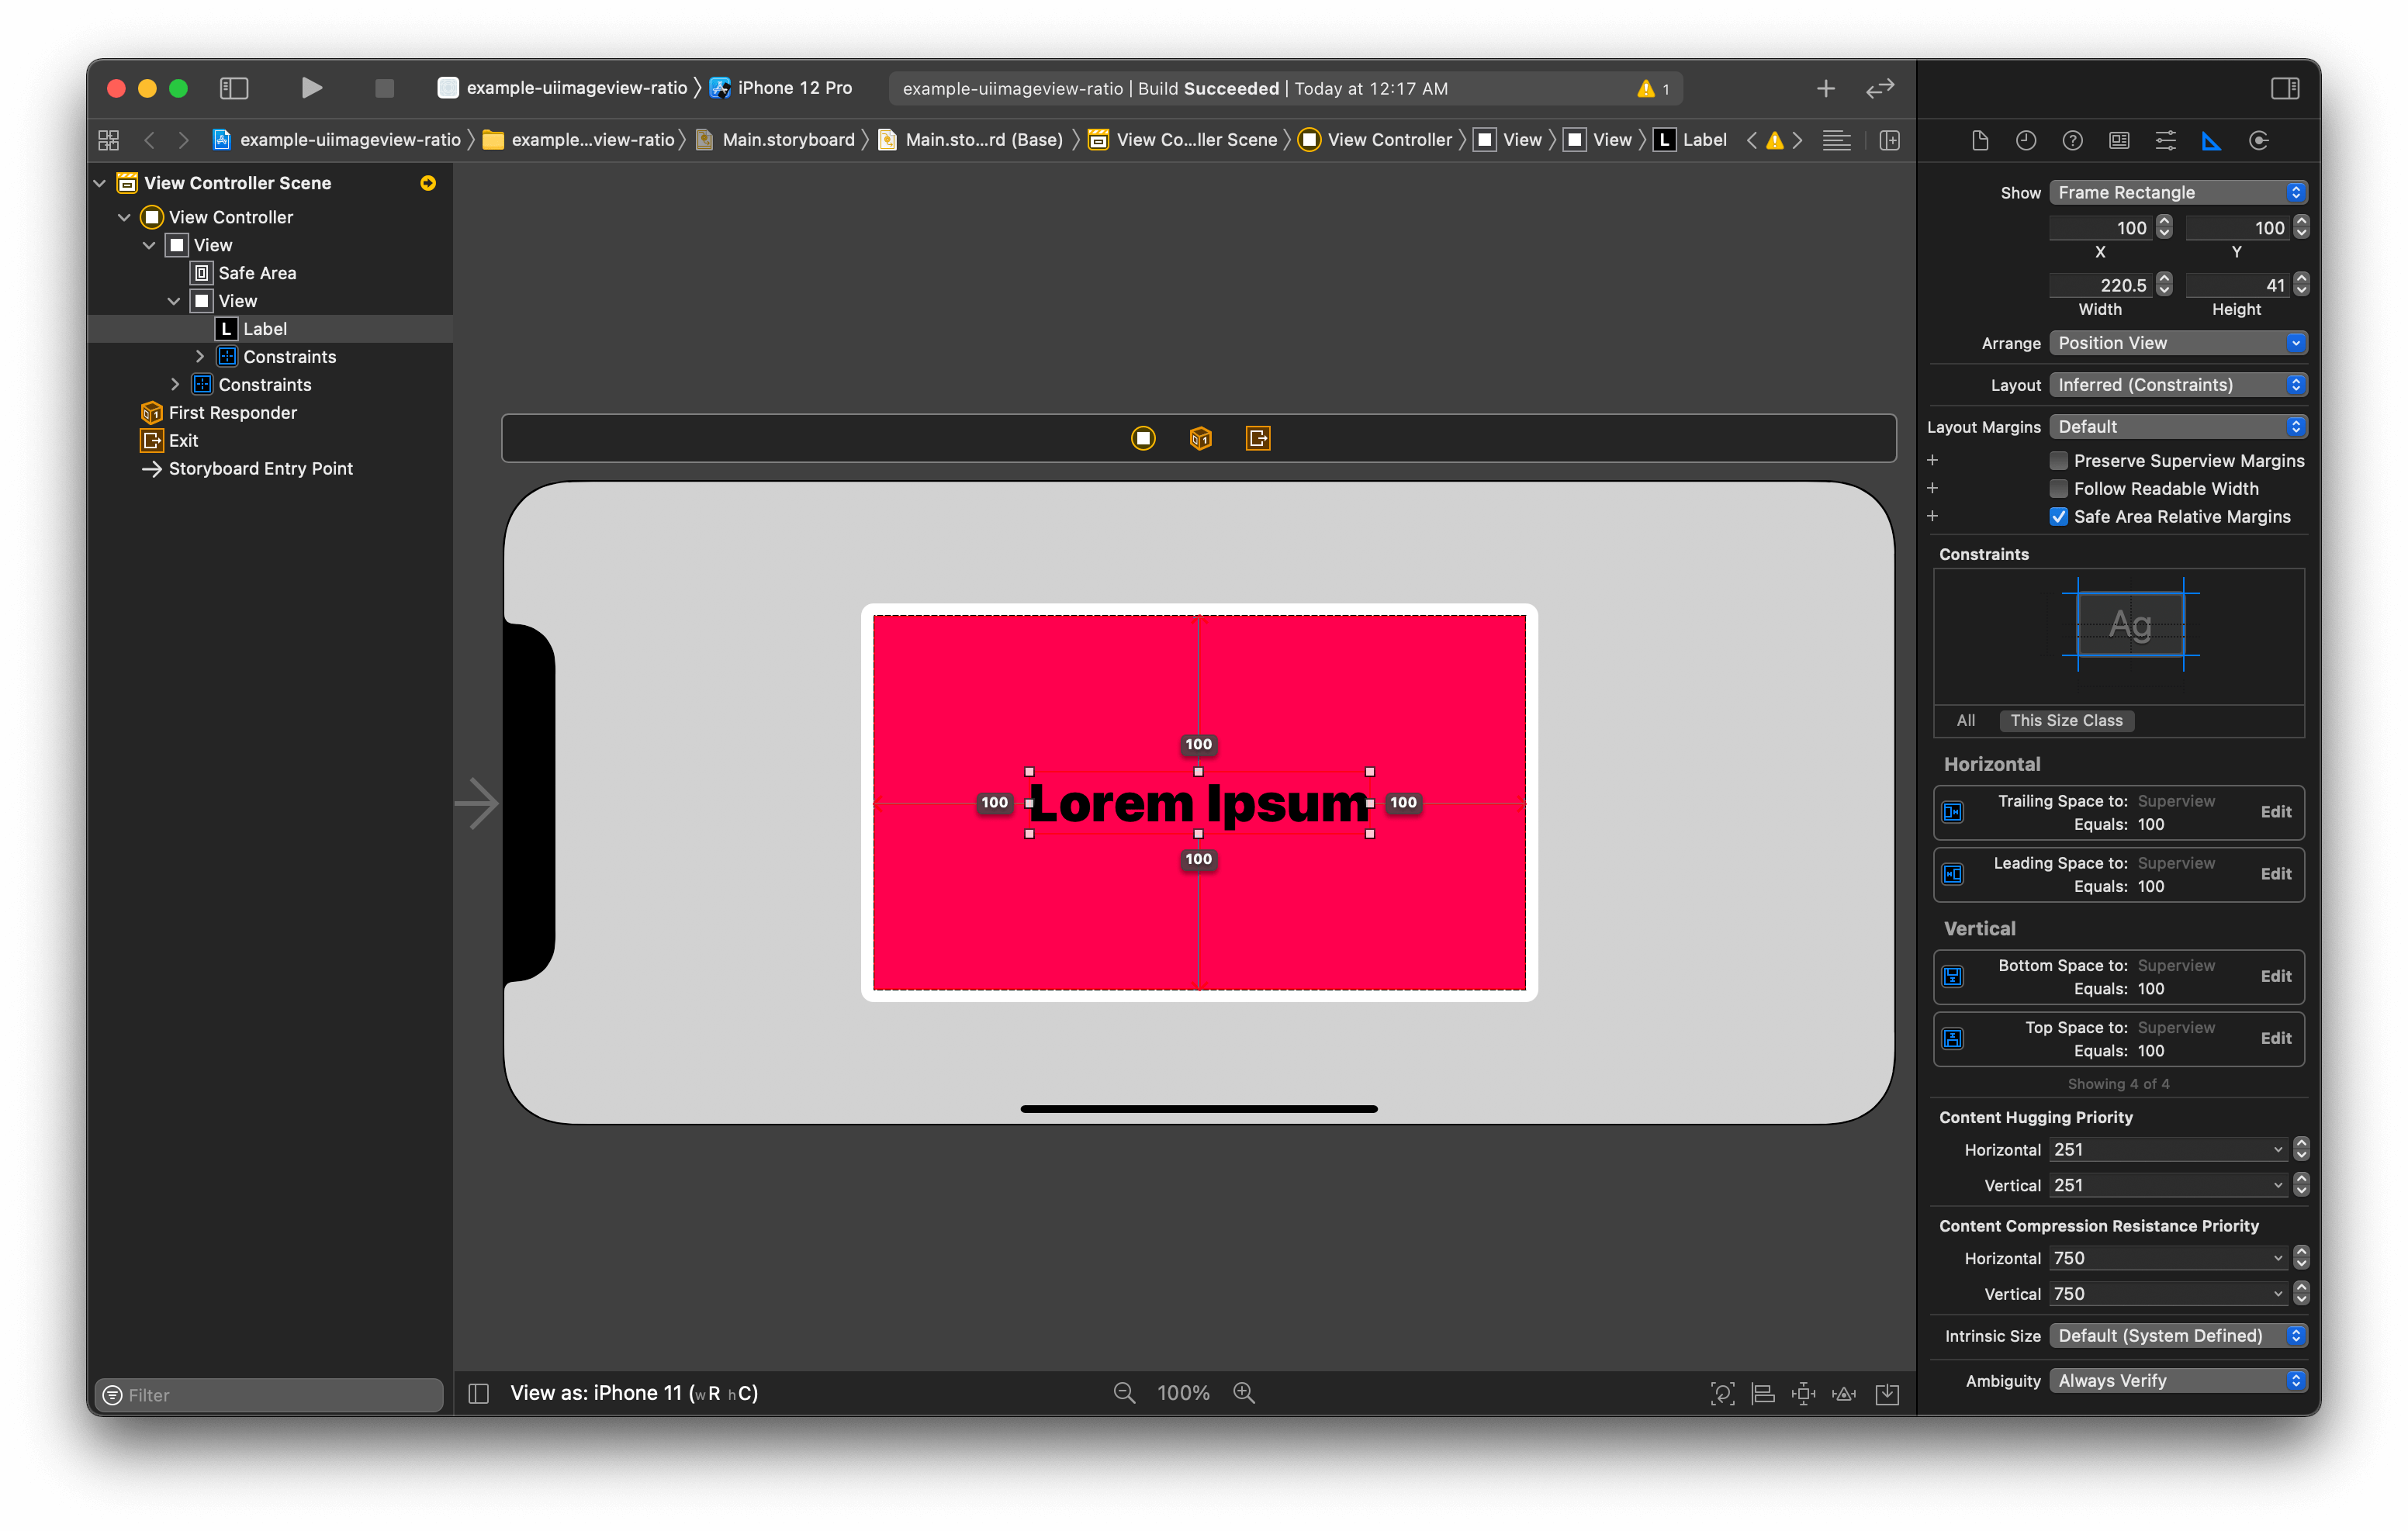
If you have no time for the reason, here is the fix.
You can easily support sarunw.com by checking out this sponsor.
AI Grammar: Correct grammar, spell check, check punctuation, and parphrase.
Cause of the problem
The cause of this problem is that a container view tries to resolve its size from its two child views, and the result isn't what you expected.
Different in size
The label view needs a smaller space than the image view on both horizontal and vertical axis. We will focus only horizontal axis since the same rule applied to both axes.
The total label width is 420.5 points (content 220.5, left padding 100, right padding 100).
Our image has a width of 4016 points.
Which width should parent view respect
As you can see, the label and the image view have a different width, so one has to shrink, and one has to expand. Two properties that control this are Content Hugging Priority and Content Resistance Priority.
The label tries to keep the parent view close to itself using the Content Hugging Priority. On the other hand, the background image, which is forced to shrink by the label's hugging force, is resisted using the Content Compression Resistance Priority.
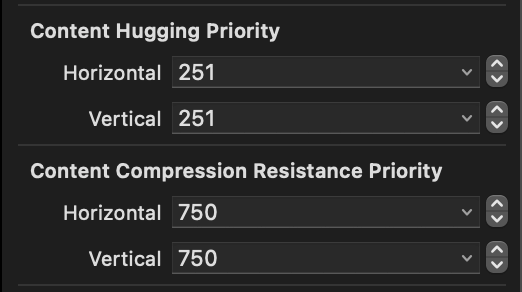
The default Content Hugging Priority and Content Compression Resistance Priority of both UILabel and UIImageView are 251 and 750, respectively. So you can see that the winning force is Content Compression Resistance Priority (750 > 251). This means the background image successfully resists the shrinking force of the label. Label and parent view are the ones who need to expand to the image view size.
You can easily support sarunw.com by checking out this sponsor.
AI Grammar: Correct grammar, spell check, check punctuation, and parphrase.
Solution
Change content compression resistance priority of the image view to 250 or any value lower than content hugging priority of the label. This will make a shrinking force stronger than the image view's compression resistance force, resulting in the image view shrink itself to match the proposed size from the label.
Change content compression resistance priority from Storyboard
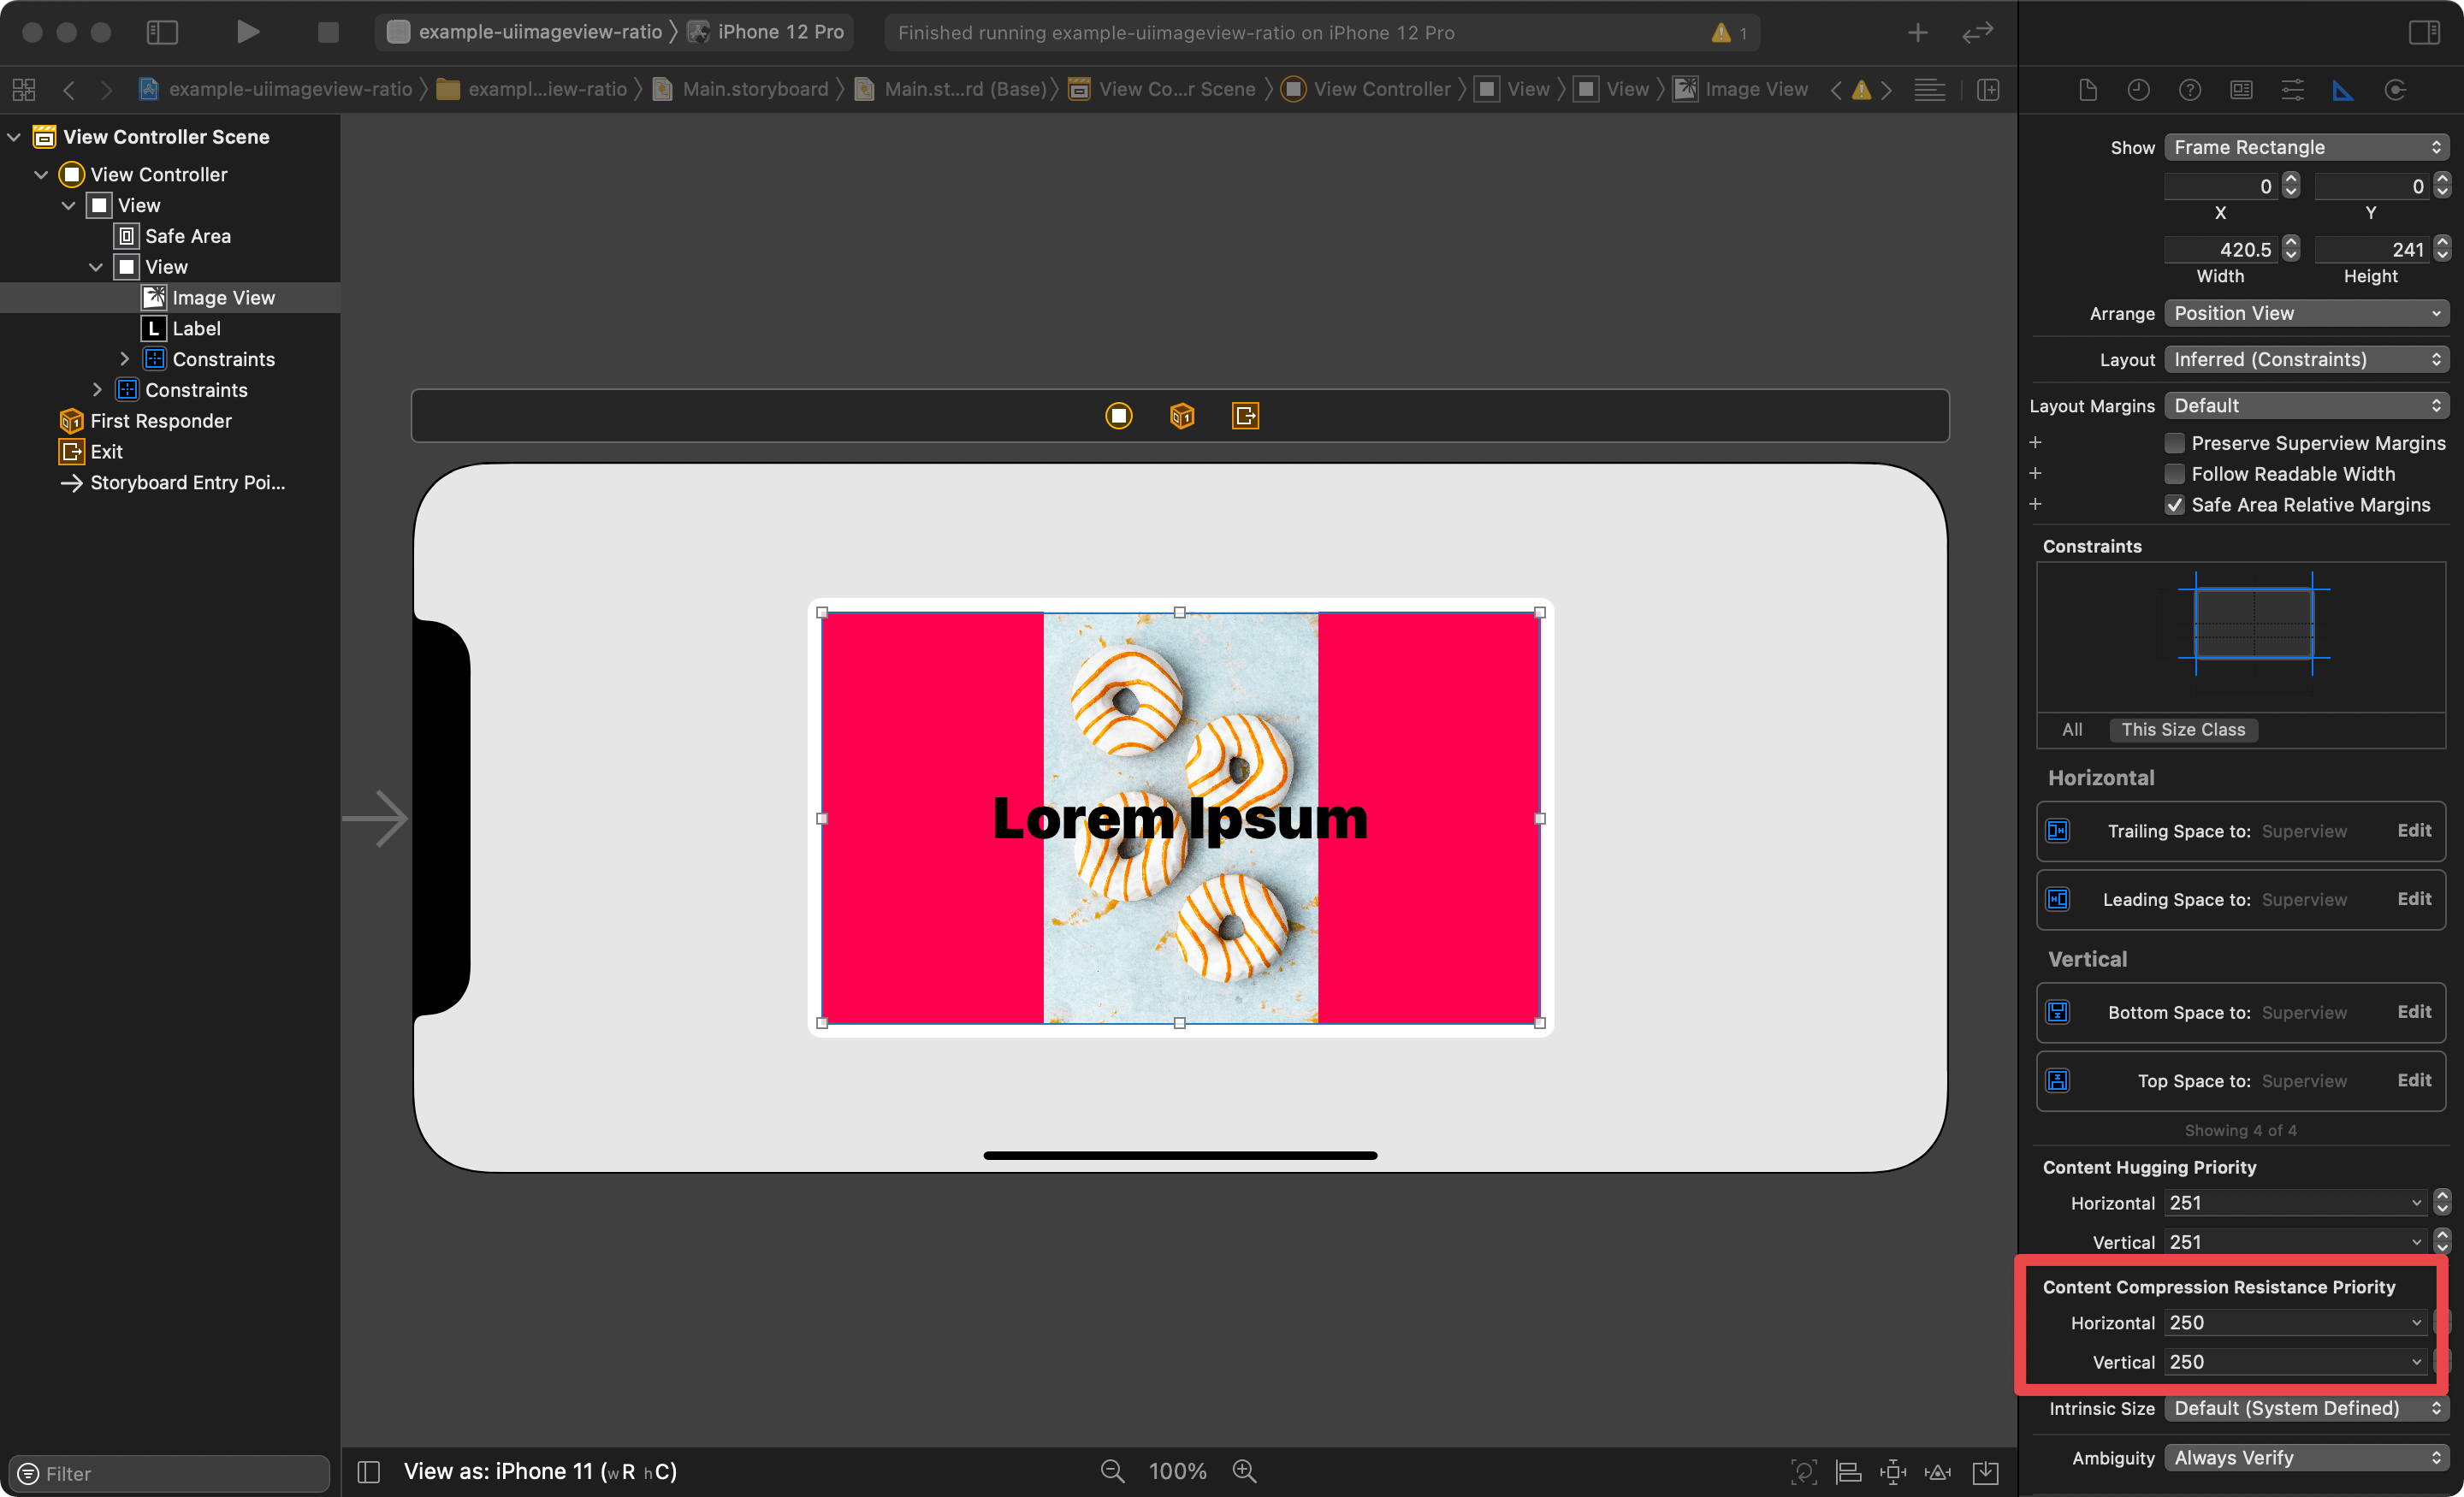
- Select the image view.
- Select Size Inspector (View > Inspectors > Size or ⌘ - command + ⌥ – Option + 6).
- Change both Horizontal and Vertical Content Compression Resistance Priority to 250.
Change content compression resistance priority from code
We can set content compression resistance priority with setContentCompressionResistancePriority(_:for:). 250 is happen to match default low priority (UILayoutPriority.defaultLow), so we can use that.
imageView.setContentCompressionResistancePriority(.defaultLow, for: .horizontal)
imageView.setContentCompressionResistancePriority(.defaultLow, for: .vertical)
If you need to set a specific number, you can set it like this:
let layoutPriority = UILayoutPriority(250)
imageView.setContentCompressionResistancePriority(layoutPriority, for: .horizontal)Read more article about UIKit, UIImageView, Auto Layout, Content Hugging, Content Compression Resistance, Resize, or see all available topic
Enjoy the read?
If you enjoy this article, you can subscribe to the weekly newsletter.
Every Friday, you'll get a quick recap of all articles and tips posted on this site. No strings attached. Unsubscribe anytime.
Feel free to follow me on Twitter and ask your questions related to this post. Thanks for reading and see you next time.
If you enjoy my writing, please check out my Patreon https://www.patreon.com/sarunw and become my supporter. Sharing the article is also greatly appreciated.
Become a patron Buy me a coffee Tweet ShareHow to sort by multiple properties in Swift
Learn how to sort an array of objects with multiple criteria.
Getting Started with Tuist
A brief introduction to Tuist, a command-line tool that helps you generate Xcode projects.