How to resize and position an image in UIImageView using contentMode
Table of Contents
Images are an essential component of an app. We use them everywhere, and you might need a different position and size for each place. UIImageView uses its contentMode property to control these behaviors.
UIKit offer thirteen different mode for contentMode for us to work with. It might sound a lot, but we can categorize them into two groups.
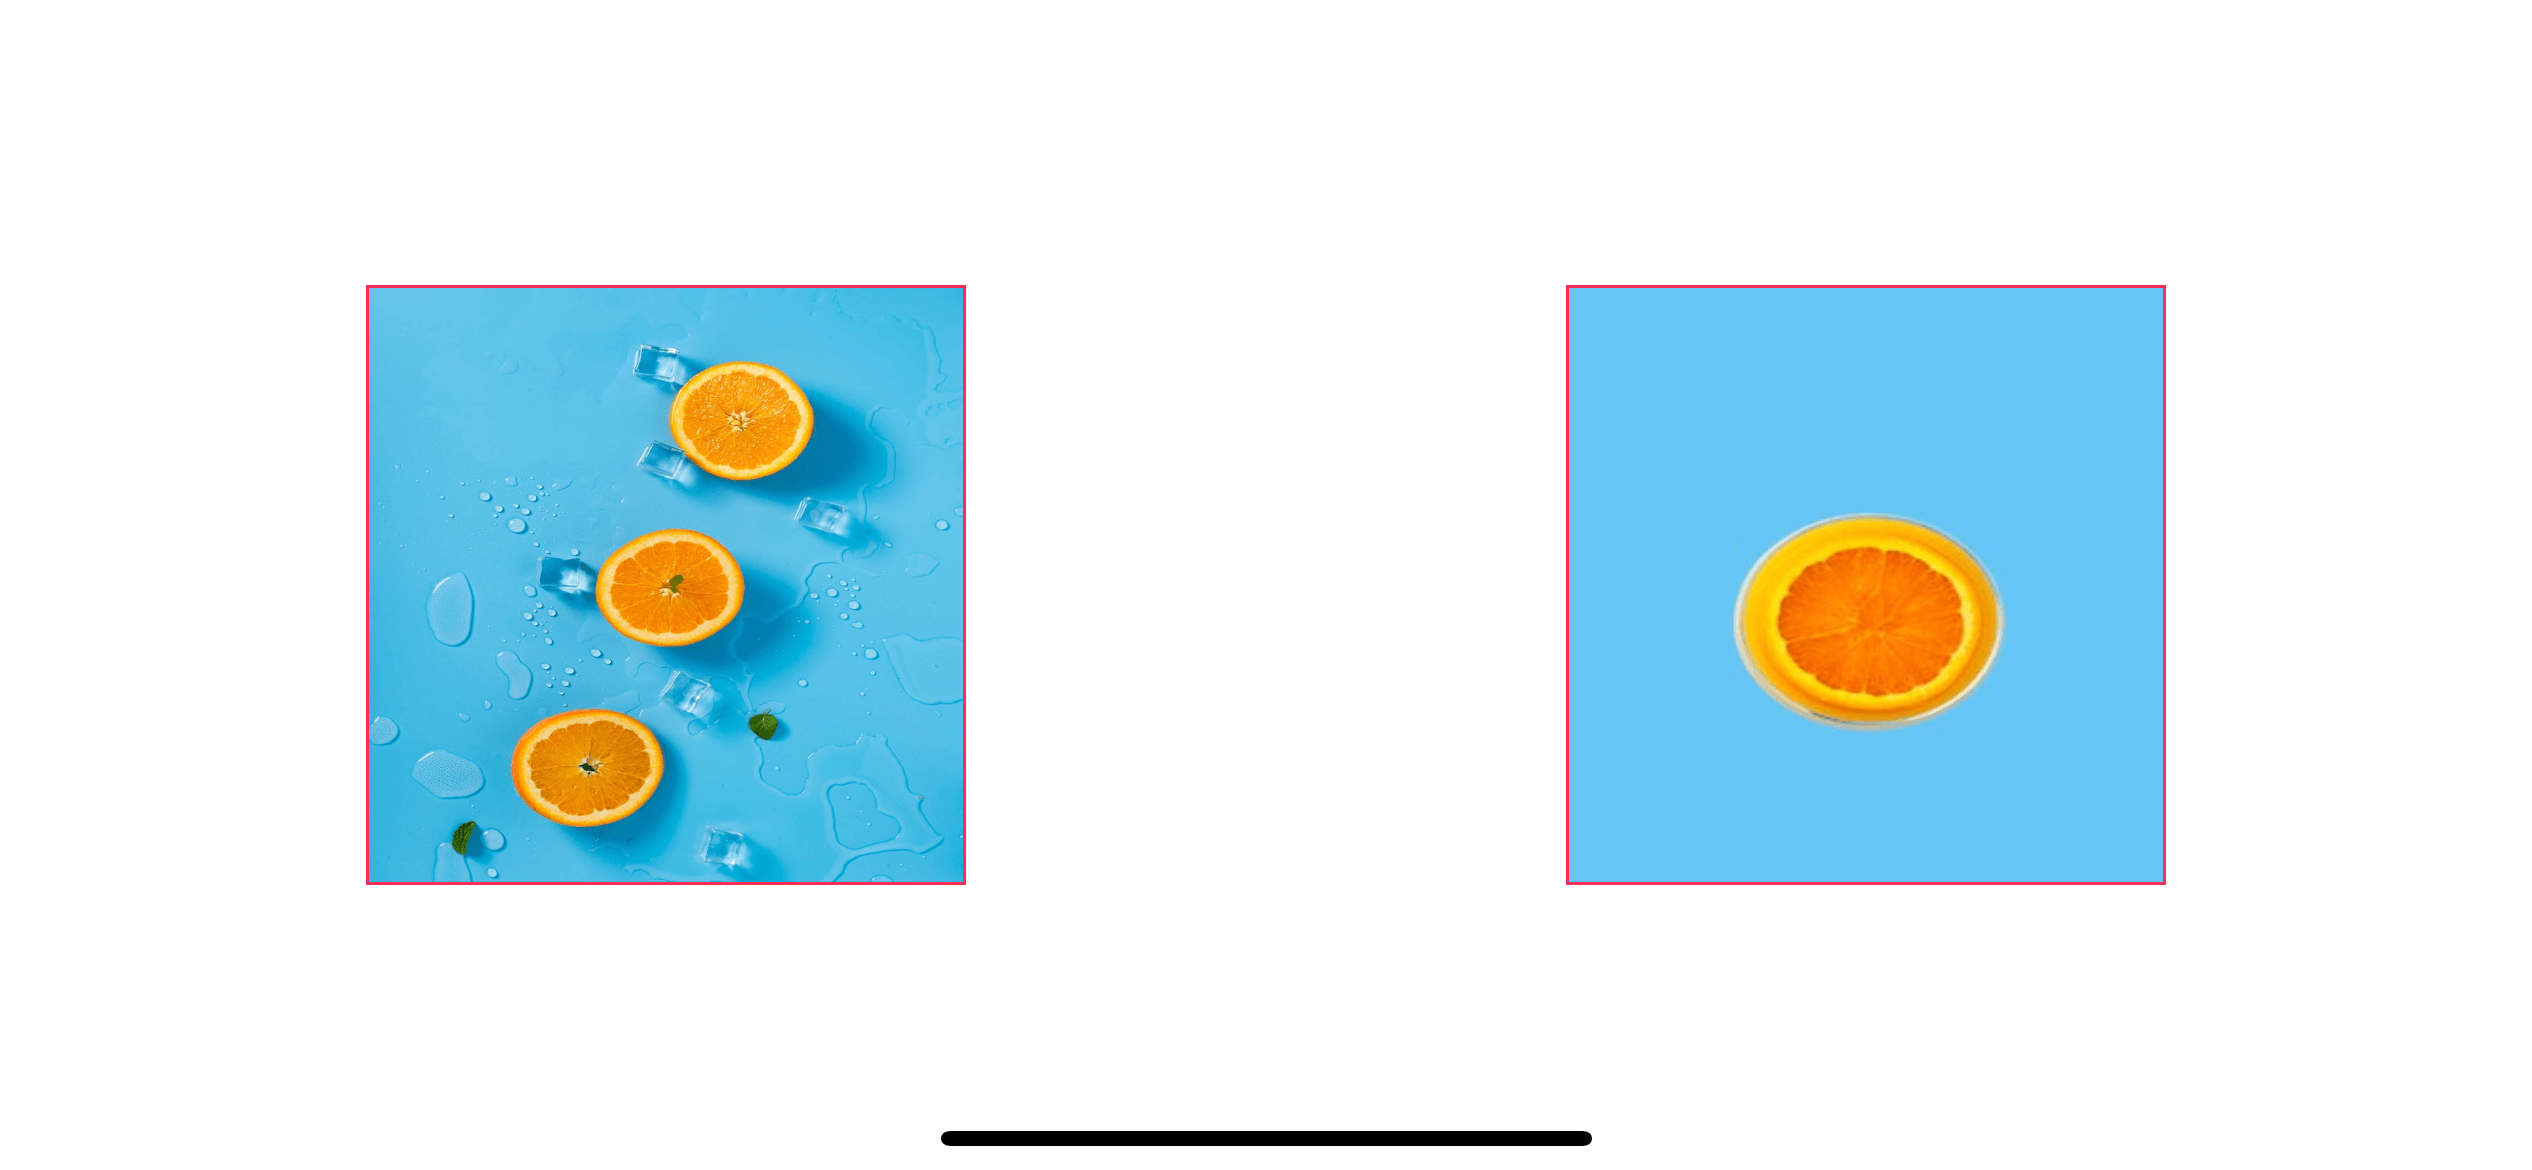
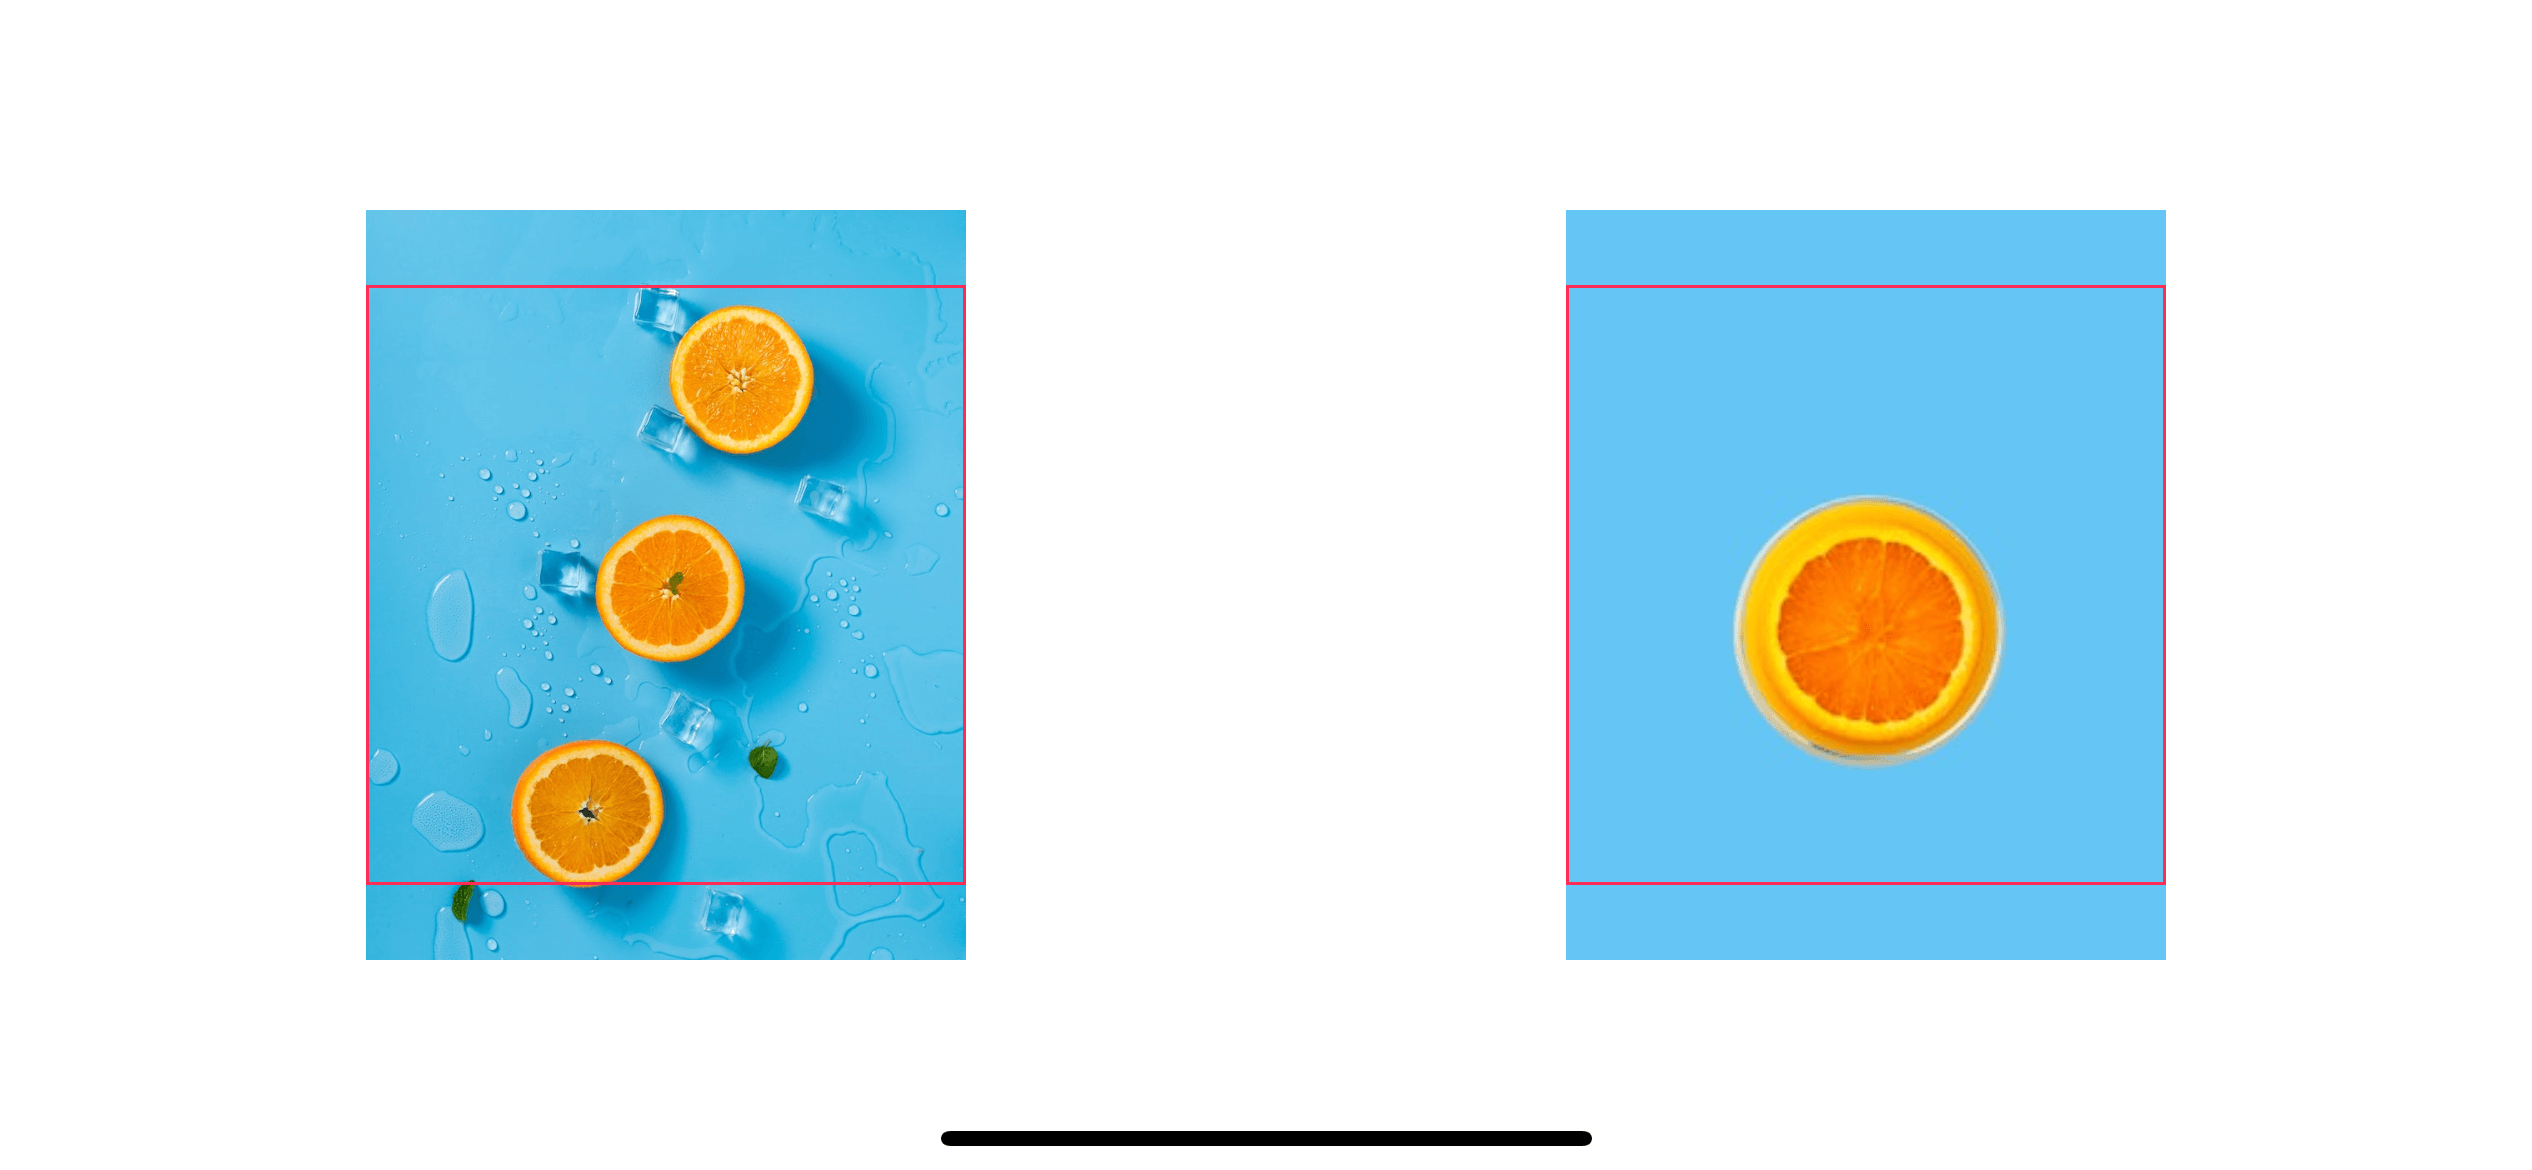
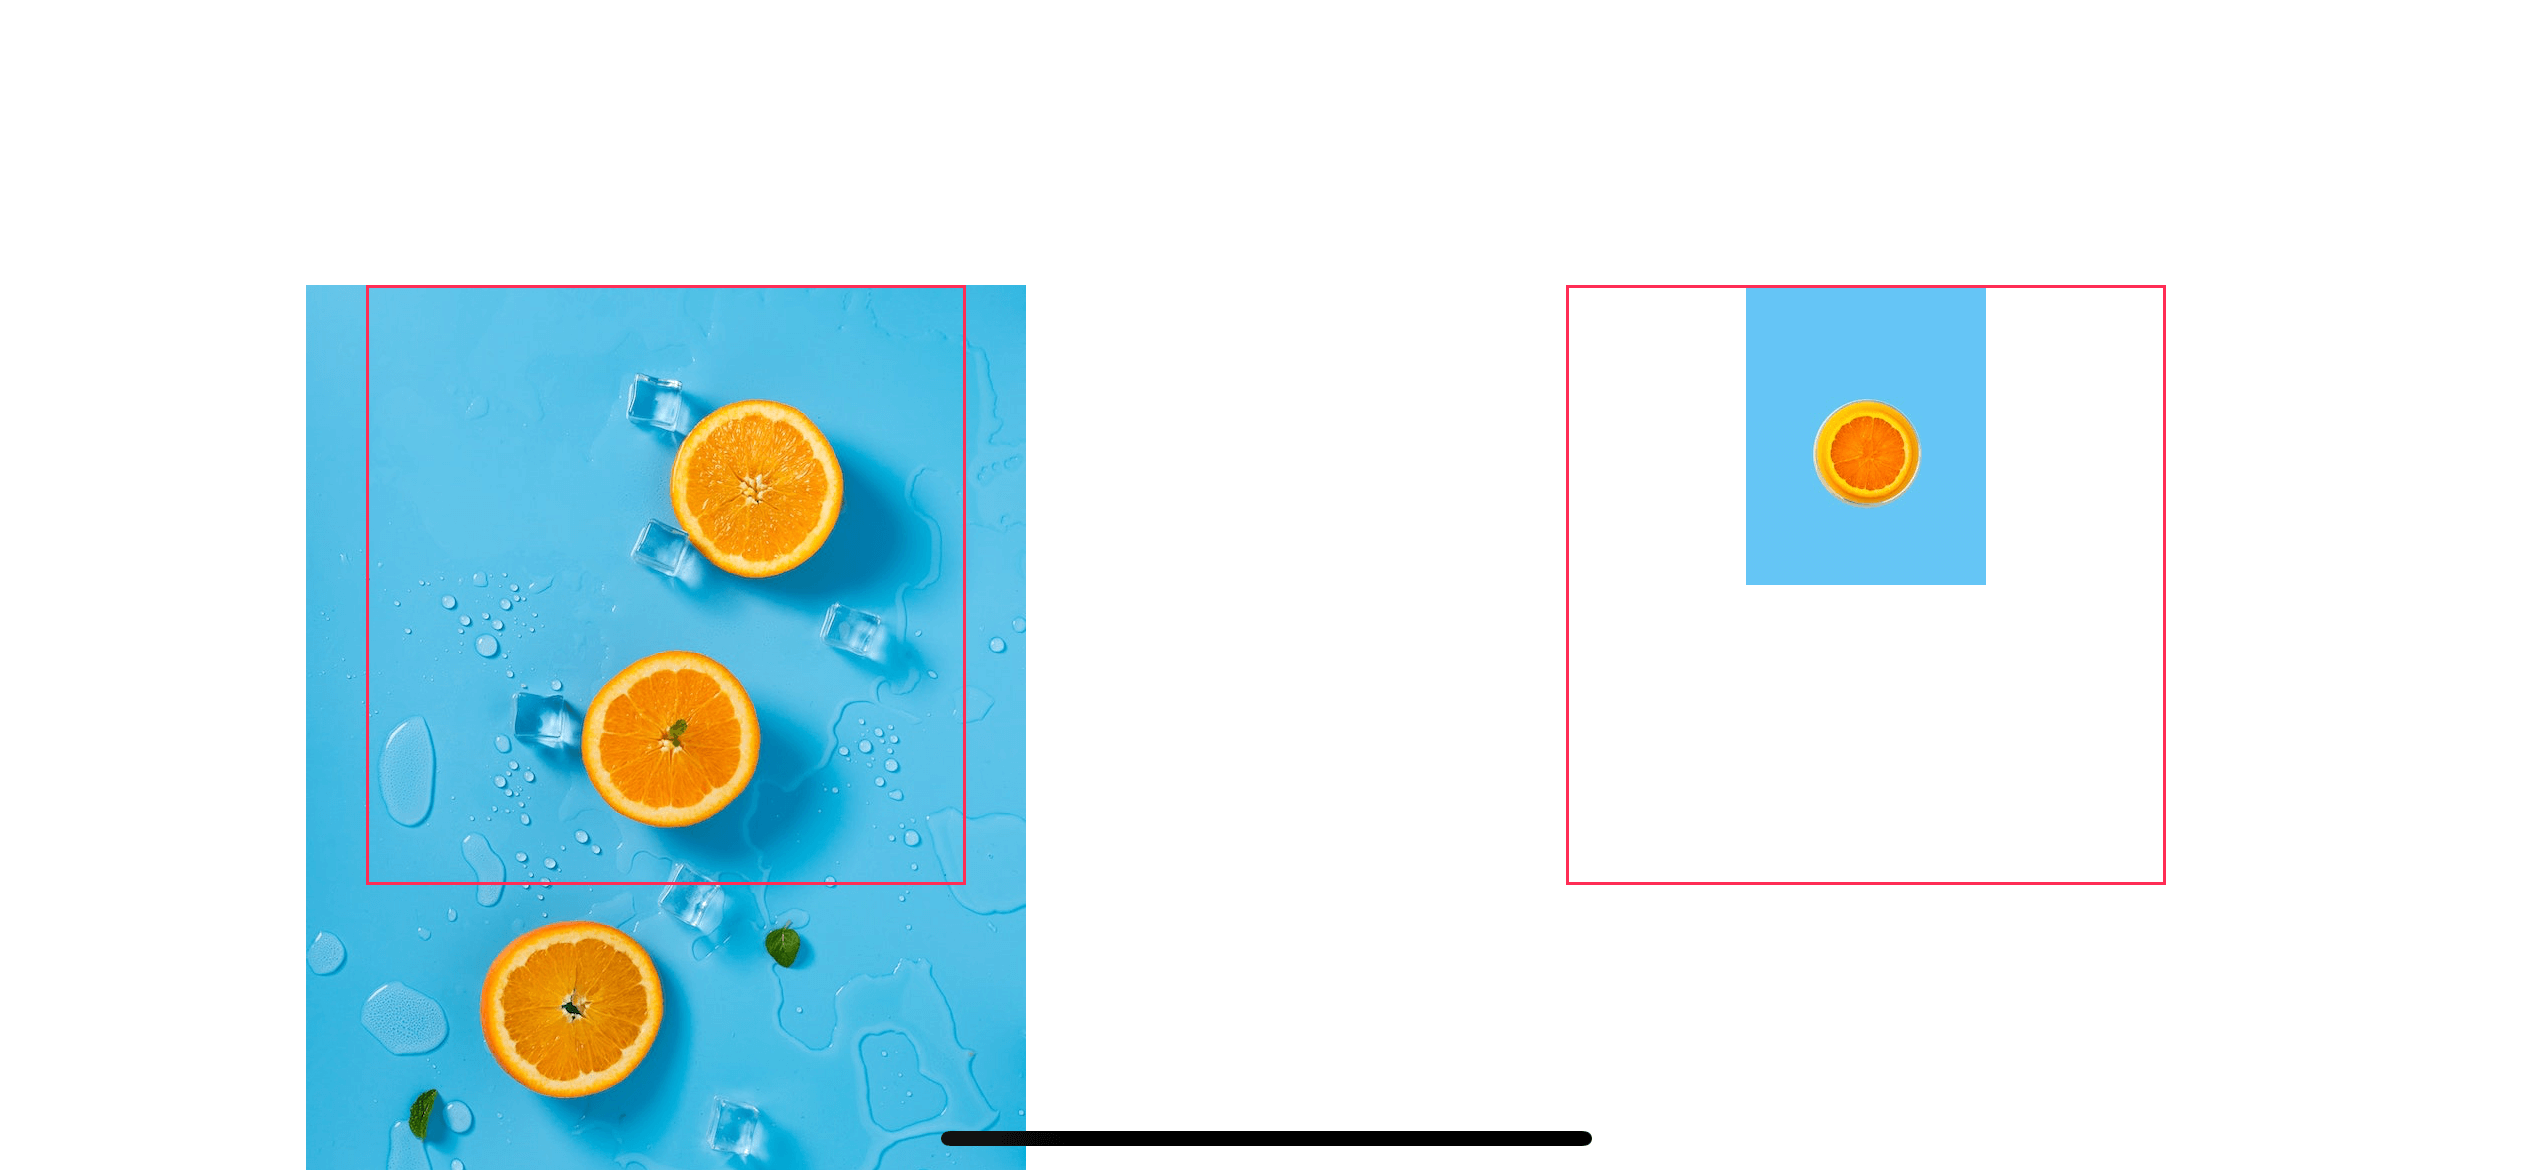
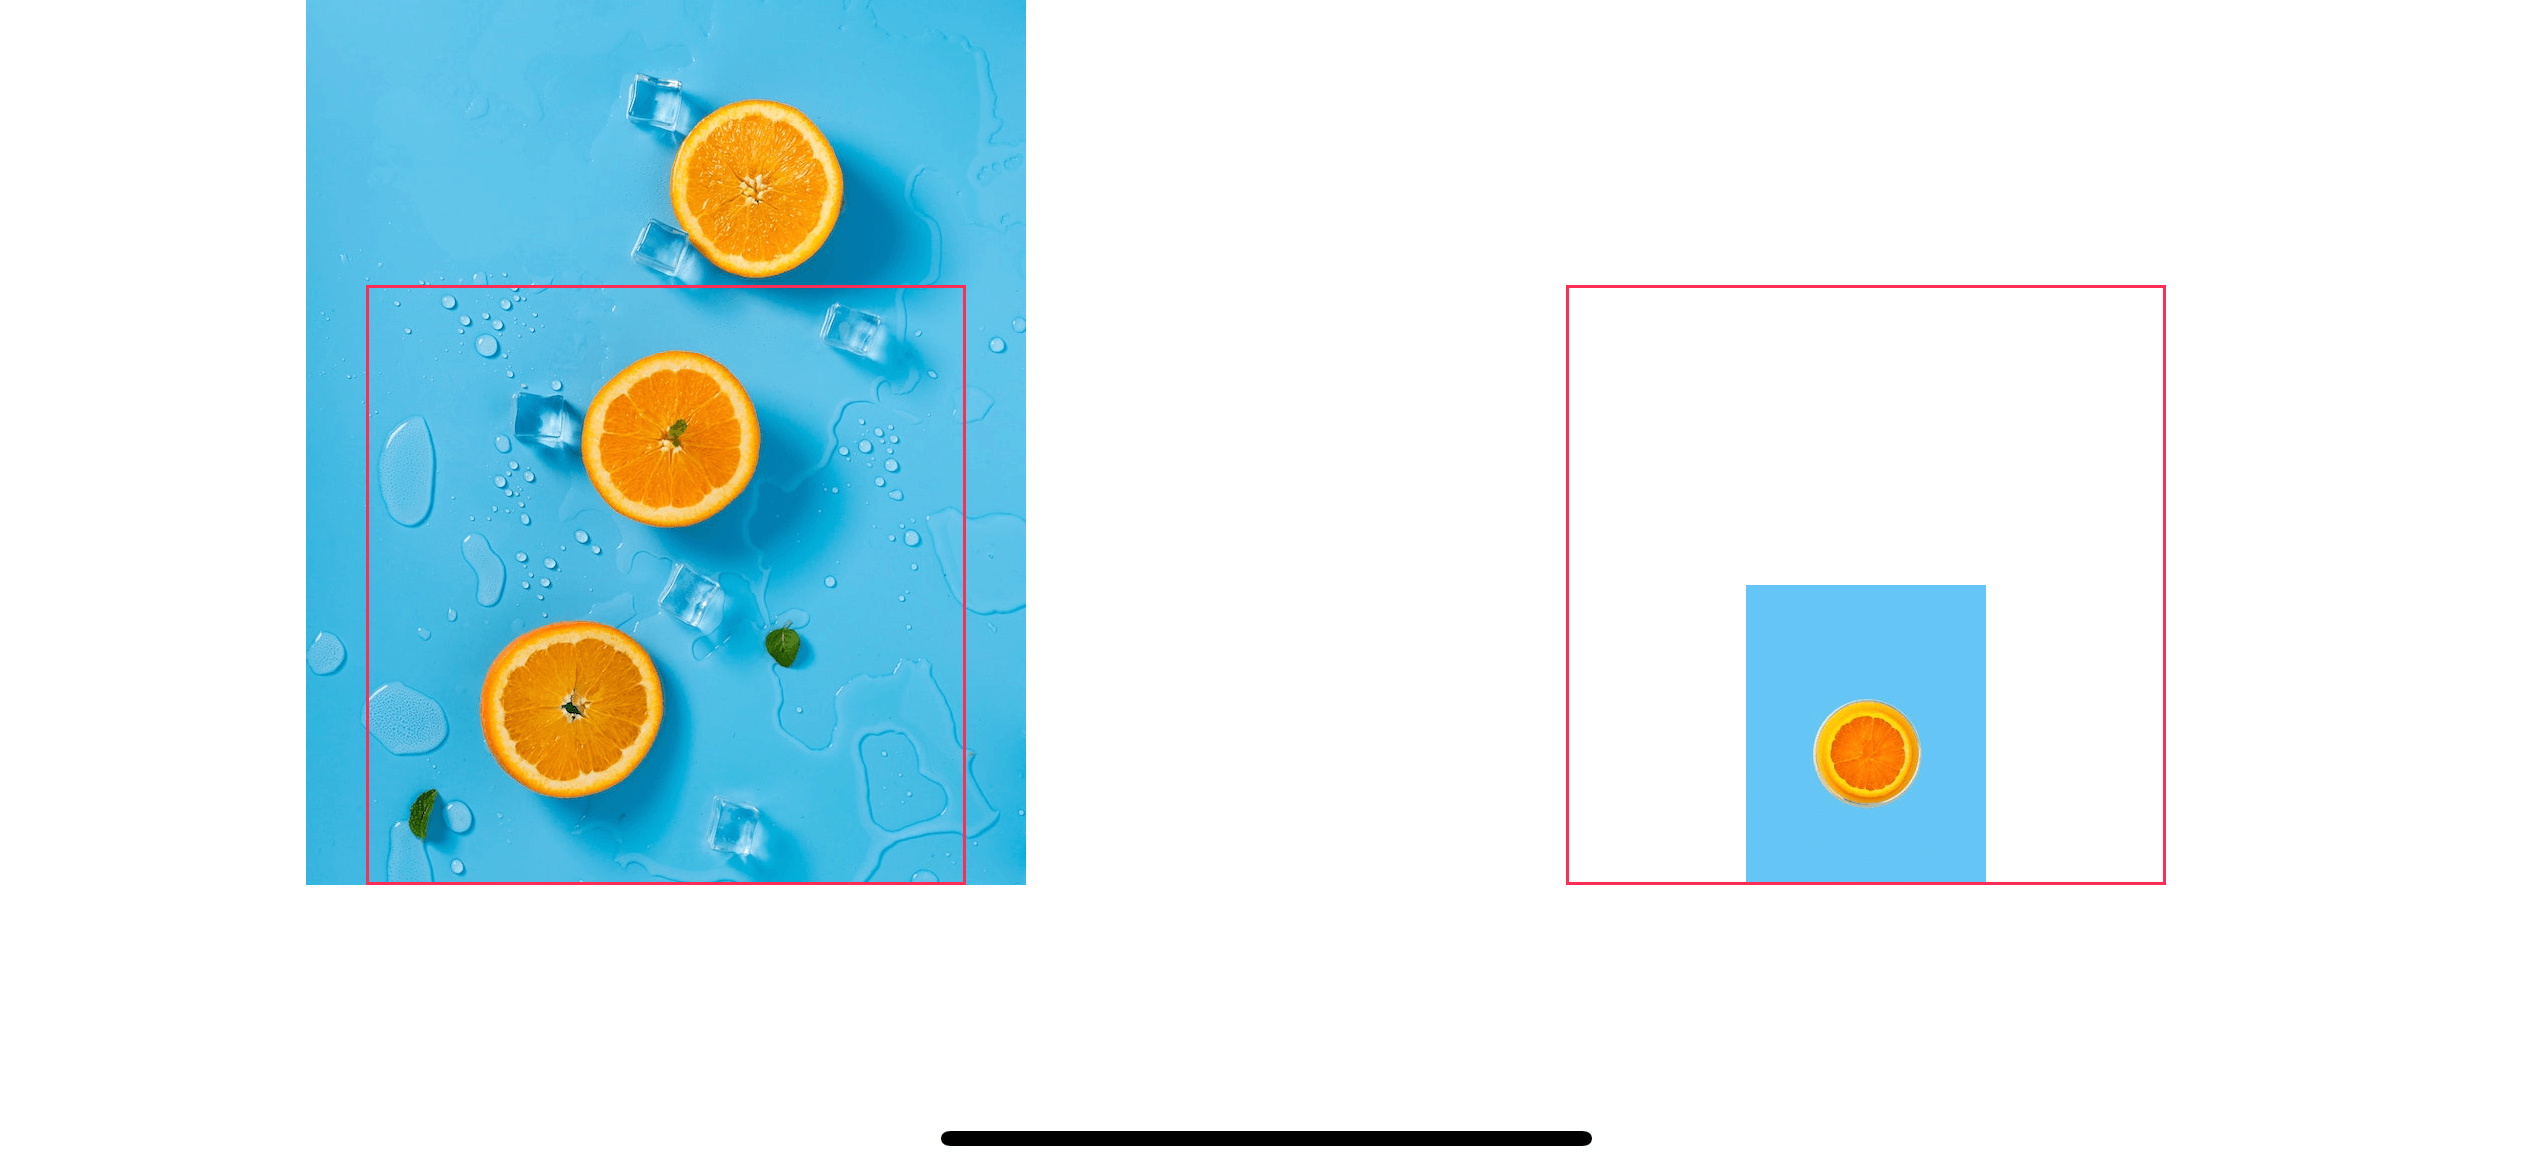
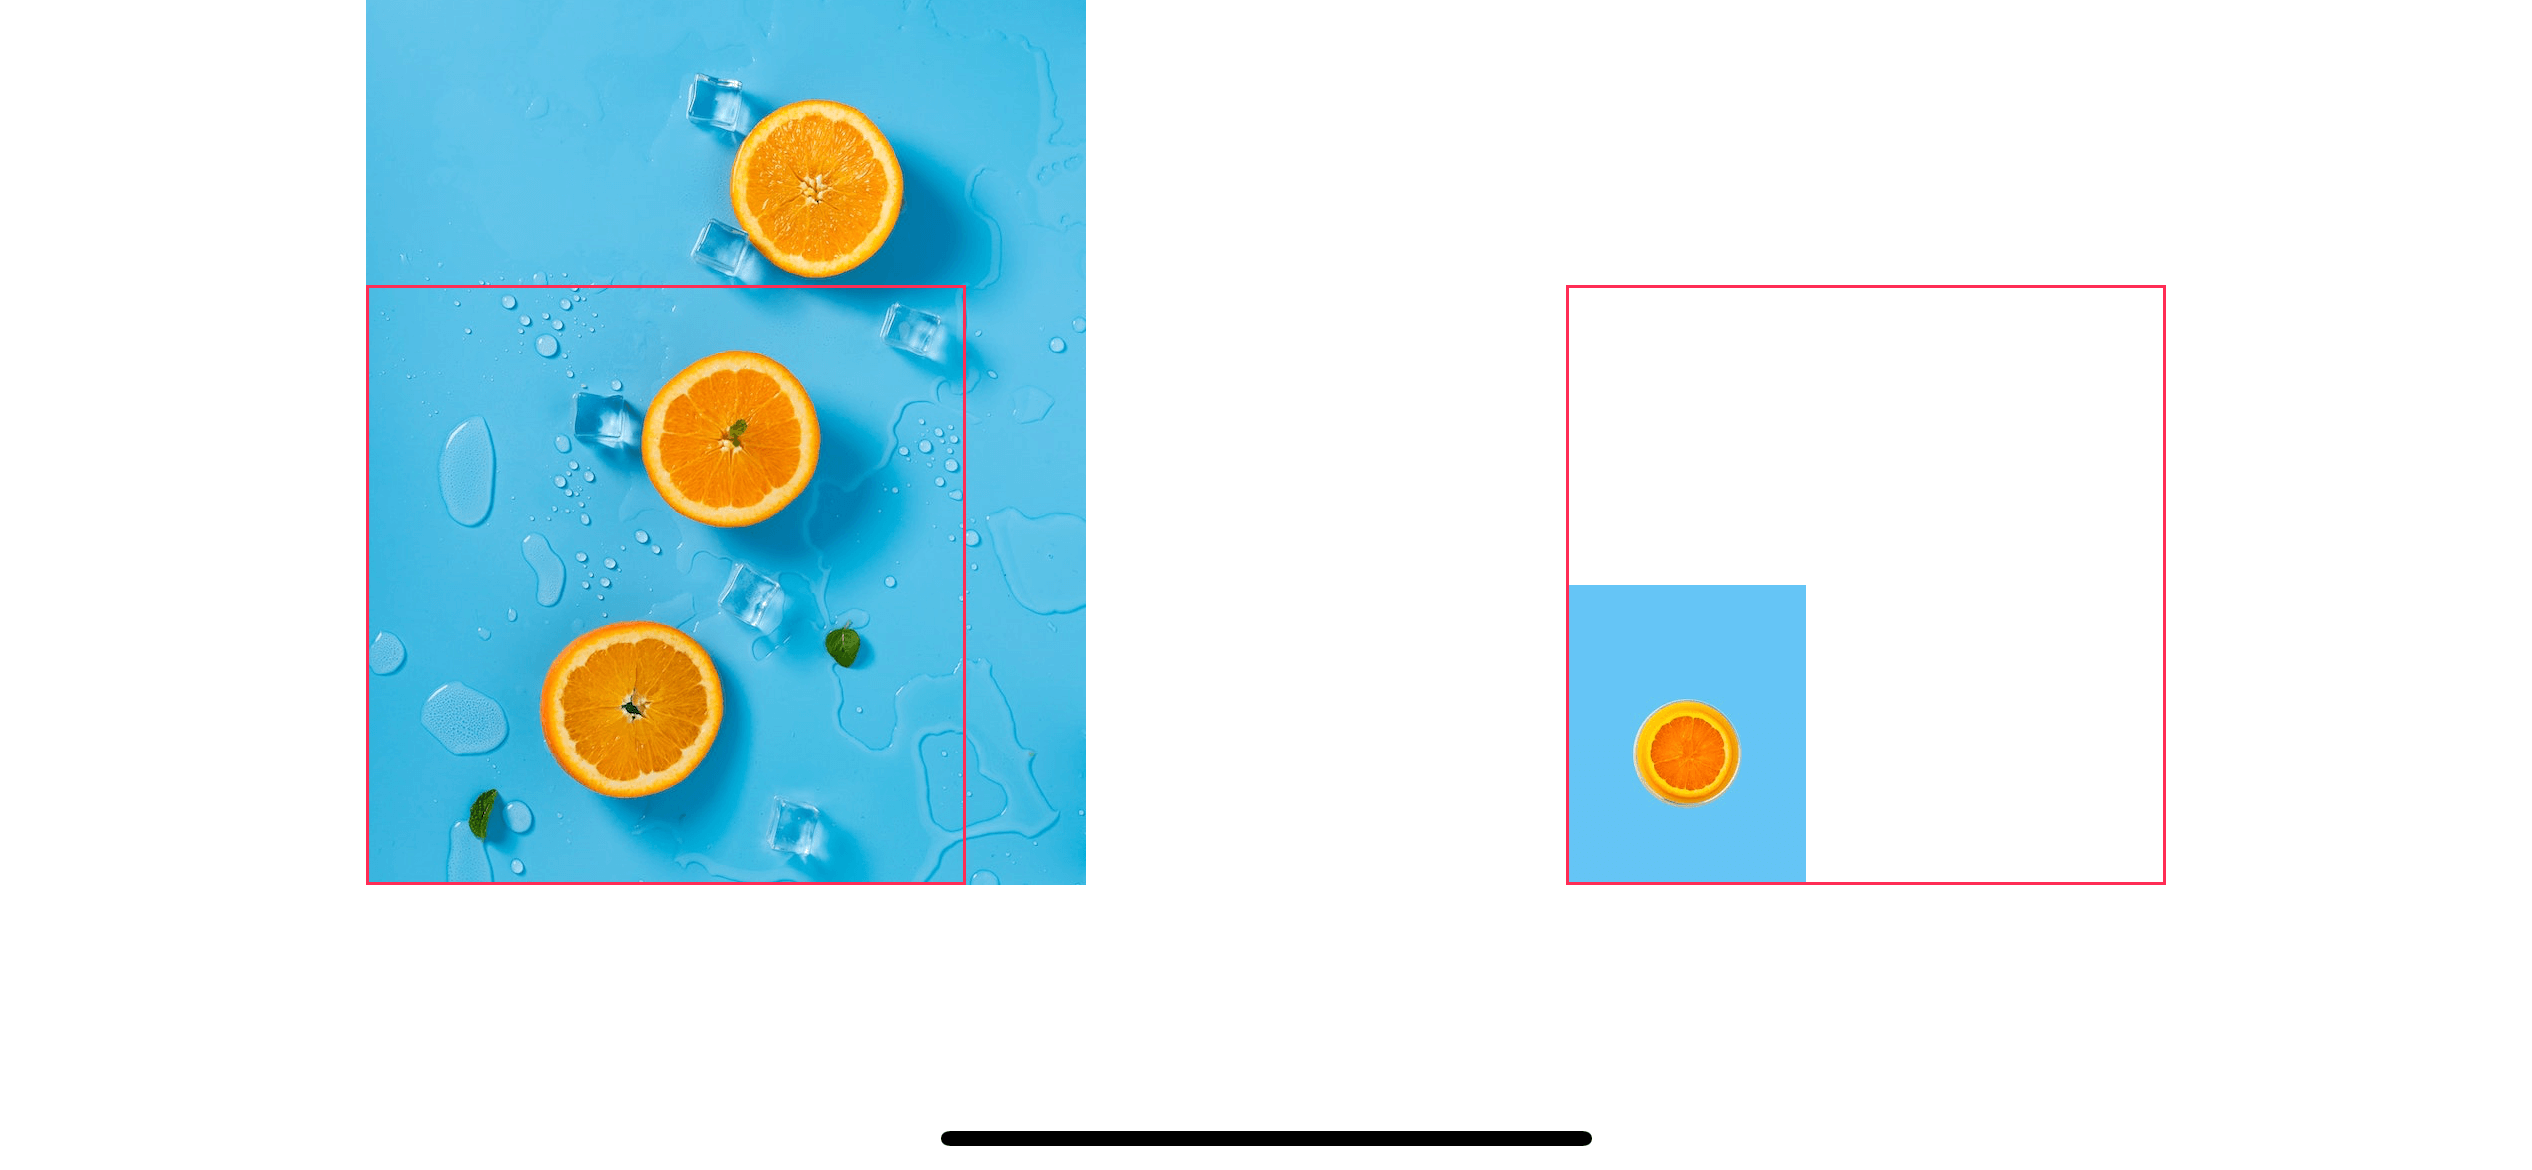
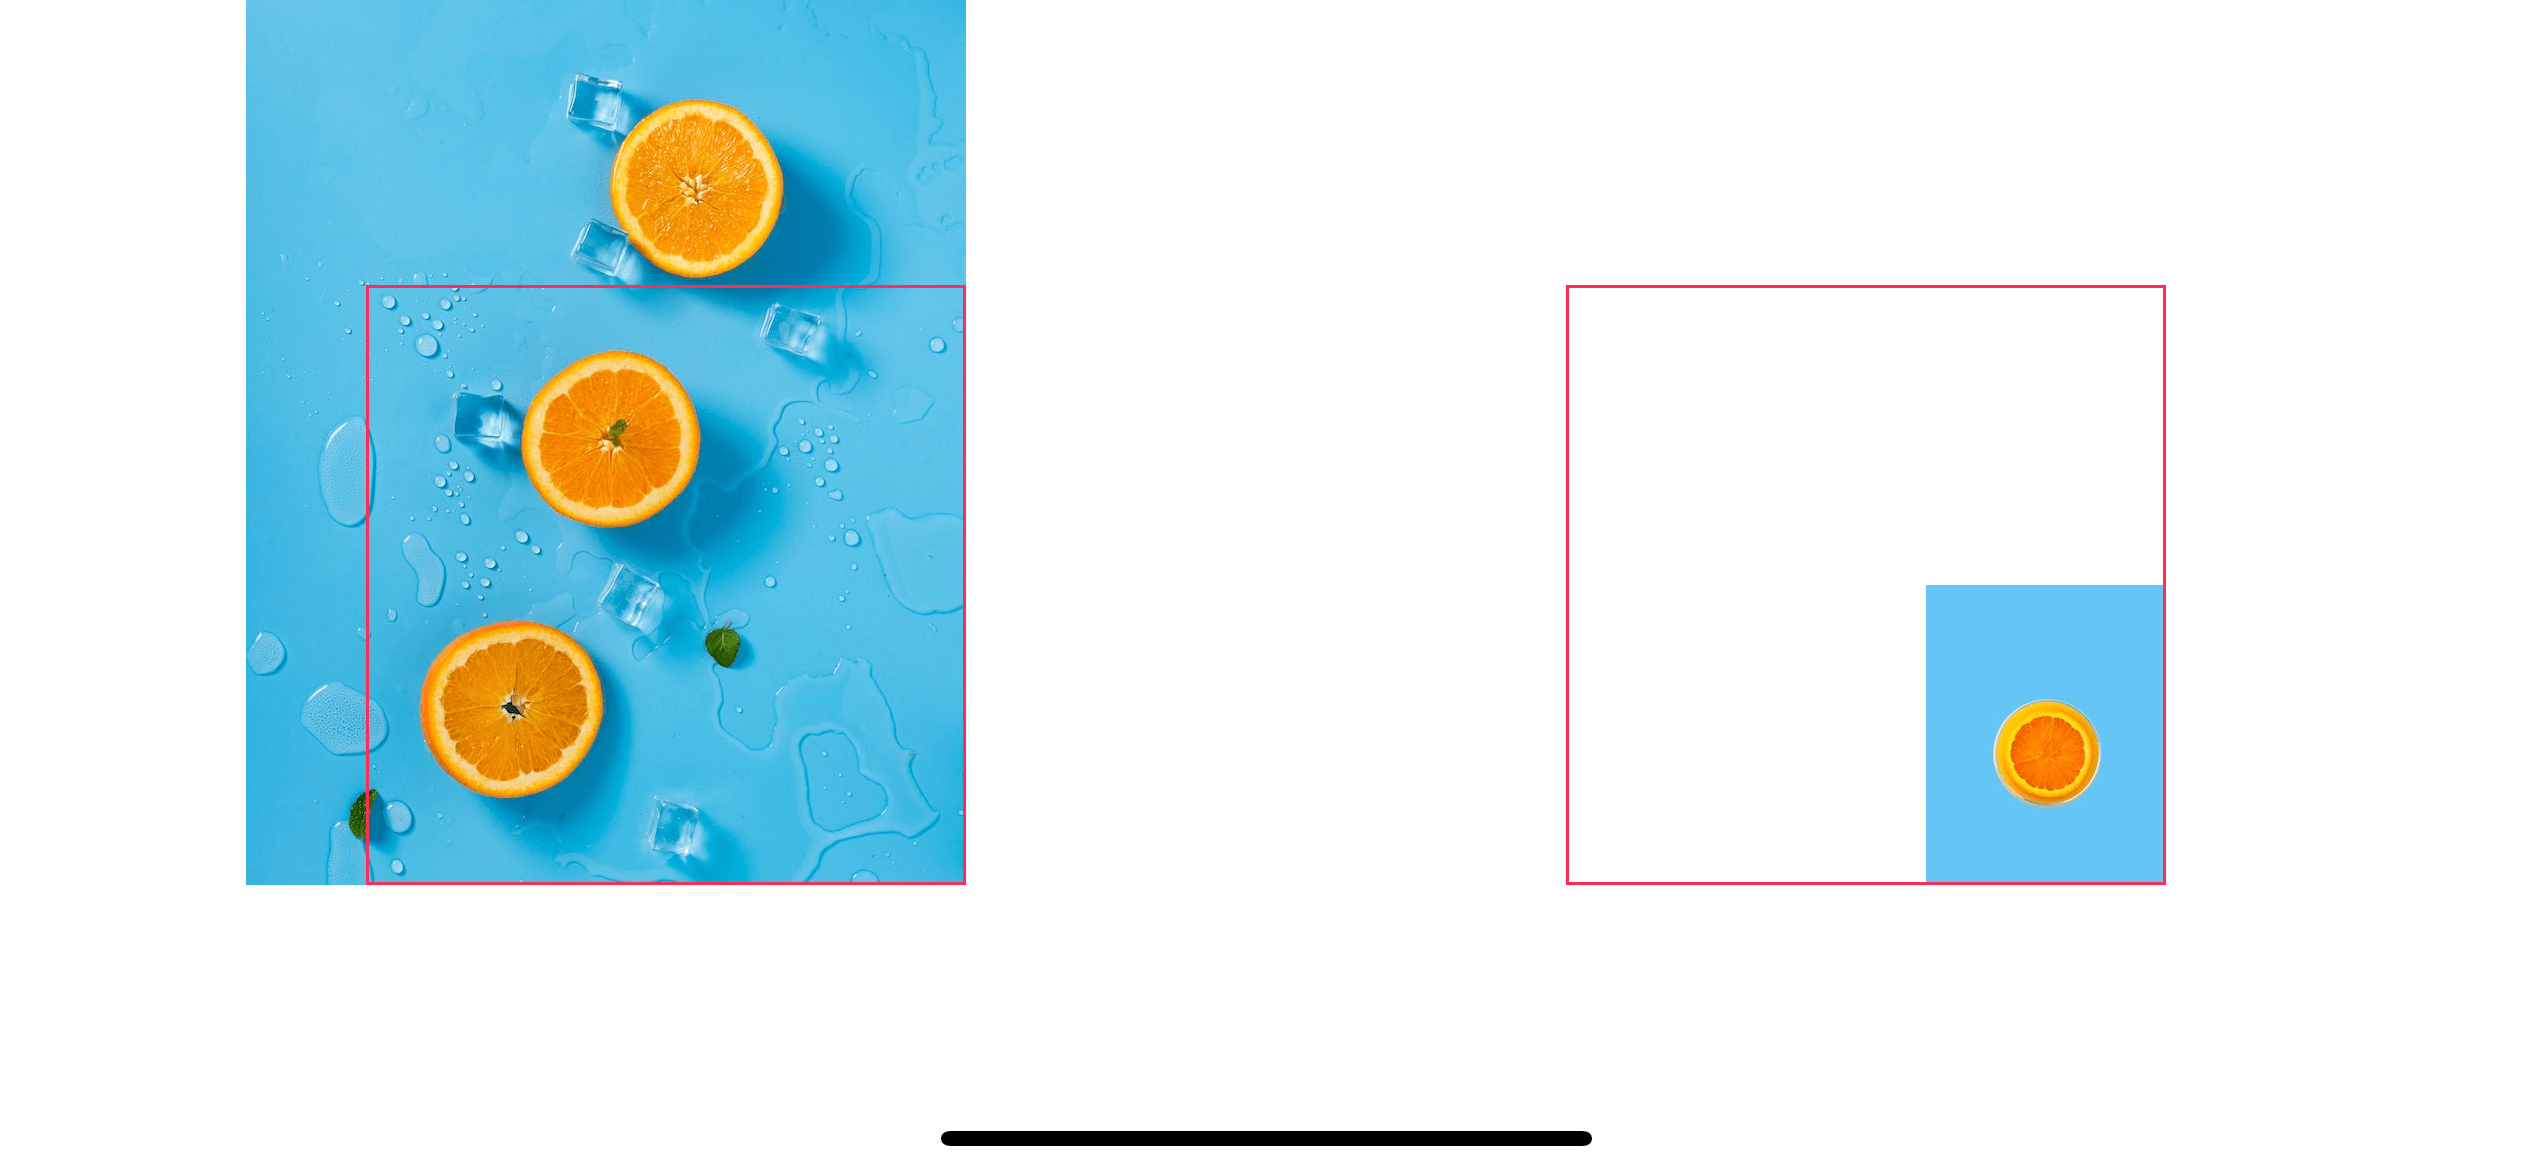
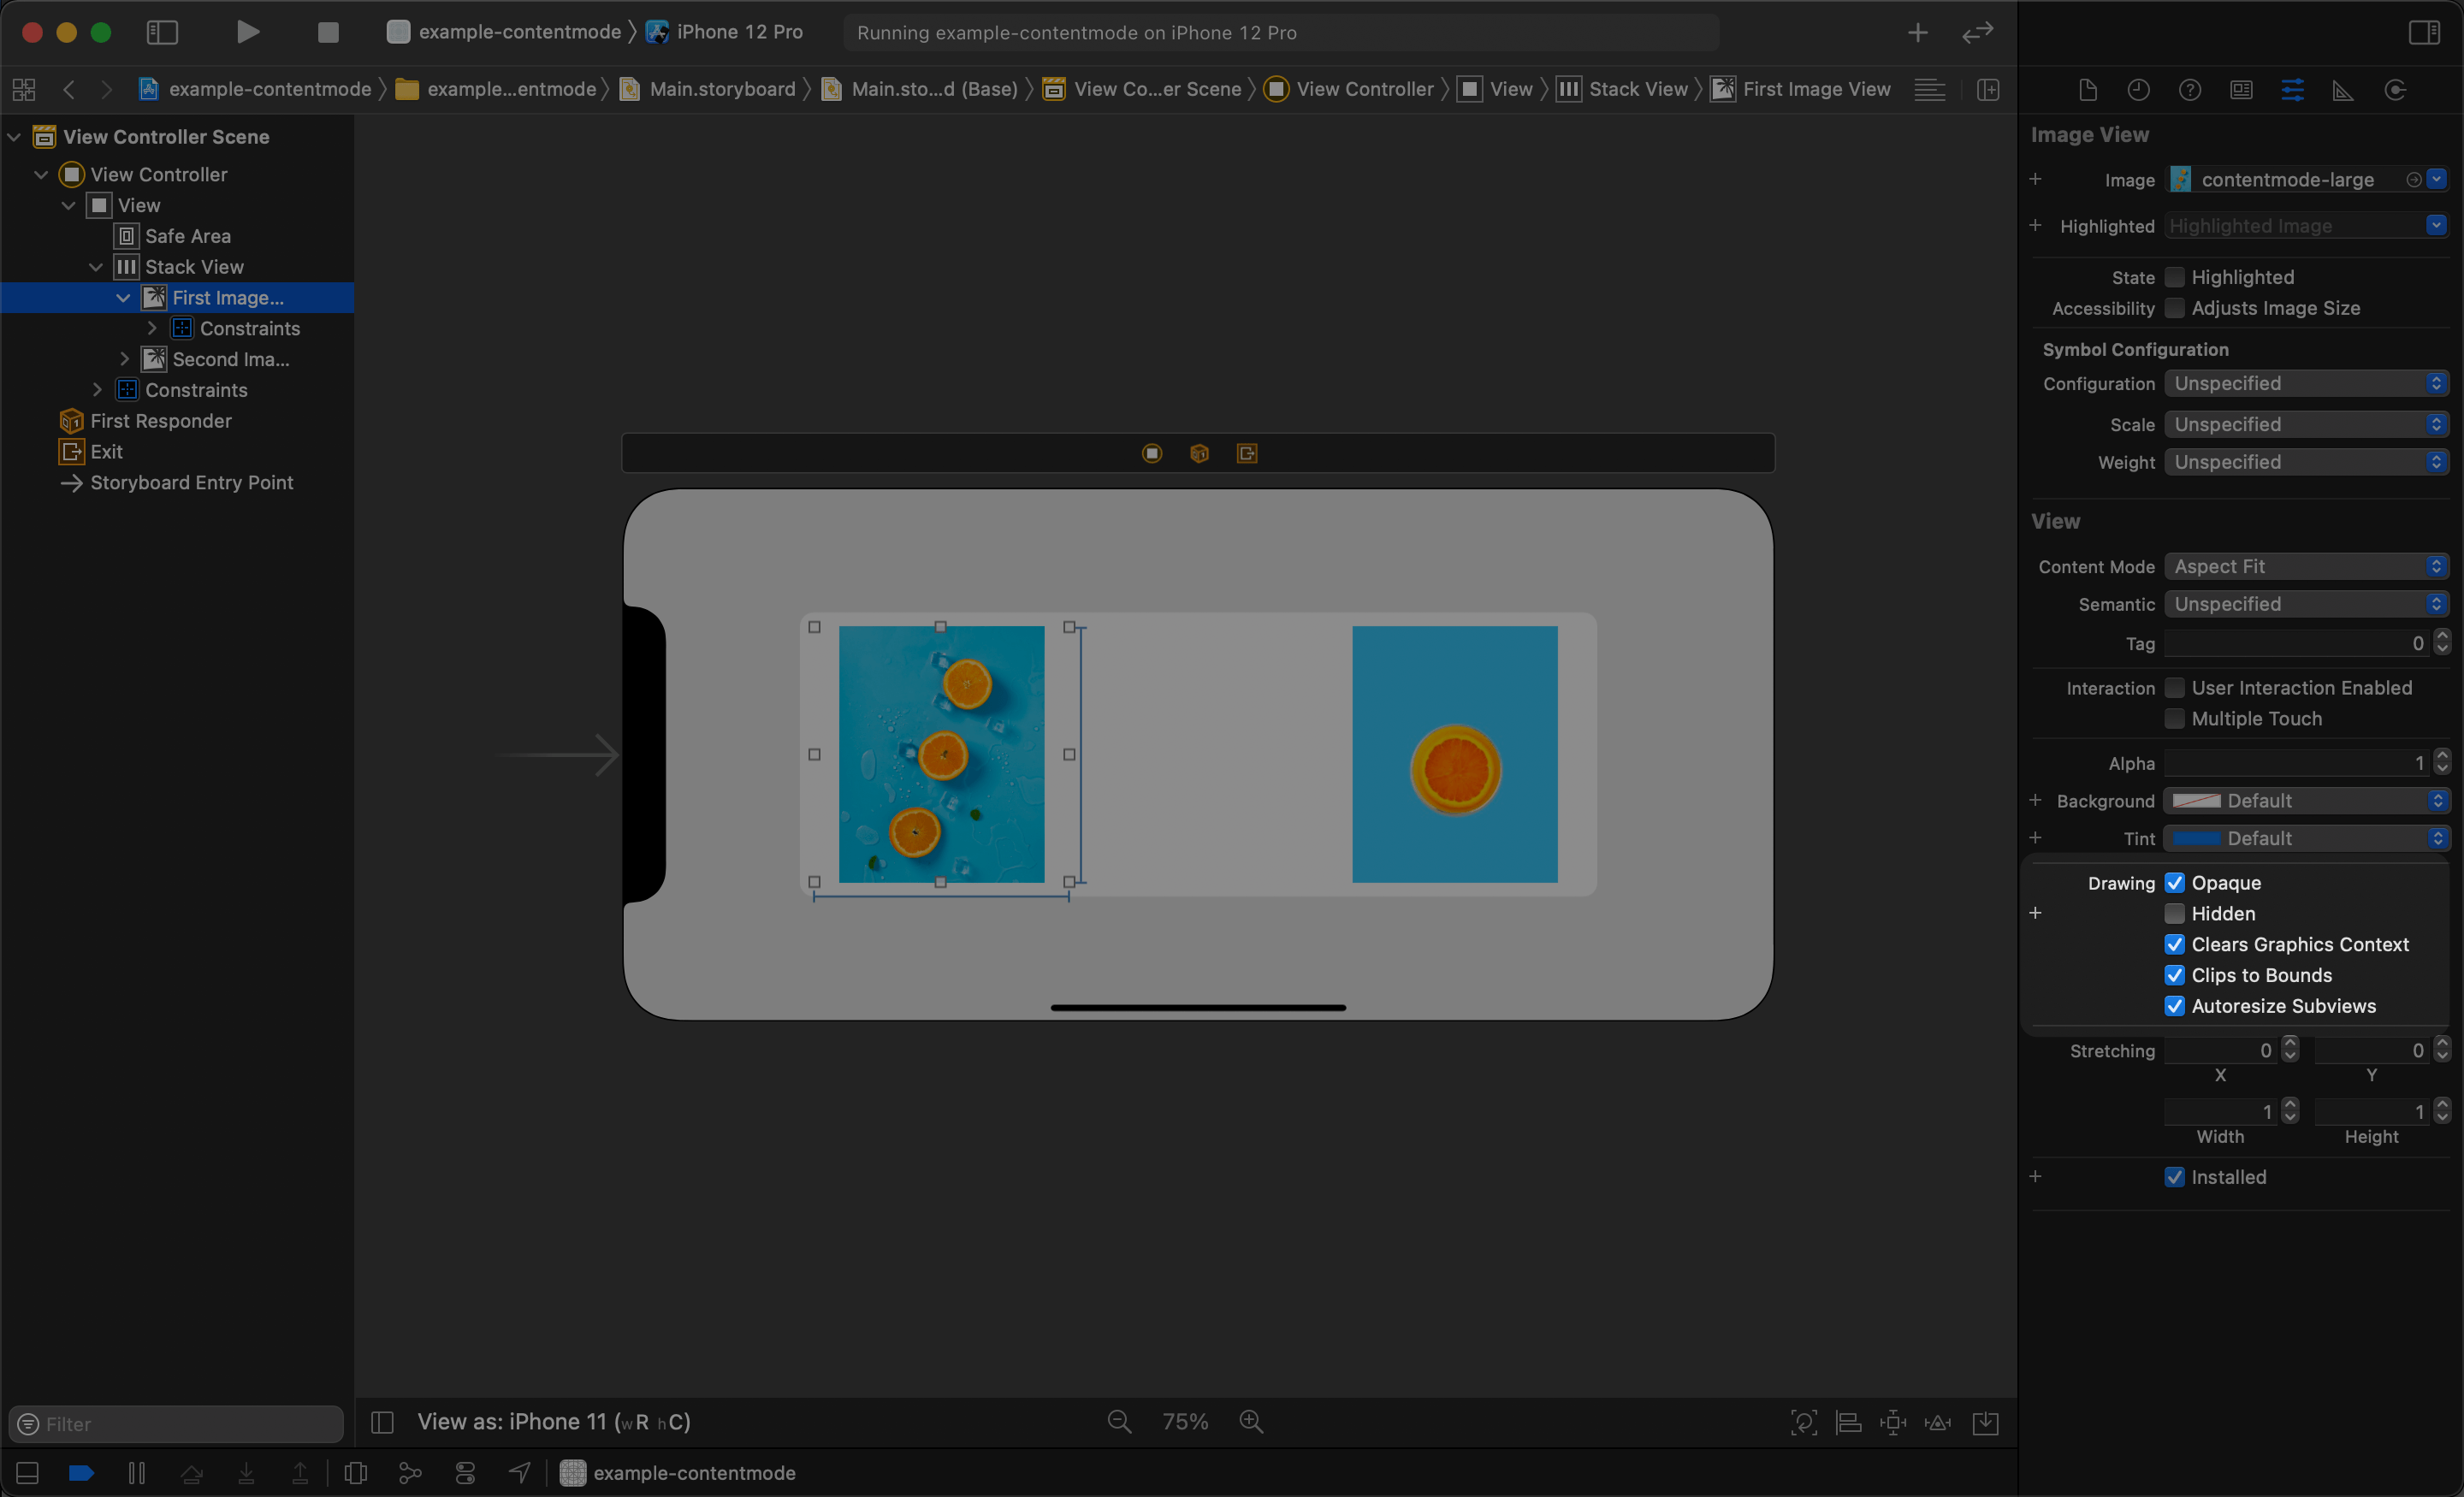
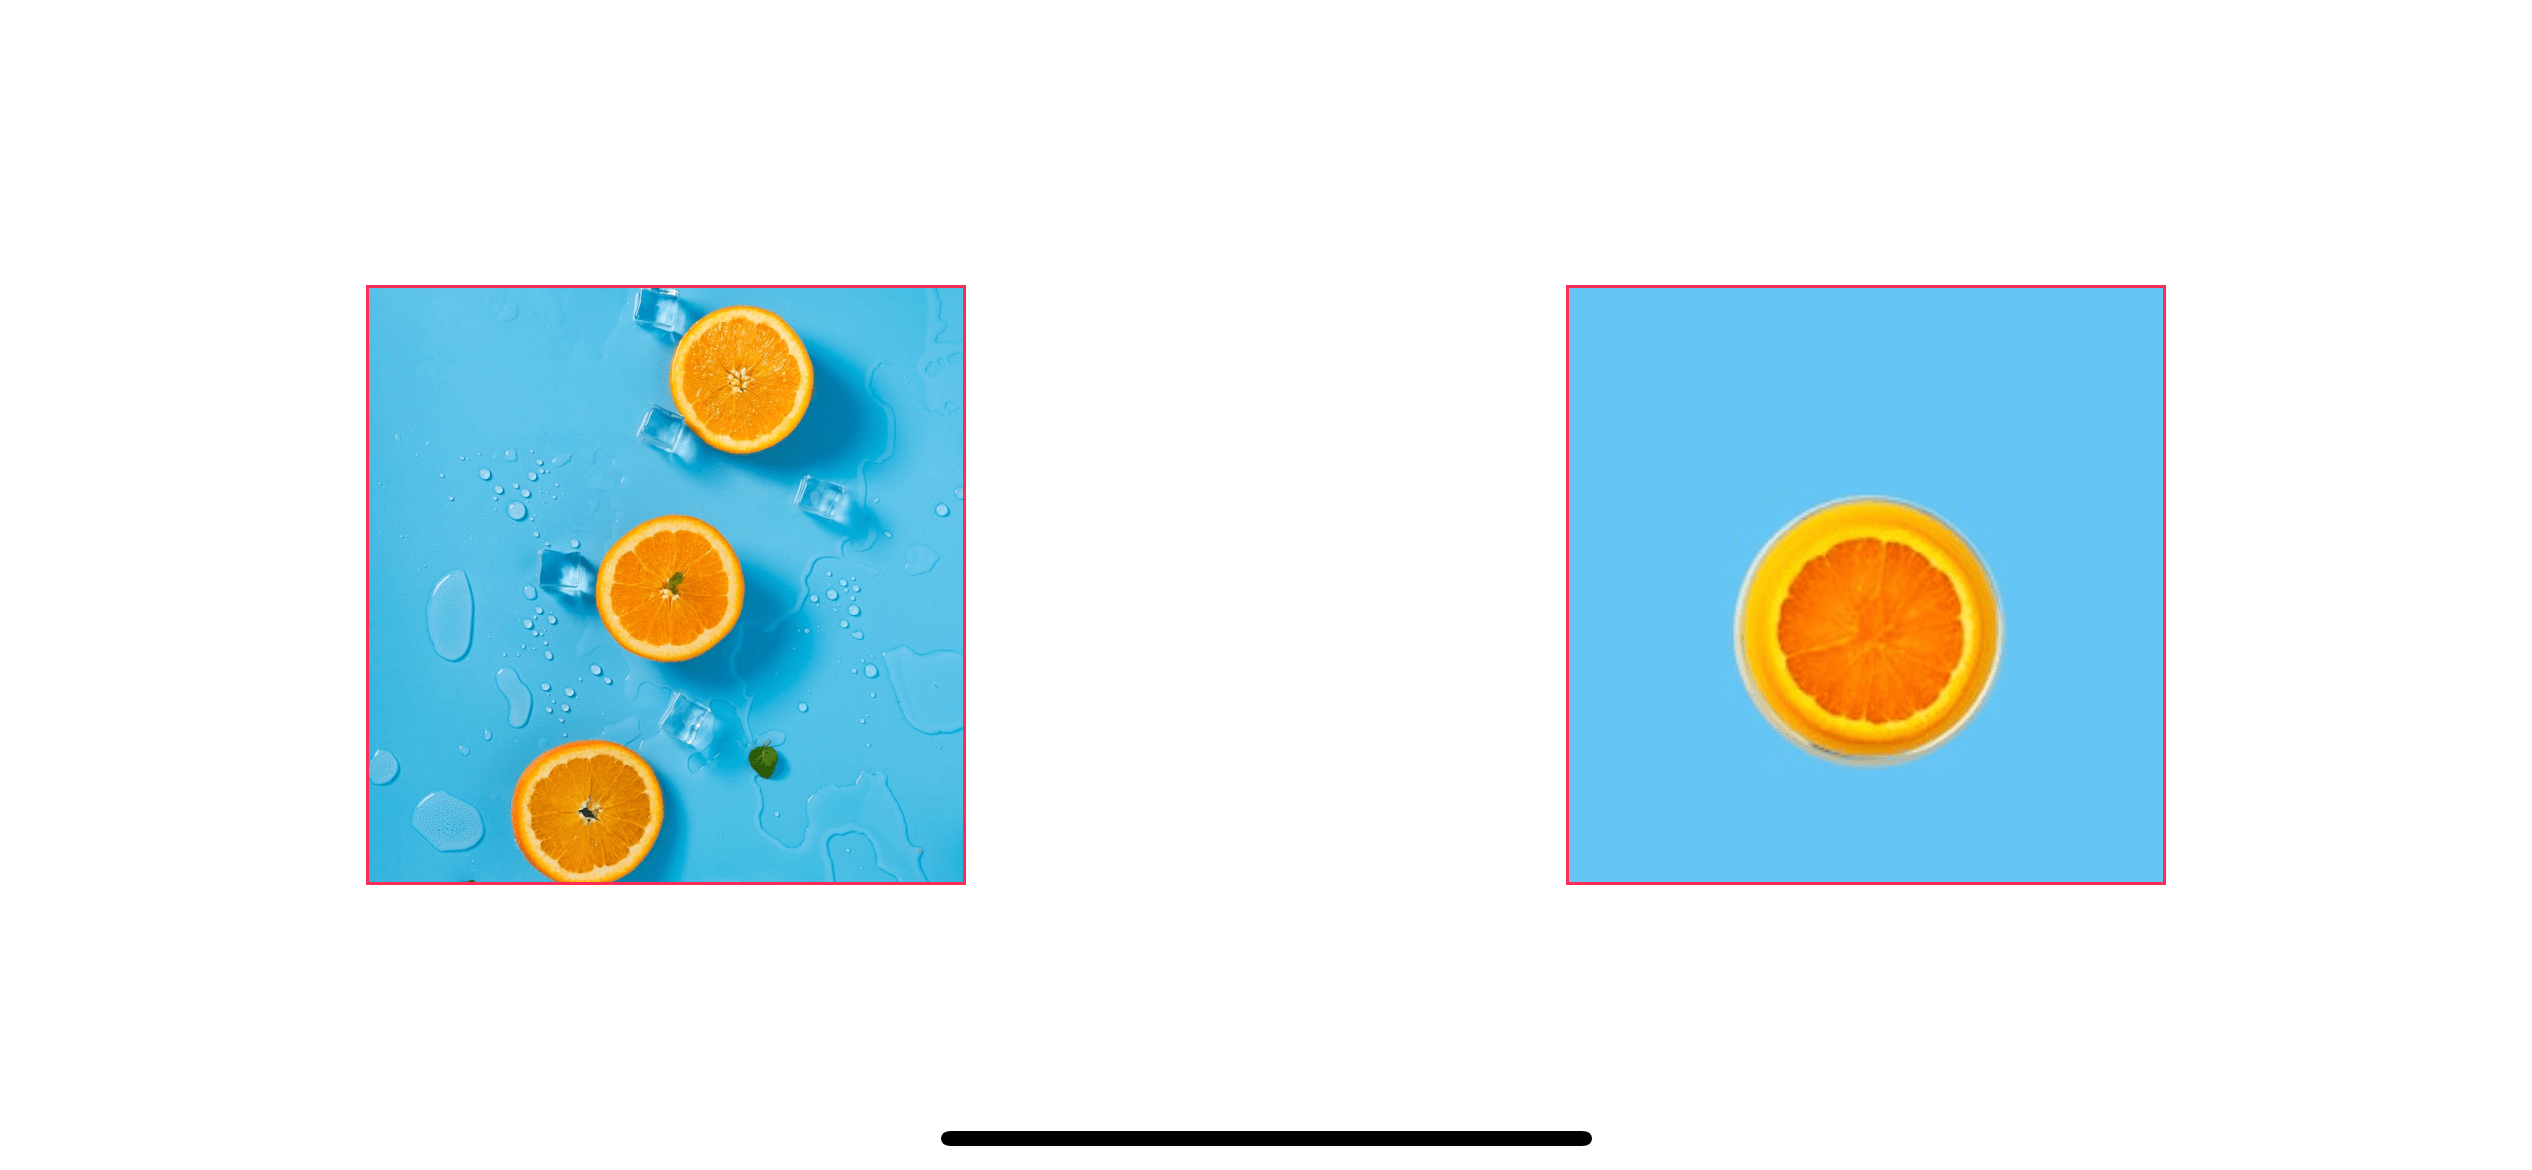
Throughout this post, I will use two images, a big image with a dimension of 240x300[1] and a smaller image with a dimension of 80x100. You will see how each image reacts to the same content mode.


I will put them side-by-side in image views of size 200x200. I also add a pink border for you to visualize the behavior easily.

Scaling
This mode will stretching and shrinking your image related to image view bounds. There are three modes that fall into this category
It is easier to show than to say, so here is how it looks for each content mode.
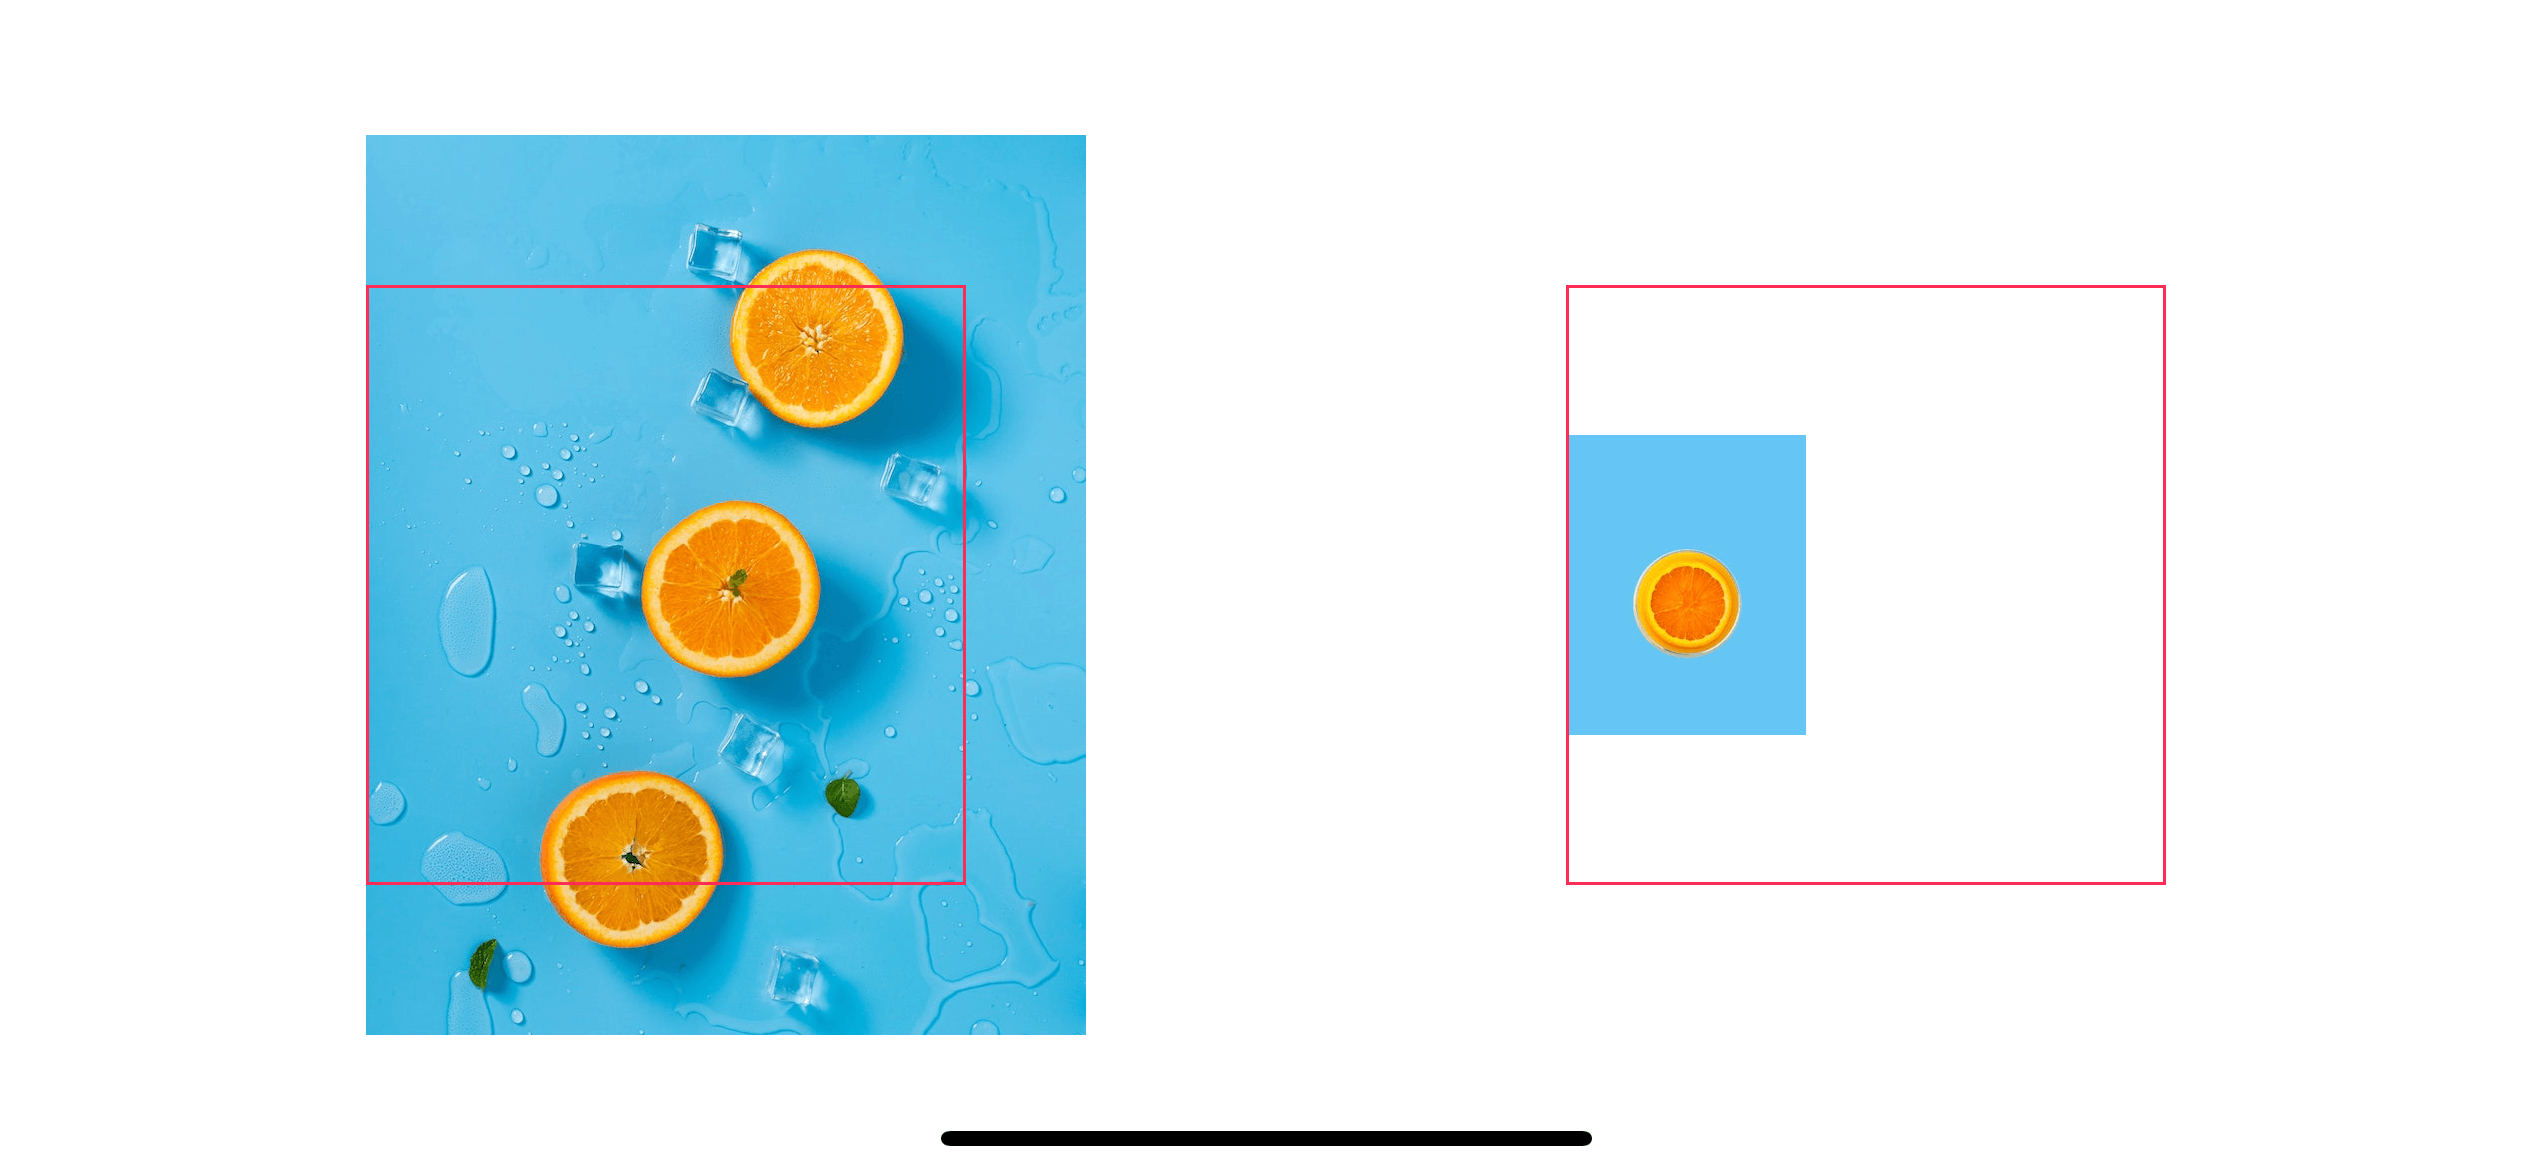
scaleToFill
scaleToFill scales the content to fill the image view bounds without maintaining the aspect ratio.
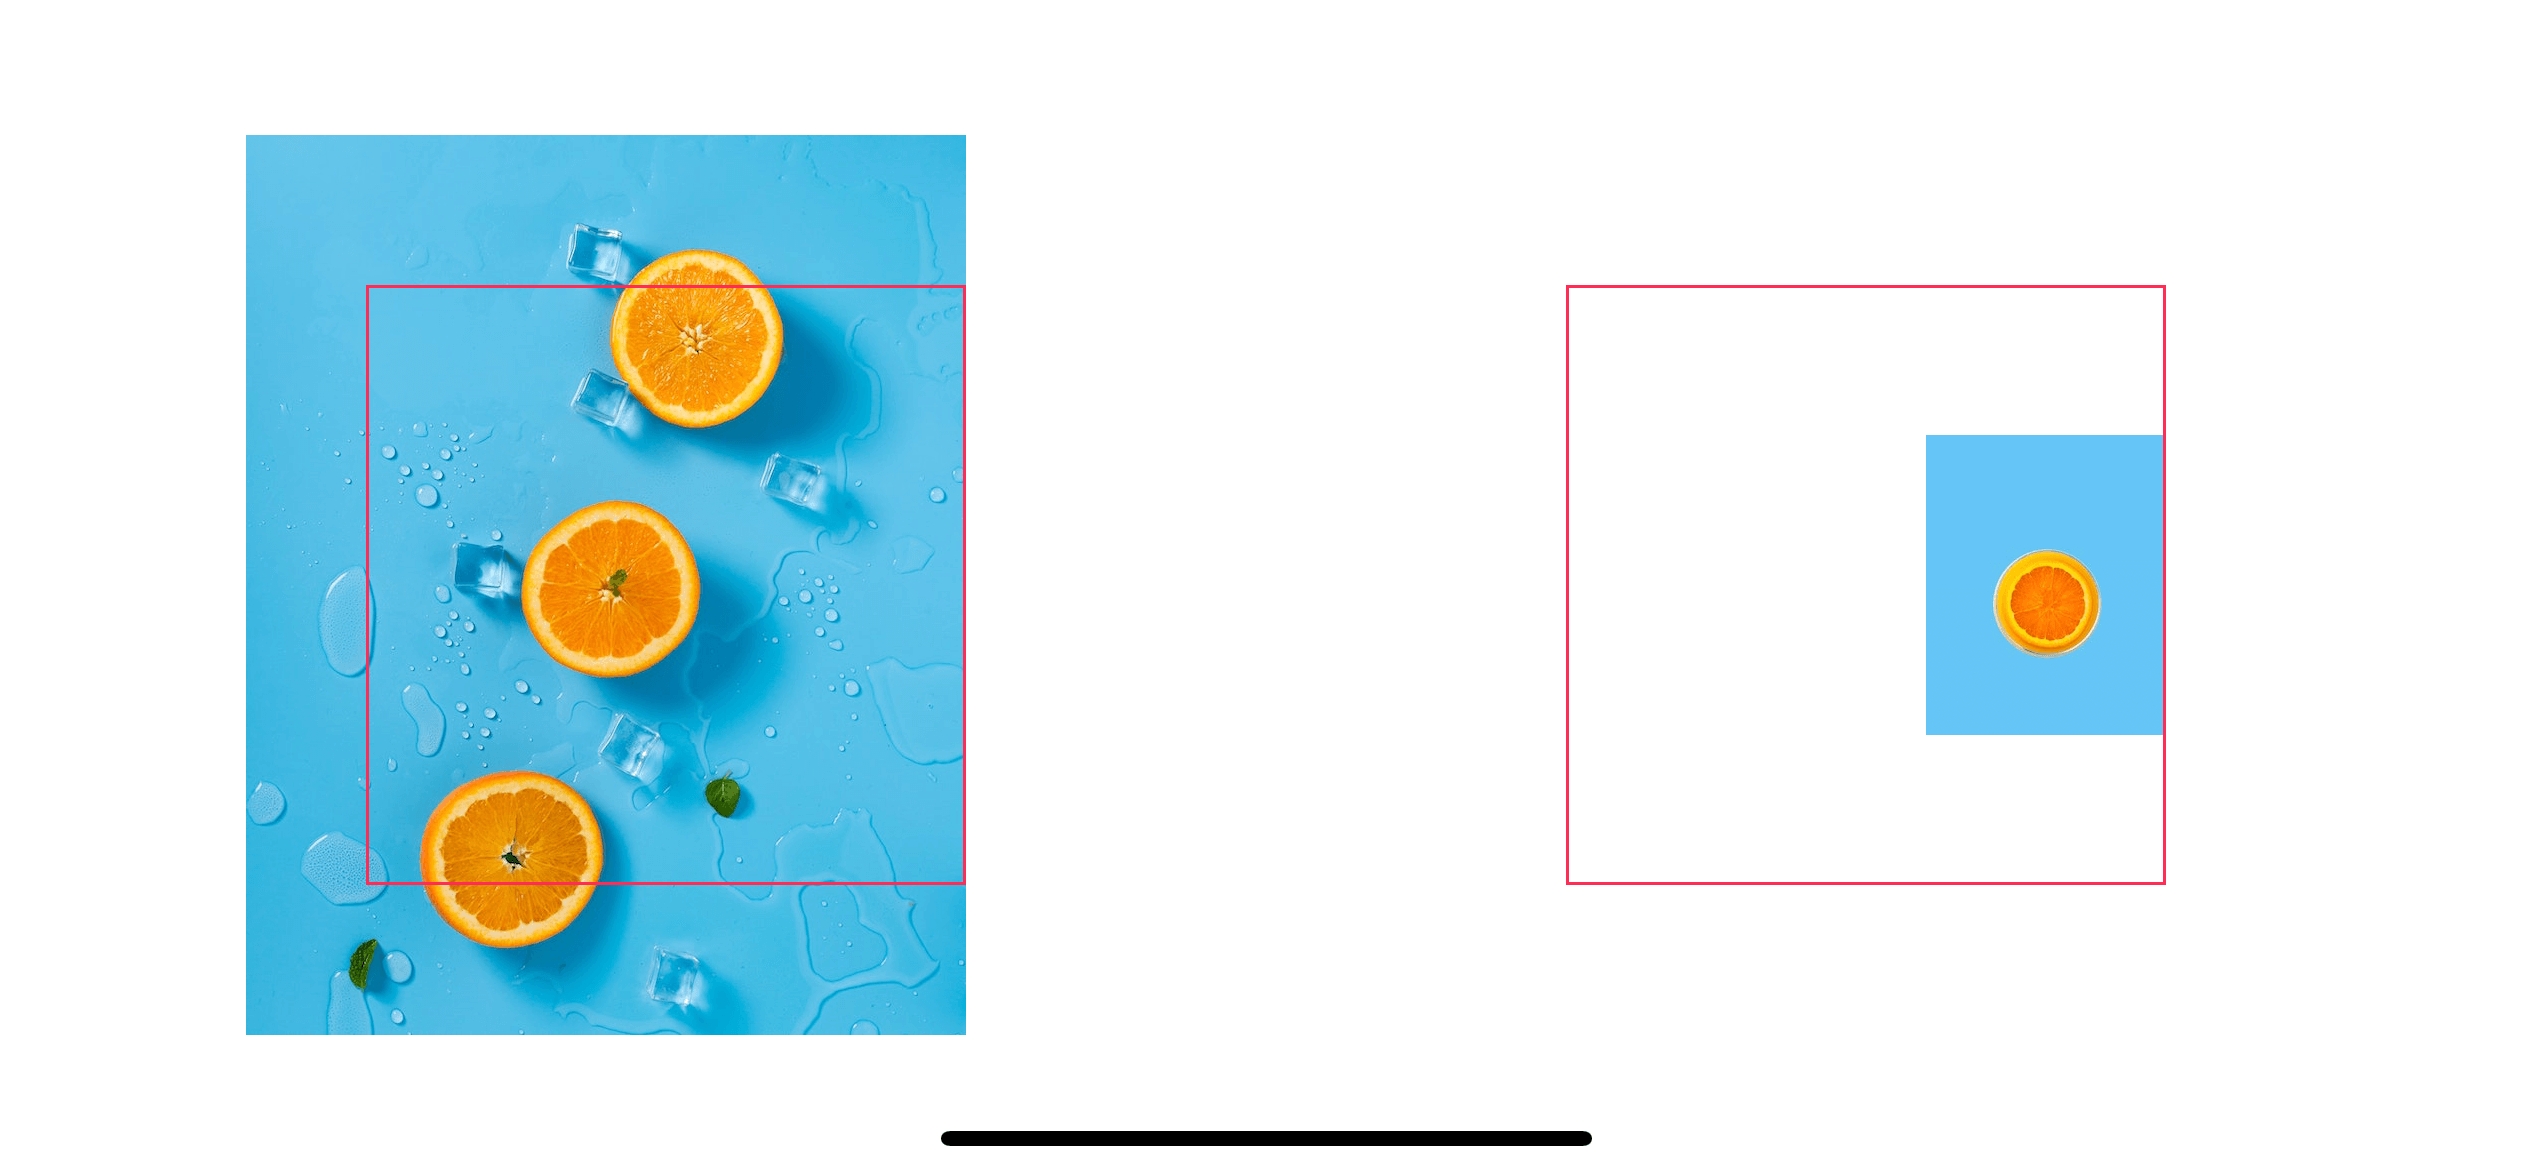
scaleAspectFit
scaleAspectFit scales the content to fit within the image view bounds and maintaining the aspect ratio. This might leave an empty space on one axis.

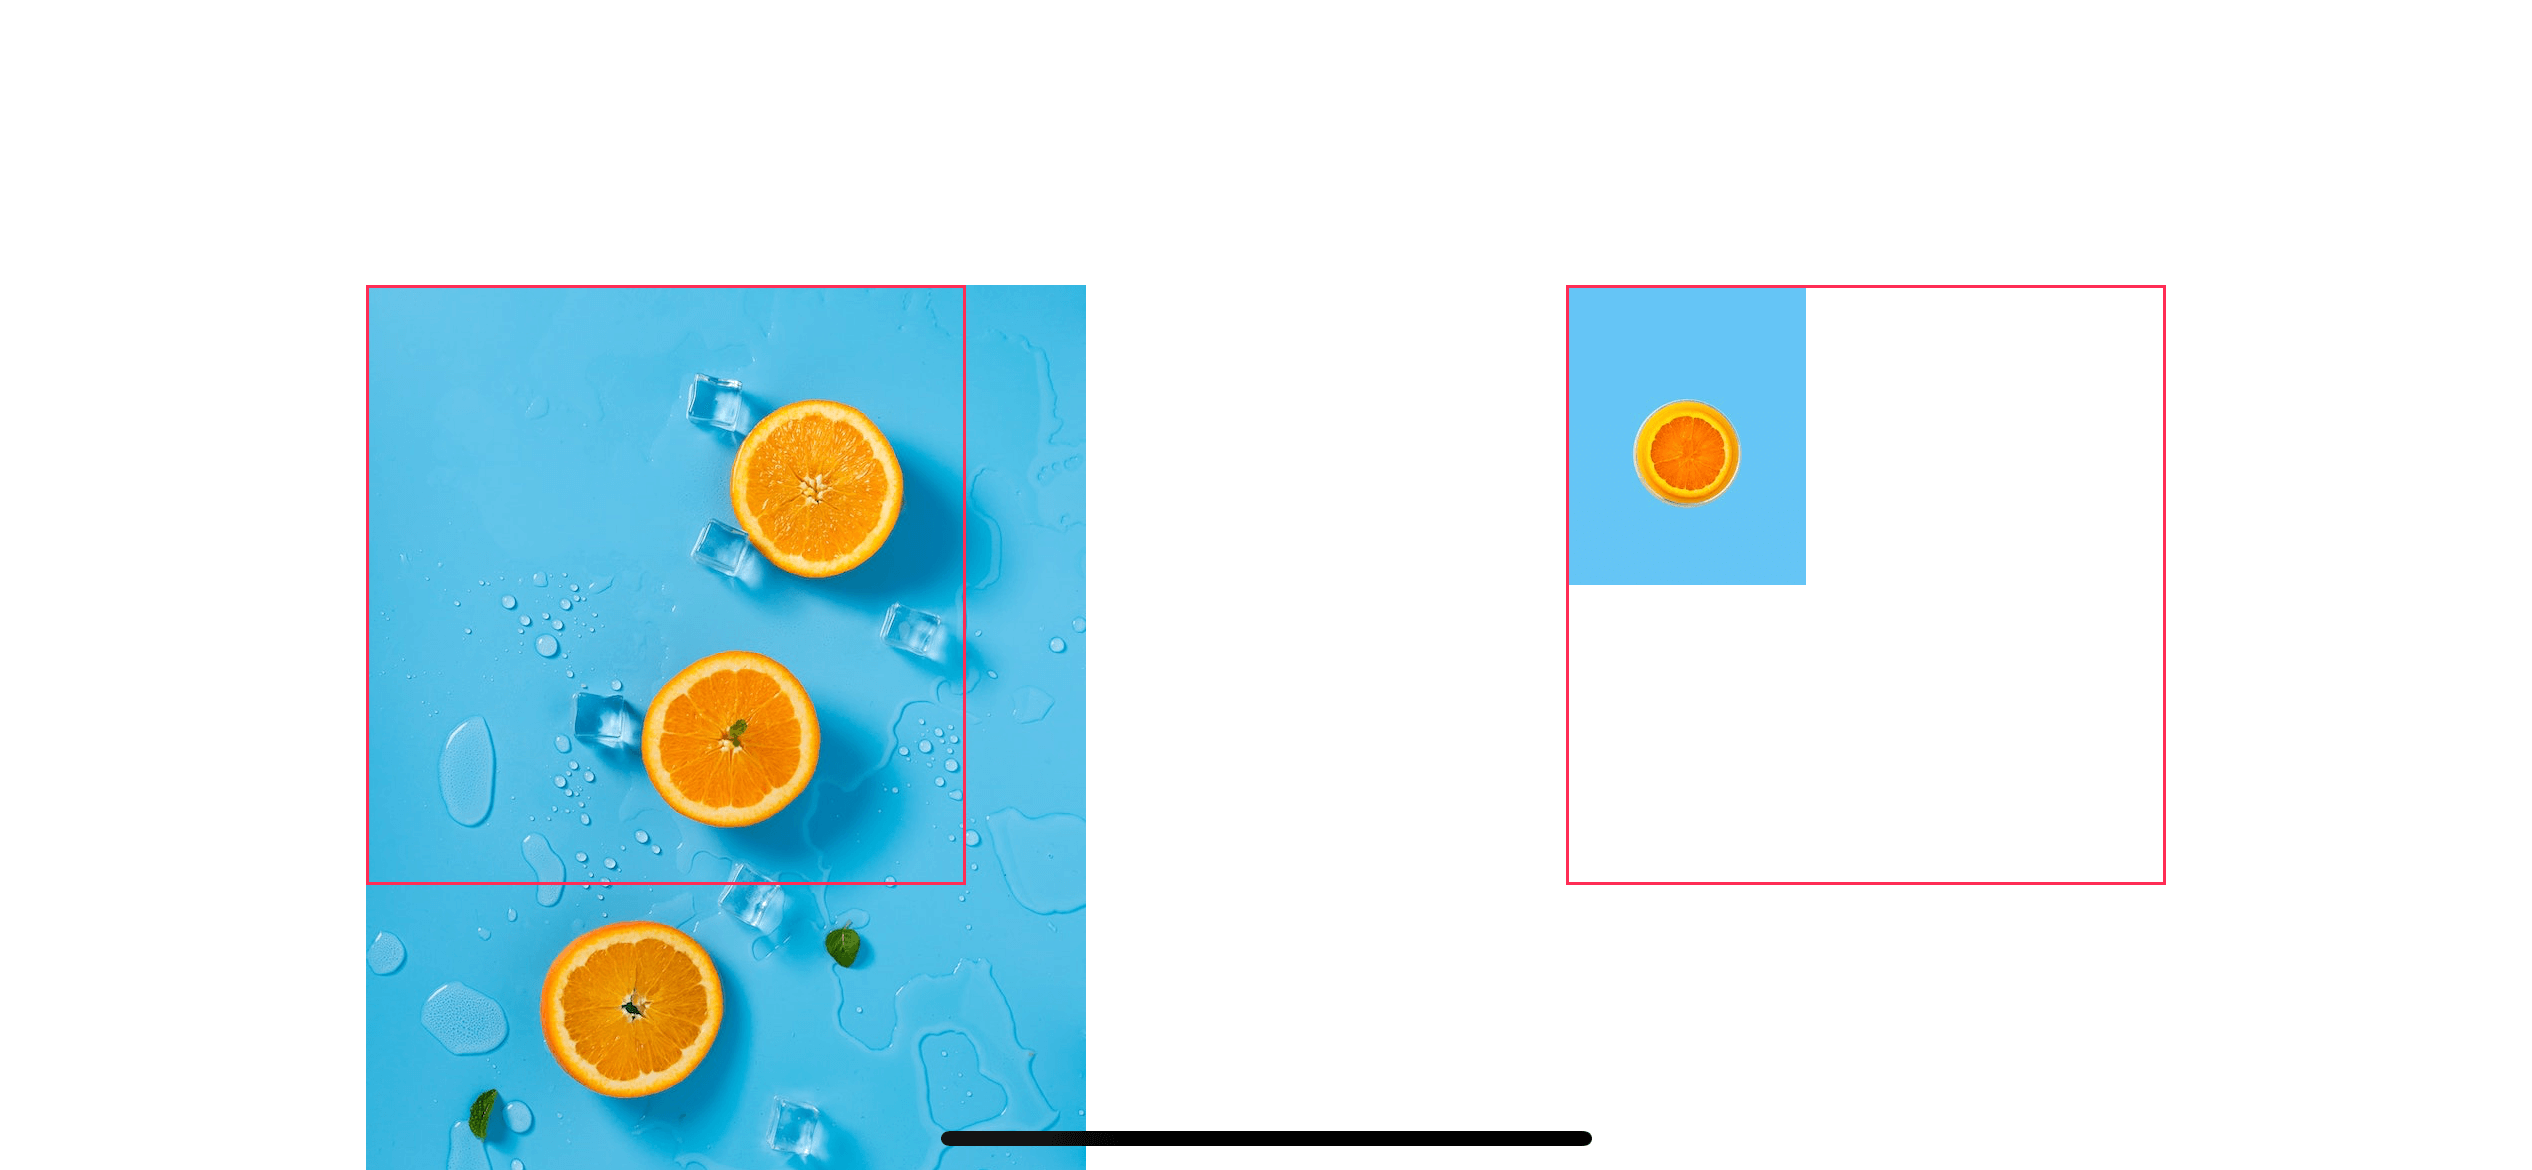
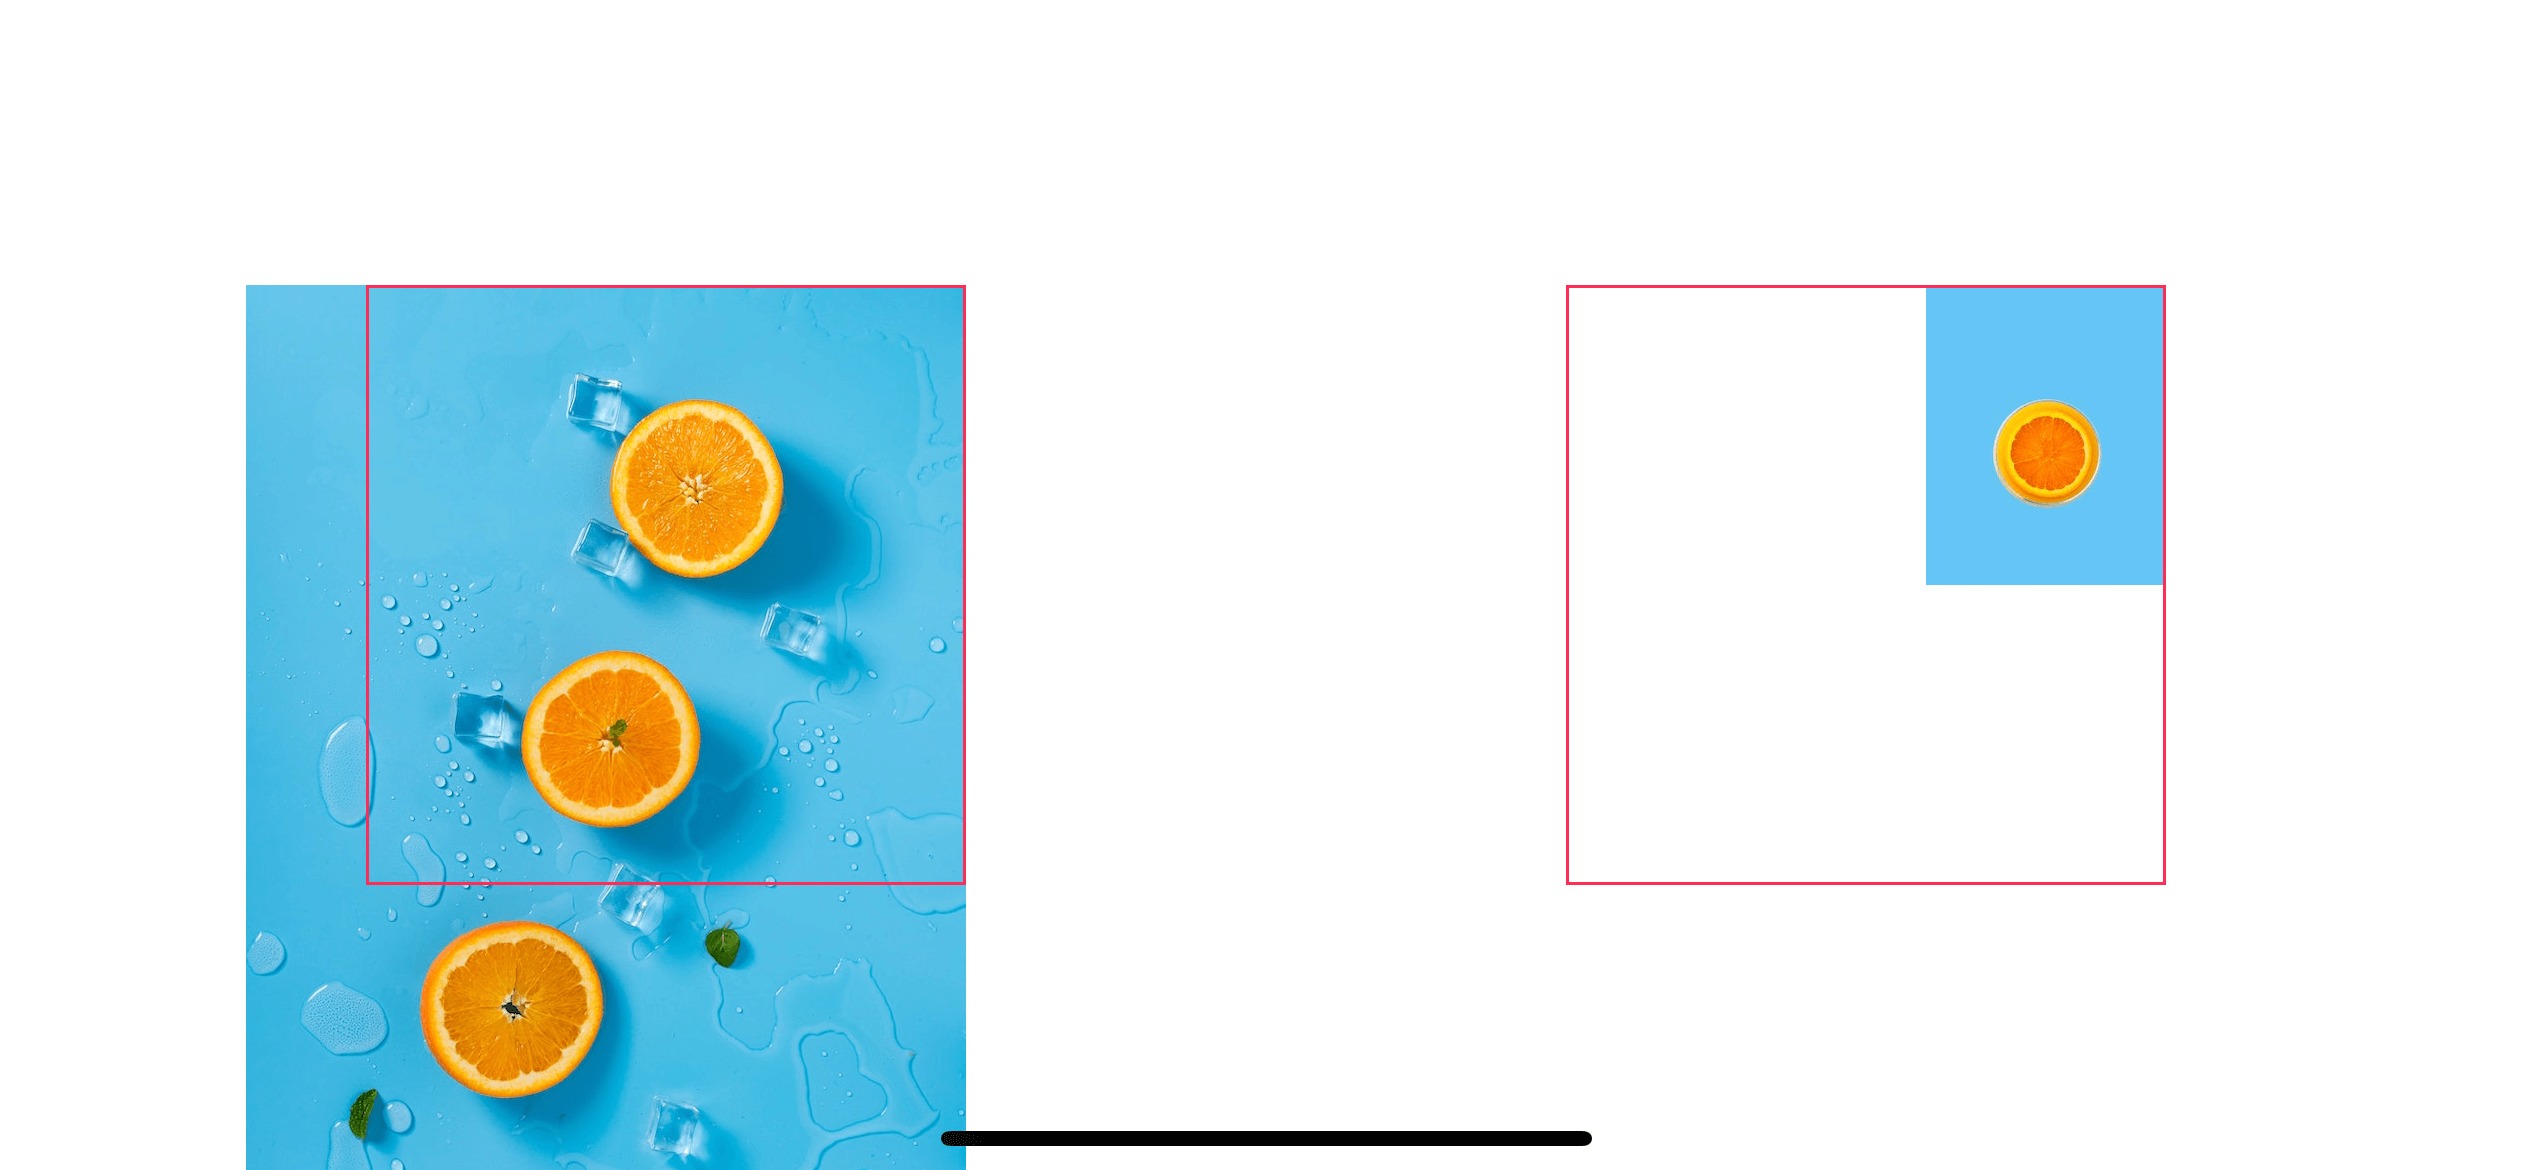
scaleAspectFill
scaleAspectFill scales the content to fill the image view bounds and maintaining the aspect ratio. This might cause some portion of the image to extend beyond the view's bounds.
That's all three modes that support image scaling. I want to highlight here that a smaller image will scale up to fit or fill the view's bounds, which might cause it to appear pixelated.
You can easily support sarunw.com by checking out this sponsor.
Translate your app In 1 click: Simplifies app localization and helps you reach more users.
Positioning
This mode will focus only on an image's position relative to its view's bounds without scaling the image. There are nine modes, each one for each position (nine possible positions).
center

top
bottom
left
right
topLeft
topRight
bottomLeft
bottomRight
Redrawing
This final mode which I didn't talk about, is .redraw. I didn't mention it because it isn't directly related to resizing and positioning the image.
Normally, the system will not redraw a bitmap each time the bounds change (to save processing power). The content mode we are talking about so far specifies how the cached bitmap of the view’s layer is adjusted when the view’s bounds change.
The redraw mode is the only mode that ignores the cache and forces the view to redraw every time by invoking the setNeedsDisplay() method.
Most of the time, you wouldn't want this behavior. The only time when you might want this is when you have a custom draw(_:) which adapt to the bounds.
Clipping
Some content mode can cause an image to excess its view's bounds such as scaleAspectFill, center, and topLeft. You can control whether this excess portion will be clipped to view's bounds or show as is using clipsToBounds property.
Setting clipsToBounds to true causes subviews to be clipped to the bounds of the receiver. If set to false, subviews whose frames extend beyond the visible bounds of the receiver are not clipped.
You can set this value programmatically or via Storyboard.
Programmatically
imageView.clipsToBounds = trueStoryboard
- Click on an image view and go to the Attributes inspector (View menu > Inspectors > Attributes or ⌘ - command + ⌥ - option + 5).
- Check or uncheck Clips to Bounds under the Drawing section.
Results
You can easily support sarunw.com by checking out this sponsor.
Translate your app In 1 click: Simplifies app localization and helps you reach more users.
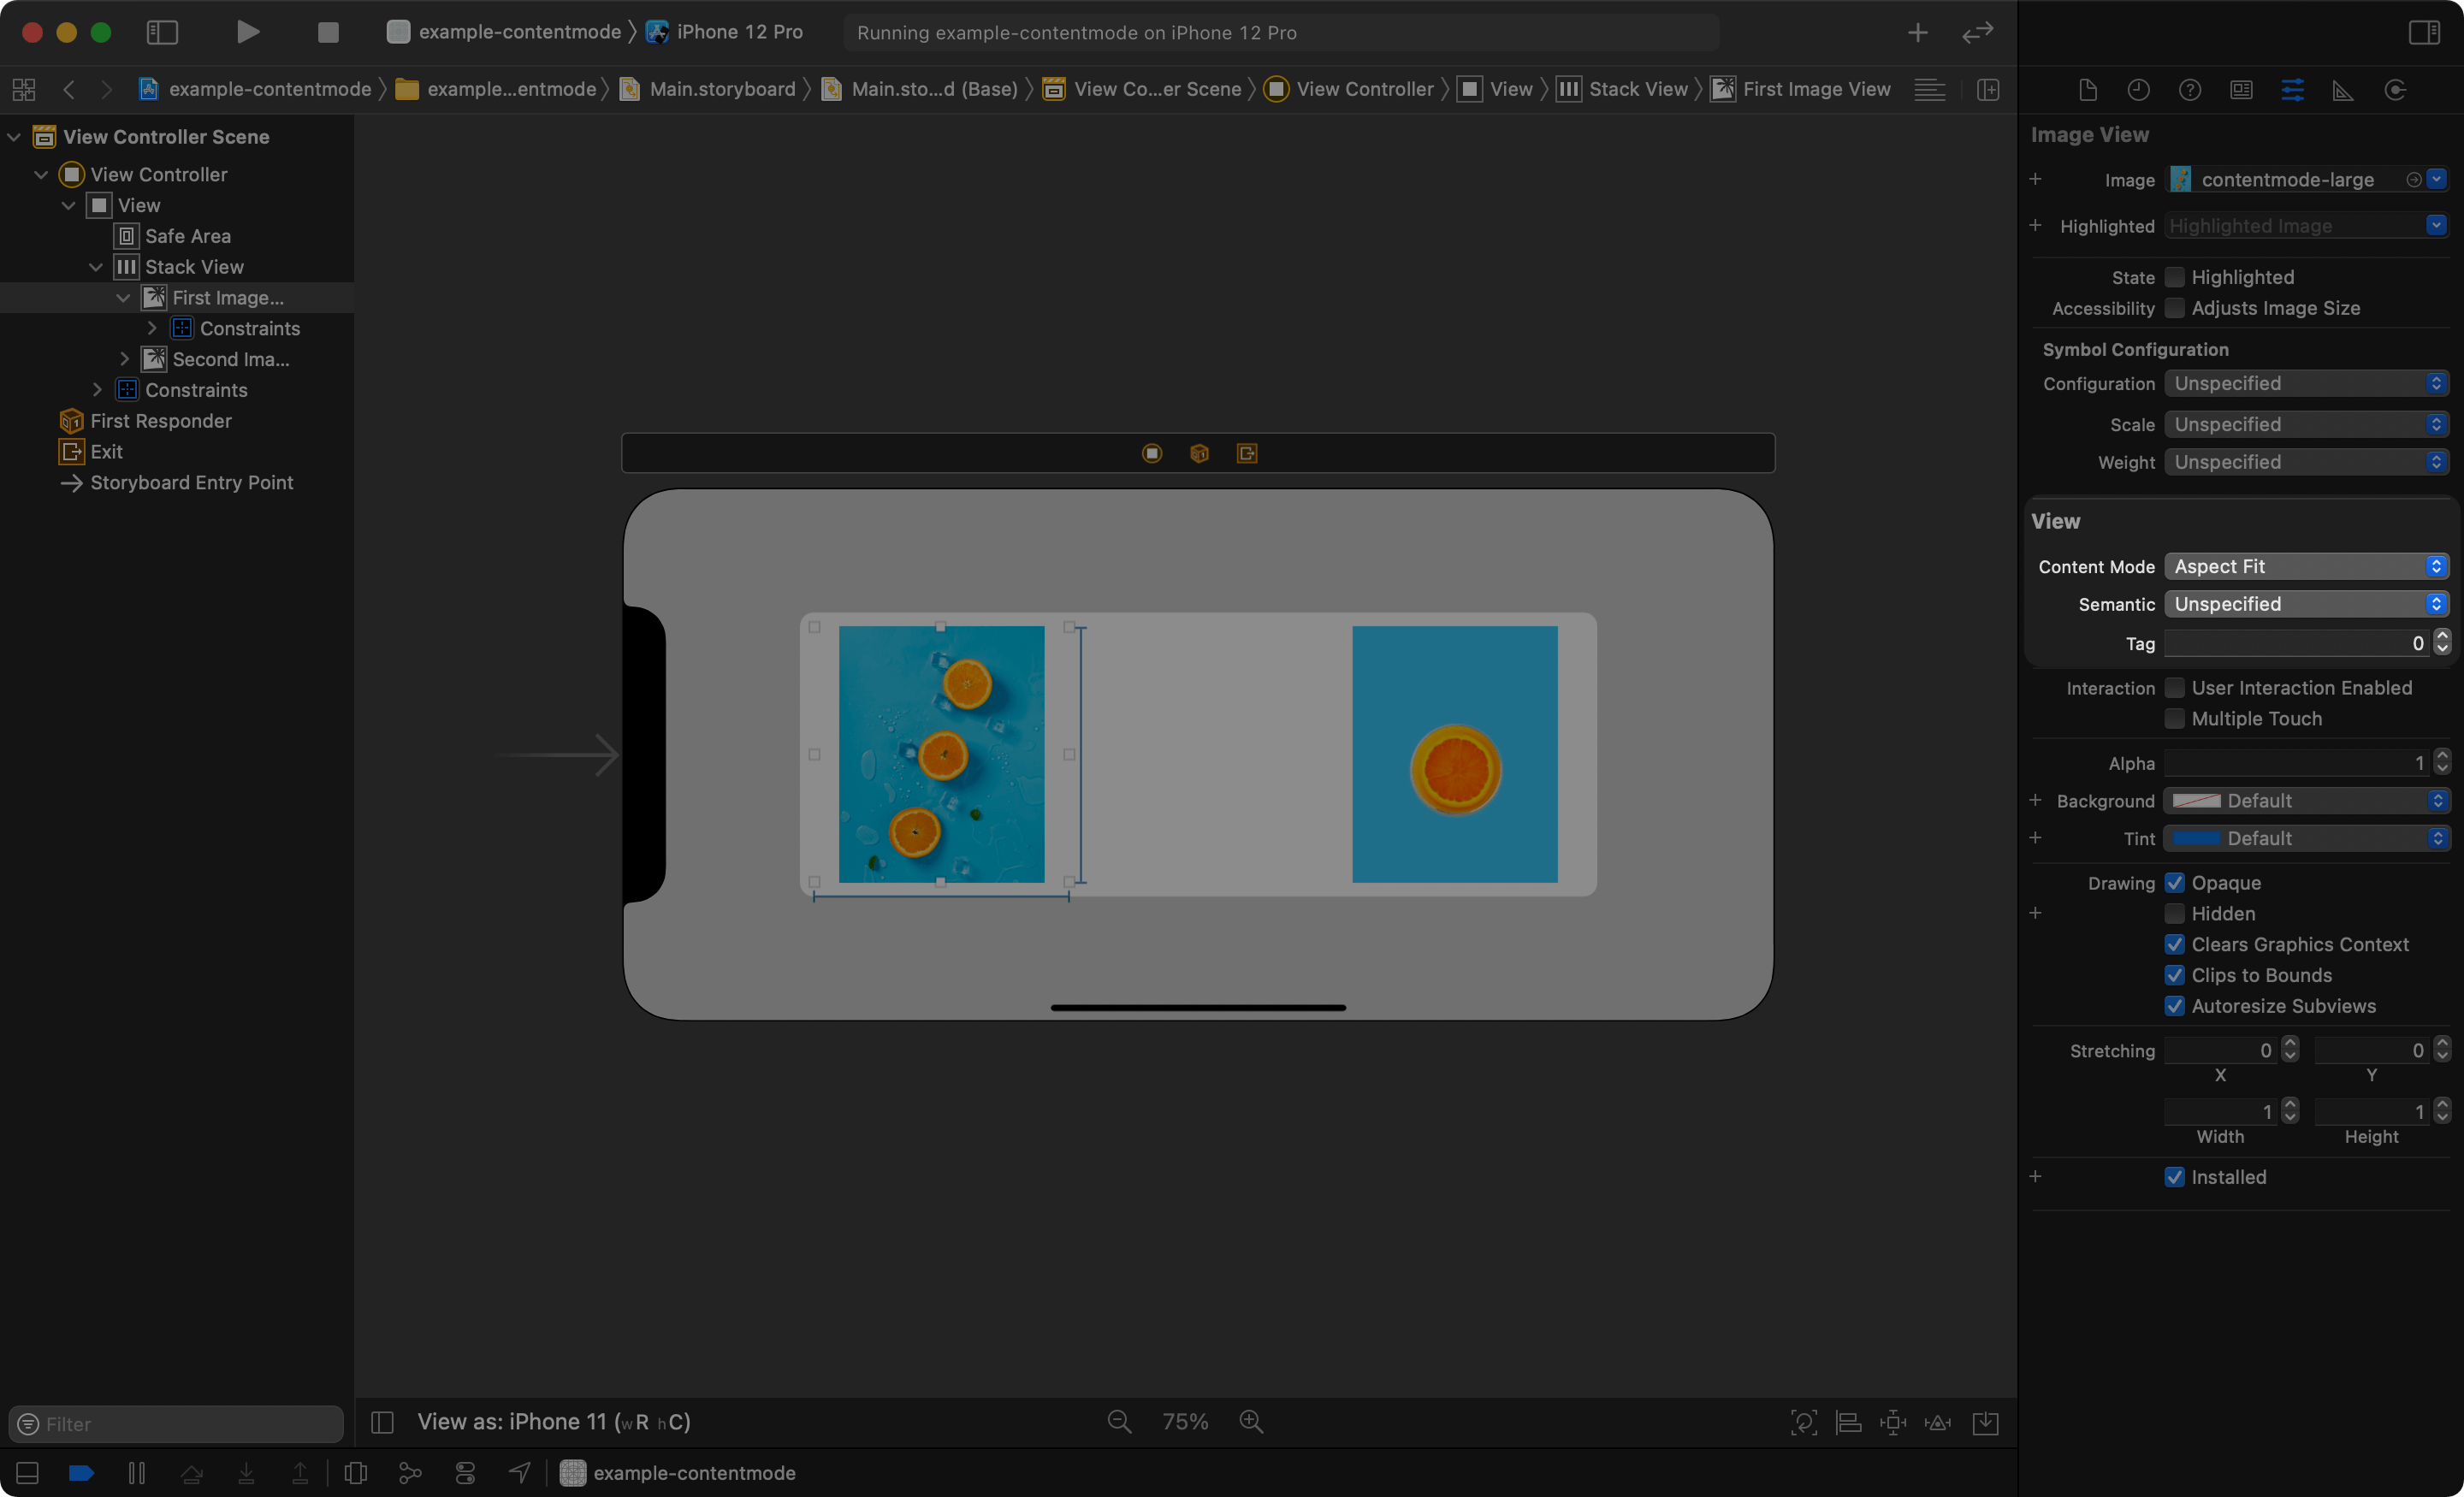
How to set contentMode
You can set contentMode programmatically or via Storyboard.
Programmatically
imageView.contentMode = .scaleAspectFillStoryboard
- Click on an image view and go to the Attributes inspector (View menu > Inspectors > Attributes or ⌘ - command + ⌥ - option + 5).
- Select
contentModefrom Content Mode under View section.
Read more article about UIKit, Image, Resize, or see all available topic
Enjoy the read?
If you enjoy this article, you can subscribe to the weekly newsletter.
Every Friday, you'll get a quick recap of all articles and tips posted on this site. No strings attached. Unsubscribe anytime.
Feel free to follow me on Twitter and ask your questions related to this post. Thanks for reading and see you next time.
If you enjoy my writing, please check out my Patreon https://www.patreon.com/sarunw and become my supporter. Sharing the article is also greatly appreciated.
Become a patron Buy me a coffee Tweet ShareHow to initialize @StateObject with parameters in SwiftUI
@StateObject is an essential property wrapper in SwiftUI, but I found the way to initialize them is not obvious.