Better dependency injection for Storyboards in iOS13
Table of Contents
If you have ever used a Storyboard you know that dependency injection does not work very well with it.
Existing implementation (Pre iOS13)
The only way to set or inject something to view controller is through the func prepare(for segue: UIStoryboardSegue, sender: Any?) method.
func  prepare ( for segue :  UIStoryboardSegue , sender :  Any ?) {
     if  let  viewController  = segue.destination as ? DetailViewController {
        viewController.detail =  "injected detail"
    }
}
The view controller passing along in segue object is already initialized with init?(coder: NSCoder). This implementation causes us some limitations.
Properties must be variable
Constant (let) is not possible since constant must be assigned a value during the initialization period which is out of our control.
This resulting in we have to declare constant with implicitly unwrapped optional (var with !), which might cause confusion whether this property is mean to be changed or not.
Properties need to be public
Since you can't inject anything at initialization time, you have to expose every property you want to be set or modify.
You can easily support sarunw.com by checking out this sponsor.

Translate your app In 1 click: Simplifies app localization and helps you reach more users.
Improvement (iOS13)
With the coming of Xcode 11 (iOS13 and macOOS10.15), we got new Interface Builder attribute, @IBSegueAction. You apply the @IBSegueAction attribute to method declarations in a view controller to dictate that method is responsible for creating segue's destination view controller (destinationViewController of the segue object passed to prepare(for:sender:).
An @IBSegueAction method takes up to three parameters: a coder, the sender, and the segue’s identifier. The first parameter is required, and the other parameters can be omitted from your method’s signature if desired. The NSCoder must be passed through to the destination view controller’s initializer, to ensure it’s customized with values configured in Storyboard. The method returns a view controller that matches the destination controller type defined in the storyboard, or nil to cause a destination controller to be initialized with the standard init(coder:) method. If you know you don’t need to return nil, the return type can be non-optional.
With this new power, we can have a custom initializer with any required values. Let's see some examples.
Example
In Swift, add the @IBSegueAction attribute:
@IBSegueAction
func makeDogController(coder: NSCoder, sender: Any?, segueIdentifier: String?) -> ViewController? {
    PetController(
        coder: coder,
        petName:  self.selectedPetName, type: .dog
    )
}
In Objective-C, add IBSegueAction in front of the return type:
- (IBSegueAction ViewController *)makeDogController:(NSCoder *)coder
               sender:(id)sender
      segueIdentifier:(NSString *)segueIdentifier
{
   return [PetController initWithCoder:coder
                               petName:self.selectedPetName
                                  type:@"dog"];
}
Where does PetController(coder: coder, petName: self.selectedPetName, type: .dog) coming from?
There is no magic here, you have to create your own initializer. Just make sure you called init(coder:) in your initializer.
class PetController: UIViewController {

    let petName: String
    let type: String

    init?(coder: NSCoder, petName: String, type: String) {
        self.petName = petName
        self.type = type

        super.init(coder: coder)
    }

    required init?(coder: NSCoder) {
        fatalError("init(coder:) has not been implemented")
    }
}
Shortened form
Since the only required parameter is the coder: NSCoder you can just create @IBSegueAction like this.
@IBSegueAction
func makeDogController(coder: NSCoder) -> ViewController? {
    PetController(
        coder: coder,
        petName:  self.selectedPetName, type: .dog
    )
}
Binding
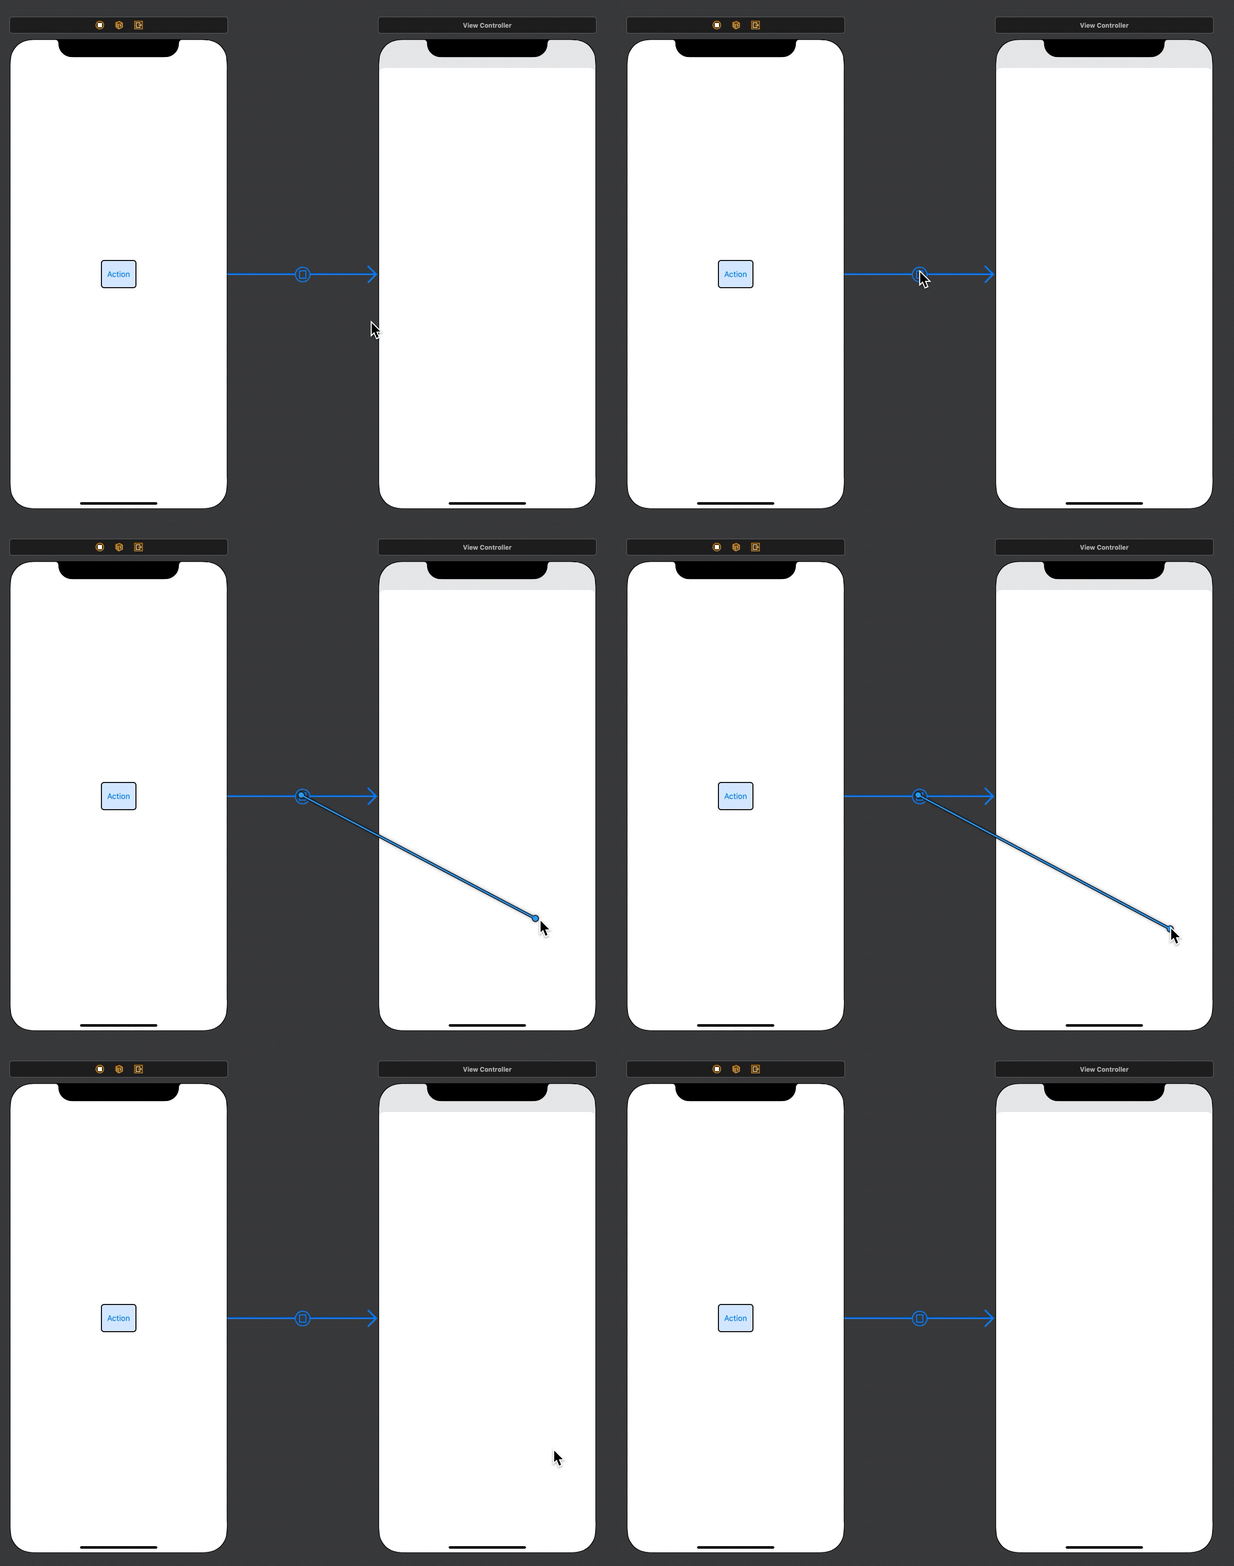
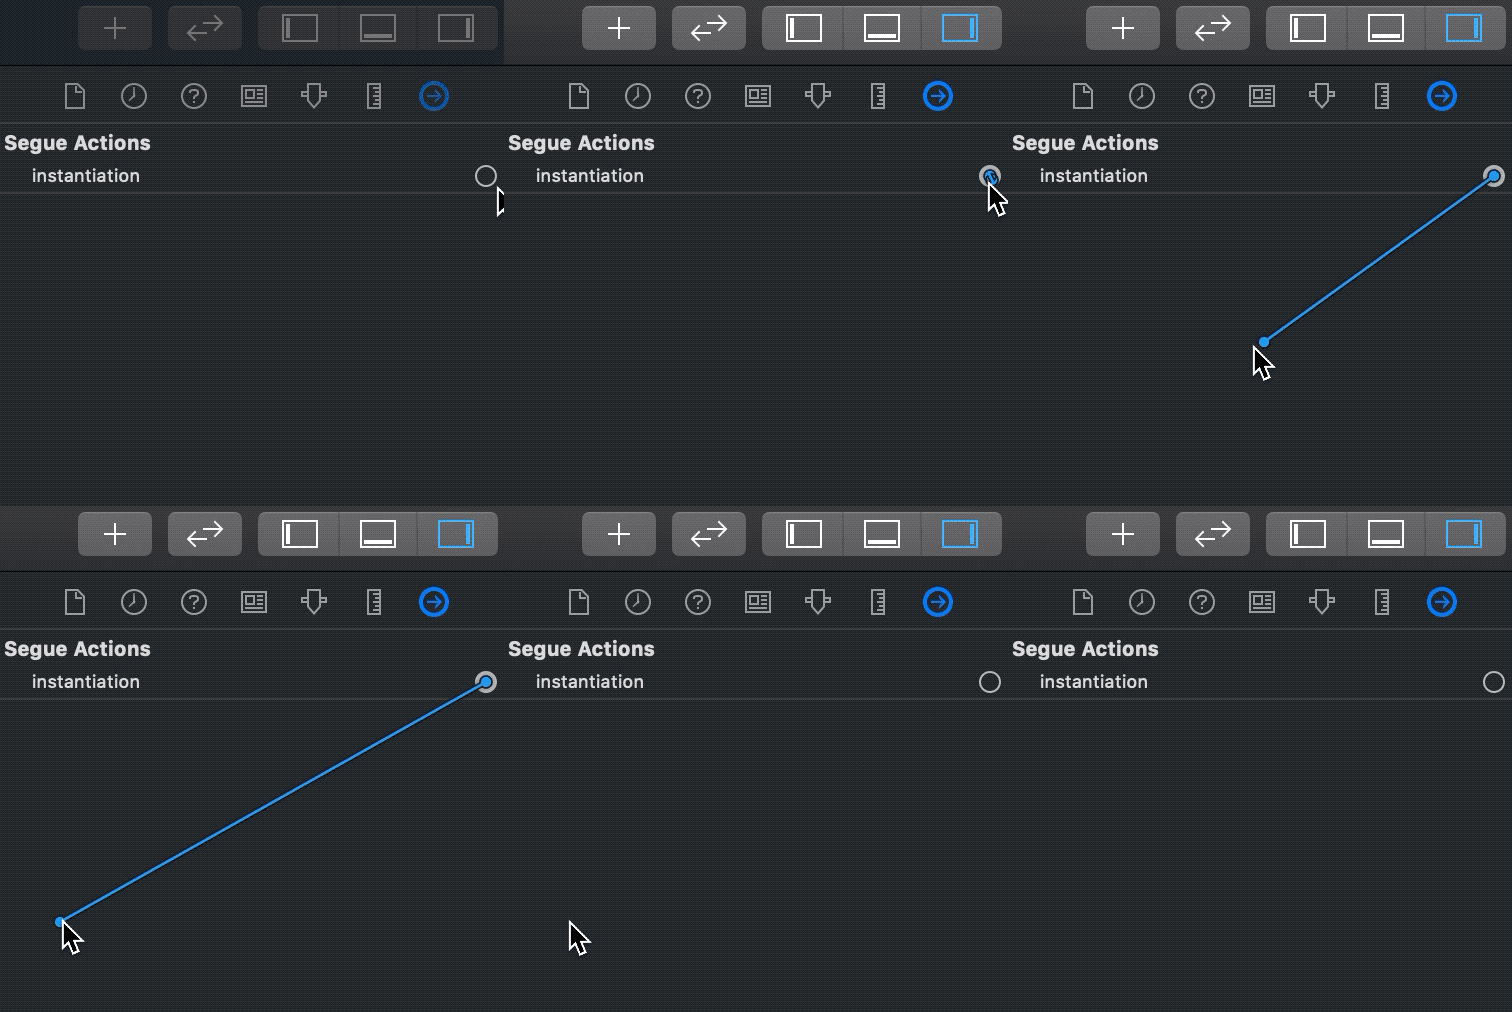
The way we binding segue in Interface Builder with this @IBSegueAction is the same process as other attributes e.g. @IBAction and @IBOutlet. Just control + drag from segue in Interface Builder to the desired method.
Let's see it in action.
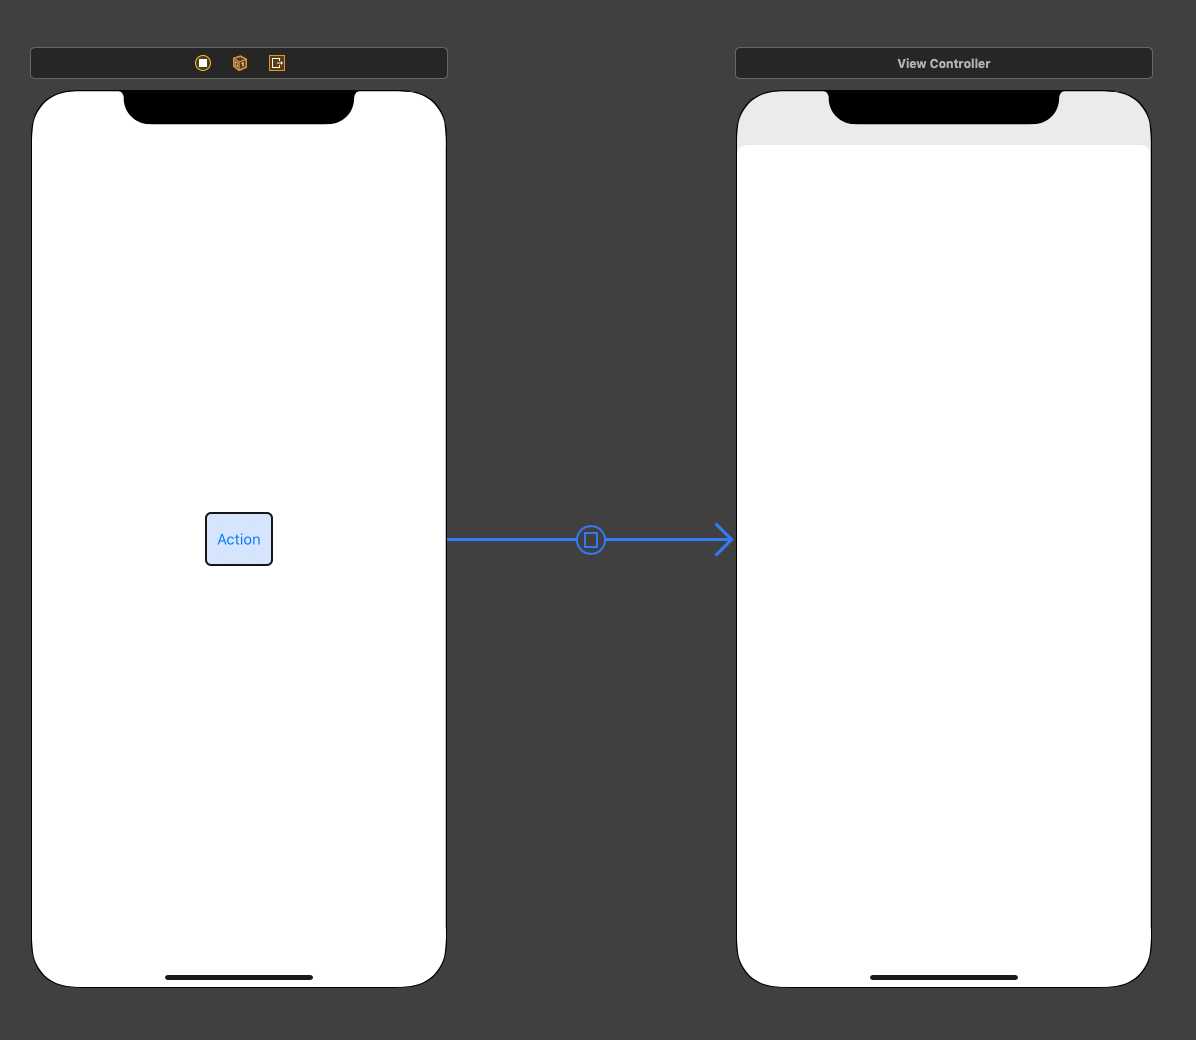
- Create action segue between 2 view controllers like you always did

- There are 2 ways to bind this segue to code.
2.1 Click on created segue and control + drag to an existing @IBSegueAction method or empty space to create a new one.

2.2 Click on created segue then goes to Connections inspector and drag from instantiation segue action.

Initialize Storyboard-back view controller in code
Apple also adds 2 pair of UIStoryboard methods to create a view controller with custom initializer.
instantiateInitialViewController(creator:)
func instantiateInitialViewController<ViewController>(creator: ((NSCoder) -> ViewController?)? = nil) -> ViewController? where ViewController : UIViewControllerand
instantiateViewController(identifier:creator:)
func instantiateViewController<ViewController>(identifier: String, creator: ((NSCoder) -> ViewController?)? = nil) -> ViewController where ViewController : UIViewControllerUsing it like this.
let storyboard = UIStoryboard(name: "Main", bundle: nil)
        storyboard.instantiateInitialViewController { (coder) -> ViewController? in
            return PetController(
                coder: coder,
                petName:  self.selectedPetName, type: .dog
            )
        }

        storyboard.instantiateViewController(identifier: "Test") { (coder) -> ViewController? in
            return PetController(
                coder: coder,
                petName:  self.selectedPetName, type: .dog
            )
        }
Limitations
You can use this on any action segues e.g. show, show detail, and present modally including embed segue, but not on relationship segue like navigation controller root view. Not sure whether this is a bug or by design.
Update:
You can use @IBSegueAction with relationship segue by binding relationship segue to a presentation view controller (The view controller that presented navigation controller).
It only works on iOS13 and macOS10.15, no backward compatibility for older OS.
Conclusion
This is a welcome change for Storyboard users. It makes a view controller designed to use with Storyboard more reasonable and semantically correct.
You can easily support sarunw.com by checking out this sponsor.

Translate your app In 1 click: Simplifies app localization and helps you reach more users.
References
Read more article about Xcode, iOS, Interface Builder, IBSegueAction, Storyboard, or see all available topic
Enjoy the read?
If you enjoy this article, you can subscribe to the weekly newsletter.
Every Friday, you'll get a quick recap of all articles and tips posted on this site. No strings attached. Unsubscribe anytime.
Feel free to follow me on Twitter and ask your questions related to this post. Thanks for reading and see you next time.
If you enjoy my writing, please check out my Patreon https://www.patreon.com/sarunw and become my supporter. Sharing the article is also greatly appreciated.
Become a patron Buy me a coffee Tweet ShareUISplitViewController in SwiftUI
WWDC session shows us a way to create UISplitViewController with NavigationView in SwiftUI. It finally works in Xcode 11 Beta 3.