How to Hide Toolbar on Scroll in iOS
Table of Contents
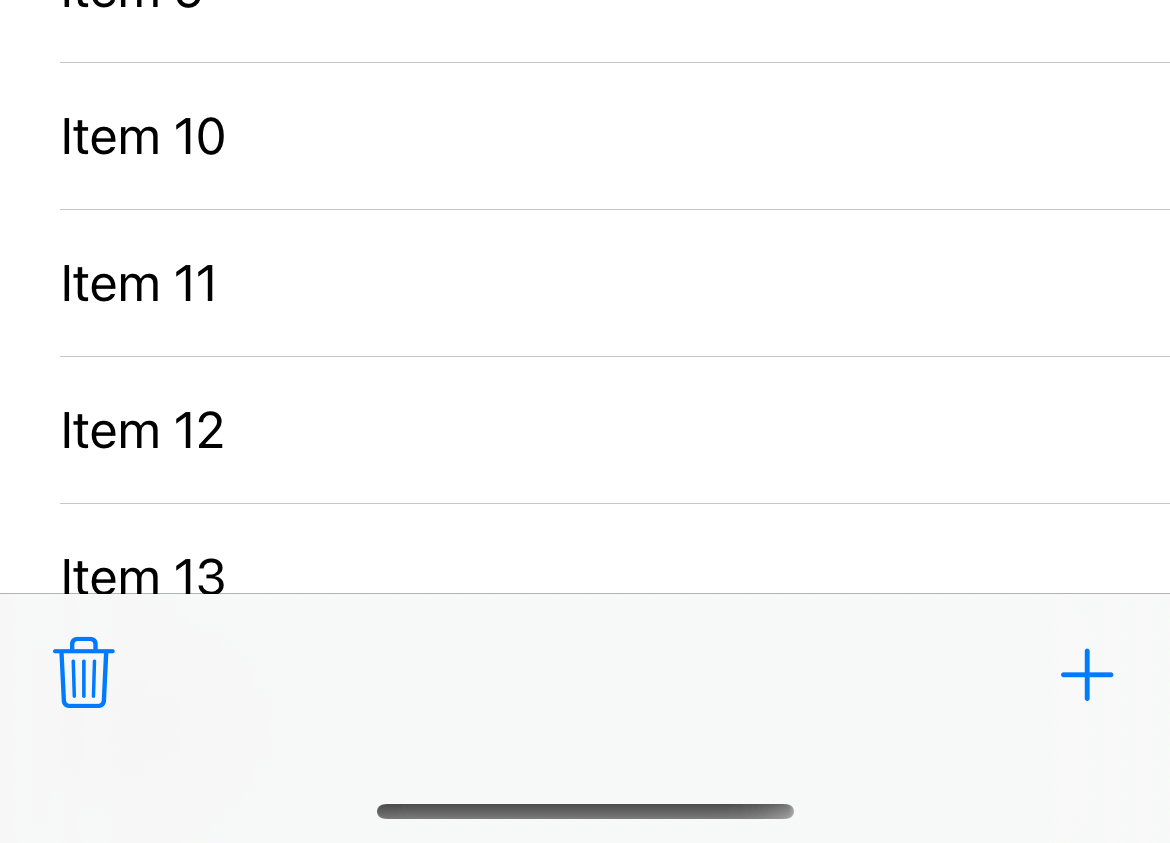
By default, a toolbar in UINavigationController will always be visible at the bottom of the screen.
Since iOS 8, UINavigationController expose a property, hidesBarsOnSwipe, that can hide a toolbar when users scrolling.
Why do we need to Hide a toolbar on scrolling
You probably need to hide a toolbar if you want to utilize screen resources as much as possible.
This might suit an app that main focus is to consume content.
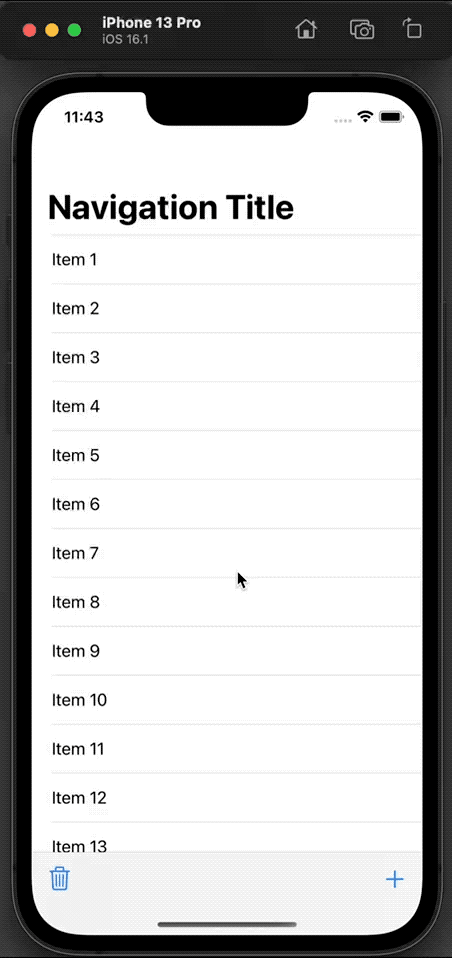
Here is how it looks in action.
You can easily support sarunw.com by checking out this sponsor.
Localization Buddy: Easiest way to localize and update App Store metadata.
How to Hide Toolbar on Scroll in UIKit
To make a toolbar show and hide according to the scrolling, we set the hidesBarsOnSwipe property to true.
Setting this value to true will enable these two behaviors.
- Hides the toolbar when users scroll down.
- When users try to go back up, the toolbar will reappear.
You set this value on a UINavigationController instance.
let nav = UINavigationController(rootViewController: MyViewController())
nav.hidesBarsOnSwipe = true
You can also set this value from within a view controller by reference to navigationController.
override func viewDidLoad() {
    super.viewDidLoad()

    navigationController?.hidesBarsOnSwipe = true
}
Since it is a navigation controller's property, setting it to true will enable the behavior on any view controller under the navigation controller.
So, make sure you set it back to false if you want to enable this behavior on a specific view.
navigationController?.hidesBarsOnSwipe = falseRead more article about UIKit, Toolbar, or see all available topic
Enjoy the read?
If you enjoy this article, you can subscribe to the weekly newsletter.
Every Friday, you'll get a quick recap of all articles and tips posted on this site. No strings attached. Unsubscribe anytime.
Feel free to follow me on Twitter and ask your questions related to this post. Thanks for reading and see you next time.
If you enjoy my writing, please check out my Patreon https://www.patreon.com/sarunw and become my supporter. Sharing the article is also greatly appreciated.
Become a patron Buy me a coffee Tweet ShareHow to remove the First row separator in SwiftUI List
Learn how to remove the topmost separator in any List view.
What are Character and Run in AttributedString
Learn about the two important views in AttributedString, characters, and run.