How to add a unit test target to a Tuist project
Table of Contents
In my last post on Getting Started with Tuist, we create a barebone Xcode project with no test target. But everyone in the iOS community adopts Test-driven development (TDD), and we won't write a single line of code until we have a test for that, so that is what we are going to do in this article (No, not writing a test, we will add a test target).
We will see how hard (or easy) it is to add a new unit testing bundle target to your Xcode project with Tuist.
Example Project
I will start the project with the following manifest and file structures. If you are not familiar with Tuist, I encourage you to visit my last post, Getting Started with Tuist.
Project.swift
import ProjectDescription

let project = Project(
    name: "MyApp",
    targets: [
        Target(
            name: "MyApp",
            platform: .iOS,
            product: .app,
            bundleId: "com.sarunw.myapp",
            infoPlist: .extendingDefault(
                with: [
                    "UILaunchScreen": [:]
                ]
            ),
            sources: [
                "Sources/**"
            ]
        )
    ]
)
MainApp.swift
import SwiftUI

@main
struct MainApp: App {
    var body: some Scene {
        WindowGroup {
            ContentView()
        }
    }
}
ContentView
import SwiftUI

struct ContentView: View {
    var body: some View {
        Text("Hello, world!")
            .padding()
    }
}

struct ContentView_Previews: PreviewProvider {
    static var previews: some View {
        ContentView()
    }
}
File structure:
Sources
  - ContentView.swift
  - MainApp.swift
Project.swift
Run tuist generate and make sure everything is running. Now that we have a working Xcode project let's add a new unit test bundle target.
You can easily support sarunw.com by checking out this sponsor.
Offline Transcription: Fast, privacy-focus way to transcribe audio, video, and podcast files. No data leaves your Mac.
How to add a new test target with Xcode
The typical way of doing this in Xcode is something like this:
- Click on the project.
- Click + to add a new target.
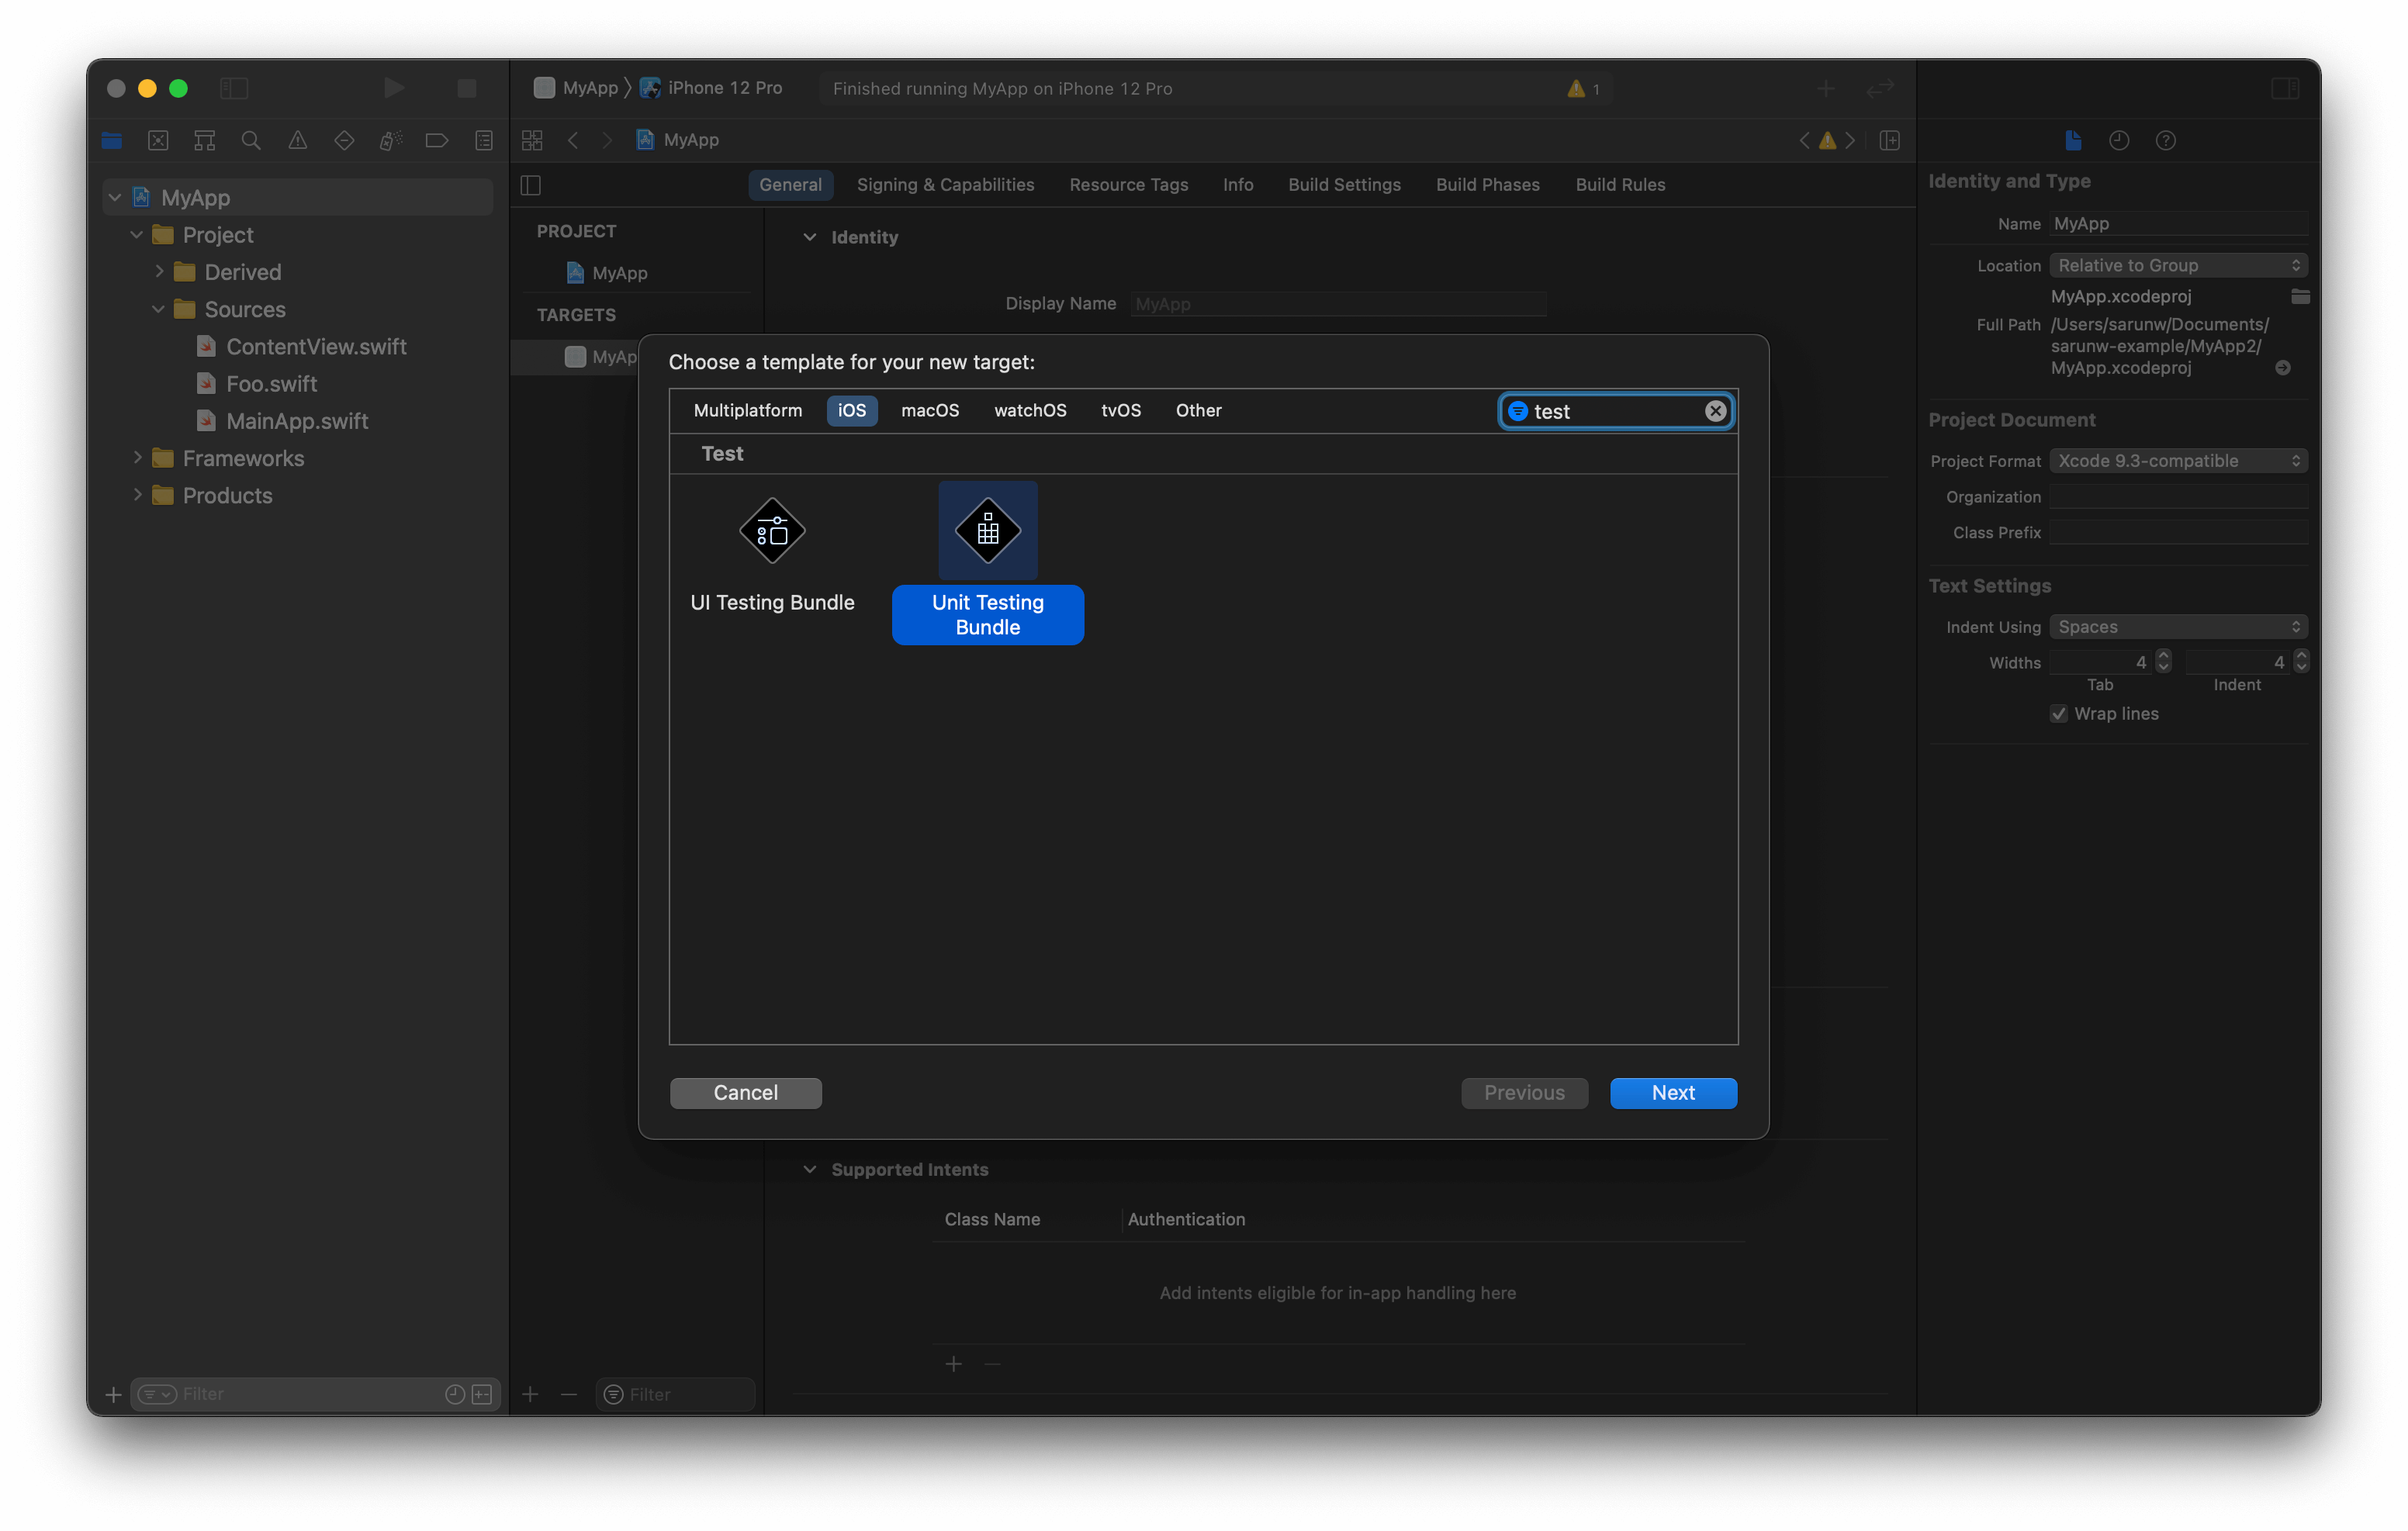
- Select Unit Testing Bundle, the click Next.
![]()
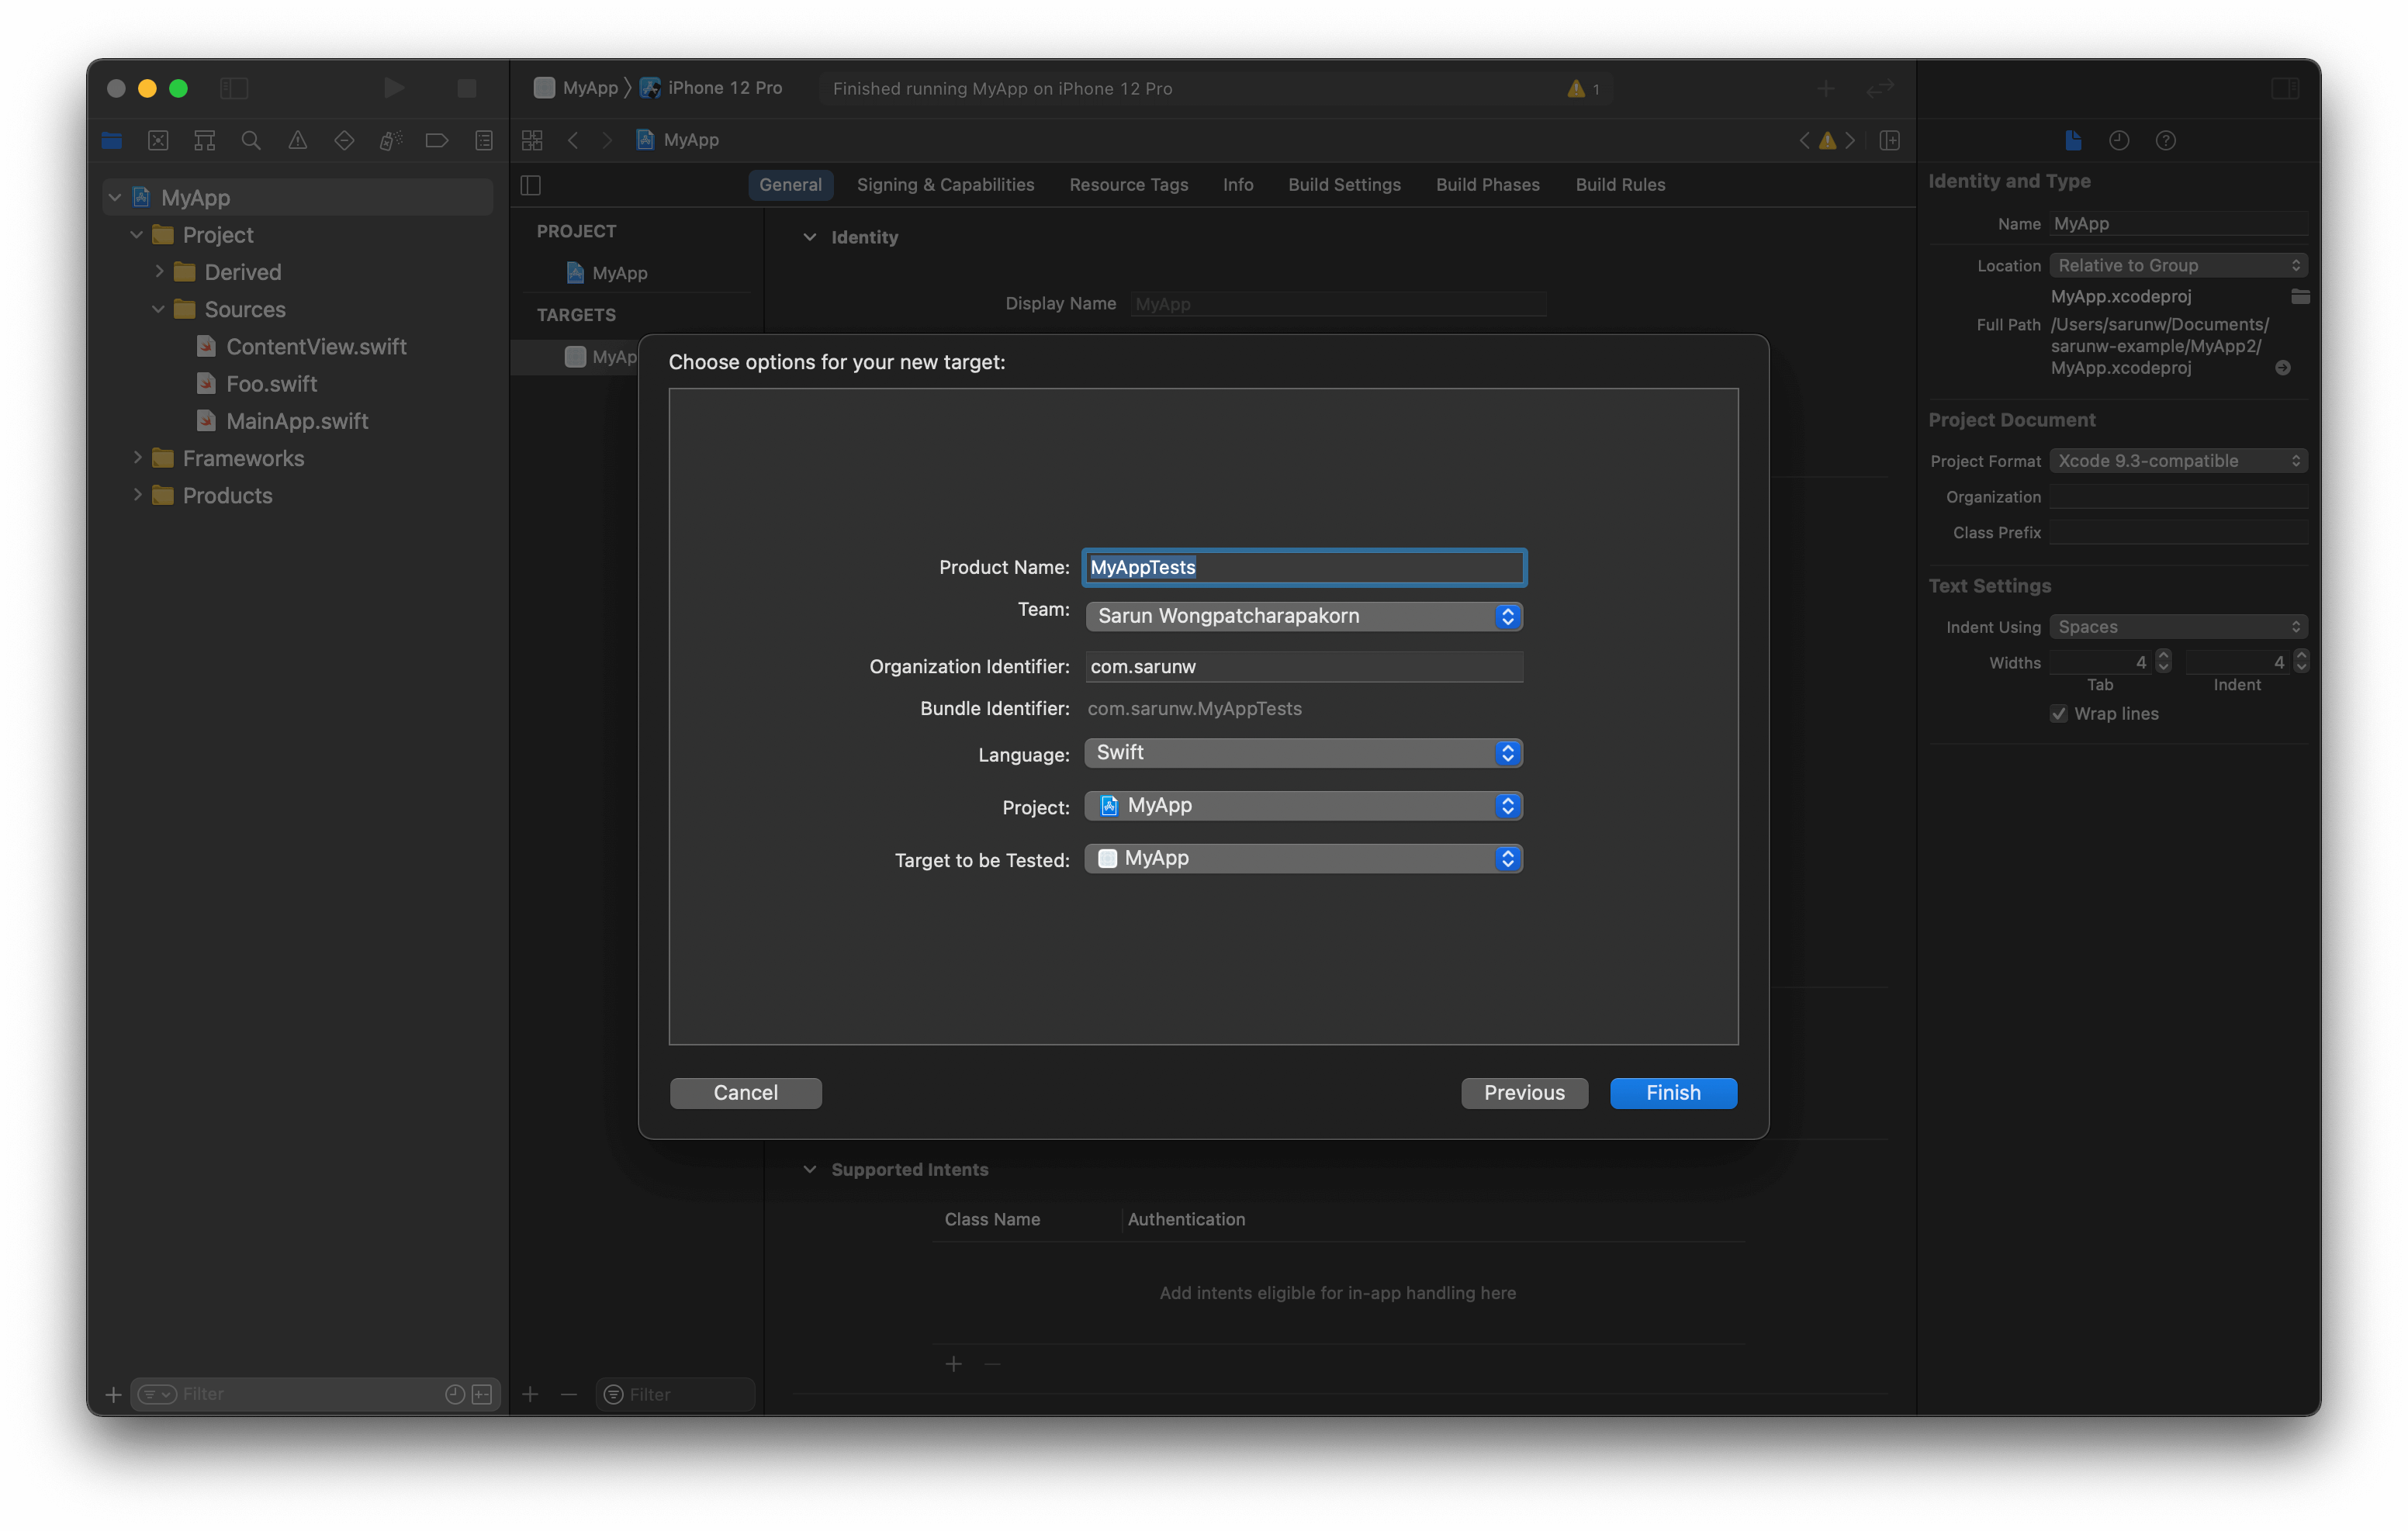
- We put Product Name, Bundle Identifier, Project, and Target to be Tested. Then click Finish.
![]()
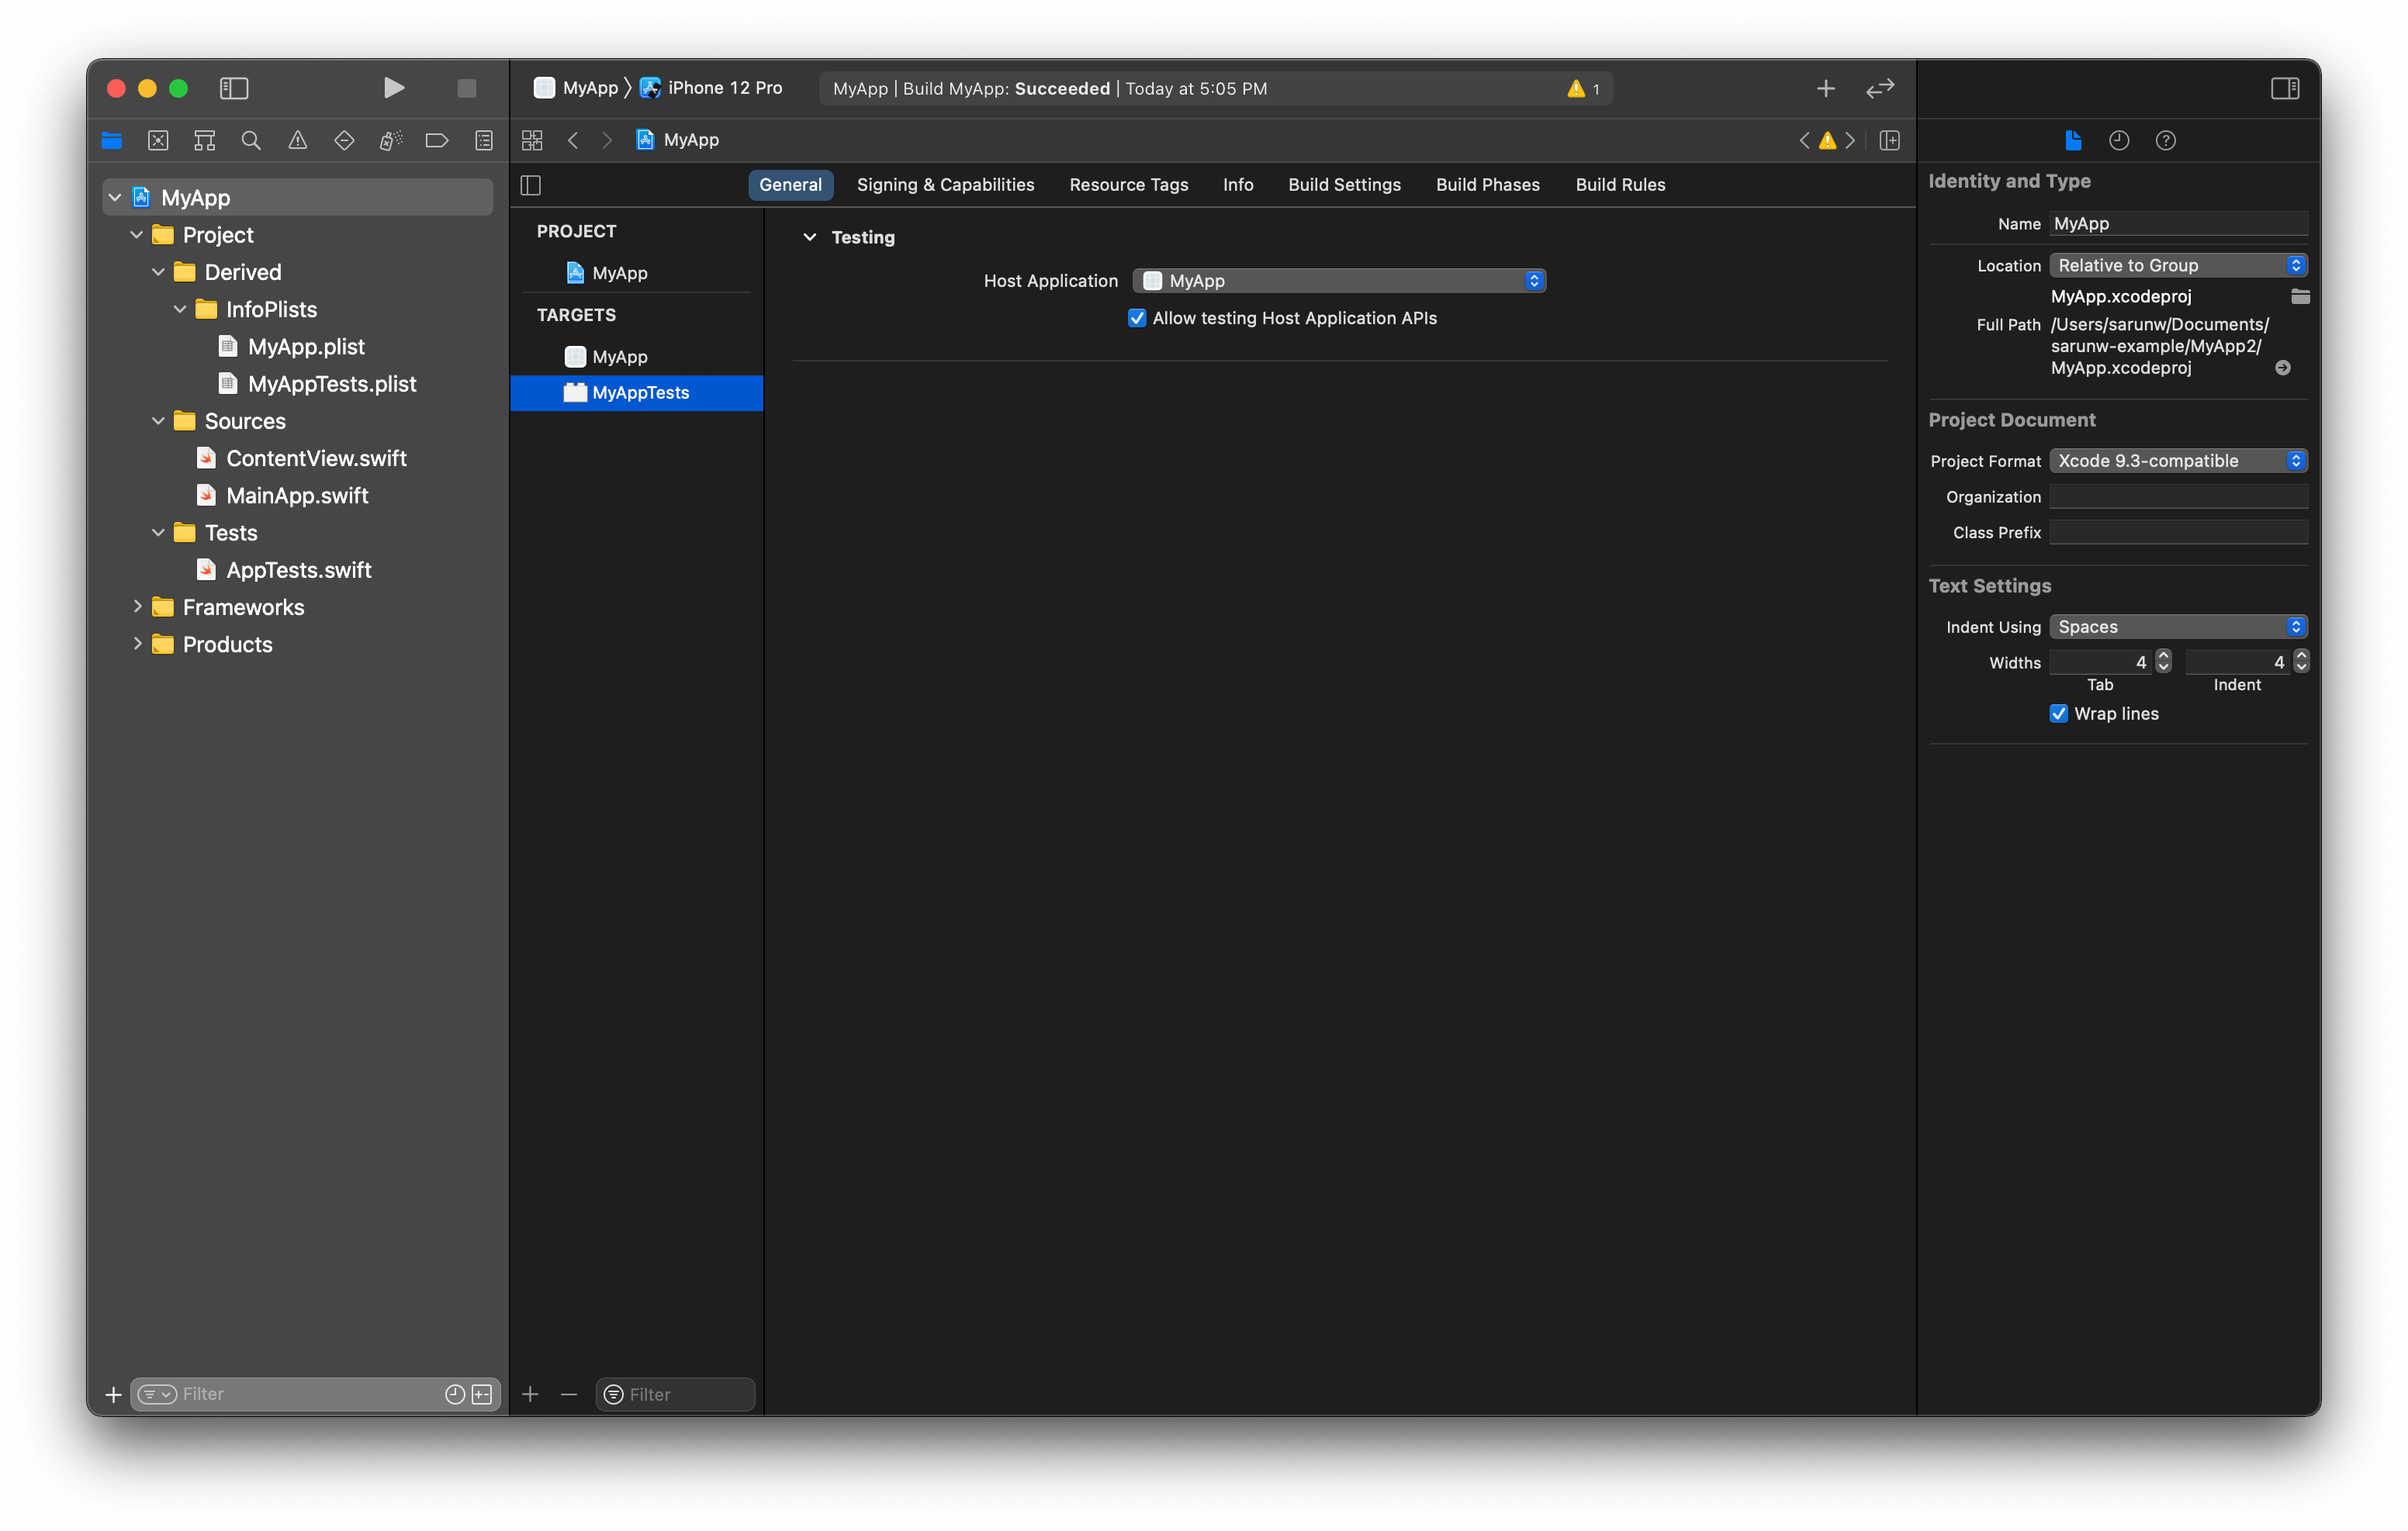
That's all we need to do to create a new test target in Xcode. Believe it or not, to do this in Tuist is just as easy.
How to add a new test target with Tuist
Like we always do when we want to manipulate our project, we open up Project.swift with the tuist edit command.
The Project accept an array of Target (targets). Adding a new test target to Project.swift is just a matter of adding new Target to this array.
Here is how our test target object look like.
Target(
    name: "MyAppTests", // <1>
    platform: .iOS, // <2>
    product: .unitTests, // <3>
    bundleId: "com.sarunw.myappTests", // <4>
    infoPlist: .default, // <5>
    sources: [
        "Tests/**" // <6>
    ],
    dependencies: [
        .target(name: "MyApp") // <7>
    ]
)
<1> This can be anything, but we name it like the when Xcode create a test target for us, which is \(name)Tests.
<2> We use the same platform as our project.
<3> product is .unitTests in this case.
<4> We use the same convention as the Xcode by suffix the main bundle with Tests.
<5> We don't need to customize anything in info plist, so we use Tuist's default info plist here.
<6> We keep all the tests in a separate directory, Tests, which we will create later.
<7> This is how we declare dependencies in Tuist. Just like when we put our Target to be test in Xcode. We put our main app as a target (.target) dependency for our test target.
As you can see, declaring a new test target resembles what we usually do in Xcode. Next, we update our Project.swift with the new target.
import ProjectDescription

let project = Project(
    name: "MyApp",
    targets: [
        Target(
            name: "MyApp",
            platform: .iOS,
            product: .app,
            bundleId: "com.sarunw.myapp",
            infoPlist: .extendingDefault(
                with: [
                    "UILaunchScreen": [:]
                ]
            ),
            sources: [
                "Sources/**"
            ]
        ),
        Target( // <1>
            name: "MyAppTests",
            platform: .iOS,
            product: .unitTests,
            bundleId: "com.sarunw.myappTests",
            infoPlist: .default,
            sources: [
                "Tests/**"
            ],
            dependencies: [
                .target(name: "MyApp")
            ]
        )
    ]
)
<1> Add new test target to targets array.
Then we create a new folder and populate it with an example test file. We create Tests folder and create AppTests.swift file with following code.
import XCTest
@testable import MyApp

final class MyAppTests: XCTestCase {

}
Current file structure:
Tests
  - MyAppTests.swift
Sources
  - ContentView.swift
  - MainApp.swift
Project.swift
That's all we need to do. The only thing left is telling Tuist to regenerate our project with tuist generate. Open the project, and everything is linked together. You can try run Test with by select Product menu > Test or ⌘ - command + U to confirm whether the test is running correctly.
You can easily support sarunw.com by checking out this sponsor.
Offline Transcription: Fast, privacy-focus way to transcribe audio, video, and podcast files. No data leaves your Mac.
Conclusion
We learn how to add a test target into the project with Tuist in this article. This gives us a taste of how easy it is to add a new target and declare dependency between targets. Add a new test target may seem trivial, but from what I know, adding a framework or static lib is equally easy as adding a test target. It is just a matter of select the right product and dependencies.
Read more article about Tuist, Xcode, Development, or see all available topic
Enjoy the read?
If you enjoy this article, you can subscribe to the weekly newsletter.
Every Friday, you'll get a quick recap of all articles and tips posted on this site. No strings attached. Unsubscribe anytime.
Feel free to follow me on Twitter and ask your questions related to this post. Thanks for reading and see you next time.
If you enjoy my writing, please check out my Patreon https://www.patreon.com/sarunw and become my supporter. Sharing the article is also greatly appreciated.
Become a patron Buy me a coffee Tweet ShareHow to delete UserDefaults data on macOS and Catalyst
In iOS, if you want to delete the app's UserDefaults, you can simply delete the app. But that is not the case for macOS and Catalyst app.
How to create segmented control in SwiftUI
Learn the way to create the UISegmentedControl equivalent in SwiftUI.