How to create segmented control in SwiftUI
Table of Contents
A segmented control is a horizontal control that consists of multiple segments, each segment functioning as a mutually exclusive button.
In UIKit, we have UISegmentedControl, but in SwiftUI, we don't have a dedicated view for this kind of control. Apple treats segmented control as one variation of a Picker, which makes sense because they both share the same functionality. The following is the definition of a Picker.
A Picker is a SwiftUI equivalent of UIKit's UIPickerView. It is a control that allows you to select a value from a list of mutually exclusive values.
As you can see, both picker and segmented control is a control that lets users choose the value out of mutually exclusive options.
Creation
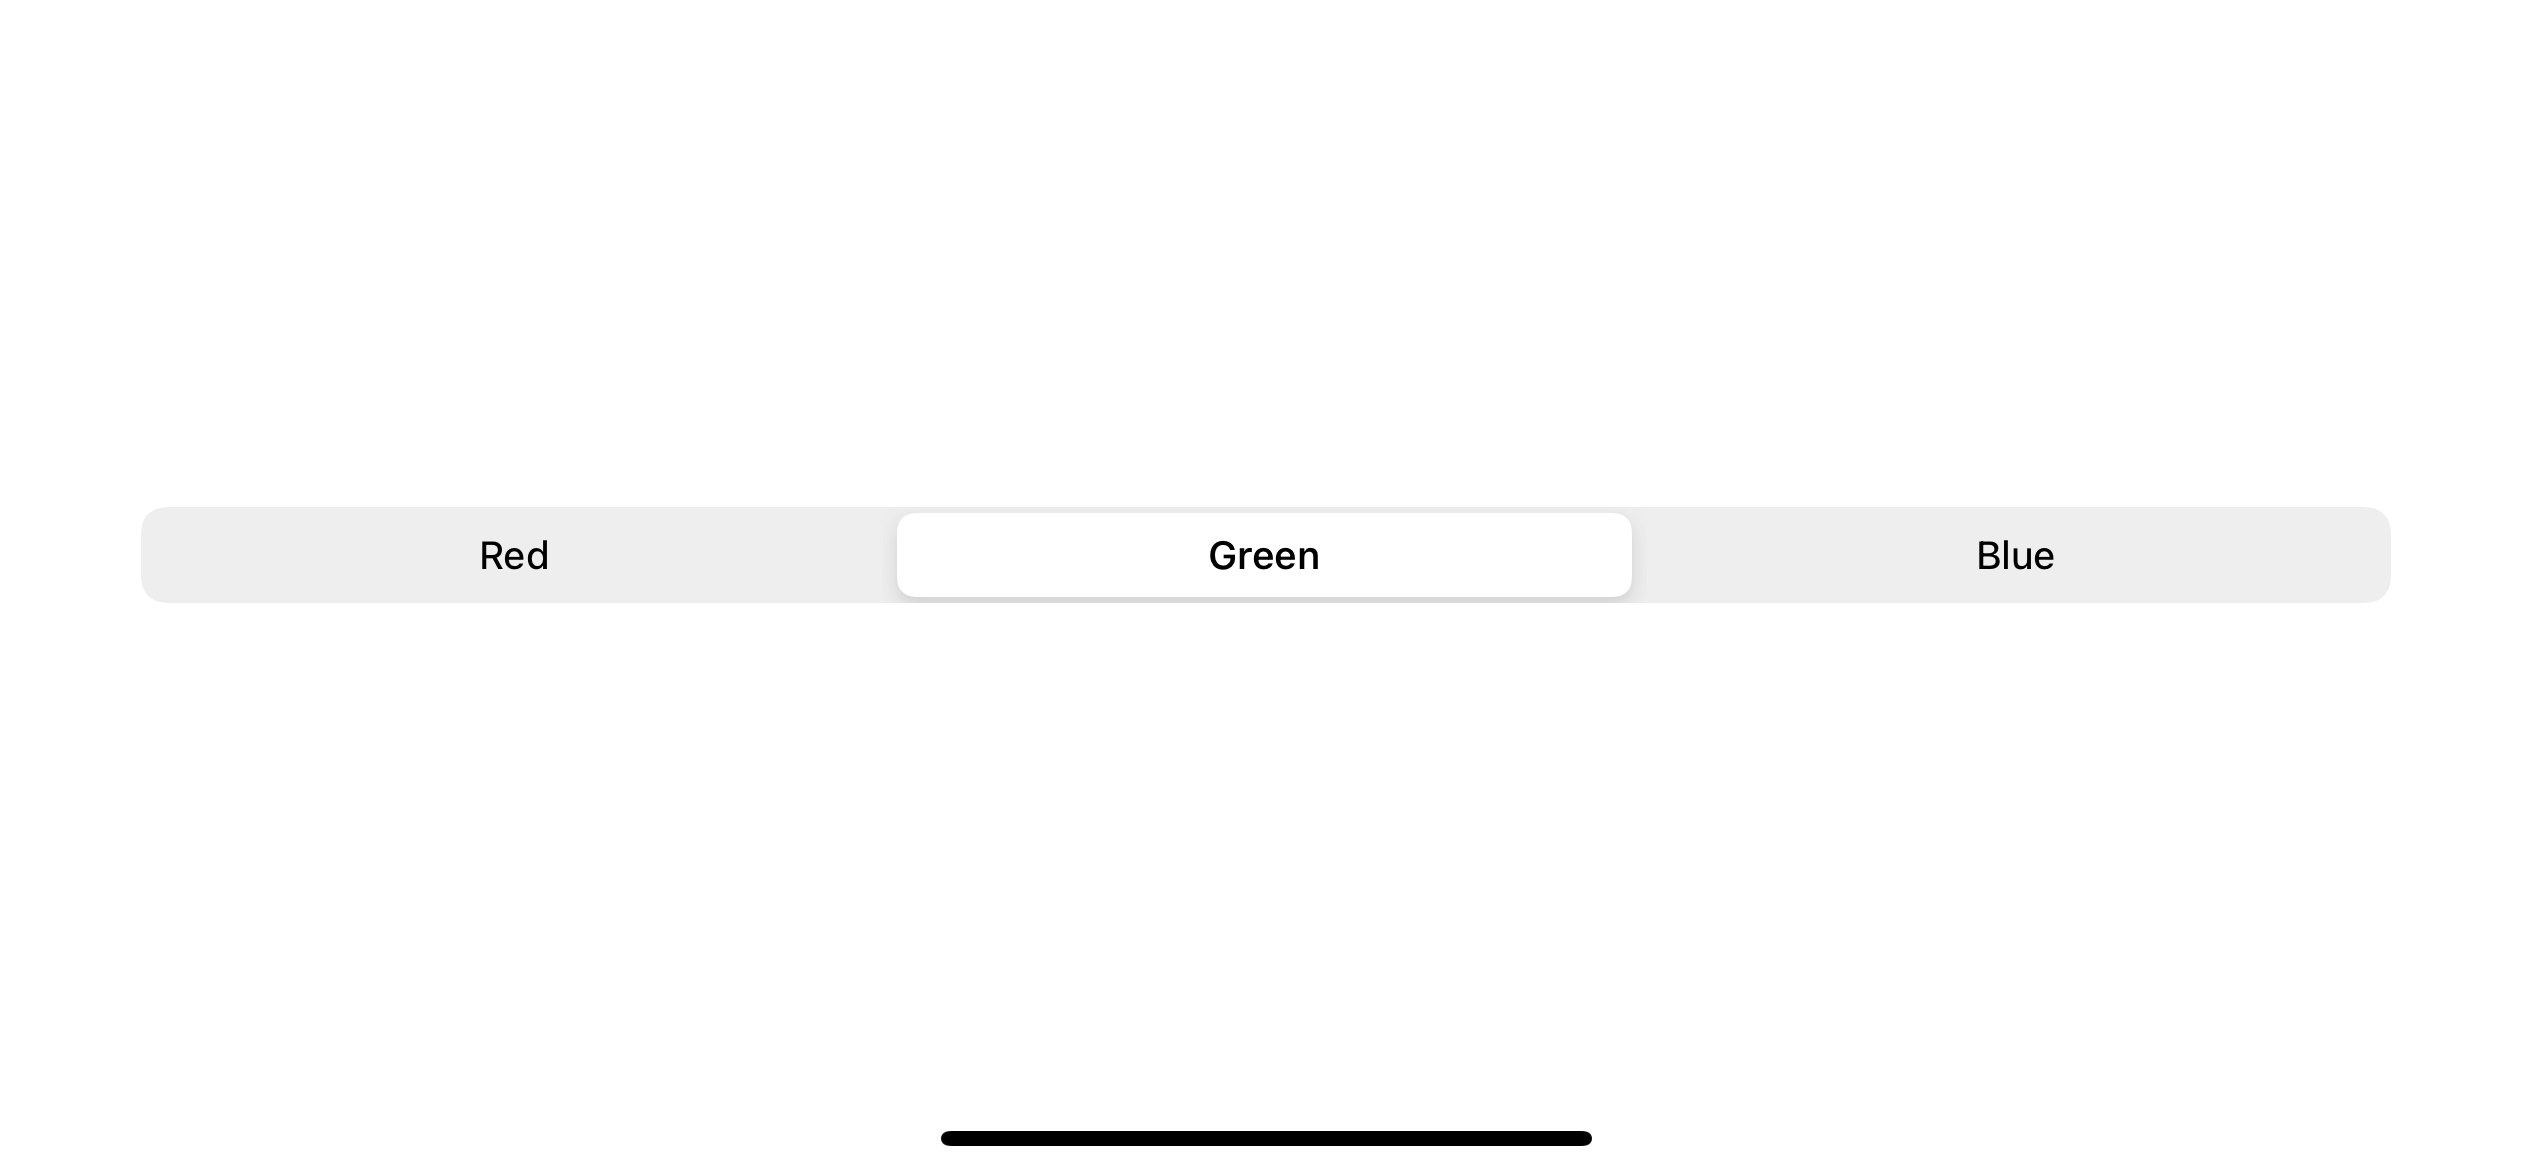
Since segmented control is just another variation of a picker, SwiftUI treats it as such. To create a segmented control, we create a picker view and apply a SegmentedPickerStyle() to it via the pickerStyle modifier.
struct ContentView: View {
@State private var selectedColorIndex = 0
var body: some View {
VStack {
Picker("Favorite Color", selection: $selectedColorIndex, content: {
Text("Red").tag(0)
Text("Green").tag(1)
Text("Blue").tag(2)
})
.pickerStyle(SegmentedPickerStyle()) // <1>
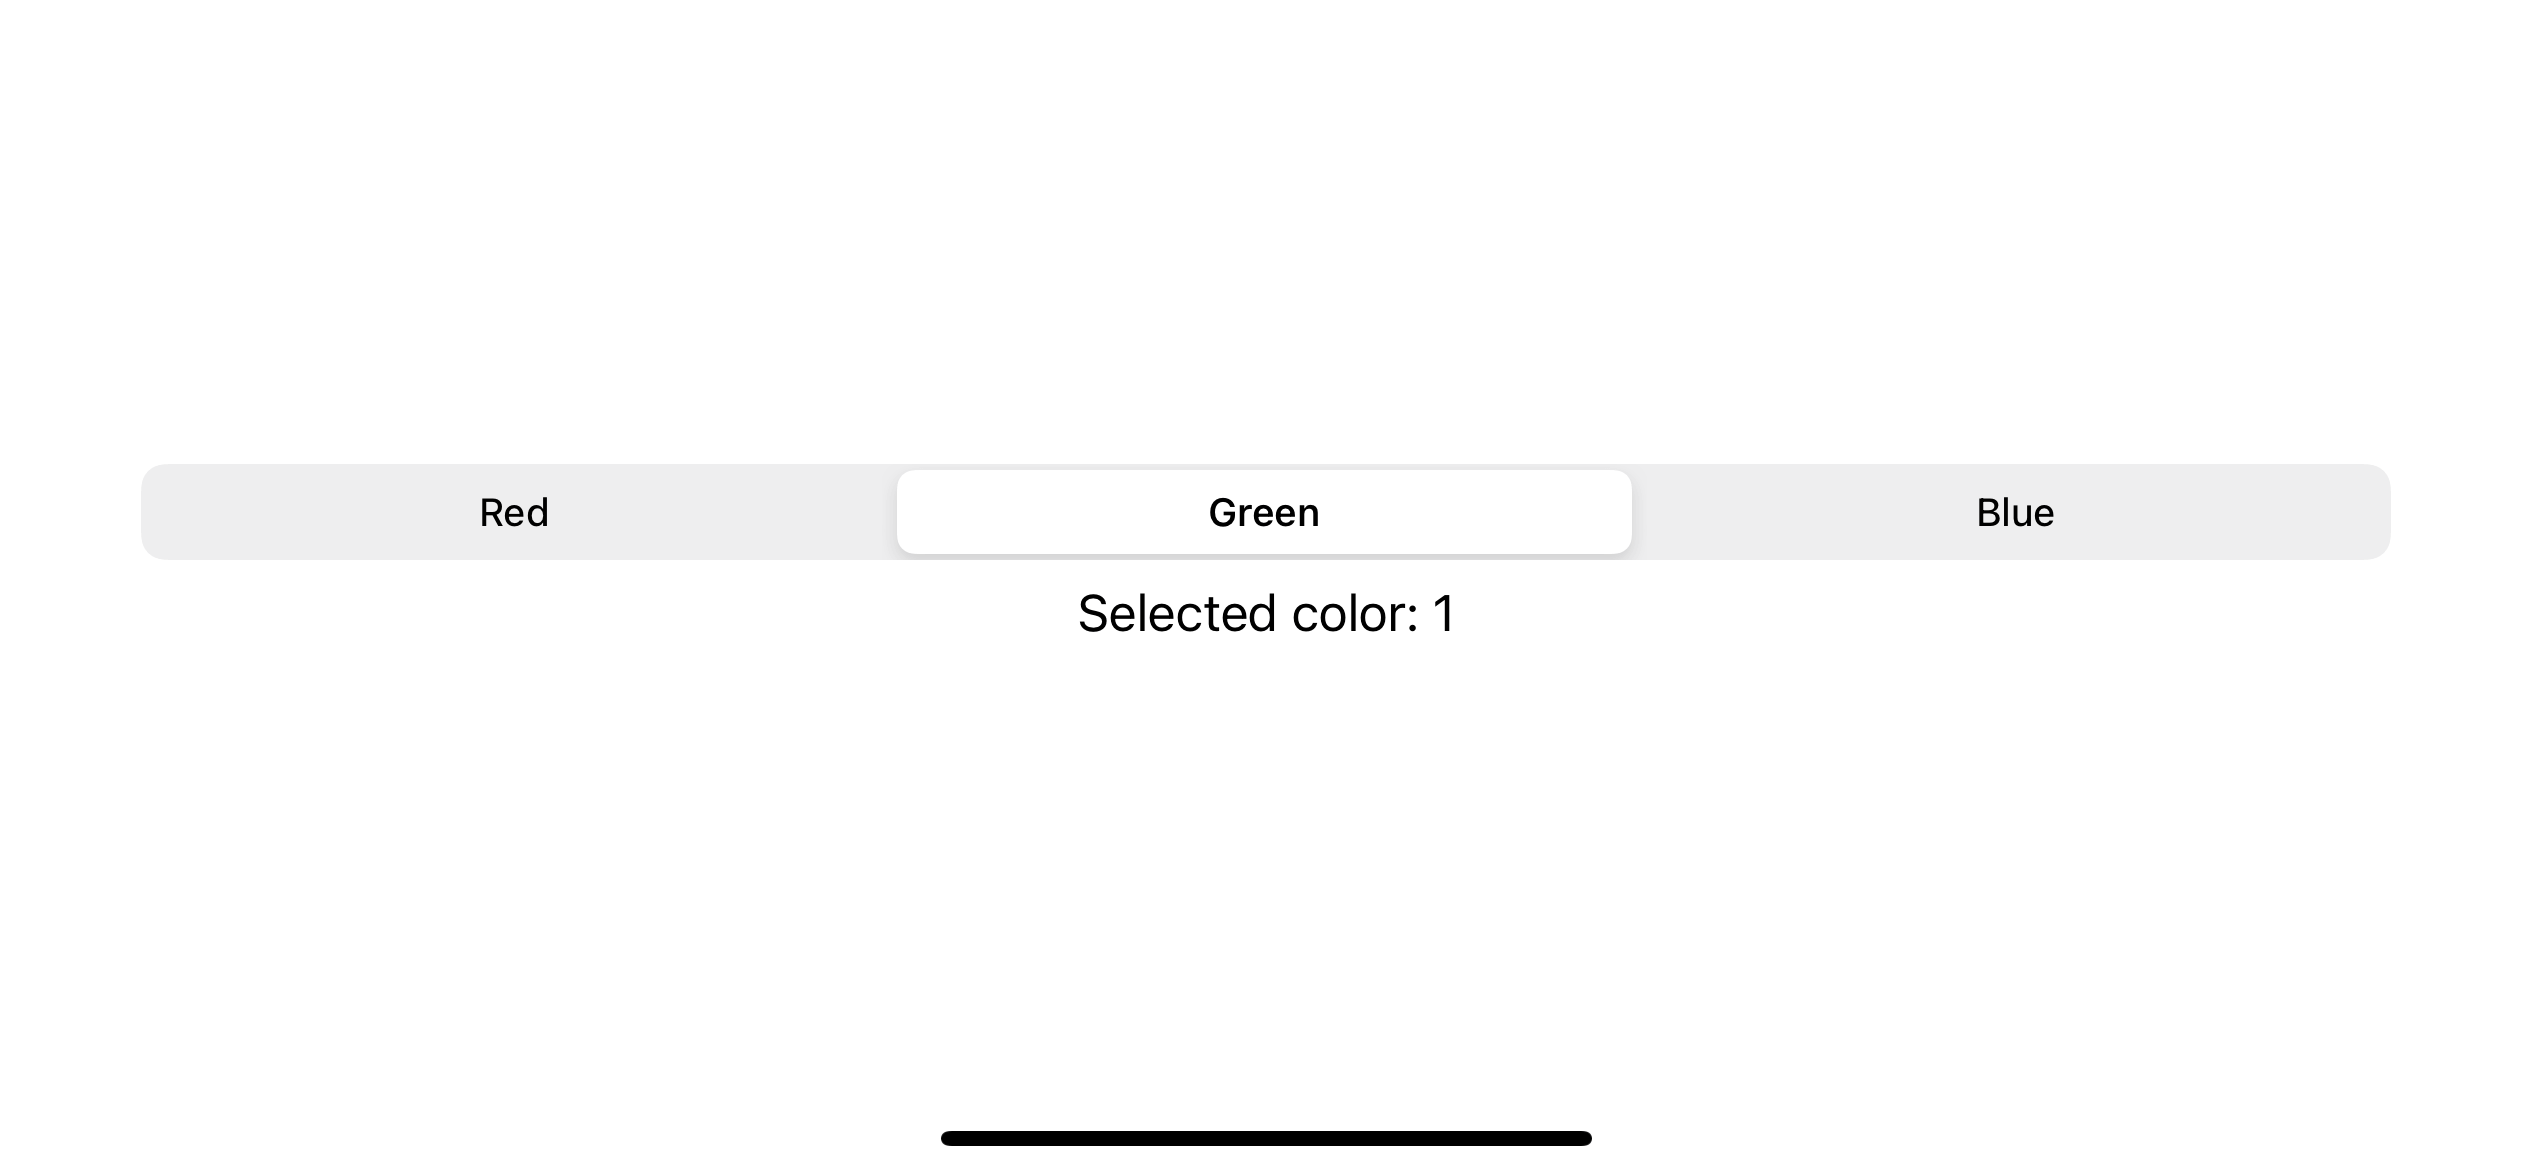
Text("Selected color: \(selectedColorIndex)")
}
}
}<1> Apply segmented picker style with .pickerStyle modifier.
You can easily support sarunw.com by checking out this sponsor.
Localization Buddy: Easiest way to localize and update App Store metadata.
Conclusion
Even though segmented control and picker share the same functionality, they serve a different purpose. Segmented controls are often used to display different views. In Maps, for example, a segmented control lets you switch between Map, Transit, and Satellite views. On the other hand, a picker view aims to offer an easy way for people to enter information by choosing from a medium-to-long list of items. I suggest you consult Human Interface Guidelines for detailed information.
Read more article about SwiftUI, Picker, Segmented Control, or see all available topic
Enjoy the read?
If you enjoy this article, you can subscribe to the weekly newsletter.
Every Friday, you'll get a quick recap of all articles and tips posted on this site. No strings attached. Unsubscribe anytime.
Feel free to follow me on Twitter and ask your questions related to this post. Thanks for reading and see you next time.
If you enjoy my writing, please check out my Patreon https://www.patreon.com/sarunw and become my supporter. Sharing the article is also greatly appreciated.
Become a patron Buy me a coffee Tweet ShareHow to add a unit test target to a Tuist project
We will see how hard (or easy) it is to add a new unit testing bundle target to your Xcode project with Tuist.
Sort array of objects by multiple properties with Swift Tuple
Learn how tuple can help you in sorting.