How to position an UIButton image to the right side of the text
Table of Contents
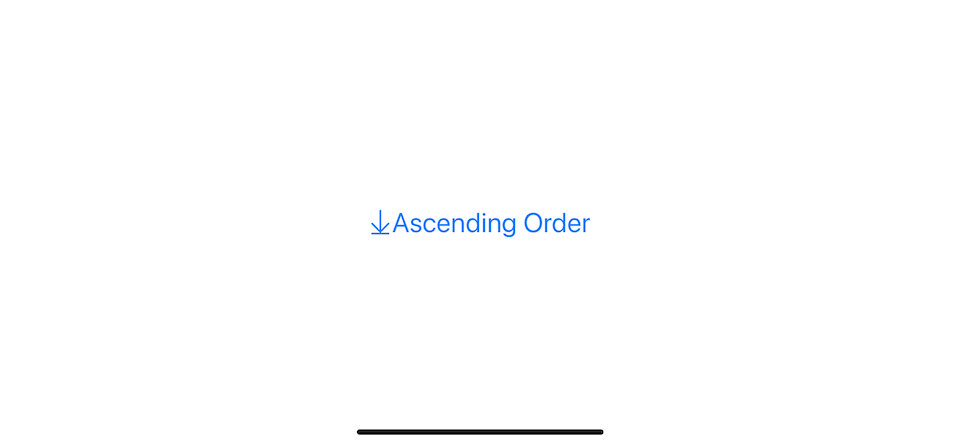
By default, when you set an image to an UIButton, it will position on the leading edge of the text.
let button = UIButton(type: .system)
button.titleLabel?.font = UIFont.systemFont(ofSize: 24)
button.setTitle("Ascending Order",
        for: .normal)
button.setImage(UIImage(systemName: "arrow.down.to.line"),
        for: .normal)
The default position of a button image will be on the leading edge of a button.
Sometimes, we might want to position the image on the trailing side, which is what we will learn in this article.
Before iOS 15
There are many ways to do this before iOS 15, but I think the cleanest way to do this is by using the semanticContentAttribute property.
semanticContentAttribute is a UIView instance property that control the view's contents. It determines whether the view should be flipped when switching between left-to-right and right-to-left interfaces.
To make an UIButton's image align to the right side of the text, we force content flipping behavior to the one use it right-to-left language.
let button = UIButton(type: .system)
button.titleLabel?.font = UIFont.systemFont(ofSize: 24)
button.setTitle("Ascending Order", for: .normal)
button.setImage(UIImage(systemName: "arrow.down.to.line"), for: .normal)
// 1
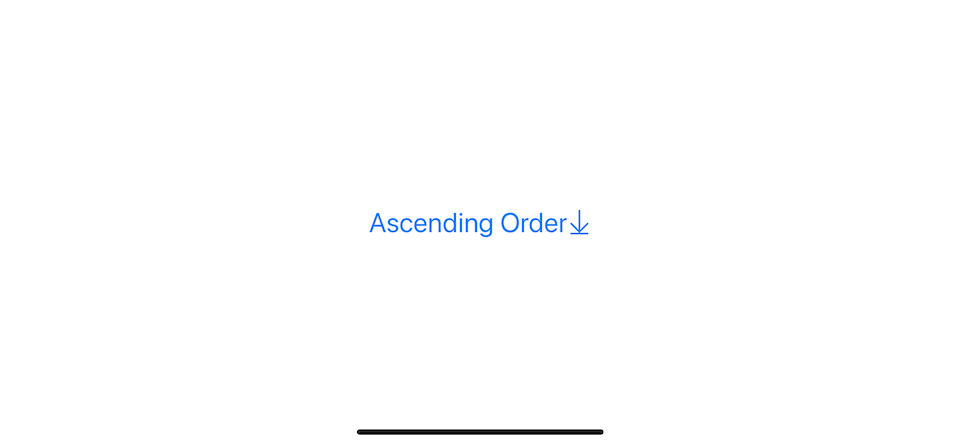
button.semanticContentAttribute = .forceRightToLeft1 By adding this semanticContentAttribute = .forceRightToLeft, we force UIKit to mirrored our content which push our image to the right side of the text.
Here is the result.
Storyboard / Nib
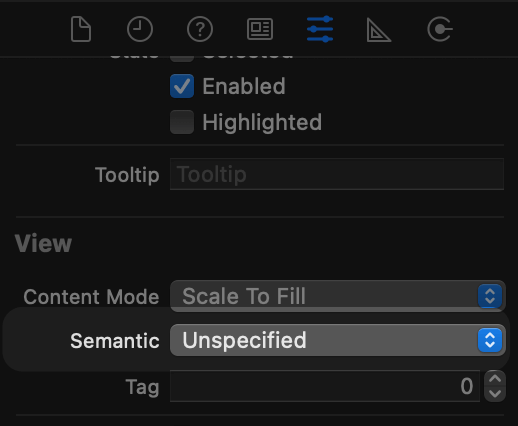
If you design your interface in Storyboard or nib, you can modify semanticContentAttribute in the View section, under Attributes Inspector.
Caveat
Left-to-right and right-to-left langauges comprehend interfaces differently. Hard code semanticContentAttribute = .forceRightToLeft means you just ignore the fact.
So, if your button makes sense when the image is on the right in the left-to-right languages, you should also flip it in right-to-left languages. You can do this by checking which interface you are in and setting semanticContentAttribute accordingly.
We can retrieve the current interface direction from UIApplication.shared.userInterfaceLayoutDirection.
So, instead of hardcode semanticContentAttribute value, you should do something like this.
switch UIApplication.shared.userInterfaceLayoutDirection {
case .leftToRight:
    button.semanticContentAttribute = .forceRightToLeft
case .rightToLeft:
    button.semanticContentAttribute = .forceLeftToRight
}
You can easily support sarunw.com by checking out this sponsor.
AI Grammar: Correct grammar, spell check, check punctuation, and parphrase.
iOS 15
UIButton got a big upgrade in iOS 15. We got a built-in support of image placement which we can set in UIButton.Configuration.imagePlacement property.
This is how we do it in iOS 15. We can simply set configuration.imagePlacement = .trailing.
var container = AttributeContainer()
container.font = UIFont.systemFont(ofSize: 24)

var configuration = UIButton.Configuration.plain()
configuration.attributedTitle = AttributedString("Ascending Order", attributes: container)
configuration.image = UIImage(systemName: "arrow.down.to.line")
// 1
configuration.imagePlacement = .trailing
let button = UIButton(configuration: configuration, primaryAction: nil)
1 configuration.imagePlacement = .trailing position our image to the trailing edge of a button (right side in left-to-right languages and left side in right-to-left languages). This mean iOS do the flipping for us without a need for us to manually checking UIApplication.shared.userInterfaceLayoutDirection.
Read more article about Button, UIKit, or see all available topic
Enjoy the read?
If you enjoy this article, you can subscribe to the weekly newsletter.
Every Friday, you'll get a quick recap of all articles and tips posted on this site. No strings attached. Unsubscribe anytime.
Feel free to follow me on Twitter and ask your questions related to this post. Thanks for reading and see you next time.
If you enjoy my writing, please check out my Patreon https://www.patreon.com/sarunw and become my supporter. Sharing the article is also greatly appreciated.
Become a patron Buy me a coffee Tweet ShareHow to make a macOS menu bar app
Let's learn how to make a simple menu bar app in this article.
What do @main, @UIApplicationMain, and @NSApplicationMain mean
When you start a new project, you would see either of these attributes in an AppDelegate file. Let's find out its functionality.