How to Reload view in SwiftUI
Table of Contents
SwiftUI is a Data-driven user interface.
That means a SwiftUI view will automatically update or reload with the latest data.
You don't have to explicitly trigger any reload method like you usually do it UIKit.
You can easily support sarunw.com by checking out this sponsor.
Screenshot Studio: Create App Store screenshots in seconds not minutes.
How to Reload view in SwiftUI
SwiftUI view always updates with the latest Data.
But the Data that SwiftUI view keeps an eye on is not an ordinary one.
SwiftUI has a special type of data that can trigger the view's update.
These special types are implemented using a Swift feature called Property Wrapper. You can easily spot them from the @ prefix.
Here are all types of Data that will trigger a SwiftUI View update.
@State@Binding@ObservedObject@StateObject@EnvironmentObject@Environment@FetchRequest@AppStorage@SceneStorage@Publishedinside ObservableObject
By referencing this value in your view, it will automatically update to reflect the change.
Example
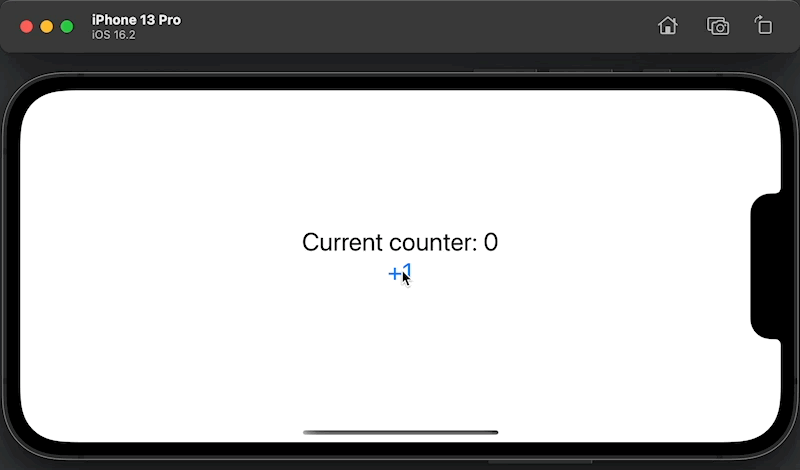
Here is an example where I keep my view updated with the latest counter value.
struct ContentView: View {
    // 1
    @State private var counter = 0

    var body: some View {
        VStack {
            // 2
            Text("Current counter: \(counter)")
            Button("+1") {
                // 3
                counter += 1
            }
        }
        .font(.title)
        .padding()
    }
}
1 I declare a @State variable, counter. This will use to trigger the view update.
2 I reference @State variable in the view.
3 I update the counter value in the button action, and the view will automatically update itself.
Read more article about SwiftUI or see all available topic
Enjoy the read?
If you enjoy this article, you can subscribe to the weekly newsletter.
Every Friday, you'll get a quick recap of all articles and tips posted on this site. No strings attached. Unsubscribe anytime.
Feel free to follow me on Twitter and ask your questions related to this post. Thanks for reading and see you next time.
If you enjoy my writing, please check out my Patreon https://www.patreon.com/sarunw and become my supporter. Sharing the article is also greatly appreciated.
Become a patron Buy me a coffee Tweet ShareHow to fix "You are not authorized to make purchases of this InApp in Sandbox at this time" error
You might encounter this error when testing an In-app purchase in Sandbox mode. Let's learn how to fix it.