Custom Back button in SwiftUI
Table of Contents
When talking about a custom Back button in a navigation view, it usually falls into two categories.
- Custom appearance.
- Custom action.
If you want to customize a back button action, you can read it in Custom Back button Action in SwiftUI.
In this article, we will focus on a custom Back button appearance.
Custom Back button in SwiftUI
How we customize an appearance of a back button varies based on the area we want the customization to take effect.
I categorize this into two groups.
You can easily support sarunw.com by checking out this sponsor.

AI Paraphrase:Are you tired of staring at your screen, struggling to rephrase sentences, or trying to find the perfect words for your text?
How to change a back button across the app
At the moment (iOS 16), SwiftUI has no native way to change the appearance of the back button.
Your best bet is to fall back to UIKit.
I wrote a detailed article about this in How to change a back button image.
Here is a snippet of how to do it.
UINavigationBar.appearance().backIndicatorImage = UIImage(systemName: "arrow.backward")
UINavigationBar.appearance().backIndicatorTransitionMaskImage = UIImage(systemName: "arrow.backward")
You call this at the earliest stage possible. It can be in the AppDelegate or onAppear of your root view.
@main
struct custom_back_buttonApp: App {
    var body: some Scene {
        WindowGroup {
            ContentView()
                .onAppear {
                    UINavigationBar.appearance().backIndicatorImage = UIImage(systemName: "arrow.backward")
                    UINavigationBar.appearance().backIndicatorTransitionMaskImage = UIImage(systemName: "arrow.backward")
                }
        }
    }
}
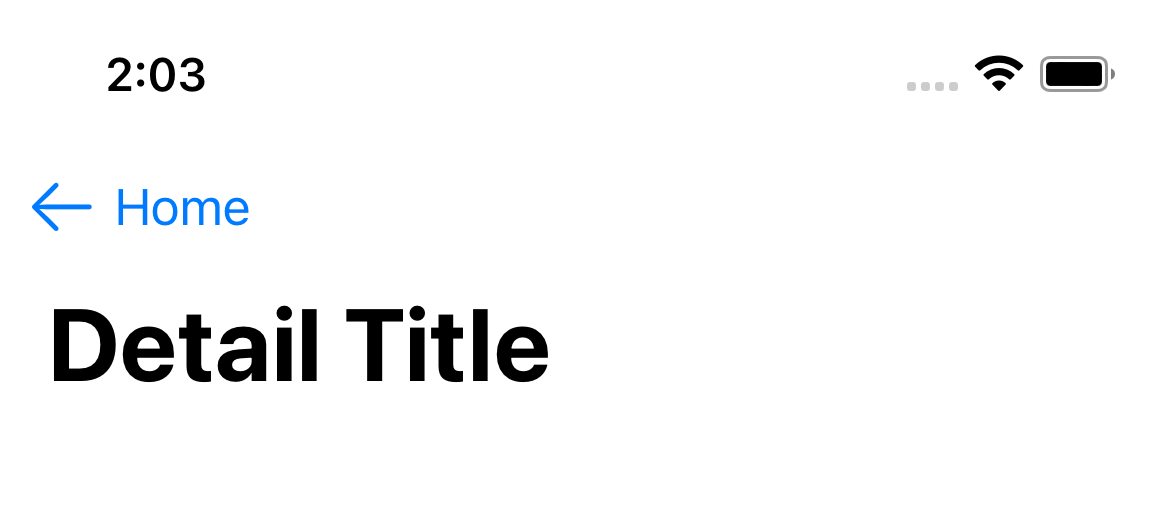
Here is the result. We change the back button image to UIImage(systemName: "arrow.backward").

You can easily support sarunw.com by checking out this sponsor.

AI Paraphrase:Are you tired of staring at your screen, struggling to rephrase sentences, or trying to find the perfect words for your text?
How to change a back button on a specific view
If you want to change the back button appearance of a specific view, we can use the same way we did in Custom Back button Action in SwiftUI.
That is to opt out of the default back button and recreate it.
Remove the default Back button
To remove the default back button, you apply .navigationBarBackButtonHidden(true) to the view that you want to hide the back button.
In the following example, when the DetailView get pushed to a navigation stack. It won't have a back button.
struct DetailView: View {
    var body: some View {
        Text("Detail View")
            .navigationTitle("Detail Title")
            .navigationBarBackButtonHidden(true)
    }
}
Once you hide the default back button, all the functionality is gone.
- Tapping on your custom back button won't pop the view out of a navigation stack.
- Swiping from the leading edge of the screen is also disabled.
So, you need to implement the dismissal logic manually in your new button.
Recreate a Back button
A back button is just a button. We need to create a normal button and position it in the same place.
We can do that with a help of toolbar(content:) and ToolbarItem(placement: .navigationBarLeading).
struct DetailView: View {
    @Environment(\.dismiss) private var dismiss

    var body: some View {
        Text("Detail View")
            .navigationTitle("Detail Title")
            .navigationBarBackButtonHidden(true)
            // 1
            .toolbar {
                // 2
                ToolbarItem(placement: .navigationBarLeading) {
                    Button {
                        // 3
                        dismiss()
                    } label: {
                        // 4
                        HStack {
                            Image(systemName: "arrow.backward")
                            Text("Custom Back")
                        }
                    }
                }
            }
    }
}
1 We use toolbar(content:) to add a new toolbar item.
2 We position this to .navigationBarLeading, the same position as the default back button.
3 We have to manually pop dimiss the view here.
4 This is where we customize the appearance of a back button.
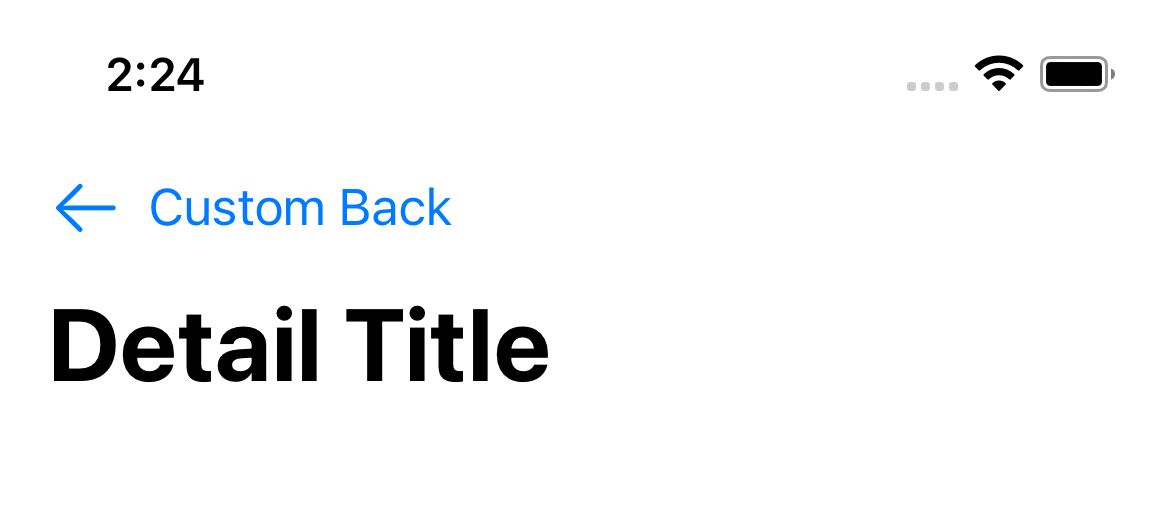
Here is the result.

Read more article about SwiftUI, Back Button, or see all available topic
Enjoy the read?
If you enjoy this article, you can subscribe to the weekly newsletter.
Every Friday, you'll get a quick recap of all articles and tips posted on this site. No strings attached. Unsubscribe anytime.
Feel free to follow me on Twitter and ask your questions related to this post. Thanks for reading and see you next time.
If you enjoy my writing, please check out my Patreon https://www.patreon.com/sarunw and become my supporter. Sharing the article is also greatly appreciated.
Become a patron Buy me a coffee Tweet ShareHow to pop view from Navigation stack in iOS 16
Let's learn how easy it is to pop or dismiss a view from a NavigationStack, a new navigation view in iOS 16.