How to reset push notification permission on iOS
Table of Contents
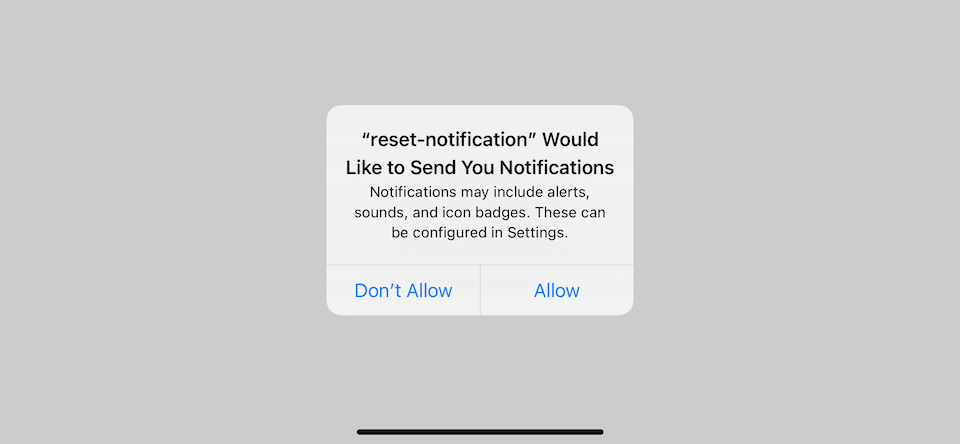
On iOS, when you request permission to use notifications for the first time, the system will present the following dialog asking users to grant the permission.

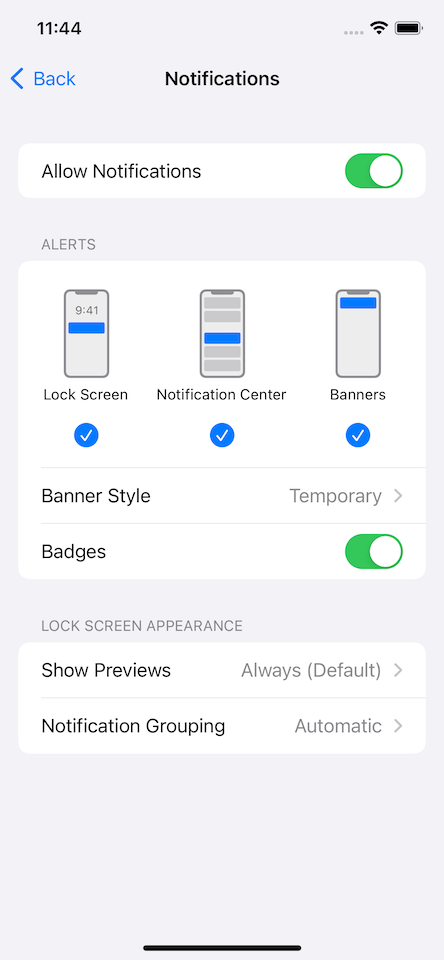
Once users choose to allow or deny the permission, their choice will be remembered. They can change the permission later in Settings.

During the development, you might want to reset notification permission back to the clean state (UNAuthorizationStatus.notDetermined) to test out every possible scenario for your app, e.g., user denies the permission.
You can easily support sarunw.com by checking out this sponsor.

AI Paraphrase:Are you tired of staring at your screen, struggling to rephrase sentences, or trying to find the perfect words for your text?
How to reset push notification permission in iOS
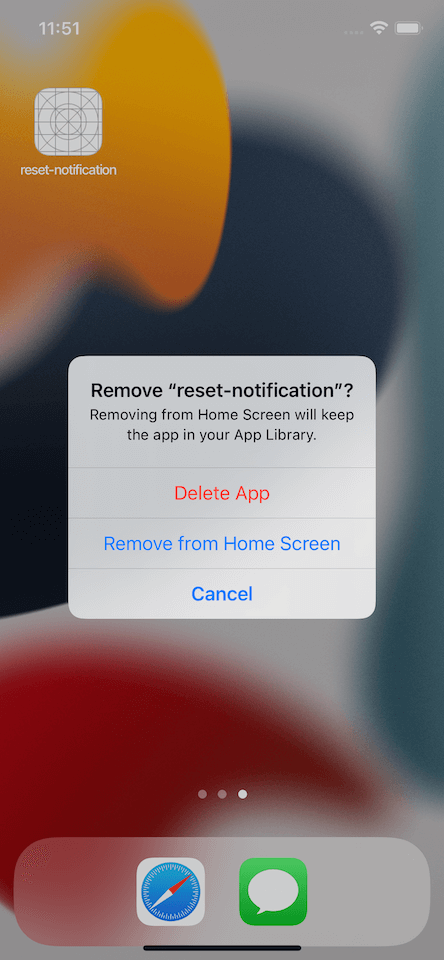
To reset a push notification permission back to .notDetermined to simulate a first-time run of your app, simply delete and reinstall the app.

Read more article about iOS, Notification, or see all available topic
Enjoy the read?
If you enjoy this article, you can subscribe to the weekly newsletter.
Every Friday, you'll get a quick recap of all articles and tips posted on this site. No strings attached. Unsubscribe anytime.
Feel free to follow me on Twitter and ask your questions related to this post. Thanks for reading and see you next time.
If you enjoy my writing, please check out my Patreon https://www.patreon.com/sarunw and become my supporter. Sharing the article is also greatly appreciated.
Become a patron Buy me a coffee Tweet ShareHow to use Label in SwiftUI custom view
A guideline on how to embrace a label in your custom view.
How to parse ISO 8601 date in Swift
Learn how to parse ISO 8601 date with ISO8601DateFormatter.