How to set cornerRadius for only some corners
Table of Contents
Everyone knows how to make a view's corners round.
view.layer.cornerRadius = 20You don't need to set view.clipsToBounds = true for corners to be round. You only need clipsToBounds if you have subviews that you need to be clip to the parent bounds.
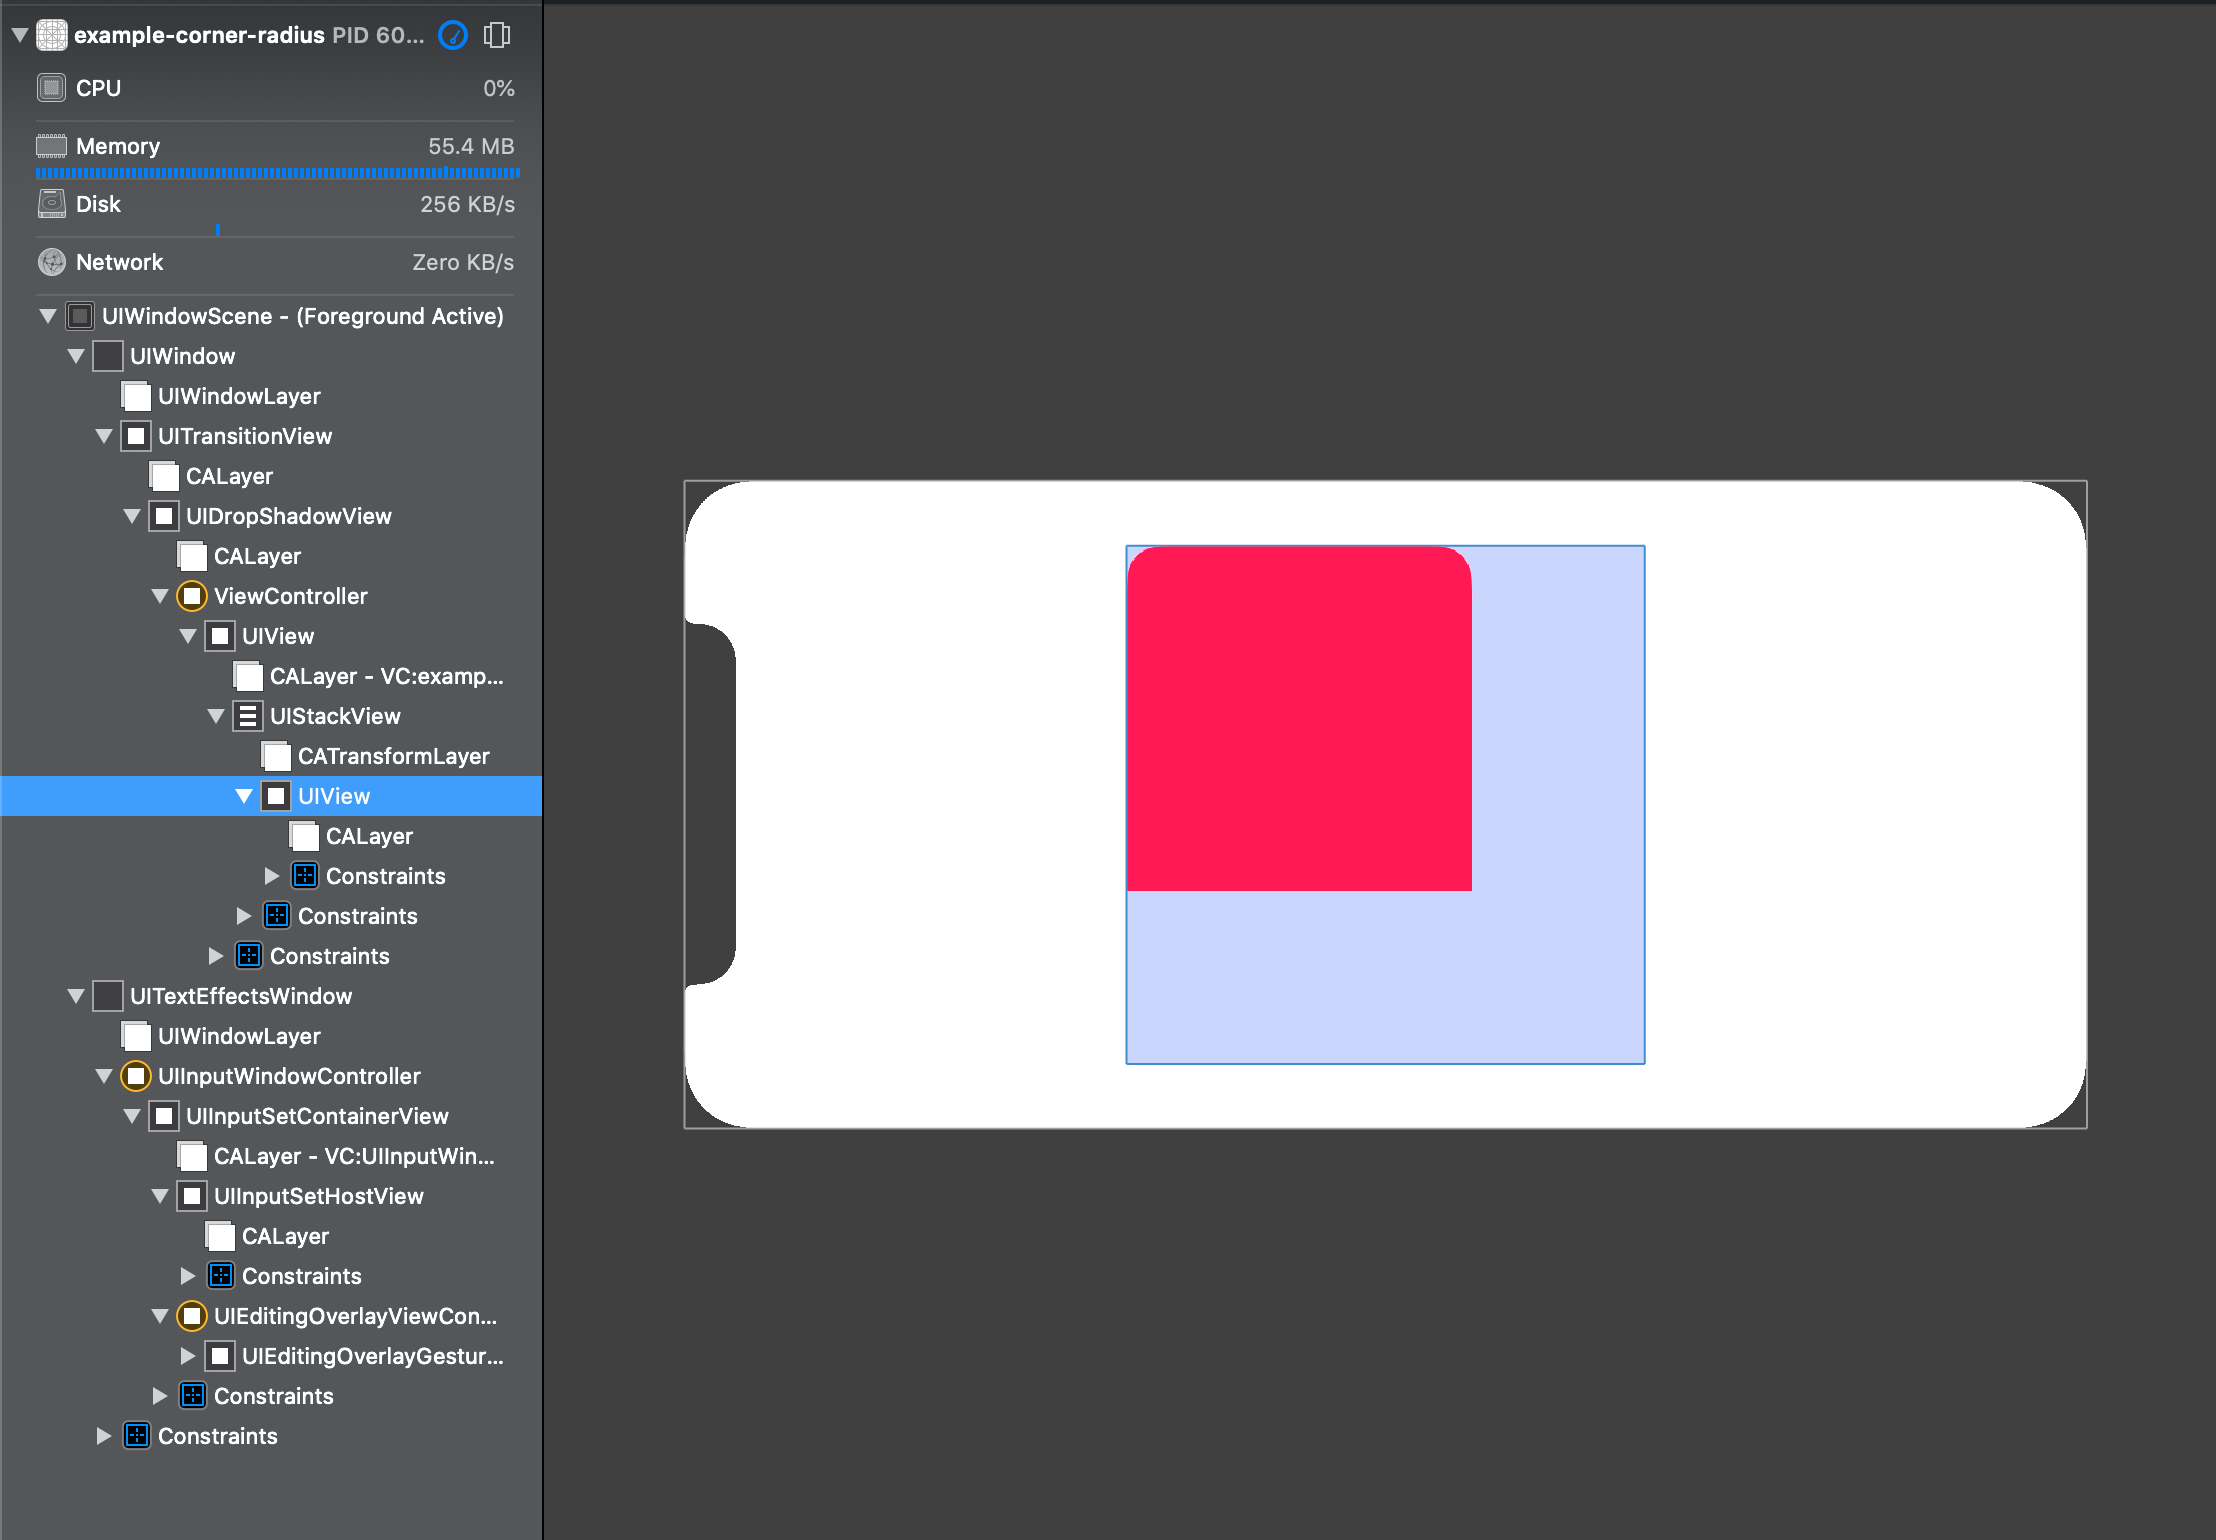
The following are the examples of clipsToBounds set to true and false.
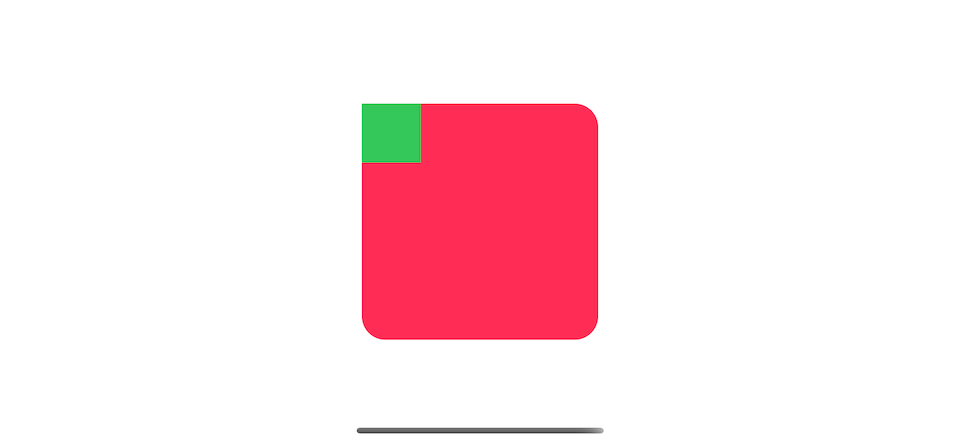
The green subview does not confine by the parent, so its edge extends beyond the round corner.

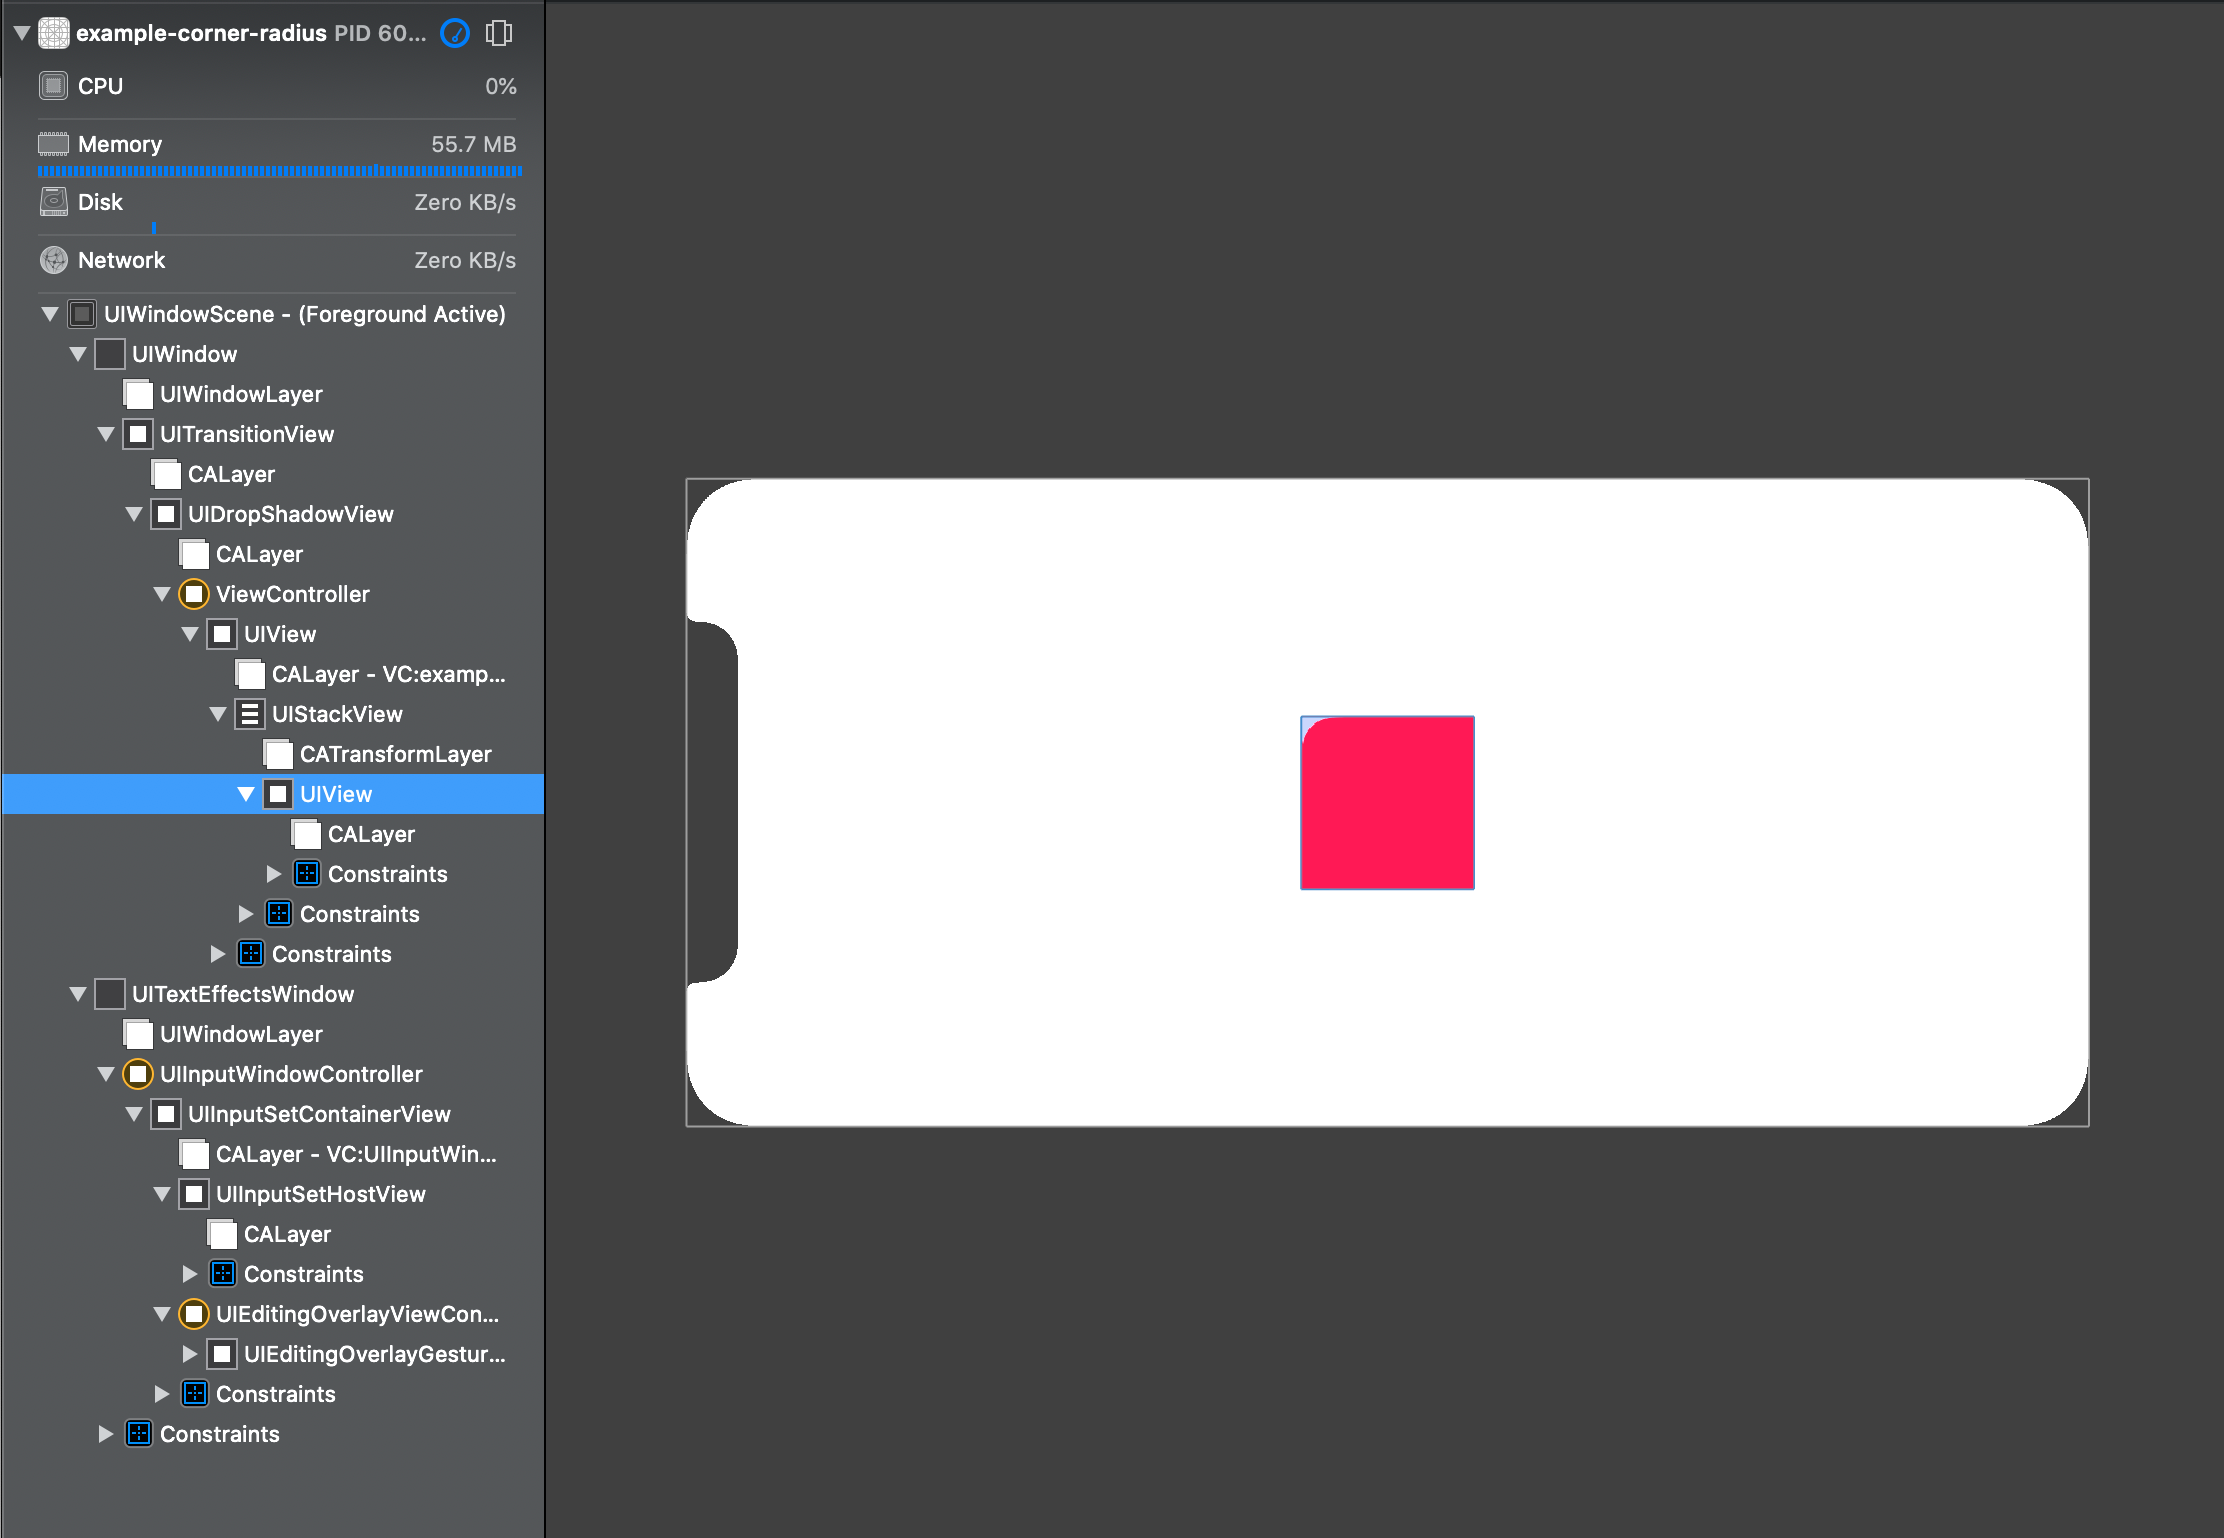
When set clipsToBounds to true, the green subview gets clip along with its parent.
Not every time that we want all corners to be round. To make only specific corners round, you can do one of the following methods.
maskedCorners (iOS 11)
In iOS 11, CALayer got a new property maskedCorners which is an OptionSet that got four options to choose from.
public struct CACornerMask : OptionSet {
    public init(rawValue: UInt)
    public static var layerMinXMinYCorner: CACornerMask { get }
    public static var layerMaxXMinYCorner: CACornerMask { get }
    public static var layerMinXMaxYCorner: CACornerMask { get }
    public static var layerMaxXMaxYCorner: CACornerMask { get }
}
To make top corners round, you can set it like this.
view.layer.cornerRadius = 20
view.layer.maskedCorners = [.layerMinXMinYCorner, .layerMaxXMinYCorner]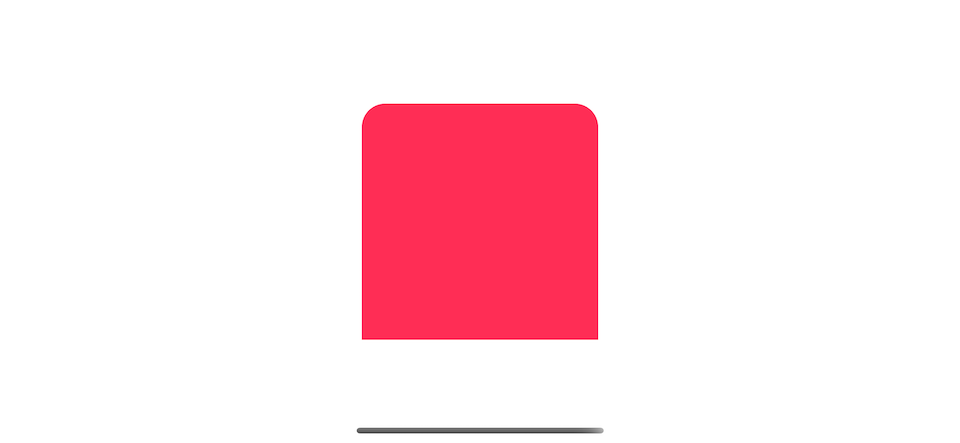
The following table show mapping between CACornerMask and corner.
| CACornerMask | Corner |
|---|---|
| layerMinXMinYCorner | top left corner |
| layerMaxXMinYCorner | top right corner |
| layerMinXMaxYCorner | bottom left corner |
| layerMaxXMaxYCorner | bottom right corner |
You can easily support sarunw.com by checking out this sponsor.
AI Paraphrase:Are you tired of staring at your screen, struggling to rephrase sentences, or trying to find the perfect words for your text?
Masking
For iOS 10 and below, you can do this with the help of a mask layer.
let path = UIBezierPath(roundedRect: view.bounds, byRoundingCorners: [.topLeft, .topRight], cornerRadii: CGSize(width: 20, height: 20)) <1>
let mask = CAShapeLayer()
mask.path = path.cgPath <2>
view.layer.mask = mask <3>
<1> With a help of UIBezierPath. We create a rectangle path with round corners at top left and top right.
<2> We use this path to make a shape layer.
<3> We use the shape to be a mask on our view.

We can make it easier to use with an extension.
extension UIView {
   func roundCorners(corners: UIRectCorner, radius: CGFloat) {
        let path = UIBezierPath(roundedRect: bounds, byRoundingCorners: corners, cornerRadii: CGSize(width: radius, height: radius))
        let mask = CAShapeLayer()
        mask.path = path.cgPath
        layer.mask = mask
    }
}

// Use it like this
view.roundCorners(corners: [.topLeft, .topRight], radius: 20)Caveat
One thing to keep in mind when using the mask layer is the bounds of the mask doesn't change with the view. So if there is a change of a view bounds after the mask layer has been set, you might get unexpected shape.
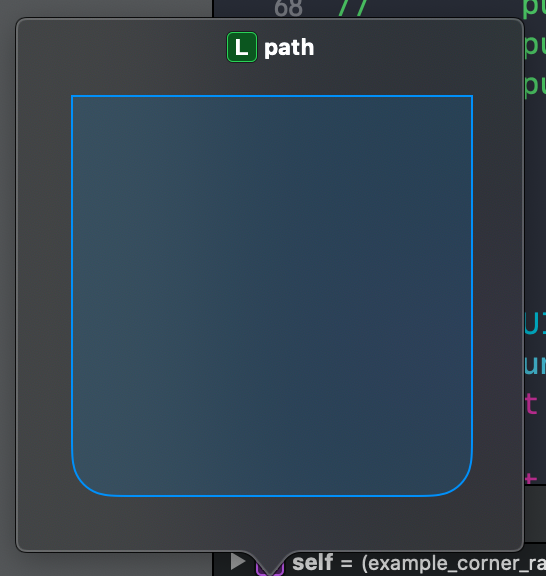
Here are the samples of a round corner mask on a view of size 200x200.
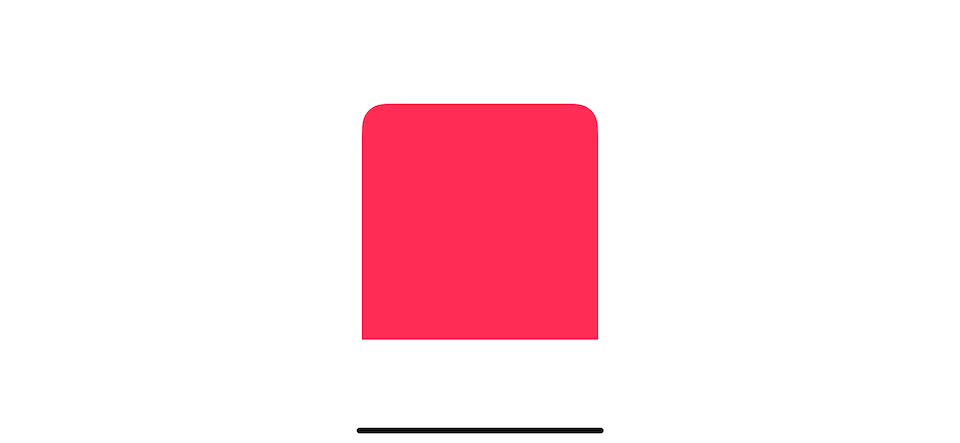
If we later change the size of the view to 300x300, you can see that we still see the same shape, but it moves a bit further to the top left of the original position. That's because the mask still is the same size of 200x200 and position at 0, 0 (top left), so even the size become 300x300, you can only see an old masking shape.
The same rule applies when the size of a view getting smaller. In this case, the top right corner doesn't rounded anymore because the rounding path is beyond the width of our new view (100x100).
To fix this, you might need to call roundCorners in viewDidLayoutSubviews() where the view's bounds are final. Or create a subclass of UIView and call roundCorners in the view's layoutSubviews.
class View: UIView {
    override func layoutSubviews() {
        super.layoutSubviews()
        roundCorners(corners: [.topLeft, .topRight], radius: 20)
    }
}
class ViewController: UIViewController {
override func viewDidLayoutSubviews() {
super.viewDidLayoutSubviews()
yourView.roundCorners(corners: [.topLeft, .topRight], radius: 20)
}
}You can easily support sarunw.com by checking out this sponsor.
AI Paraphrase:Are you tired of staring at your screen, struggling to rephrase sentences, or trying to find the perfect words for your text?
Related Resources
Read more article about UIKit or see all available topic
Enjoy the read?
If you enjoy this article, you can subscribe to the weekly newsletter.
Every Friday, you'll get a quick recap of all articles and tips posted on this site. No strings attached. Unsubscribe anytime.
Feel free to follow me on Twitter and ask your questions related to this post. Thanks for reading and see you next time.
If you enjoy my writing, please check out my Patreon https://www.patreon.com/sarunw and become my supporter. Sharing the article is also greatly appreciated.
Become a patron Buy me a coffee Tweet ShareDecode an array with a corrupted element
When working with an unstable, legacy, or third party API, you might get a malformed object in an array. Learn how to decode a JSON array with corrupted data in Codable safely.