How to use SwiftUI as UIViewController in Storyboard
Table of Contents
There are two ways to use SwiftUI view as a UIViewController in a UIKit project that uses a Storyboard.
- Use
UIHostingControllerwithIBSegueAction. - Create a UIHostingController subclass.
In this article, I will cover the first approach.
You can easily support sarunw.com by checking out this sponsor.
AI Grammar: Correct grammar, spell check, check punctuation, and parphrase.
UIHostingController with IBSegueAction
Integrate SwiftUI view using UIHostingController and IBSegueAction is suitable in a situation where you want to present a new view controller, e.g., push to navigation stack or present a modal.
To do that, we need to do the following four steps.
- Add a
UIHostingControllerto the Storyboard. - Create a Segue to
UIHostingController. - Create an
@IBSegueAction. - Implement the
IBSegueAction.
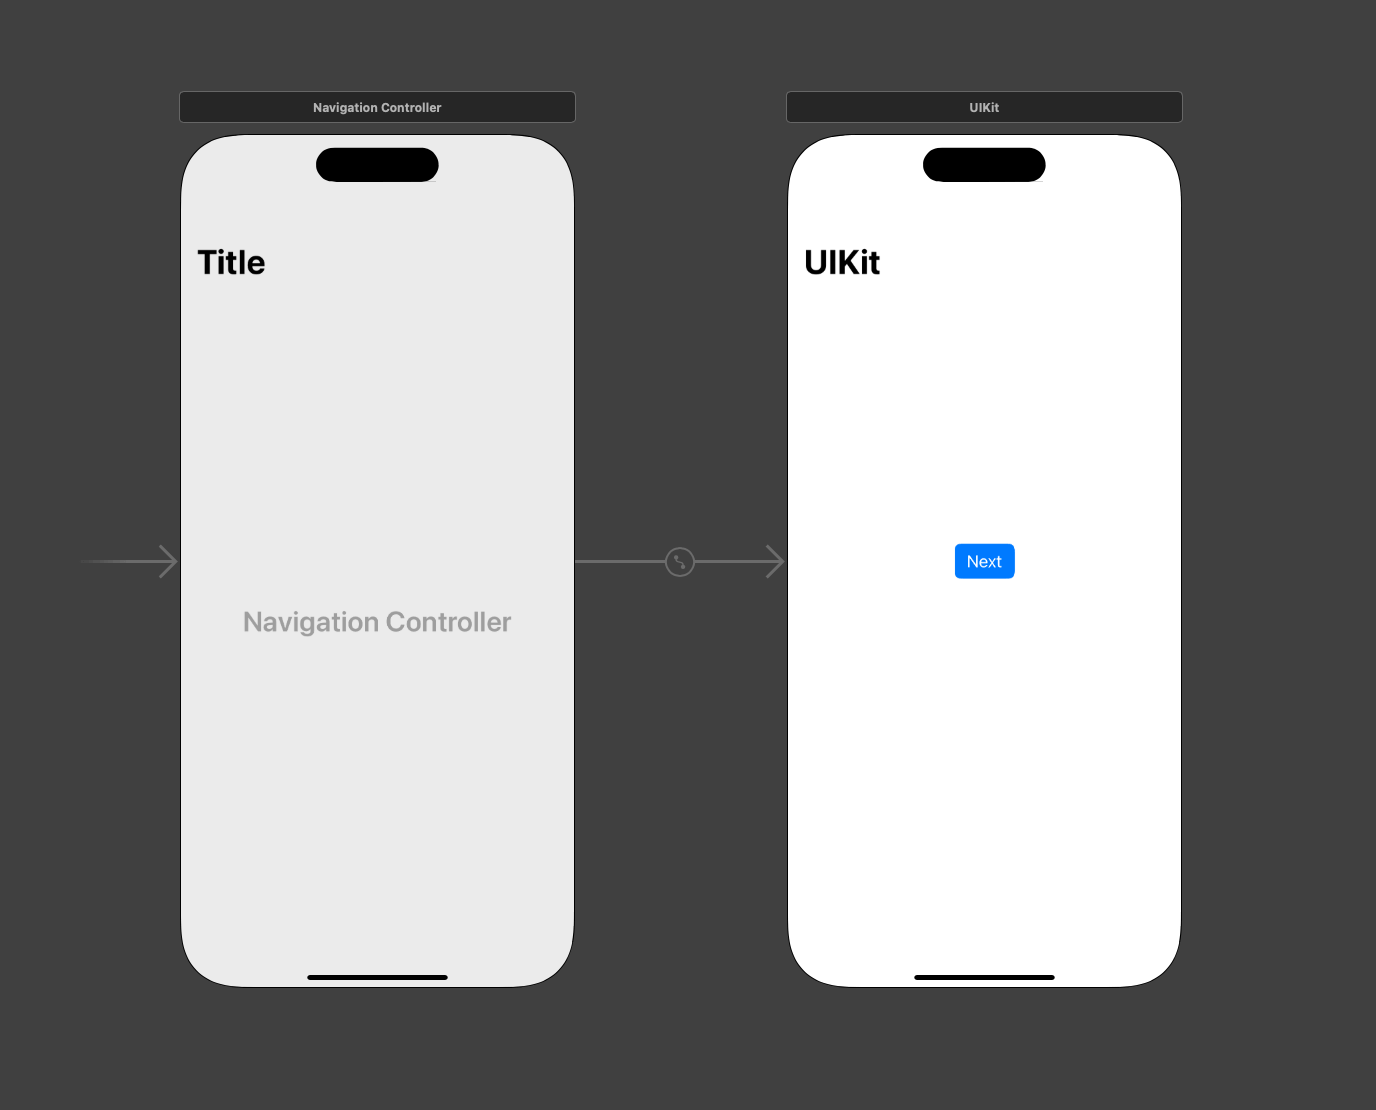
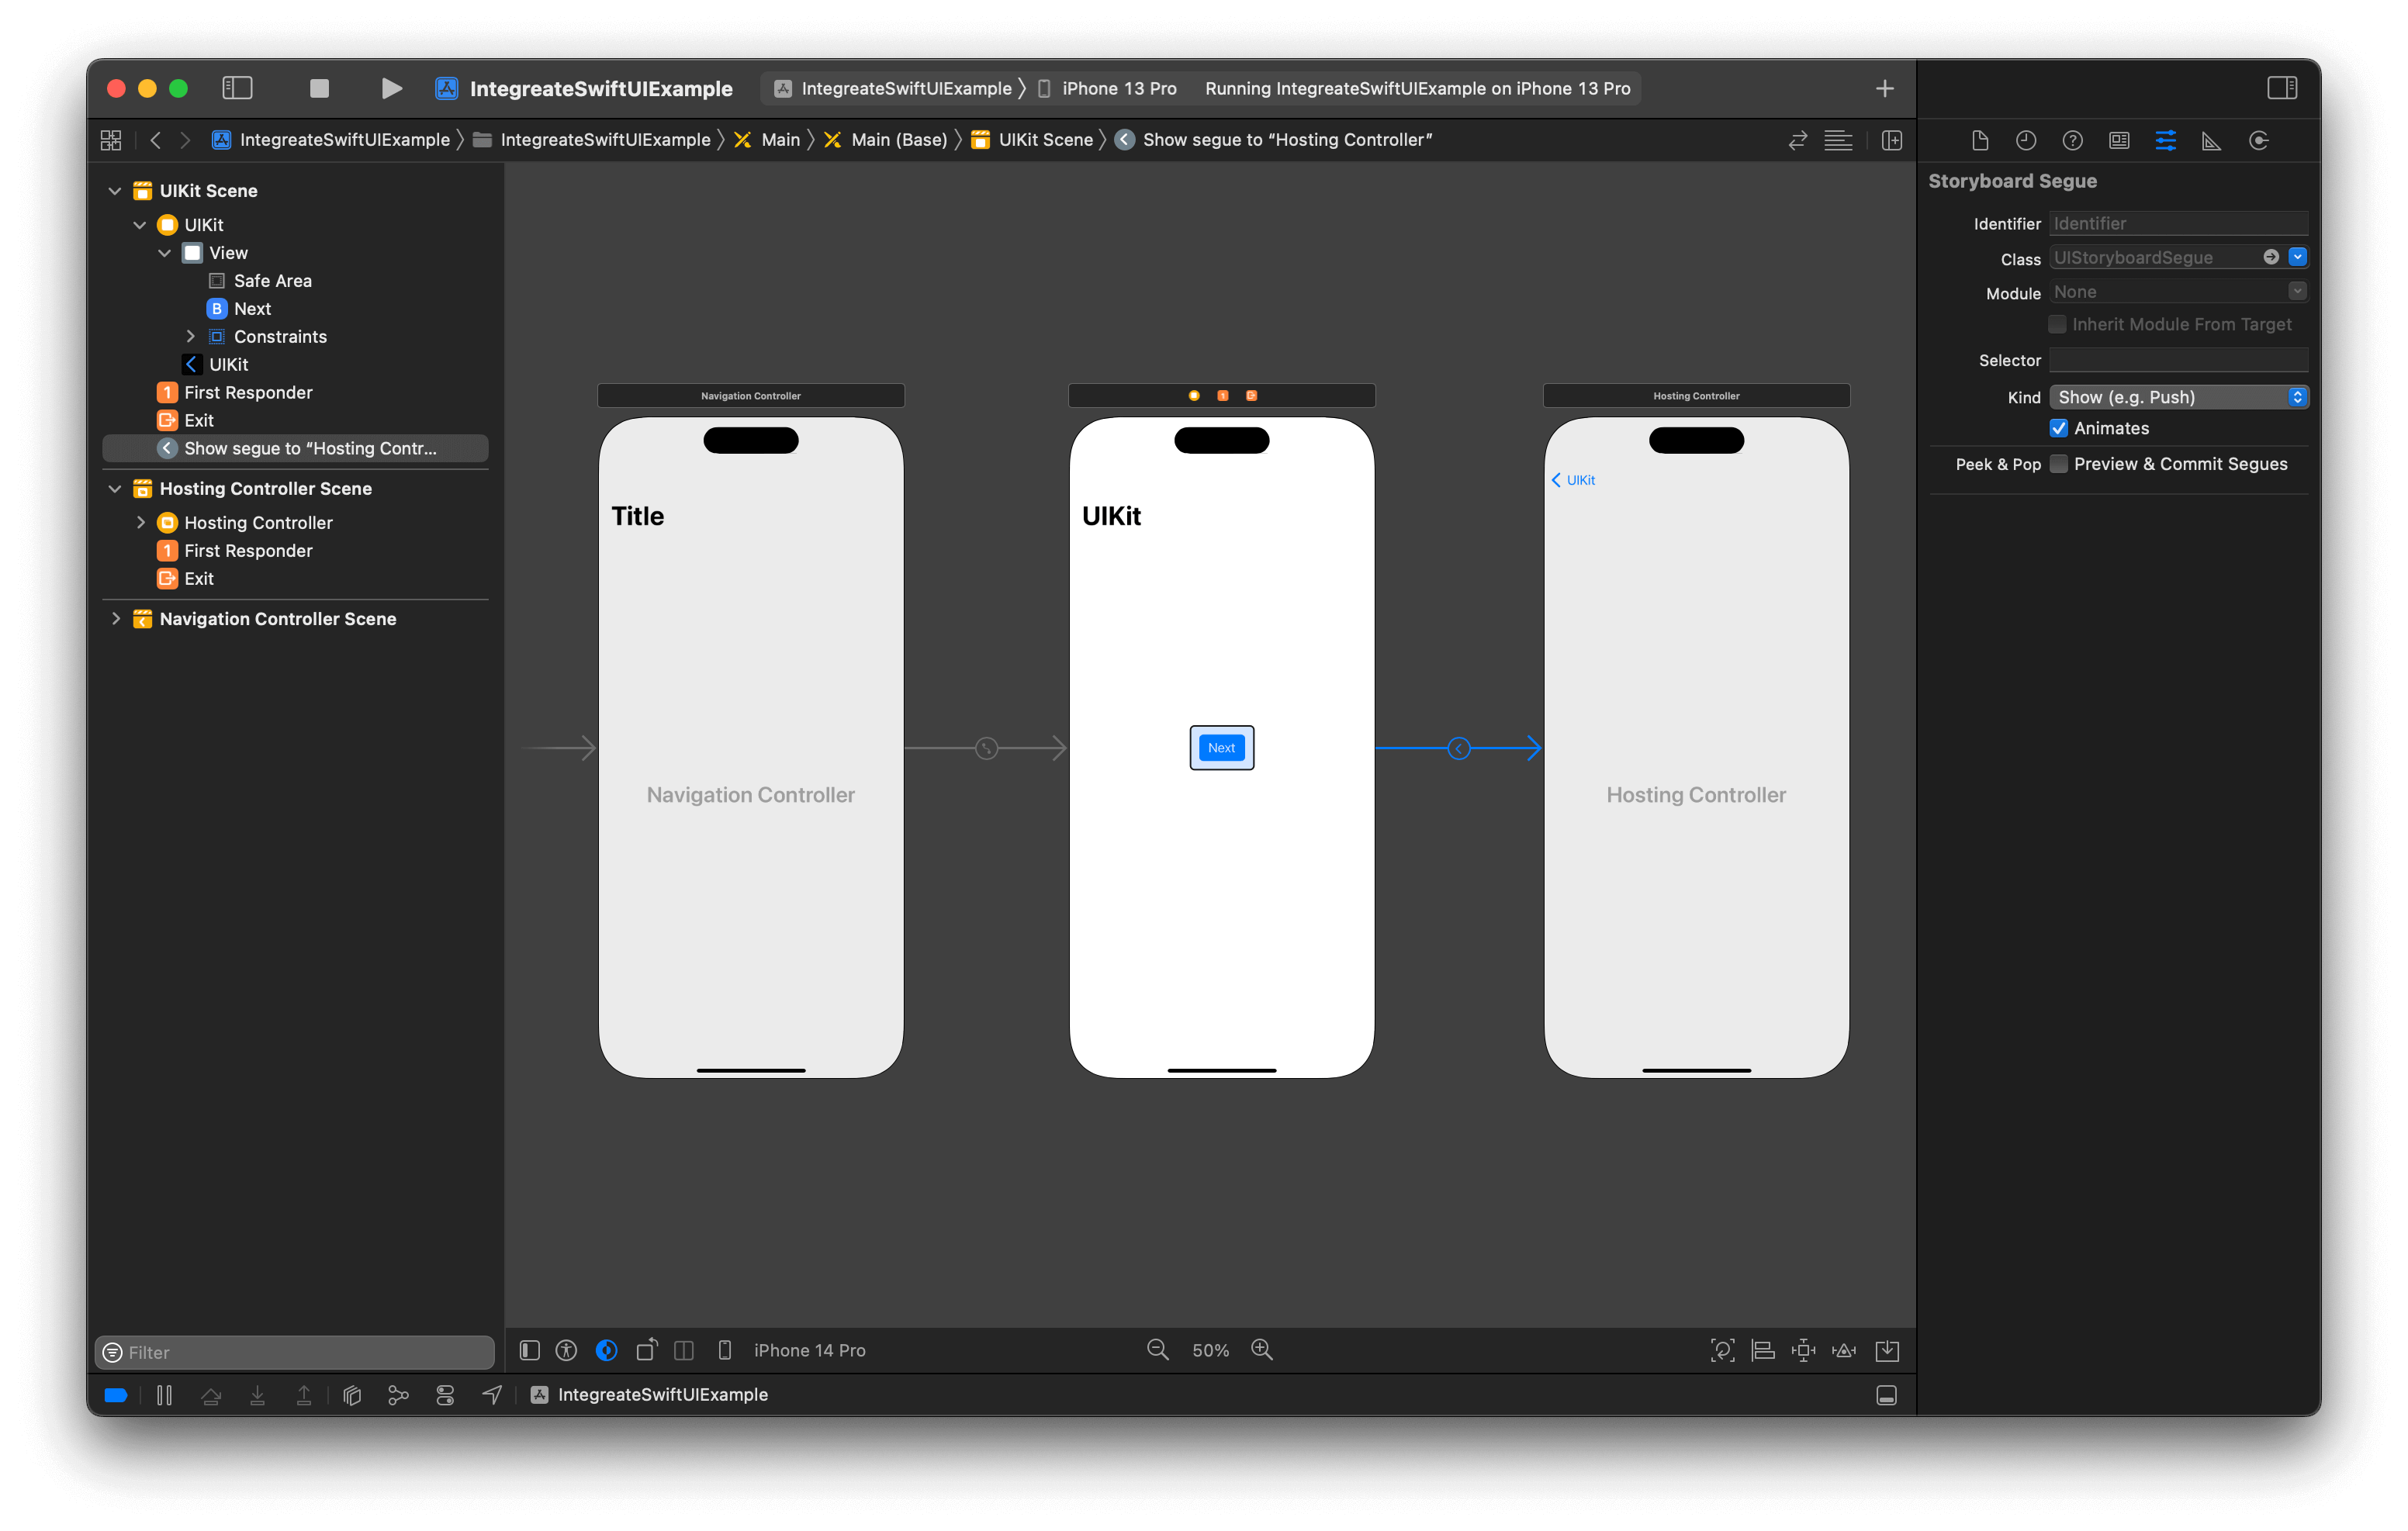
As an example, I will try to push a SwiftUI view into a navigation stack when users tap a button.
Here is our initial setup, a simple navigation view with a button in the center.
Add a UIHostingController to the Storyboard
Open the Library either by
- View Menu > Show Library.
- ⇧ - shift + ⌘ - command + L
- Or Clicking on the + button in the top right corner.
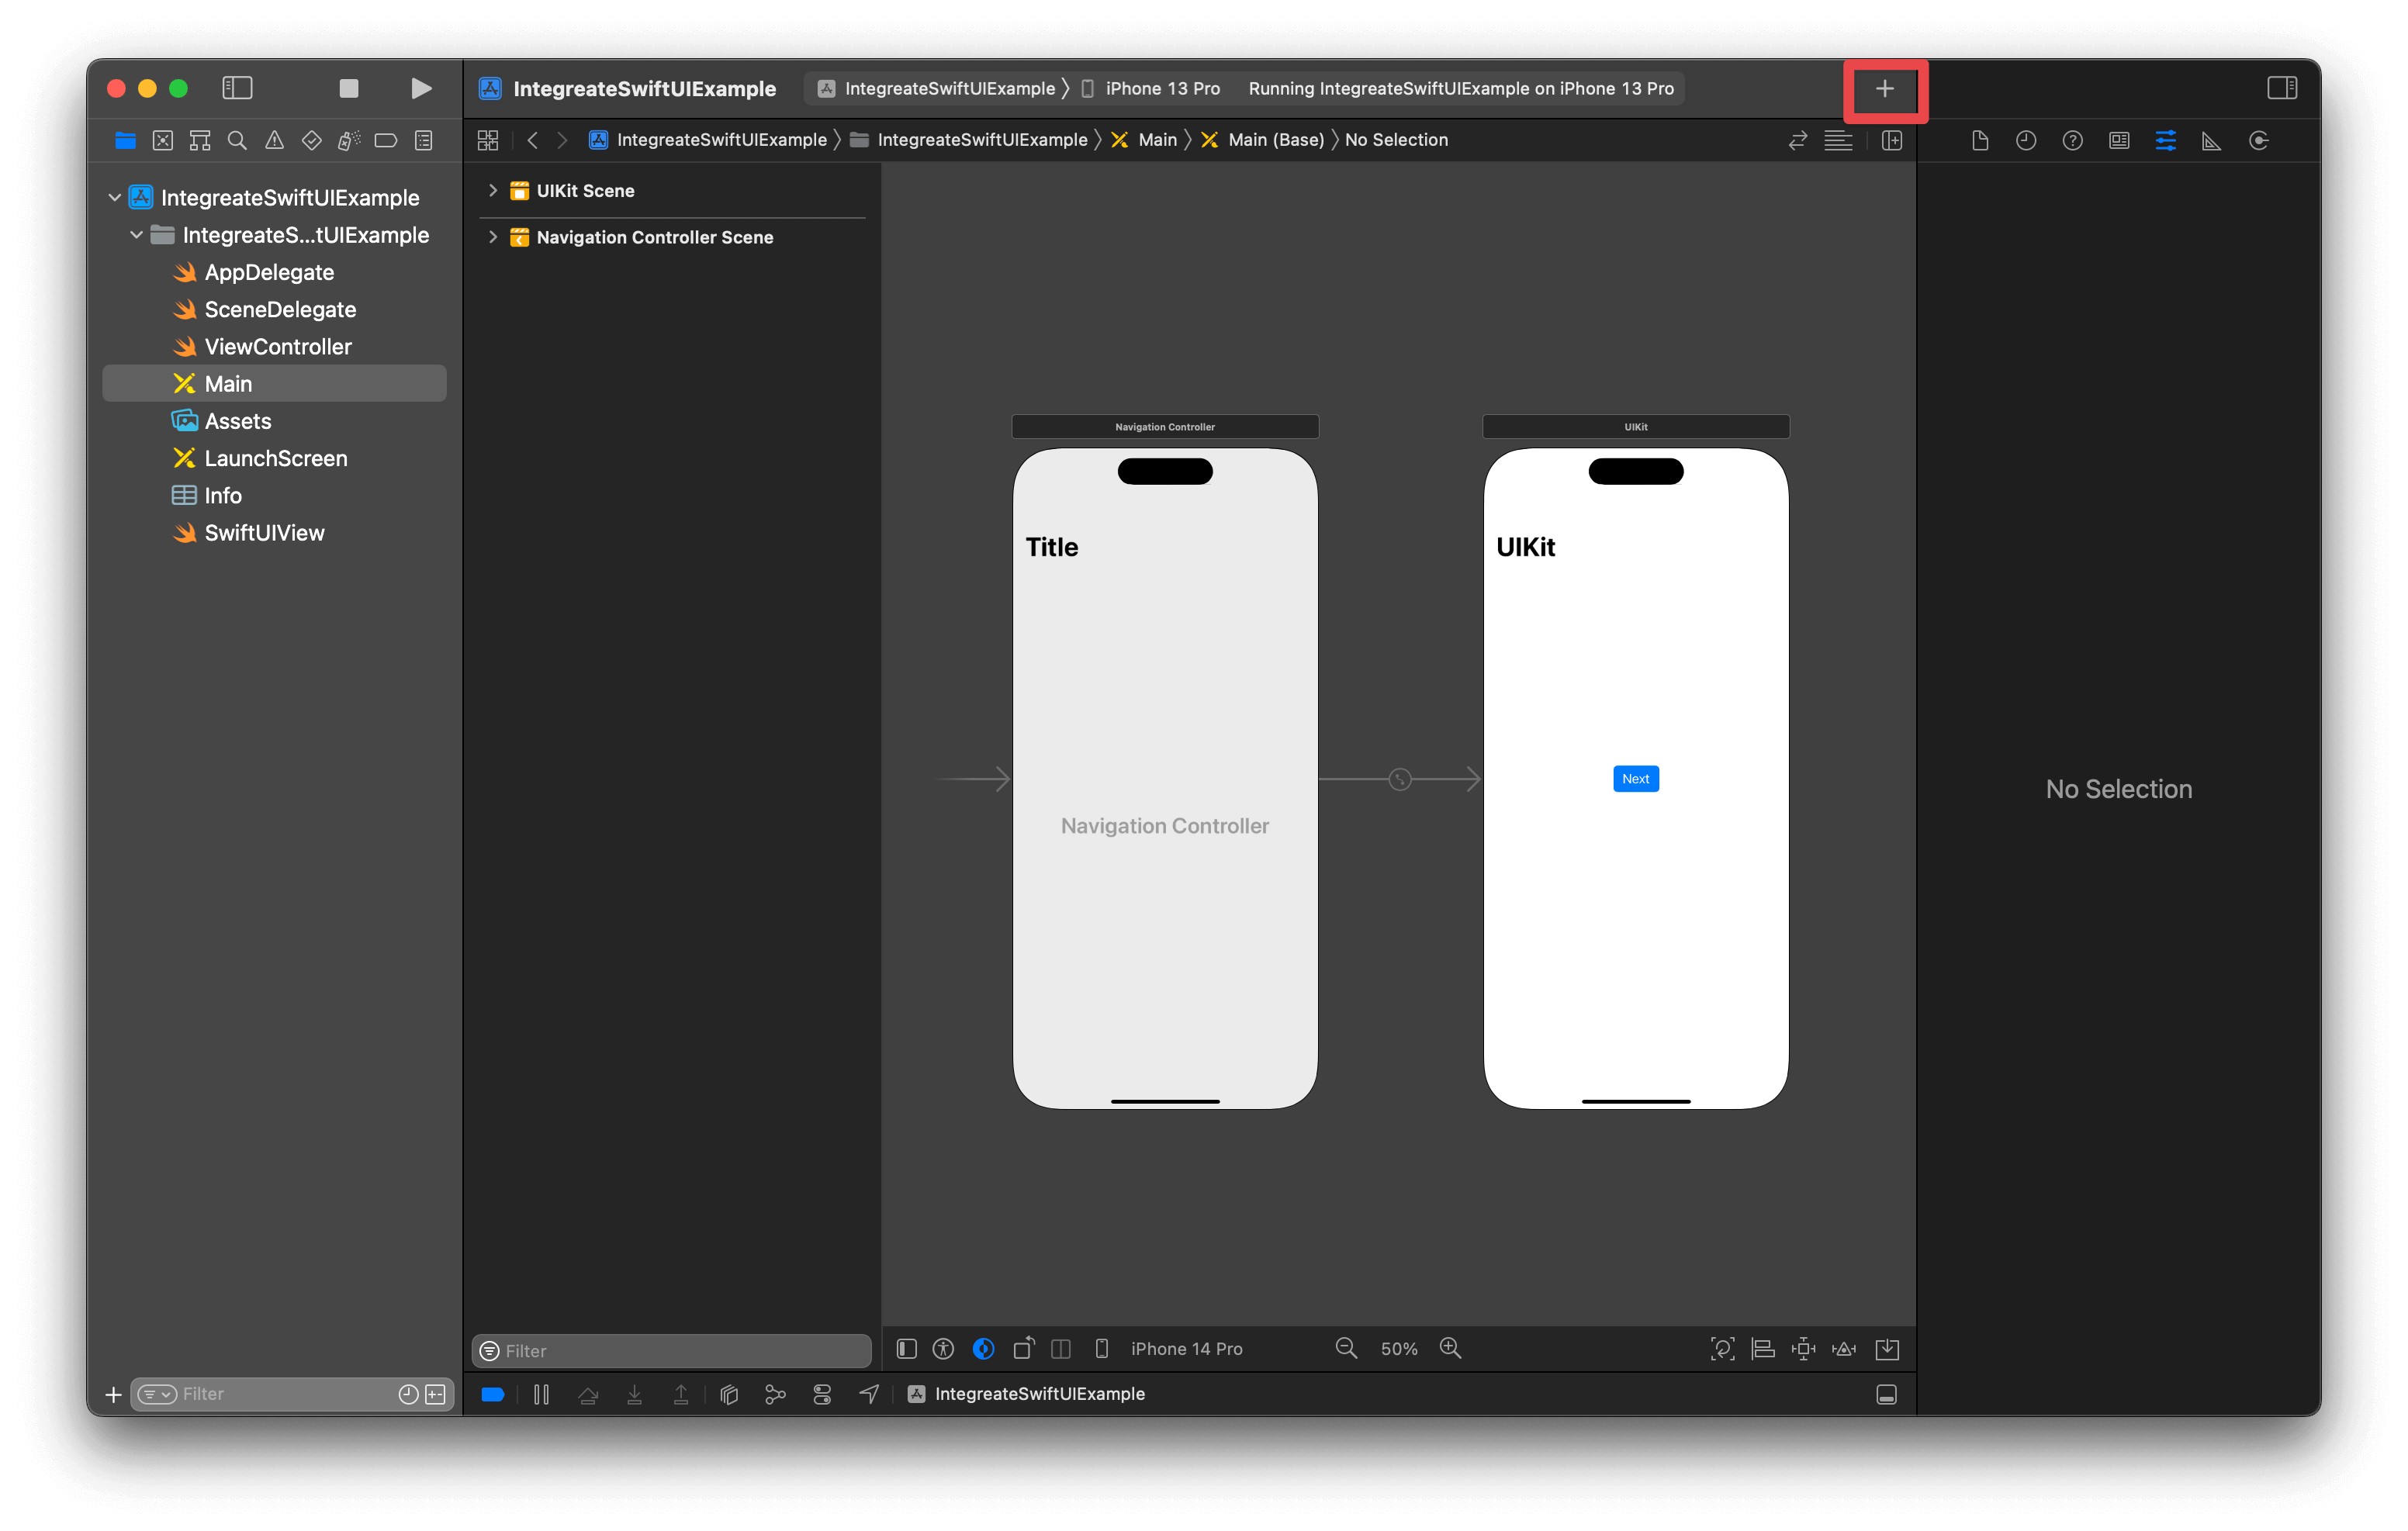
You will see a Library window popping up.
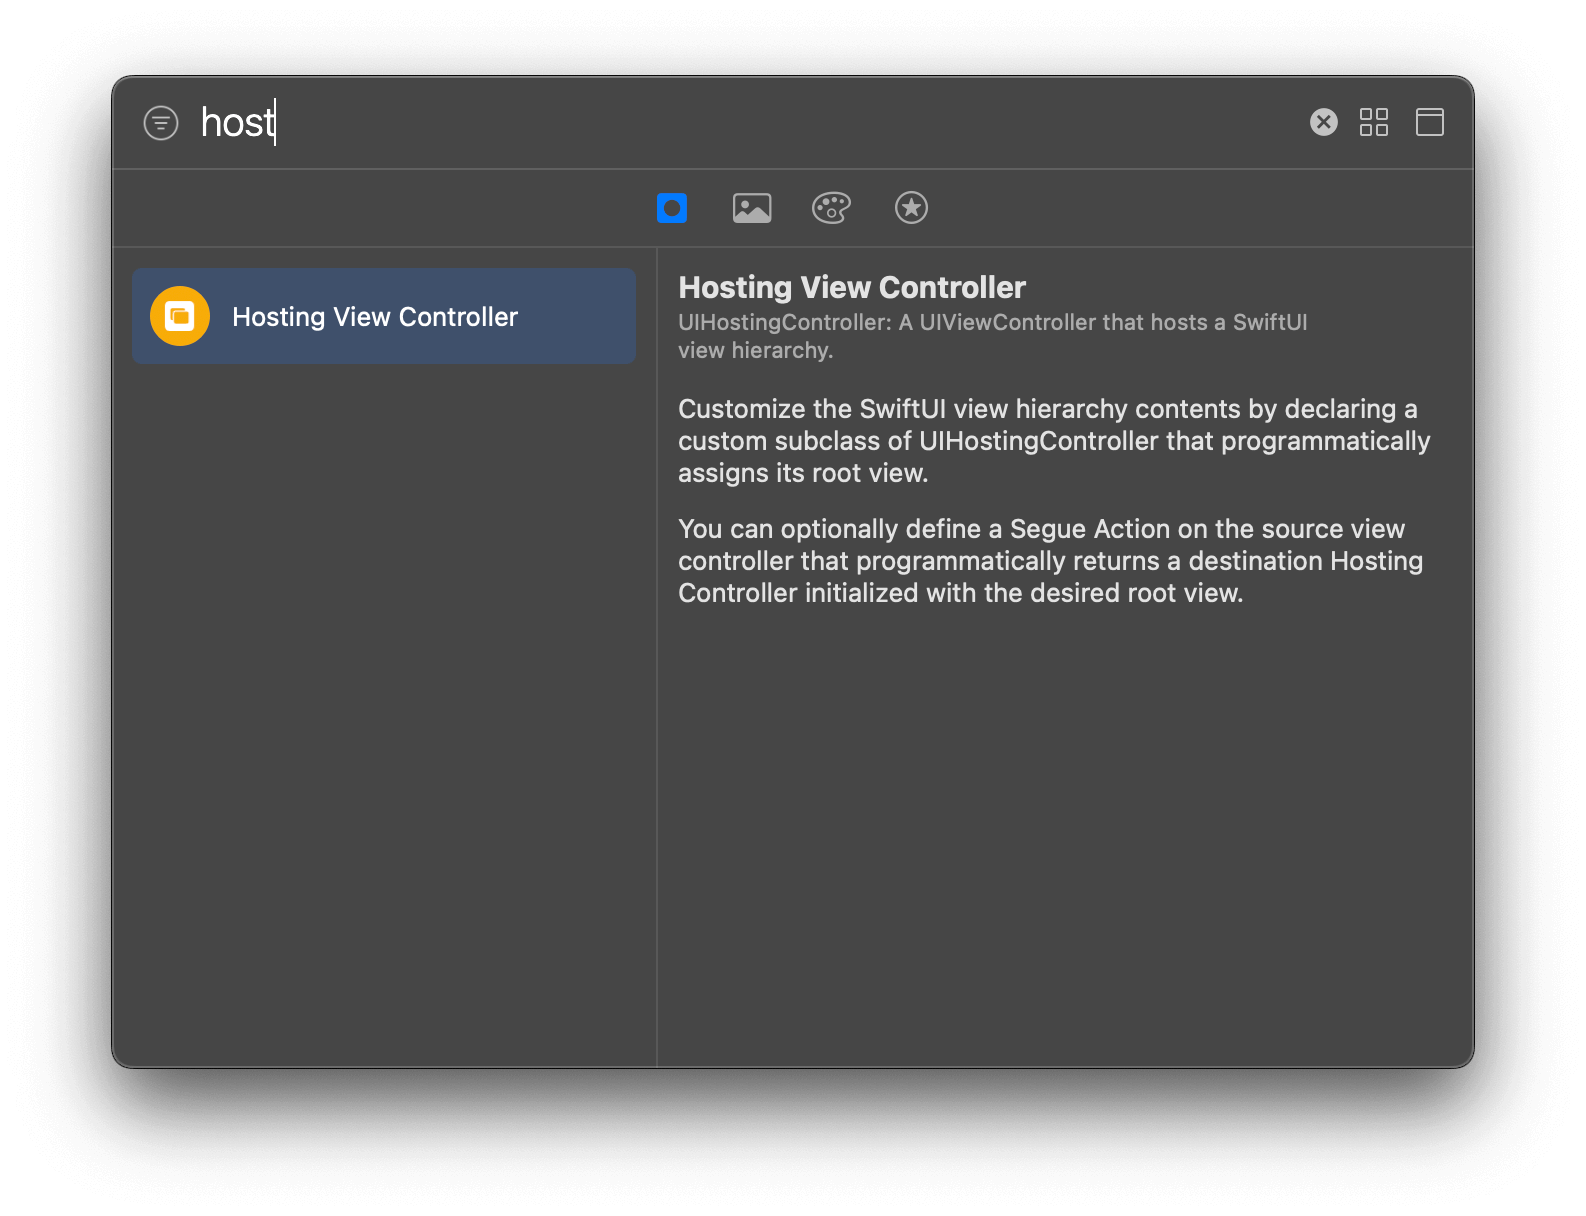
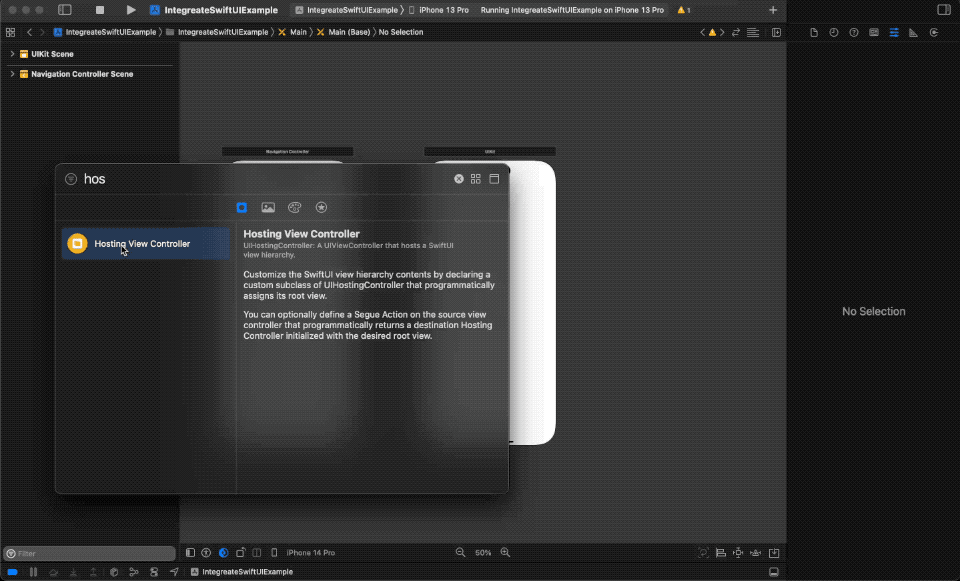
Then, search for "UIHostingController" and drag and drop it into the Storyboard.
Create a Segue to UIHostingController
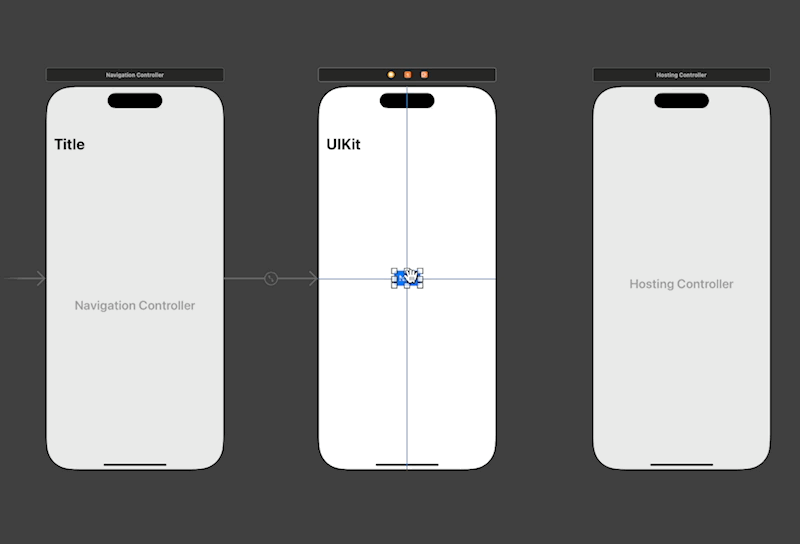
This step is no different than what we normally do. We create a show (push) segue from the button to the UIHostingController.
To create an Action Segue, we do the following steps.
- Hold down the Control key.
- Click the button and drag it to the
UIHostingController. - Select "Show" Action Segue.
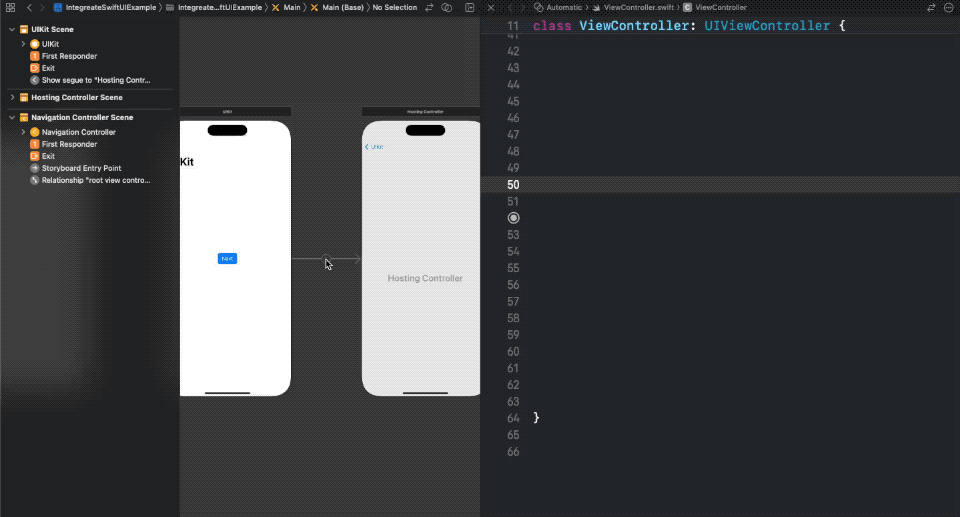
Create an @IBSegueAction
Storyboard use @IBSegueAction as a bridge between Storyboard and the code.
Since we want to customize this action to use the SwiftUI view, we need to create an @IBSegueAction.
Here are the steps to create @IBSegueAction.
- Open the Storyboard.
- Open "Assistant editor" from Editor Menu > Assistant. This will open the Storyboard and Code editor side-by-side.
- Select the "Show" Action Segue we created in the last section.
- Hold down the Control key and drag to the code editor.
- Enter the name of your segue. I named it
showSwiftUIView.
Implement the IBSegueAction
In the @IBSegueAction, we return a view controller that will be used as a destination for this segue action.
This is where we create and return our SwiftUI view.
import UIKit
import SwiftUI

class ViewController: UIViewController {

    override func viewDidLoad() {
        super.viewDidLoad()
        // Do any additional setup after loading the view.
    }

    @IBSegueAction func showSwiftUIView(_ coder: NSCoder) -> UIViewController? {
        return UIHostingController(coder: coder, rootView: SwiftUIView())
    }
}
We need to use UIHostingController's initializer that accepts coder here, init(coder:rootView:).
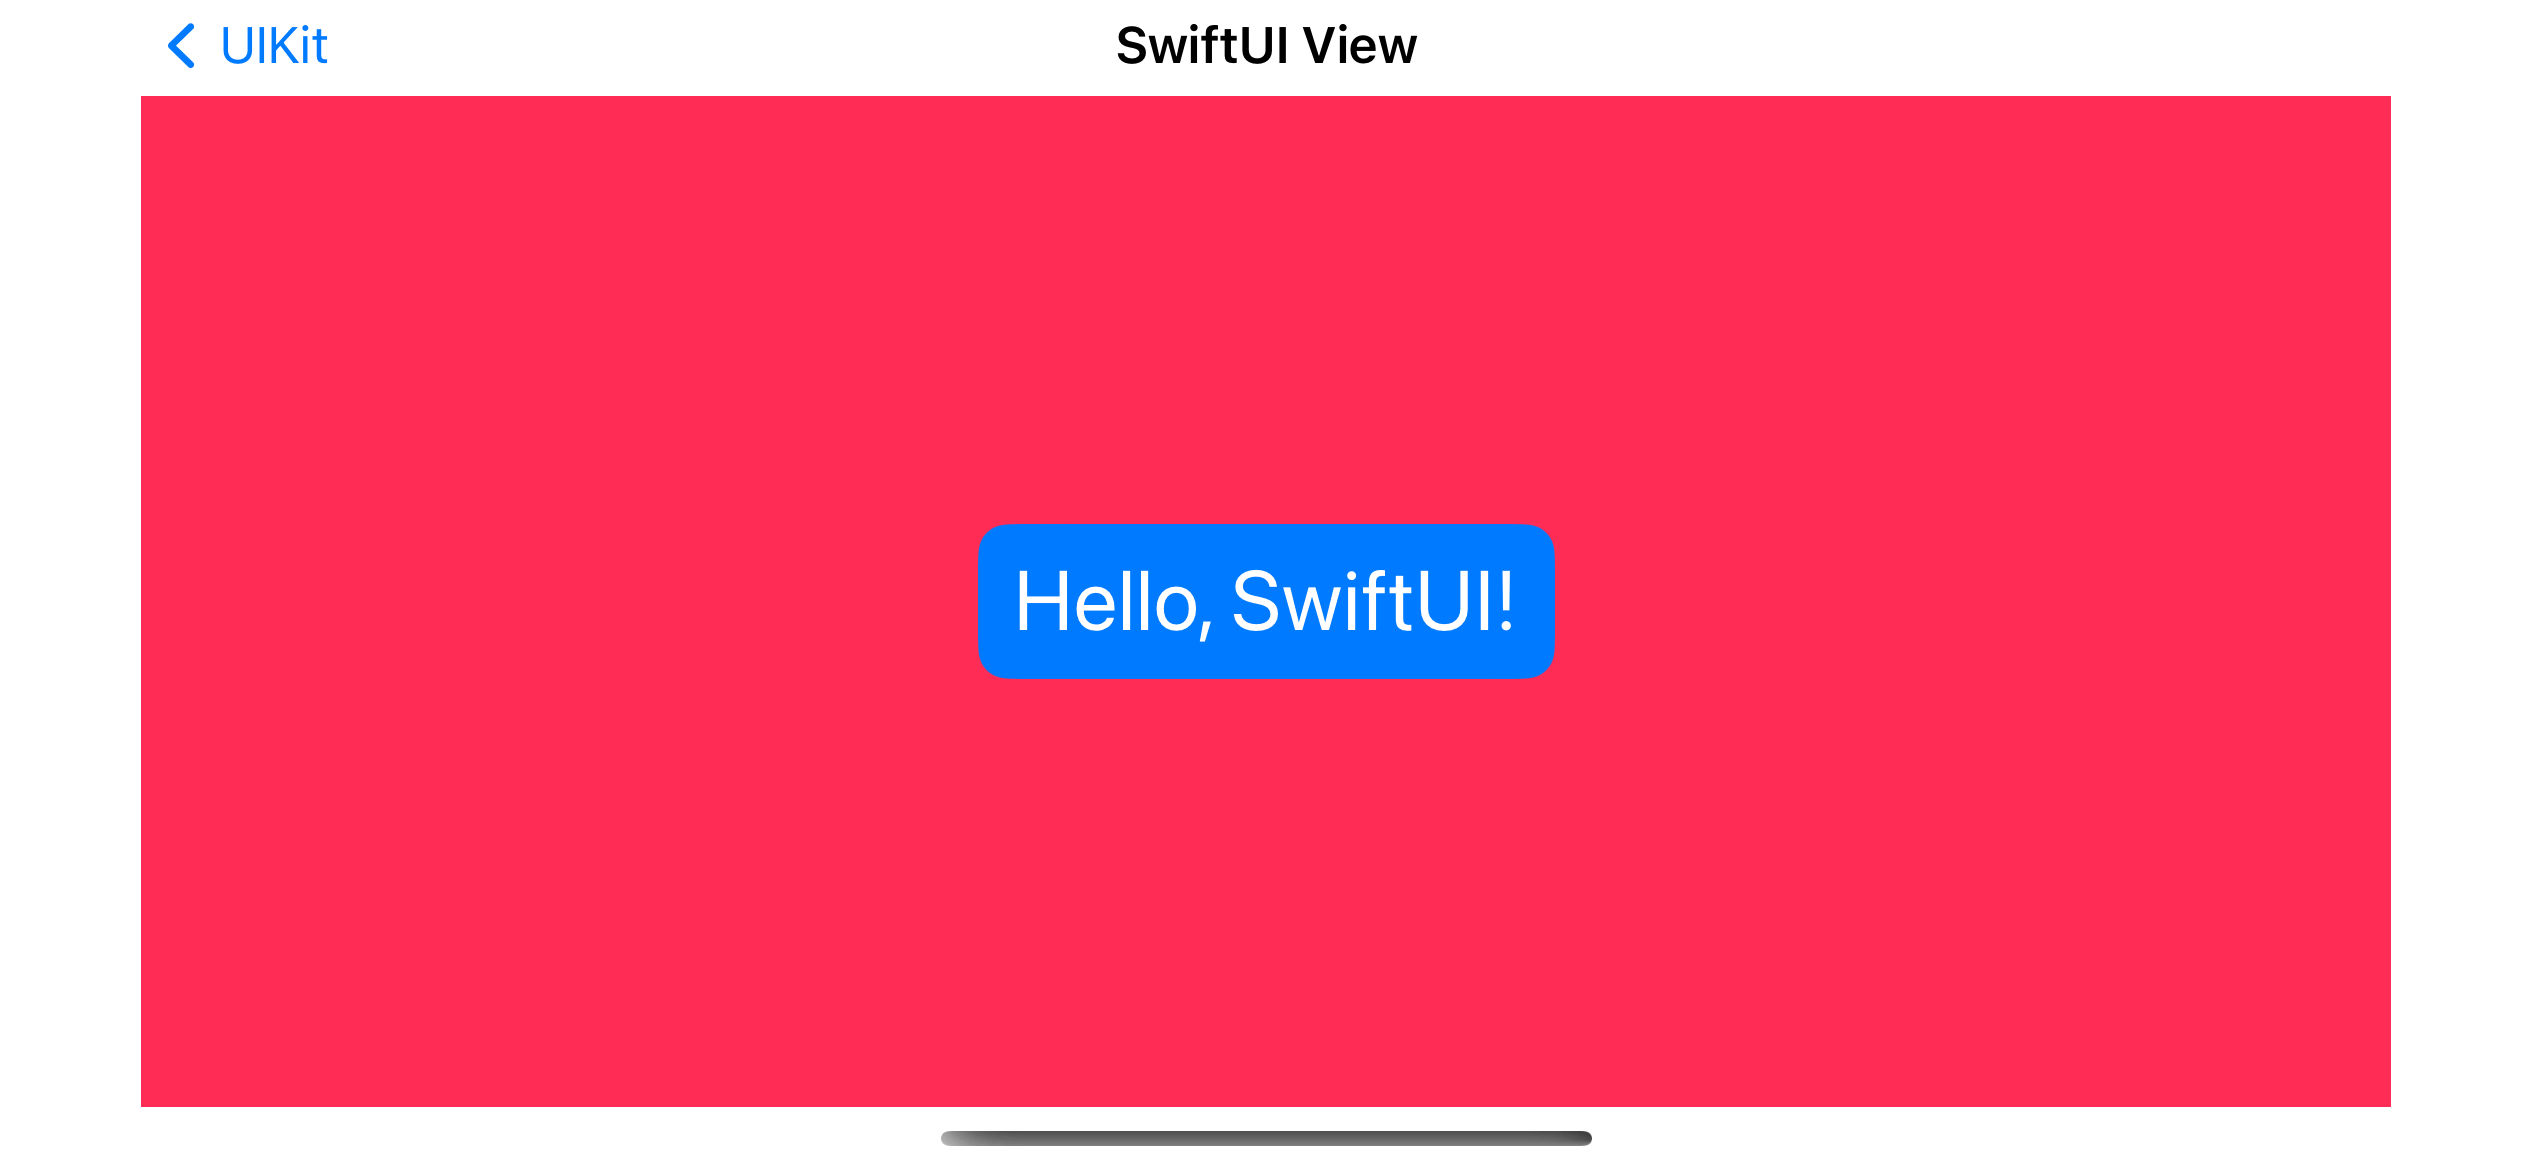
When we tap the Next button, this is what we get.
Read more article about SwiftUI, UIKit, Storyboard, or see all available topic
Enjoy the read?
If you enjoy this article, you can subscribe to the weekly newsletter.
Every Friday, you'll get a quick recap of all articles and tips posted on this site. No strings attached. Unsubscribe anytime.
Feel free to follow me on Twitter and ask your questions related to this post. Thanks for reading and see you next time.
If you enjoy my writing, please check out my Patreon https://www.patreon.com/sarunw and become my supporter. Sharing the article is also greatly appreciated.
Become a patron Buy me a coffee Tweet ShareHow to change Background color of Rounded Corner Border Button in SwiftUI
Having both background and border in SwiftUI isn't straightforward. Let's learn how to do it.
How to use SwiftUI in Storyboard using UIHostingController subclass
We can create a view controller that represents a SwiftUI view by subclassing a UIHostingController. Let's learn how to do it.