Match a view's shadow to the Sketch shadow
Table of Contents
If you have ever been working from a Sketch design, a shadow might be one of the most frustrating elements to work with. That's because it has a property that doesn't exist in CALayer's shadow, spread. And even the one that looks like the same property, blur and shadowRadius, doesn't produce the same effect.
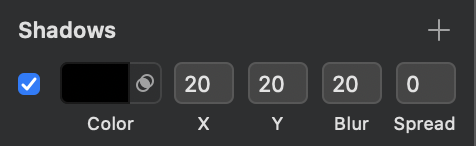
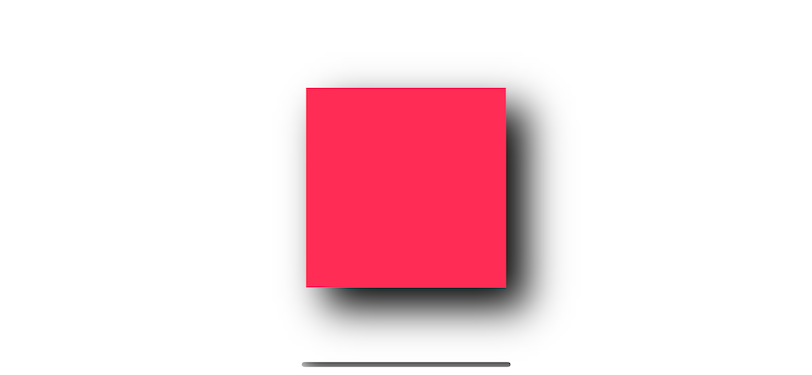
The following are the result of setting a shadow offset of (20, 20) and a blur radius of 20 in iOS and Sketch.
view.layer.shadowColor = UIColor.black.cgColor
view.layer.shadowOffset = CGSize(width: 20, height: 20)
view.layer.shadowOpacity = 1
view.layer.shadowRadius = 20
And here is our setting in Sketch.
As you can see, the result is not the same.
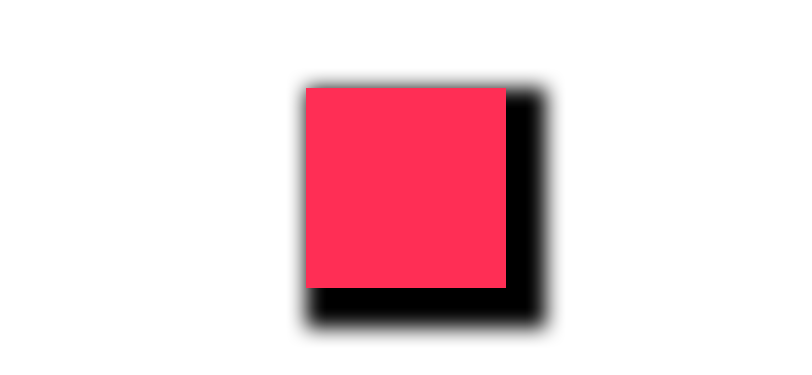
Blur vs. Shadow Radius
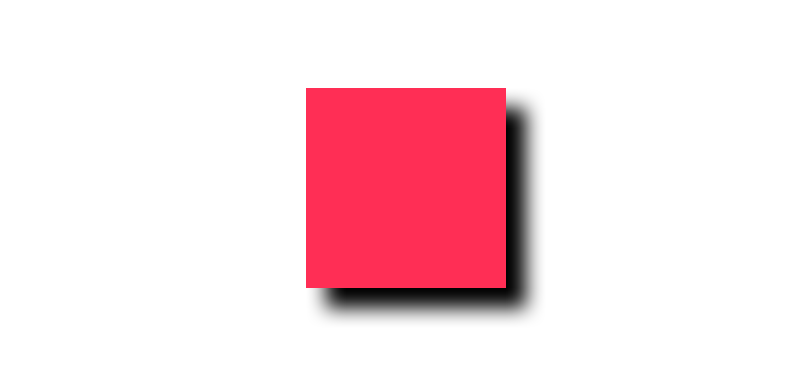
From the above example, the offset seems to be right, but blur effect obviously not. The shadow in iOS is more blurry than the one in Sketch, so we need to tune it down a bit. To do that, we have to divide a value that we get from the Sketch with some value before we can use it as shadowRadius. From what I read and try, the magic number is 2.
view.layer.shadowColor = UIColor.black.cgColor
view.layer.shadowOffset = CGSize(width: 20, height: 20)
view.layer.shadowOpacity = 1
view.layer.shadowRadius = 20/2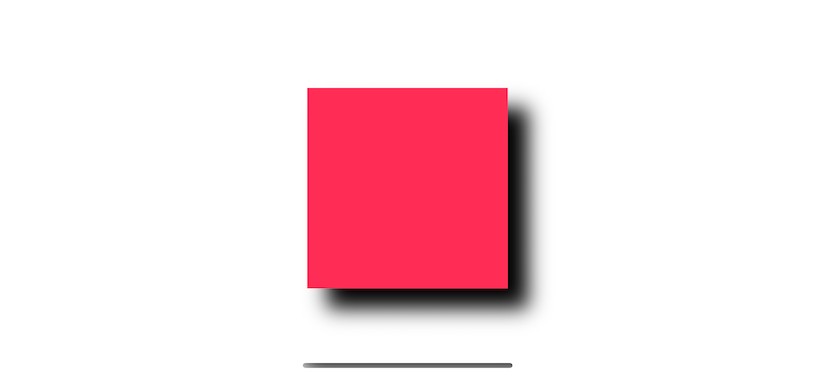
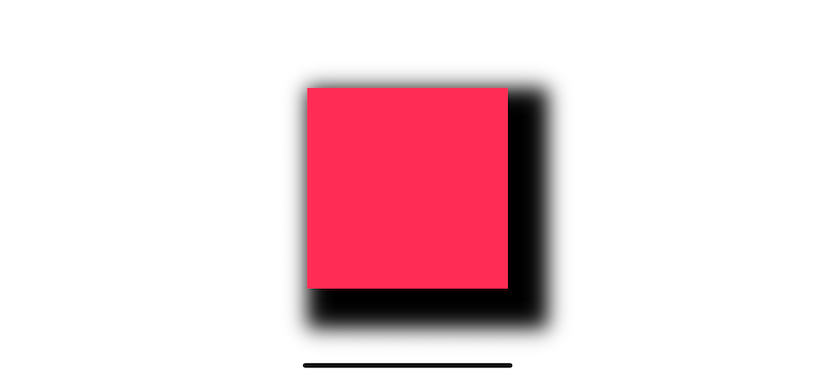
The following is the one from Sketch for comparison.
It might not be identical, but it good enough, and number two is easy to remember. We can match the blur value; the next one is the spread radius (spread).
You can easily support sarunw.com by checking out this sponsor.
AI Grammar: Correct grammar, spell check, check punctuation, and parphrase.
Spread
Spread radius increase / decrease the size of the shadow. A positive value increases the size of the shadow, and a negative value decreases the size of the shadow.
You can think of this as an inset of a shadow. The best way to understand this is setting shadow-offset to (0, 0) and blur radius to 0, then play around with spread.
Setting offset to (0, 0) and blur to 0 to make a shadow an identical size as the square. Then we set the spread value to 0, 20, and 40. As you can see, the shadow increases its size in all directions equal to the value specified in spread, so it looks like a border for our square view.
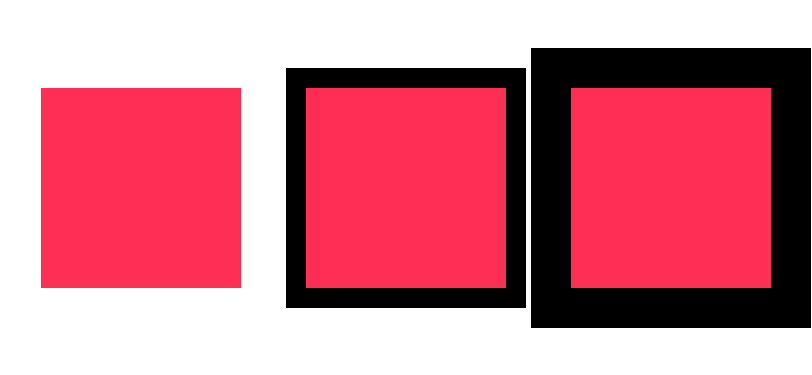
To replicate this behavior in iOS, we use insetBy(dx:dy:) and shadowPath.
Here is a shadow with an offset of (20, 20), a blur of 20, and a spread of 20 in Sketch.
We use insetBy(dx:dy:) and shadowPath to achieve the same effect.
view.layer.shadowColor = UIColor.black.cgColor
view.layer.shadowOffset = CGSize(width: 20, height: 20)
view.layer.shadowOpacity = 1
view.layer.shadowRadius = 20/2

let spread: CGFloat = 20 // <1>
let rect = view.bounds.insetBy(dx: -spread, dy: -spread) // <2>
view.layer.shadowPath = UIBezierPath(rect: rect).cgPath
<1> 20 is our spread value from Sketch.
<2> In sketch, positive value of spread in crease the size of the shadow, but positive parameter in insetBy(dx:dy:) will use as an inset which will reduce the rectangle size. So, we need to invert the sign to make the result rectangle bigger.
For comparison, this is the one from Sketch.
Extension
We can create an extension for this conversion.
extension UIView {
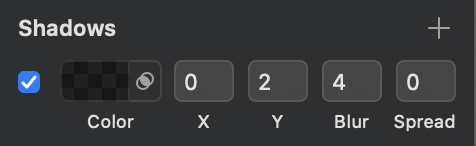
func applySketchShadow(
color: UIColor = .black,
alpha: Float = 0.2,
x: CGFloat = 0,
y: CGFloat = 2,
blur: CGFloat = 4,
spread: CGFloat = 0)
{
layer.shadowColor = color.cgColor
layer.shadowOpacity = alpha
layer.shadowOffset = CGSize(width: x, height: y)
layer.shadowRadius = blur / 2
if spread == 0 {
layer.shadowPath = nil
} else {
let dx = -spread
let rect = bounds.insetBy(dx: dx, dy: dx)
layer.shadowPath = UIBezierPath(rect: rect).cgPath
}
}
}You can easily support sarunw.com by checking out this sponsor.
AI Grammar: Correct grammar, spell check, check punctuation, and parphrase.
Related Resources
Read more article about UIKit, Sketch, Shadow, or see all available topic
Enjoy the read?
If you enjoy this article, you can subscribe to the weekly newsletter.
Every Friday, you'll get a quick recap of all articles and tips posted on this site. No strings attached. Unsubscribe anytime.
Feel free to follow me on Twitter and ask your questions related to this post. Thanks for reading and see you next time.
If you enjoy my writing, please check out my Patreon https://www.patreon.com/sarunw and become my supporter. Sharing the article is also greatly appreciated.
Become a patron Buy me a coffee Tweet ShareDifferent ways to check for String suffix in Swift
Learn how to get a suffix from a Swift string.
Responsive design with UIStackView
Learn how UIStackView can help to make your UI adapt to size change.