How to create multiline TextField in SwiftUI
Table of Contents
TextField is an editable text we usually use to get user input.
For a long time, it only supports presenting in one line. If the input text is longer than the available space, you can scroll the content on horizontal axis.
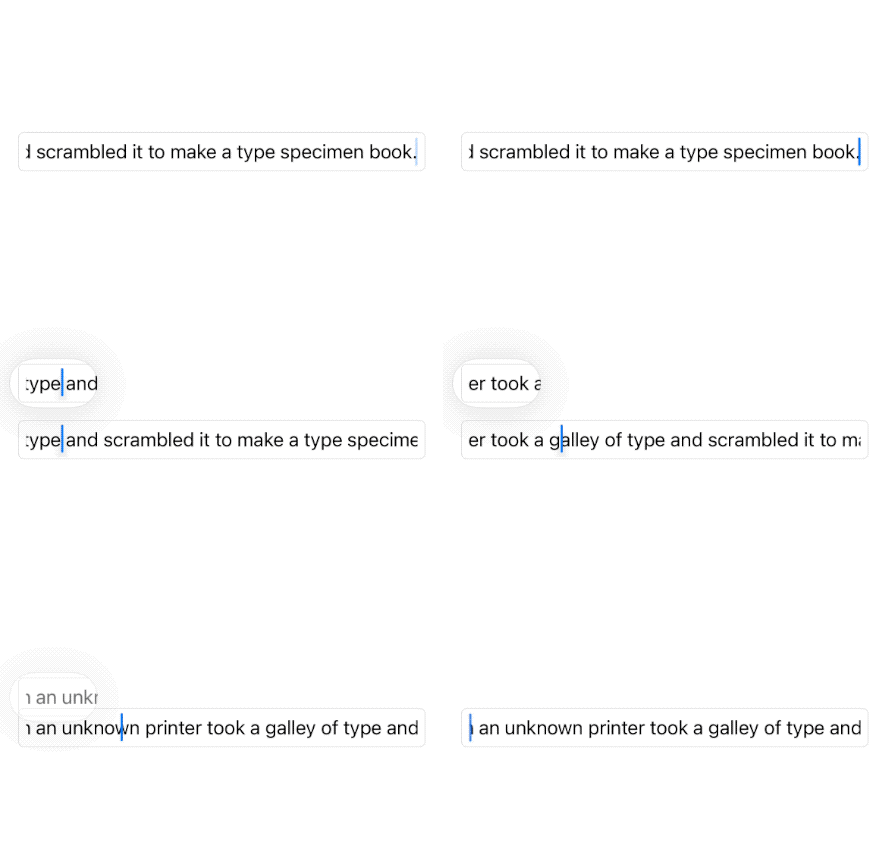
In iOS 16, we finally have control over how a text field grows.
TextField get new initializers that accept scrolling axis as an argument. This axis controls the scroll direction when the text is larger than the text field space.
In other words, a text field can now support multiline.
Create a multiline TextField that grows with the content
To make a multiline text field that grows with the content, we specify axis: .vertical as an initializer argument.
This will make a text field grow dynamically with the content as long as there is enough space.
struct MultilineTextFieldExample: View {
    @State var address = ""
    var body: some View {
        TextField("Address", text: $address, axis: .vertical)
            .textFieldStyle(.roundedBorder)
            .padding()
    }
}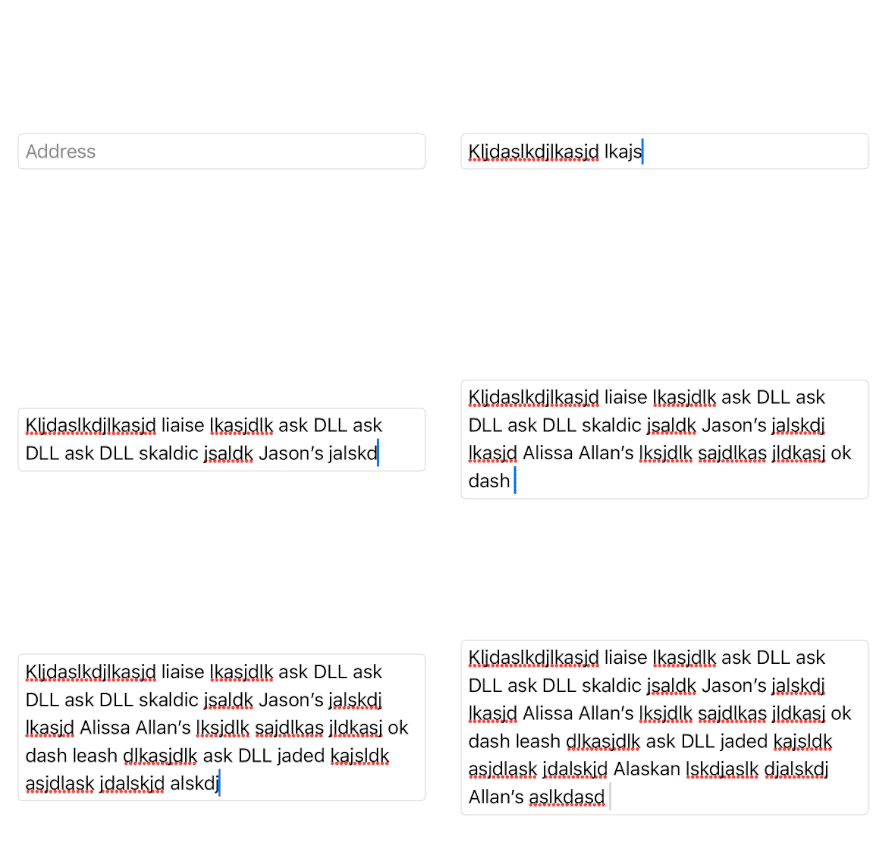
If the content is larger than the text field, you can scroll the content on the vertical axis.
Here is an example where the text field can't grow anymore due to limited space.

You can easily support sarunw.com by checking out this sponsor.

AI Grammar: Correct grammar, spell check, check punctuation, and parphrase.
Control a number of lines of a TextField
You might not want your text field to grow indefinitely. We can control line numbers of a text field with the .lineLimit(_:) modifier.
There are four ways to control the number of lines of a text field.
- Set a maximum number of lines.
- Fixed number of lines.
- Sets a minimum number of lines.
- Sets a minimum and a maximum number of lines.
Set a maximum number of lines
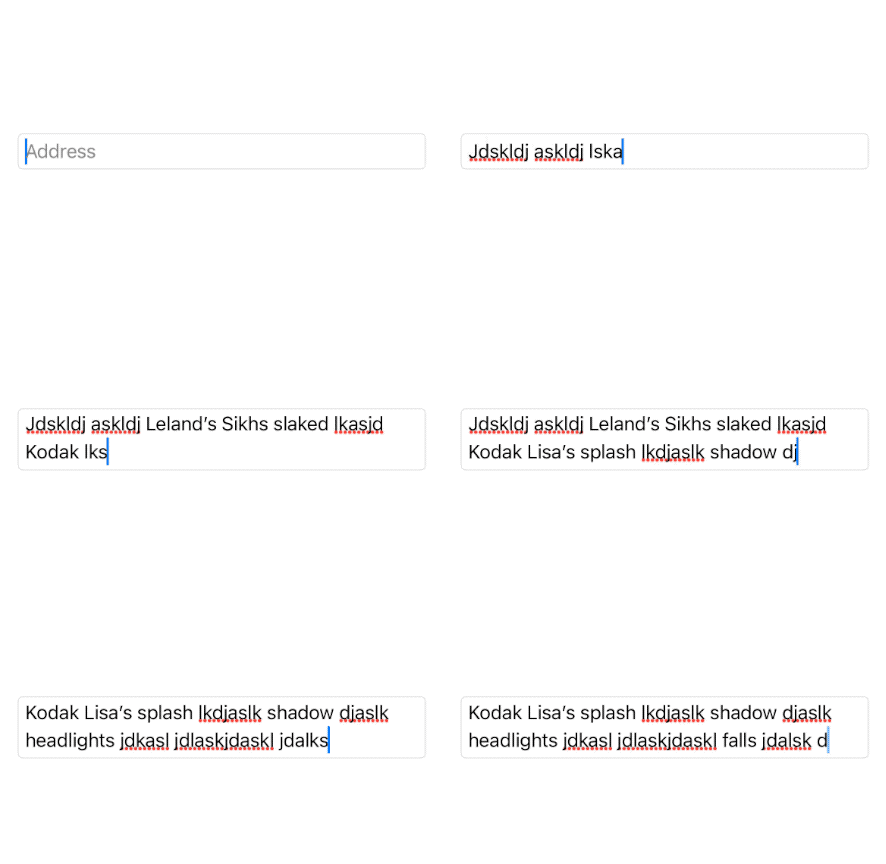
To set the maximum number of lines that a text field can grow, we specify the number of lines to the .lineLimit(_:) modifier.
A text field will grow as the content grow, but not exceed the number of lines you specified.
struct MultilineTextFieldExample: View {
    @State var address = ""
    var body: some View {
        TextField("Address", text: $address, axis: .vertical)
            .lineLimit(2)
            .textFieldStyle(.roundedBorder)
            .padding()
    }
}
A text field will only grow to occupy two lines, then scroll after that.
You can also set maximum line numbers using PartialRangeThrough, e.g., .lineLimit(...2).
struct MultilineTextFieldExample: View {
    @State var address = ""
    var body: some View {
        TextField("Address", text: $address, axis: .vertical)
            .lineLimit(...2)
            .textFieldStyle(.roundedBorder)
            .padding()
    }
}Fixed number of lines
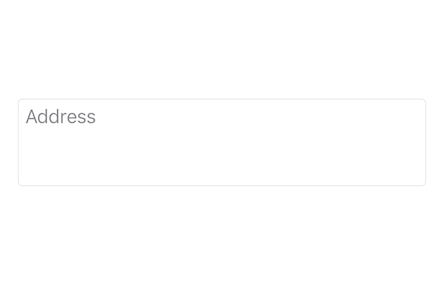
You can set a text field to have a fixed number of lines regardless of the content using lineLimit(_:reservesSpace:).
You set the number of lines that you want and set reservesSpace to true.
struct MultilineTextFieldExample: View {
    @State var address = ""
    var body: some View {
        TextField("Address", text: $address, axis: .vertical)
            .lineLimit(3, reservesSpace: true)
            .textFieldStyle(.roundedBorder)
            .padding()
    }
}
In this case, a text field will have a fixed height of three lines.
Set a minimum number of lines
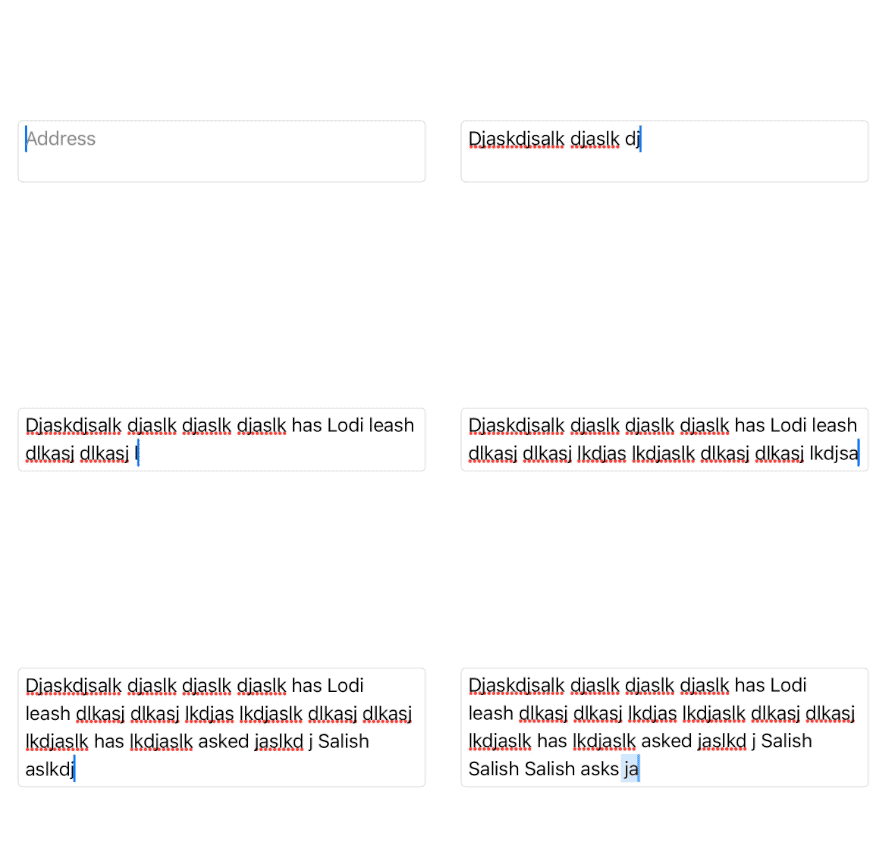
You can set a minimum number of lines by specifying a PartialRangeFrom, e.g. .lineLimit(2...).
A text field will occupy at least the number of lines you specified and then grow as the content grow.
struct MultilineTextFieldExample: View {
    @State var address = ""
    var body: some View {
        TextField("Address", text: $address, axis: .vertical)
            .lineLimit(2...)
            .textFieldStyle(.roundedBorder)
            .padding()
    }
}
In this example, the text field will occupy at least two lines, then grow with the content.
Set a minimum and maximum number of lines
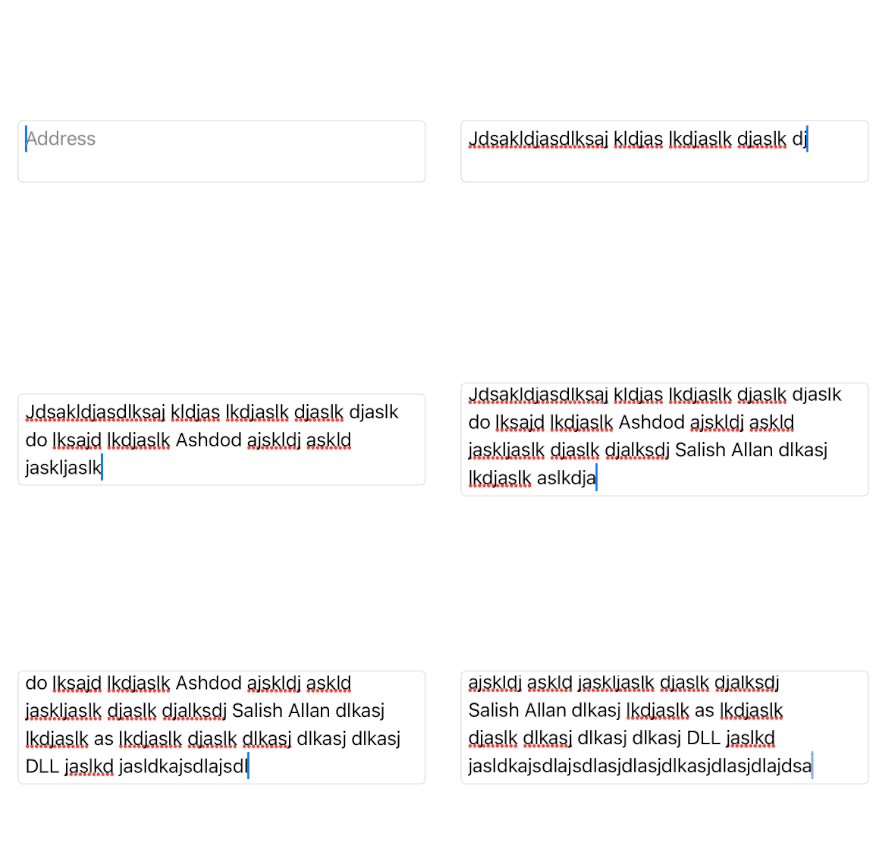
You can control both the minimum and the maximum number of lines by specifying a ClosedRange, e.g., .lineLimit(2...4).
struct MultilineTextFieldExample: View {
    @State var address = ""
    var body: some View {
        TextField("Address", text: $address, axis: .vertical)
            .lineLimit(2...4)
            .textFieldStyle(.roundedBorder)
            .padding()
    }
}
The text field will start with two lines then grow as content grow, but not exceed four.
Read more article about SwiftUI, iOS 16, Text, WWDC22, or see all available topic
Enjoy the read?
If you enjoy this article, you can subscribe to the weekly newsletter.
Every Friday, you'll get a quick recap of all articles and tips posted on this site. No strings attached. Unsubscribe anytime.
Feel free to follow me on Twitter and ask your questions related to this post. Thanks for reading and see you next time.
If you enjoy my writing, please check out my Patreon https://www.patreon.com/sarunw and become my supporter. Sharing the article is also greatly appreciated.
Become a patron Buy me a coffee Tweet ShareCreate a mac menu bar app in SwiftUI with MenuBarExtra
In iOS 16, we can create a mac menu bar app without a need for AppKit. Let's learn how to do that.
Calendar view in SwiftUI with MultiDatePicker
In iOS 16, we have a new view to select multiple dates. Let's explore its capabilities.