How to create Rounded Corners View in SwiftUI
Table of Contents
There are many ways to create a rounded corners view in SwiftUI. I will show you all of them, so you can pick the one that suits your style and iOS version.
- cornerRadius modifier
- clipShape modifier
- background modifier
Rounded Corners view using cornerRadius
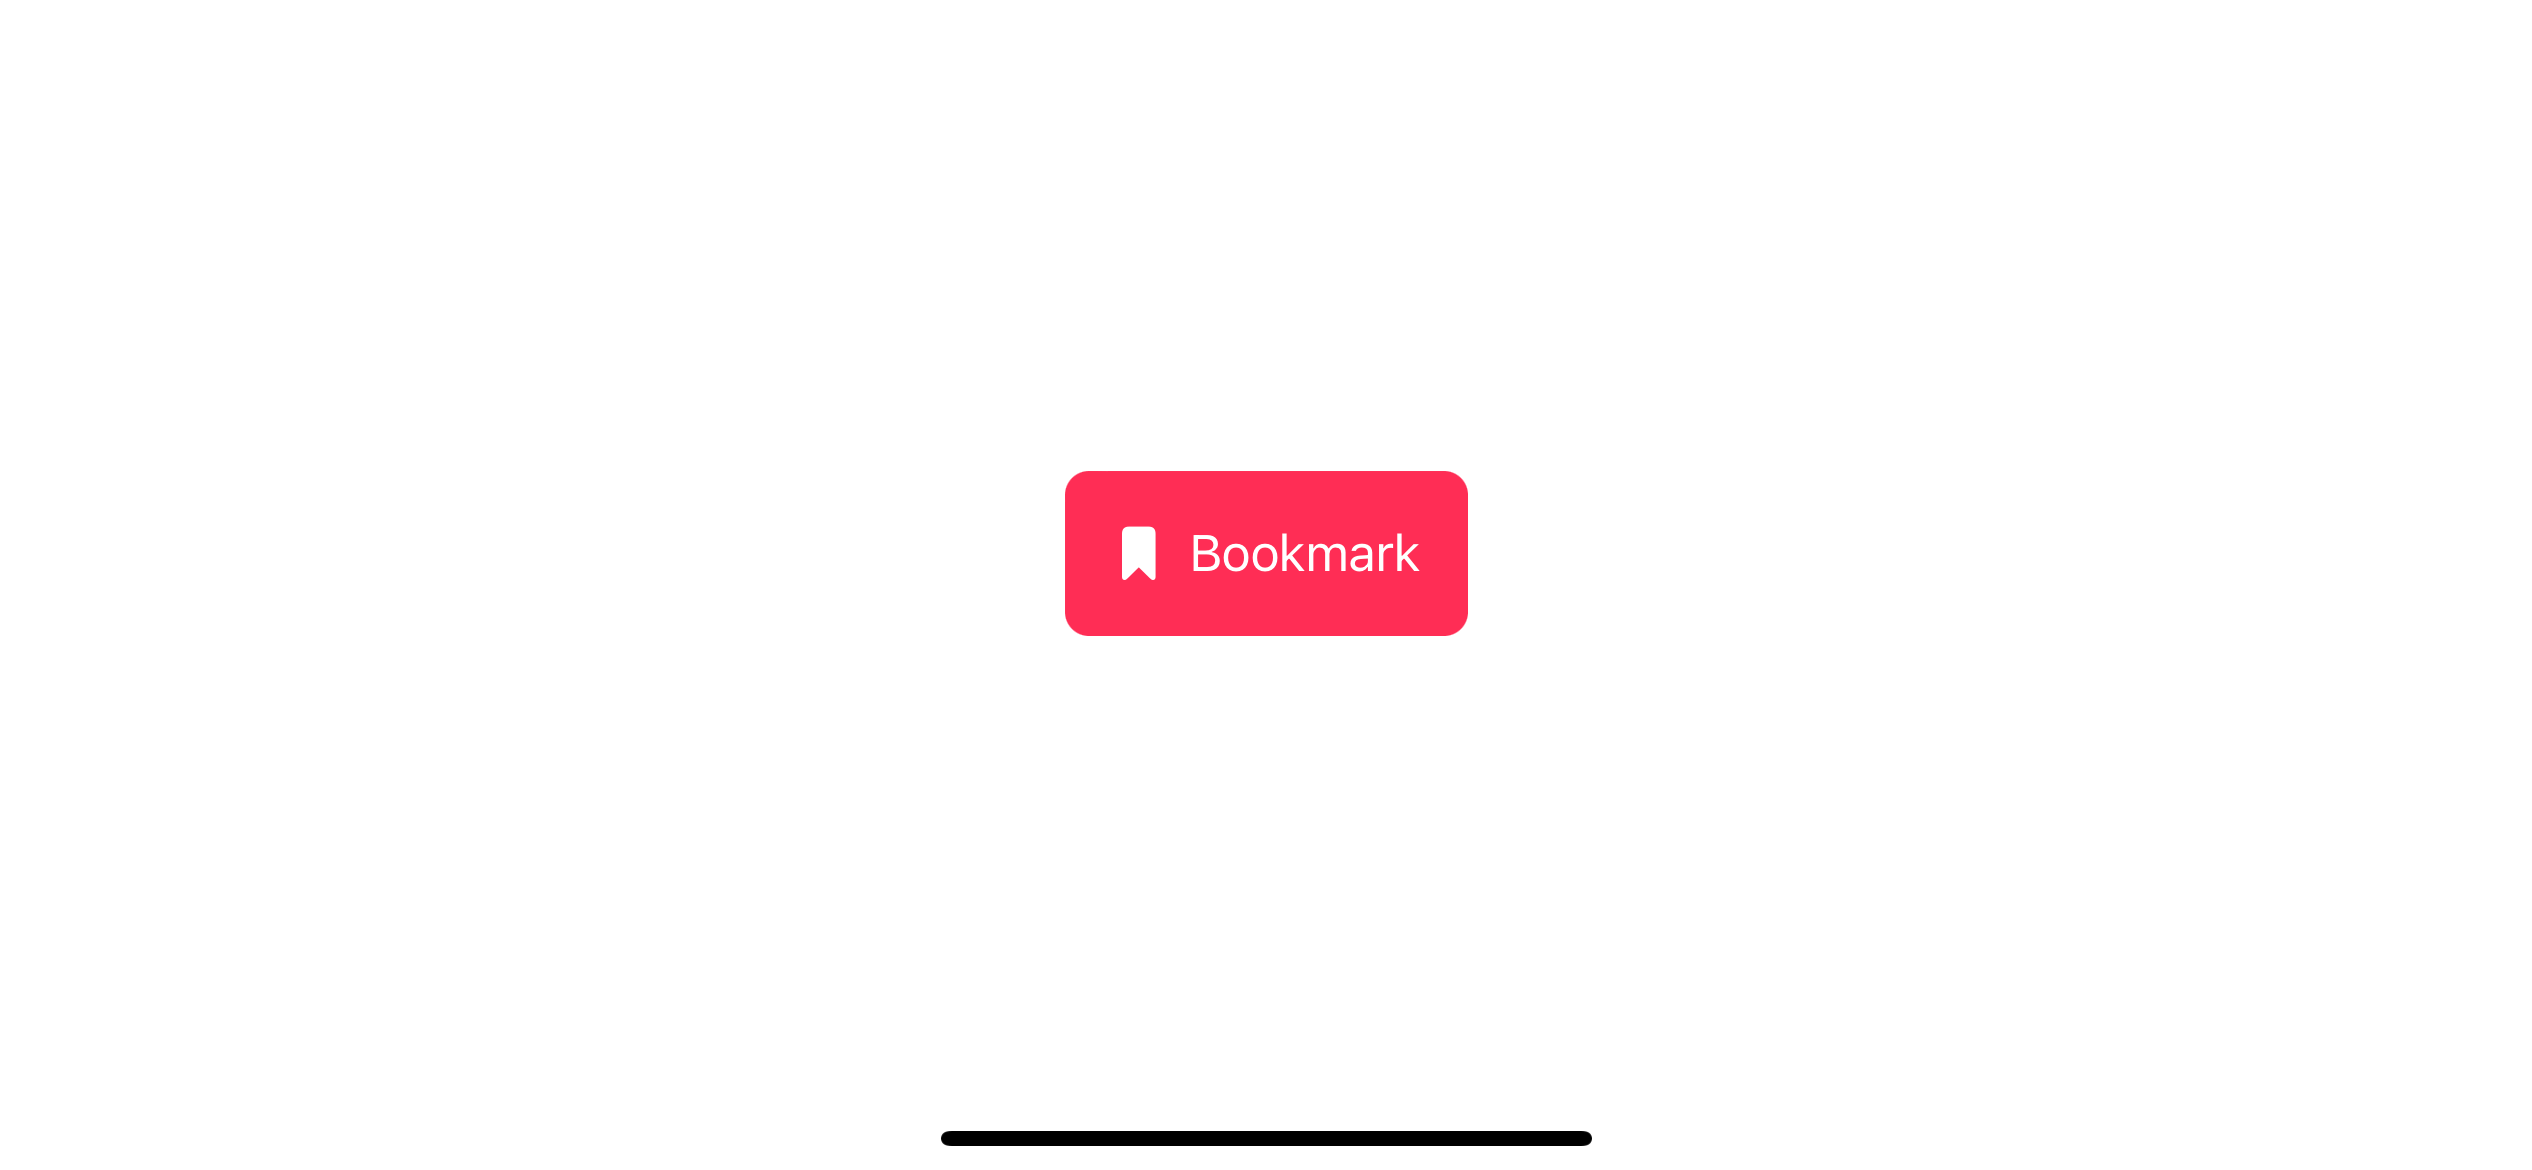
You can specify a corner radius on a view with cornerRadius modifier.
Label("Bookmark", systemImage: "bookmark.fill")
    .padding()
    .background(.pink)
    .foregroundColor(.white)
    .cornerRadius(8)
We have had the cornerRadius modifier since the beginning of SwiftUI (iOS 13), so you can use this if you still supported iOS 13.
You can easily support sarunw.com by checking out this sponsor.
AI Paraphrase:Are you tired of staring at your screen, struggling to rephrase sentences, or trying to find the perfect words for your text?
Rounded Corners view using clipShape
You can also make rounded corners using clipShape modifier. This modifier will clip the modified view to a specified shape.
SwiftUI has many built-in shapes that can produce rounded corners, e.g., RoundedRectangle and Capsule.
VStack {
    Label("Bookmark", systemImage: "bookmark.fill")
        .padding()
        .foregroundColor(.white)
        .background(.pink)
        .clipShape(
            // 1
            RoundedRectangle(
                cornerRadius: 8
            )
        )

    Label("Bookmark", systemImage: "bookmark.fill")
        .padding()
        .foregroundColor(.white)
        .background(.pink)
        .clipShape(
            // 2
            Capsule()
        )

    Label("Bookmark", systemImage: "bookmark.fill")
        .padding()
        .foregroundColor(.white)
        .background(.pink)
        .clipShape(
            // 3
            RoundedRectangle(
                cornerRadius: 20,
                style: .continuous
            )
        )
}
1 We created rounded corners view with a radius of 8 by clipping the view with a rounded rectangle with a corner radius of 8.
2 We created rounded corners view using a capsule shape.
3 You can specify .continuous style to RoundedRectangle which will produce smooth rounded corners. Apple used this throughout the system. Some refer to this as Squircle.
Here is the result.
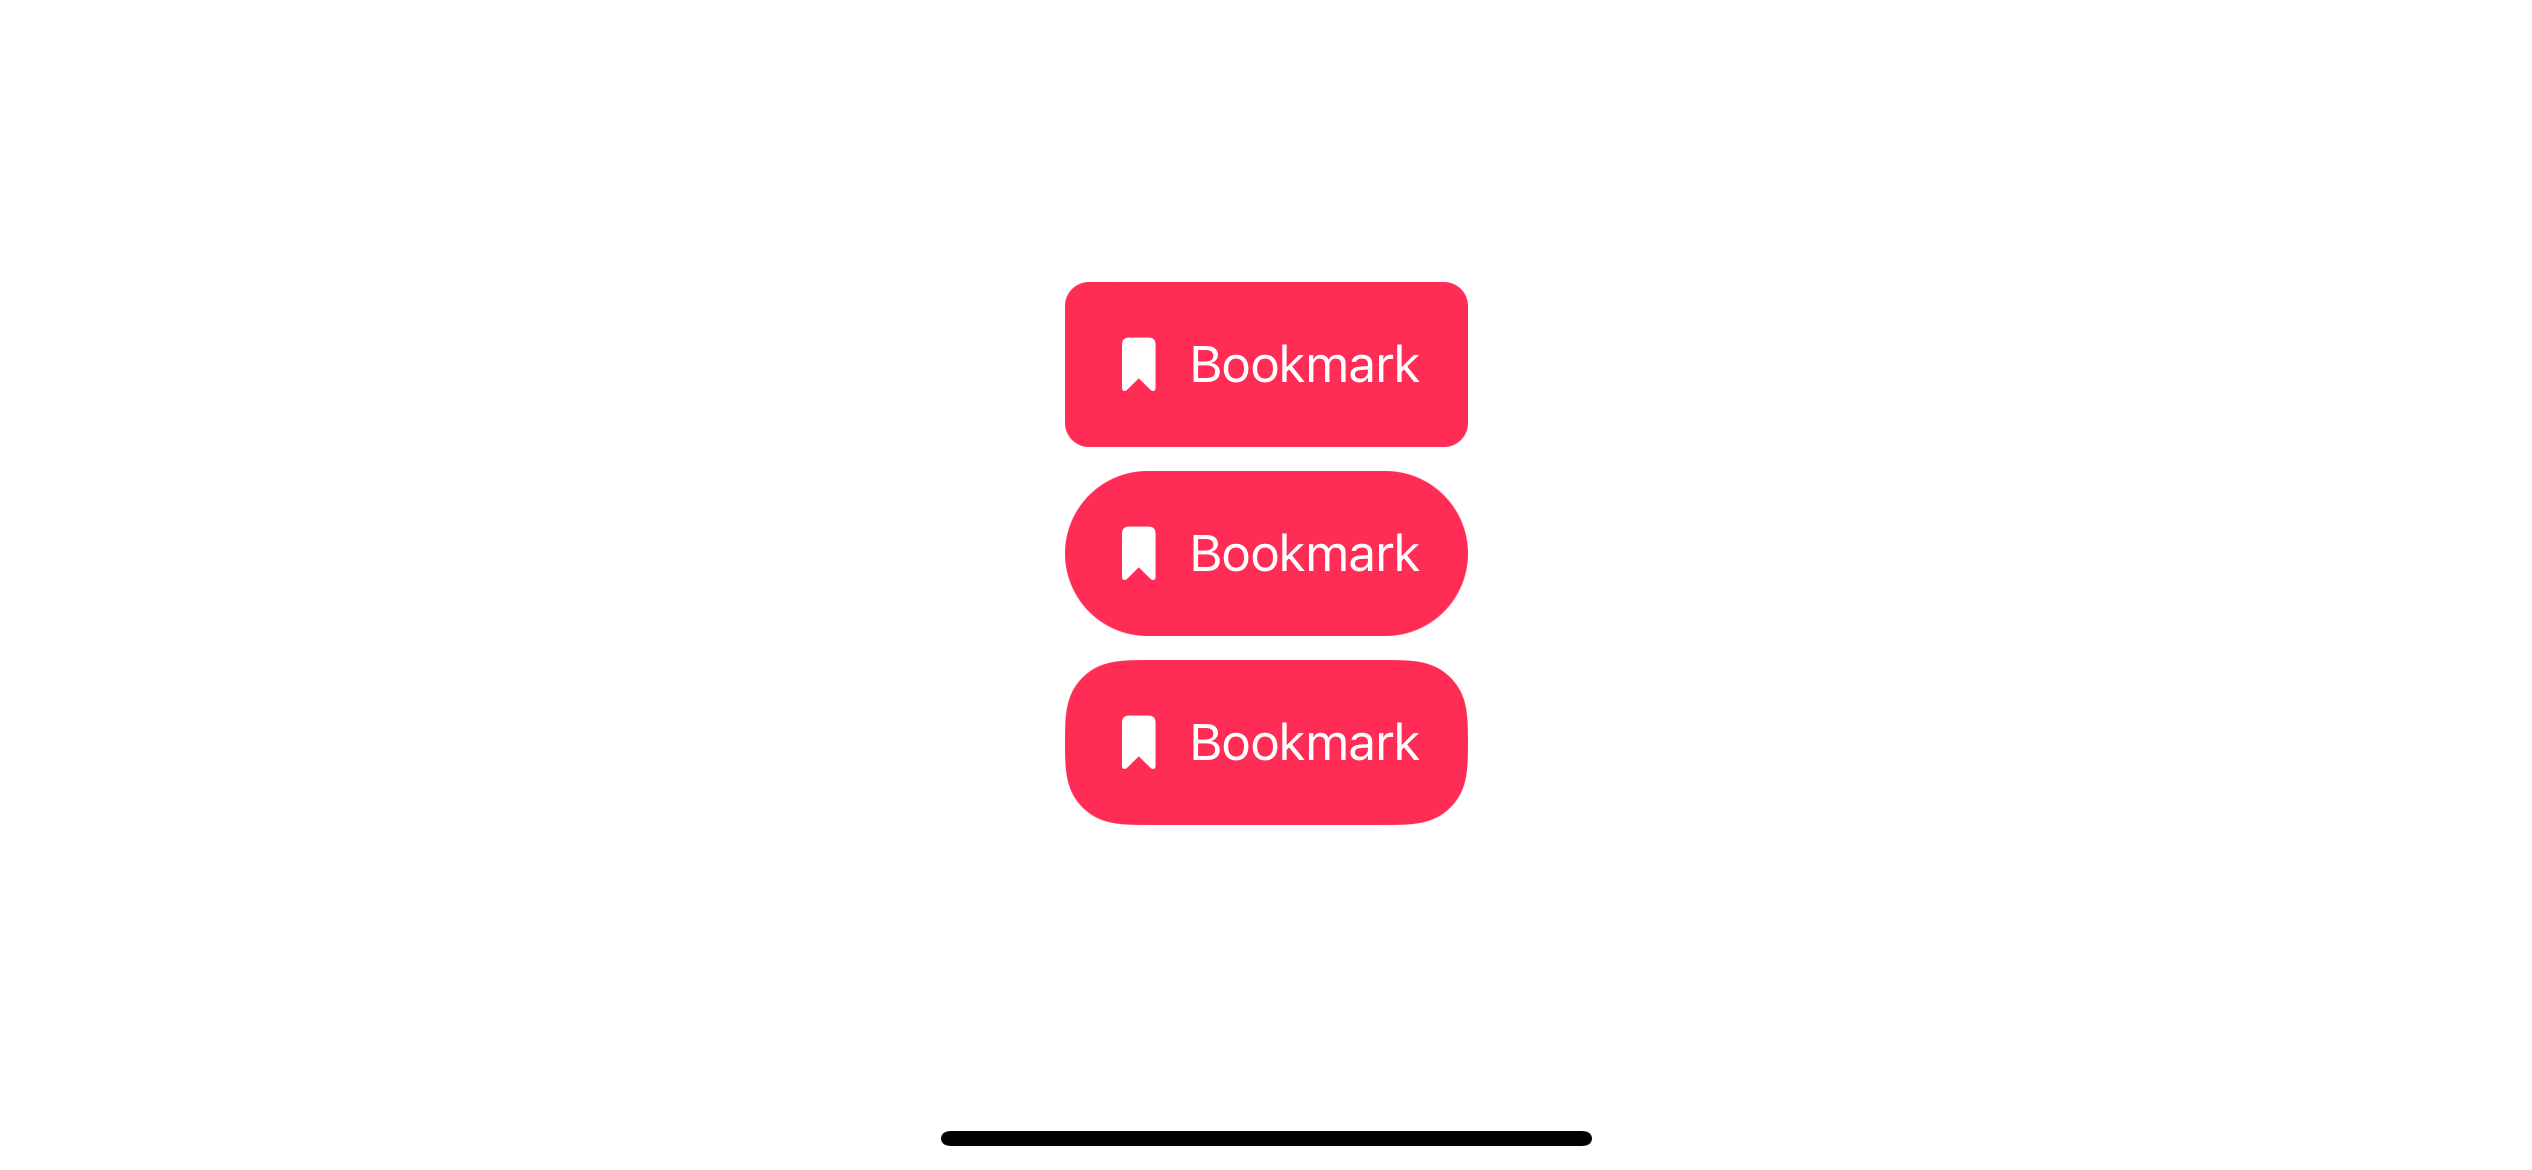
This modifier also supports way back to iOS 13.
You can easily support sarunw.com by checking out this sponsor.
AI Paraphrase:Are you tired of staring at your screen, struggling to rephrase sentences, or trying to find the perfect words for your text?
Rounded Corners view using background
The last method to make a rounded corners view is by using background modifier.
We create a background view using the same shape we use in clipShape method and apply its color with the fill modifier.
VStack {
    Label("Bookmark", systemImage: "bookmark.fill")
        .padding()
        .foregroundColor(.white)
        .background(
            RoundedRectangle(cornerRadius: 8)
                .fill(.pink)
        )

    Label("Bookmark", systemImage: "bookmark.fill")
        .padding()
        .foregroundColor(.white)
        .background(
            Capsule()
                .fill(.pink)
        )

    Label("Bookmark", systemImage: "bookmark.fill")
        .padding()
        .foregroundColor(.white)
        .background(
            RoundedRectangle(
                cornerRadius: 20,
                style: .continuous
            )
            .fill(.pink)
        )
}
This will produce the same effect as clipShape.
In iOS 15, the background modifier got an update that makes creating a rounded corners view easier. The new background method lets us specify both the color and shape of the background.
So, we don't need to specify the clipShape or fill modifier when using this new background modifier.
VStack {
    Label("Bookmark", systemImage: "bookmark.fill")
        .padding()
        .foregroundColor(.white)
        .background(
            .pink,
            in: RoundedRectangle(cornerRadius: 8)
        )

    Label("Bookmark", systemImage: "bookmark.fill")
        .padding()
        .foregroundColor(.white)
        .background(
            .pink,
            in: Capsule()
        )

    Label("Bookmark", systemImage: "bookmark.fill")
        .padding()
        .foregroundColor(.white)
        .background(
            .pink,
            in: RoundedRectangle(
                cornerRadius: 20,
                style: .continuous
            )
        )
}
This will produce the same effect as before.
Read more article about SwiftUI or see all available topic
Enjoy the read?
If you enjoy this article, you can subscribe to the weekly newsletter.
Every Friday, you'll get a quick recap of all articles and tips posted on this site. No strings attached. Unsubscribe anytime.
Feel free to follow me on Twitter and ask your questions related to this post. Thanks for reading and see you next time.
If you enjoy my writing, please check out my Patreon https://www.patreon.com/sarunw and become my supporter. Sharing the article is also greatly appreciated.
Become a patron Buy me a coffee Tweet ShareHow to change SwiftUI Font Width
In Xcode 14.1, SwiftUI finally got new APIs to set the font width.