How to pop View programmatically in SwiftUI
Table of Contents
There are many ways to pop a view out of a navigation view in SwiftUI.
Which technique to use is based on the iOS version you supported and how you structure your view.
In this article, I will focus on the old version of a navigation view, NavigationView.
In other words, this is an article for an app that supports iOS 15 and lower.
There are many ways to pop or dismiss a view from a navigation view.
I will categorize them into two groups.
Binding
The first approach is quite straightforward. We create a binding that represents a showing state of a destination view.
There are two data types that we can use as a binding.
isActive
NavigationLink can take a binding of a boolean value. This boolean value represents the showing state of a view.
- If the value is
true, the view is pushed to a navigation stack. - If the value is
false, the view is popped or dismissed.
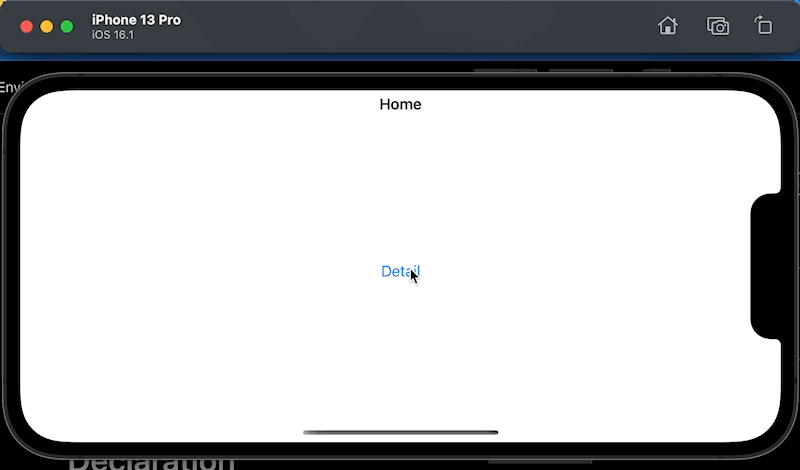
struct ContentView: View {
    // 1
    @State private var isShowingDetail = false

    var body: some View {
        NavigationView {
            // 2
            NavigationLink("Detail", isActive: $isShowingDetail) {
                Text("Detail View")
            }
            .navigationTitle("Home")
        }
    }
}
1 Create a binding representing a showing state of a detail view.
2 Then assign that to the isActive parameter in a NavigationLink.
Using a binding is a way for a parent view to control the presentation state, but if you want a destination view to be able to dismiss itself, you need to pass this binding to the pushed view.
Destination view to dismiss itself
If you want the pushed view to be able to pop itself from a navigation stack, you need to pass this binding to the pushed view.
DetailView
struct DetailView: View {
    // 1
    @Binding var isShowing: Bool

    var body: some View {
        Button("Dismiss") {
            // 2
            isShowing = false
        }
        .navigationTitle("Detail Title")

    }
}
1 Create a binding in the destination view. In this case, I create a new DetailView to use as a destination view.
2 Set this binding value to false to dismiss itself.
ContentView
struct ContentView: View {
    @State private var isShowingDetail = false

    var body: some View {
        NavigationView {
            NavigationLink("Detail", isActive: $isShowingDetail) {
                // 1
                DetailView(isShowing: $isShowingDetail)
            }
            .navigationTitle("Home")
        }
    }
}
1 Passing the binding value from the parent when creating a navigation link.
Tag and Selection
Creating a boolean value for each destination view can easily get out of hand if you have multiple destinations.
Here is an example where I try to create a binding value for each destination view. As you can see, it can be cumbersome.
@State private var isShowing1 = false
@State private var isShowing2 = false
@State private var isShowing3 = false

var body: some View {
    NavigationView {
        List {
            NavigationLink("1", isActive: $isShowing1) {
                Text("View 1")
            }
            NavigationLink("2", isActive: $isShowing2) {
                Text("View 2")
            }
            NavigationLink("3", isActive: $isShowing3) {
                Text("View 3")
            }
        }
    }
}
Luckily, SwiftUI provides a way to control this via a Hashable value and selection.
The concept is simple:
- We tag each destination view with a unique hashable view.
- Then, we select which view to present by setting that value to the
selectionvalue.
This is how to use it.
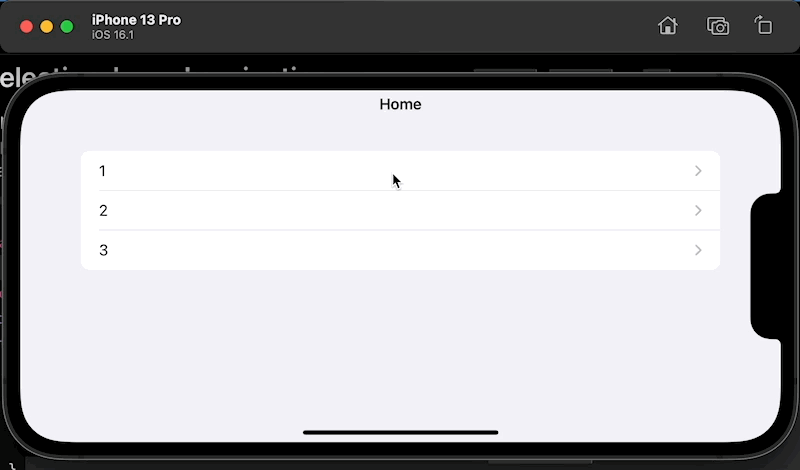
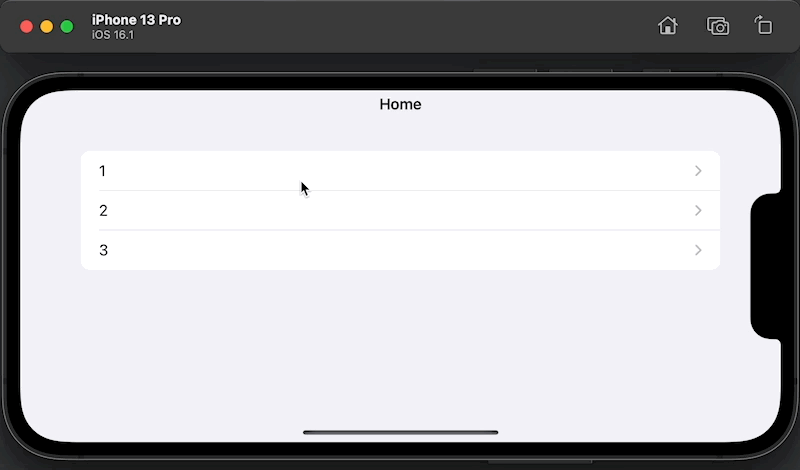
struct ContentView: View {
    // 1
    @State private var selection: String? = nil

    var body: some View {
        NavigationView {
            List {
                // 2
                NavigationLink("1", tag: "1", selection: $selection) {
                    Text("View 1")
                }
                NavigationLink("2", tag: "2", selection: $selection) {
                    Text("View 2")
                }
                NavigationLink("3", tag: "3", selection: $selection) {
                    Text("View 3")
                }
            }
            .navigationTitle("Home")
        }
    }
}
1 Instead of declaring multiple boolean values, we declare one hashable value. In this case, we use a string. We will use this value to represent the current active destination view.
2 For each NavigationLink, we assign a tag and binding of selection. If the value in the selection matches the tag, that view will get pushed.
Destination view to dismiss itself
If you want the pushed view to be able to pop itself from a navigation stack, you need to pass this binding to the pushed view.
DetailView
struct DetailView: View {
    let title: String
    // 1
    @Binding var selection: String?

    var body: some View {
        Button("Dismiss") {
            // 2
            selection = nil
        }
        .navigationTitle(title)
    }
}
1 Create a binding in the destination view.
2 Set this binding value to nil to dismiss itself.
Then, we pass the selection on creating a navigation link.
ContentView
struct ContentView: View {
    @State private var selection: String? = nil

    var body: some View {
        NavigationView {
            List {
                NavigationLink("1", tag: "1", selection: $selection) {
                    // 1
                    DetailView(title: "View 1", selection: $selection)
                }
                NavigationLink("2", tag: "2", selection: $selection) {
                    DetailView(title: "View 2", selection: $selection)
                }
                NavigationLink("3", tag: "3", selection: $selection) {
                    DetailView(title: "View 3", selection: $selection)
                }
            }
            .navigationTitle("Home")
        }
    }
}
1 Passing the parent's binding value when creating a navigation link.
You can easily support sarunw.com by checking out this sponsor.
Offline Transcription: Fast, privacy-focus way to transcribe audio, video, and podcast files. No data leaves your Mac.
Environment Value
Another way to pop or dismiss a view from a navigation stack is by using an Environment value.
This approach doesn't require a parent view to create or pass any binding to the destination view.
There are two Environment values to use based on the minimum iOS version you supported.
Before iOS 15: PresentationMode
Before iOS 15, the environment value that we use to control the dismissal is the PresentationMode environment value.
struct ContentView: View {
    var body: some View {
        NavigationView {
            NavigationLink("Detail") {
                DetailView()
            }
            .navigationTitle("Home")
        }

    }
}

struct DetailView: View {
    // 1
    @Environment(\.presentationMode) var presentationMode

    var body: some View {
        Button("Dismiss") {
            // 2
            presentationMode.wrappedValue.dismiss()
        }
        .navigationTitle("Detail Title")

    }
}
1 Declare the presentationMode environment value in the destination view (DetailView).
2 Then call presentationMode.wrappedValue.dismiss() to perform the dismissal. In this case, we add a button that pops a view back.
As you can see, the parent view doesn't need to pass anything to the DetailView.
iOS 15: DismissAction
In iOS 15, Apple introduced a new environment value, DismissAction, and deprecated the old PresentationMode.
The way we use it is quite the same. Instead of calling presentationMode.wrappedValue.dismiss() to dismiss, we call DismissAction directly.
struct ContentView: View {
    var body: some View {
        NavigationView {
            NavigationLink("Detail") {
                DetailView()
            }
            .navigationTitle("Home")
        }

    }
}

struct DetailView: View {
    // 1
    @Environment(\.dismiss) private var dismiss

    var body: some View {
        Button("Dismiss") {
            // 2
            dismiss()
        }
        .navigationTitle("Detail Title")
    }
}
1 We declare the dismiss environment value in the destination view (DetailView).
2 Then call dismiss() to perform the dismissal.
The process and result are the same using the PresentationMode.
Read more article about SwiftUI or see all available topic
Enjoy the read?
If you enjoy this article, you can subscribe to the weekly newsletter.
Every Friday, you'll get a quick recap of all articles and tips posted on this site. No strings attached. Unsubscribe anytime.
Feel free to follow me on Twitter and ask your questions related to this post. Thanks for reading and see you next time.
If you enjoy my writing, please check out my Patreon https://www.patreon.com/sarunw and become my supporter. Sharing the article is also greatly appreciated.
Become a patron Buy me a coffee Tweet ShareHow to create SwiftUI Picker from Enum
An Enum is one of the data structures that best represents options for the Picker view. Let's learn what we need to do to make an enum usable in a Picker.
How to remove the First row separator in SwiftUI List
Learn how to remove the topmost separator in any List view.