How to dismiss Keyboard in SwiftUI
Table of Contents
How to dismiss Keyboard in SwiftUI
Learn how to programmatically dismiss a keyboard in SwiftUI.
In iOS 15, SwiftUI got a native way to dismiss the keyboard programmatically using a new property wrapper, @FocusState, in conjunction with focused(_:) modifier.
How to dismiss Keyboard programmatically in SwiftUI
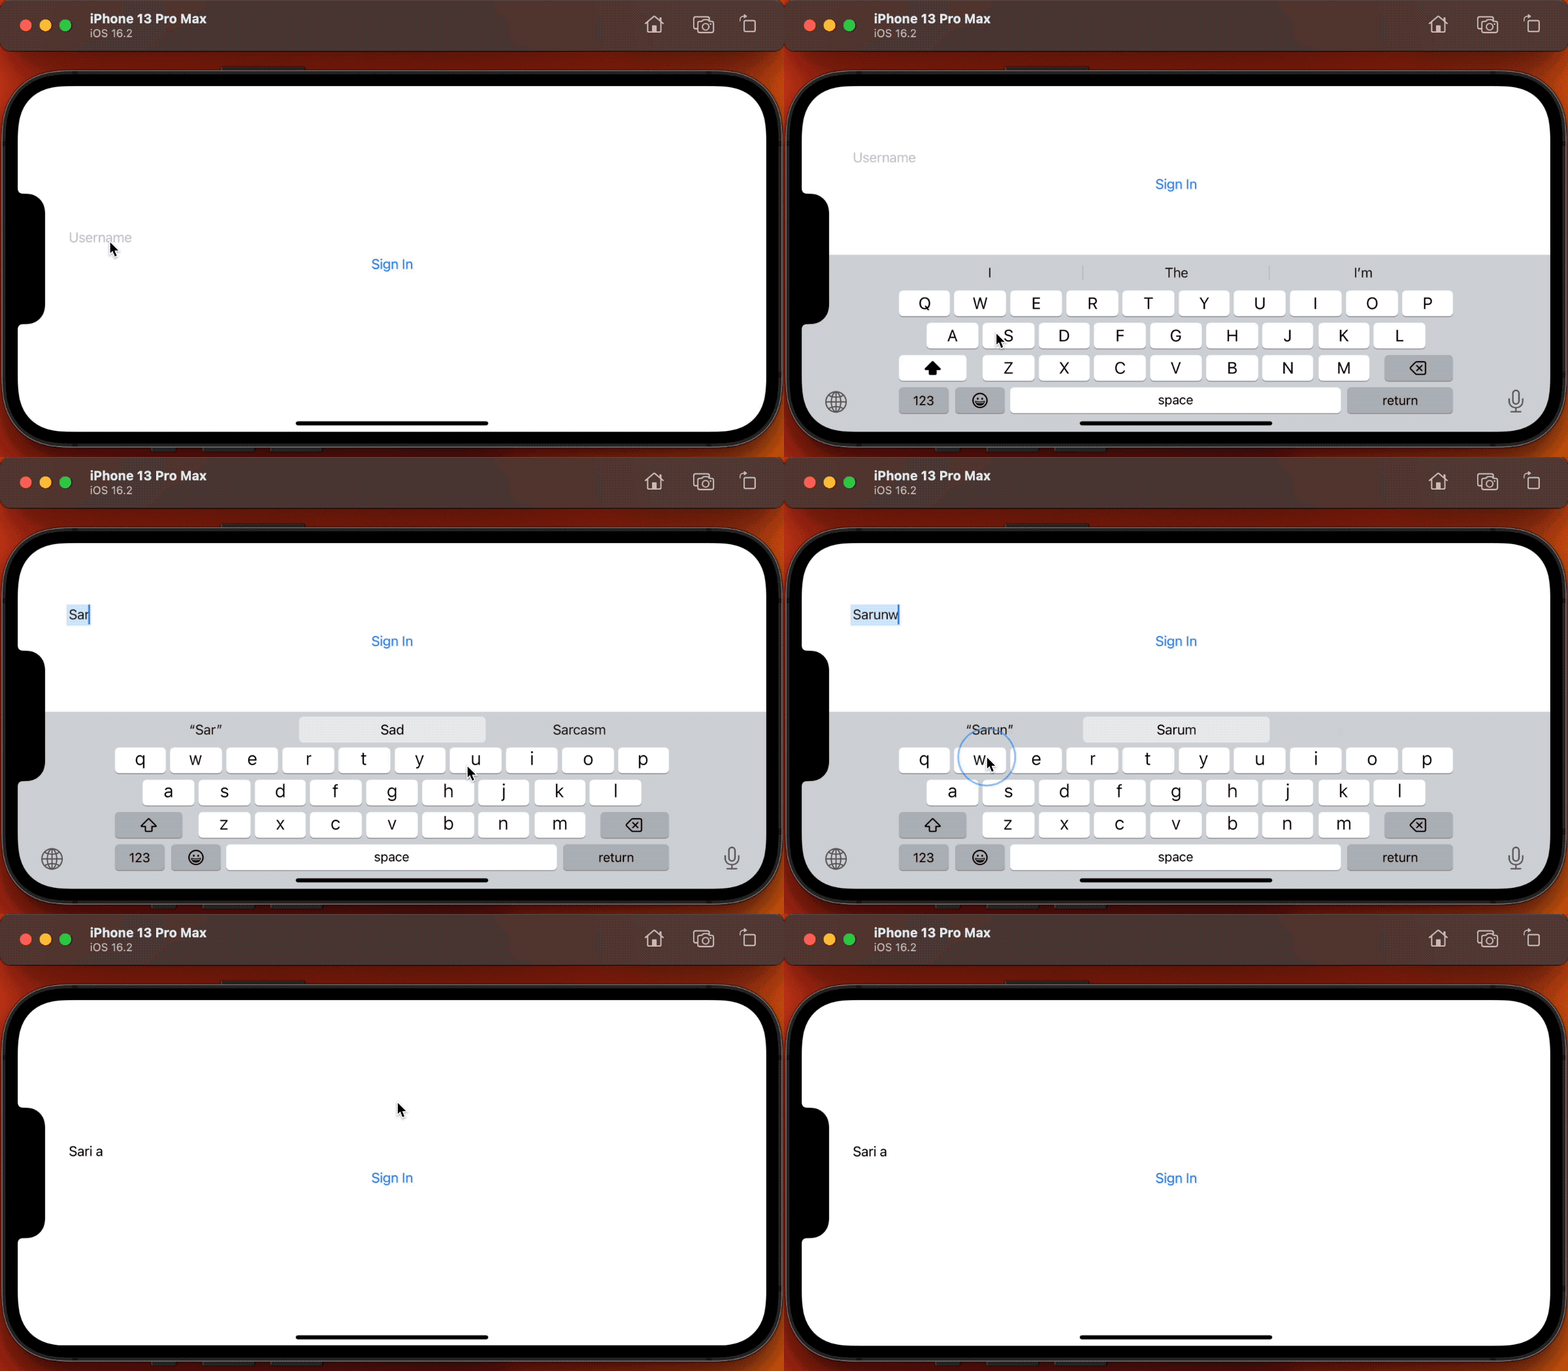
Keyboard show and hide based on the focus state of a text field.
- When a text field gain focus, the keyboard will show.
- When a text field loss focus, the keyboard will disappear.
To dismiss the keyboard, we need to be able to control the focus of the text field.
You can easily support sarunw.com by checking out this sponsor.

Offline Transcription: Fast, privacy-focus way to transcribe audio, video, and podcast files. No data leaves your Mac.
How to control the focus state.
We can listen and control the focus state on a particular input using focused(_:) modifier.
This modifier needs a special type called FocusState to bind the focus state.
Here is an example where we hide the keyboard when the "Sign In" button is tapped.
struct ContentView: View {
    @State private var username = ""
    // 1
    @FocusState private var isFocused: Bool

    var body: some View {
        VStack {
            // 2
            TextField("Username", text: $username)
                .focused($isFocused)
            Button("Sign In") {
                // 3
                isFocused = false
            }
        }
        .padding()
    }
}
1 We create a @FocusState variable to bind with the focus state of the text field.
2 We bind the focus state using .focused($isFocused) modifier.
3 To dismiss the keyboard, we unfocus the text field by setting the focus state to false, isFocused = false.
When we tapped the text field:
- It will gain focus.
isFocusedwill becometrue.- And the keyboard will show.
When we set isFocused back to false:
- The text field gives up its focus.
- And the keyboard will dismiss.

Read more article about SwiftUI, Keyboard, iOS 15, or see all available topic
Enjoy the read?
If you enjoy this article, you can subscribe to the weekly newsletter.
Every Friday, you'll get a quick recap of all articles and tips posted on this site. No strings attached. Unsubscribe anytime.
Feel free to follow me on Twitter and ask your questions related to this post. Thanks for reading and see you next time.
If you enjoy my writing, please check out my Patreon https://www.patreon.com/sarunw and become my supporter. Sharing the article is also greatly appreciated.
Become a patron Buy me a coffee Tweet ShareHow to break multiple nested loops in Swift
Learn how to break out of the outer loop from the inner loop.
How to request users to review your app in UIKit
Learn how and when you should ask for a user's review.