How to remove the SwiftUI List Row separators
Table of Contents
By default, SwiftUI List will add a separator or divider between each row.
struct ContentView: View {
    var body: some View {
        NavigationView {
            List(0..<20) { i in
                Text("Row \(i.description)")
            }
            .navigationTitle("List")
        }
    }
}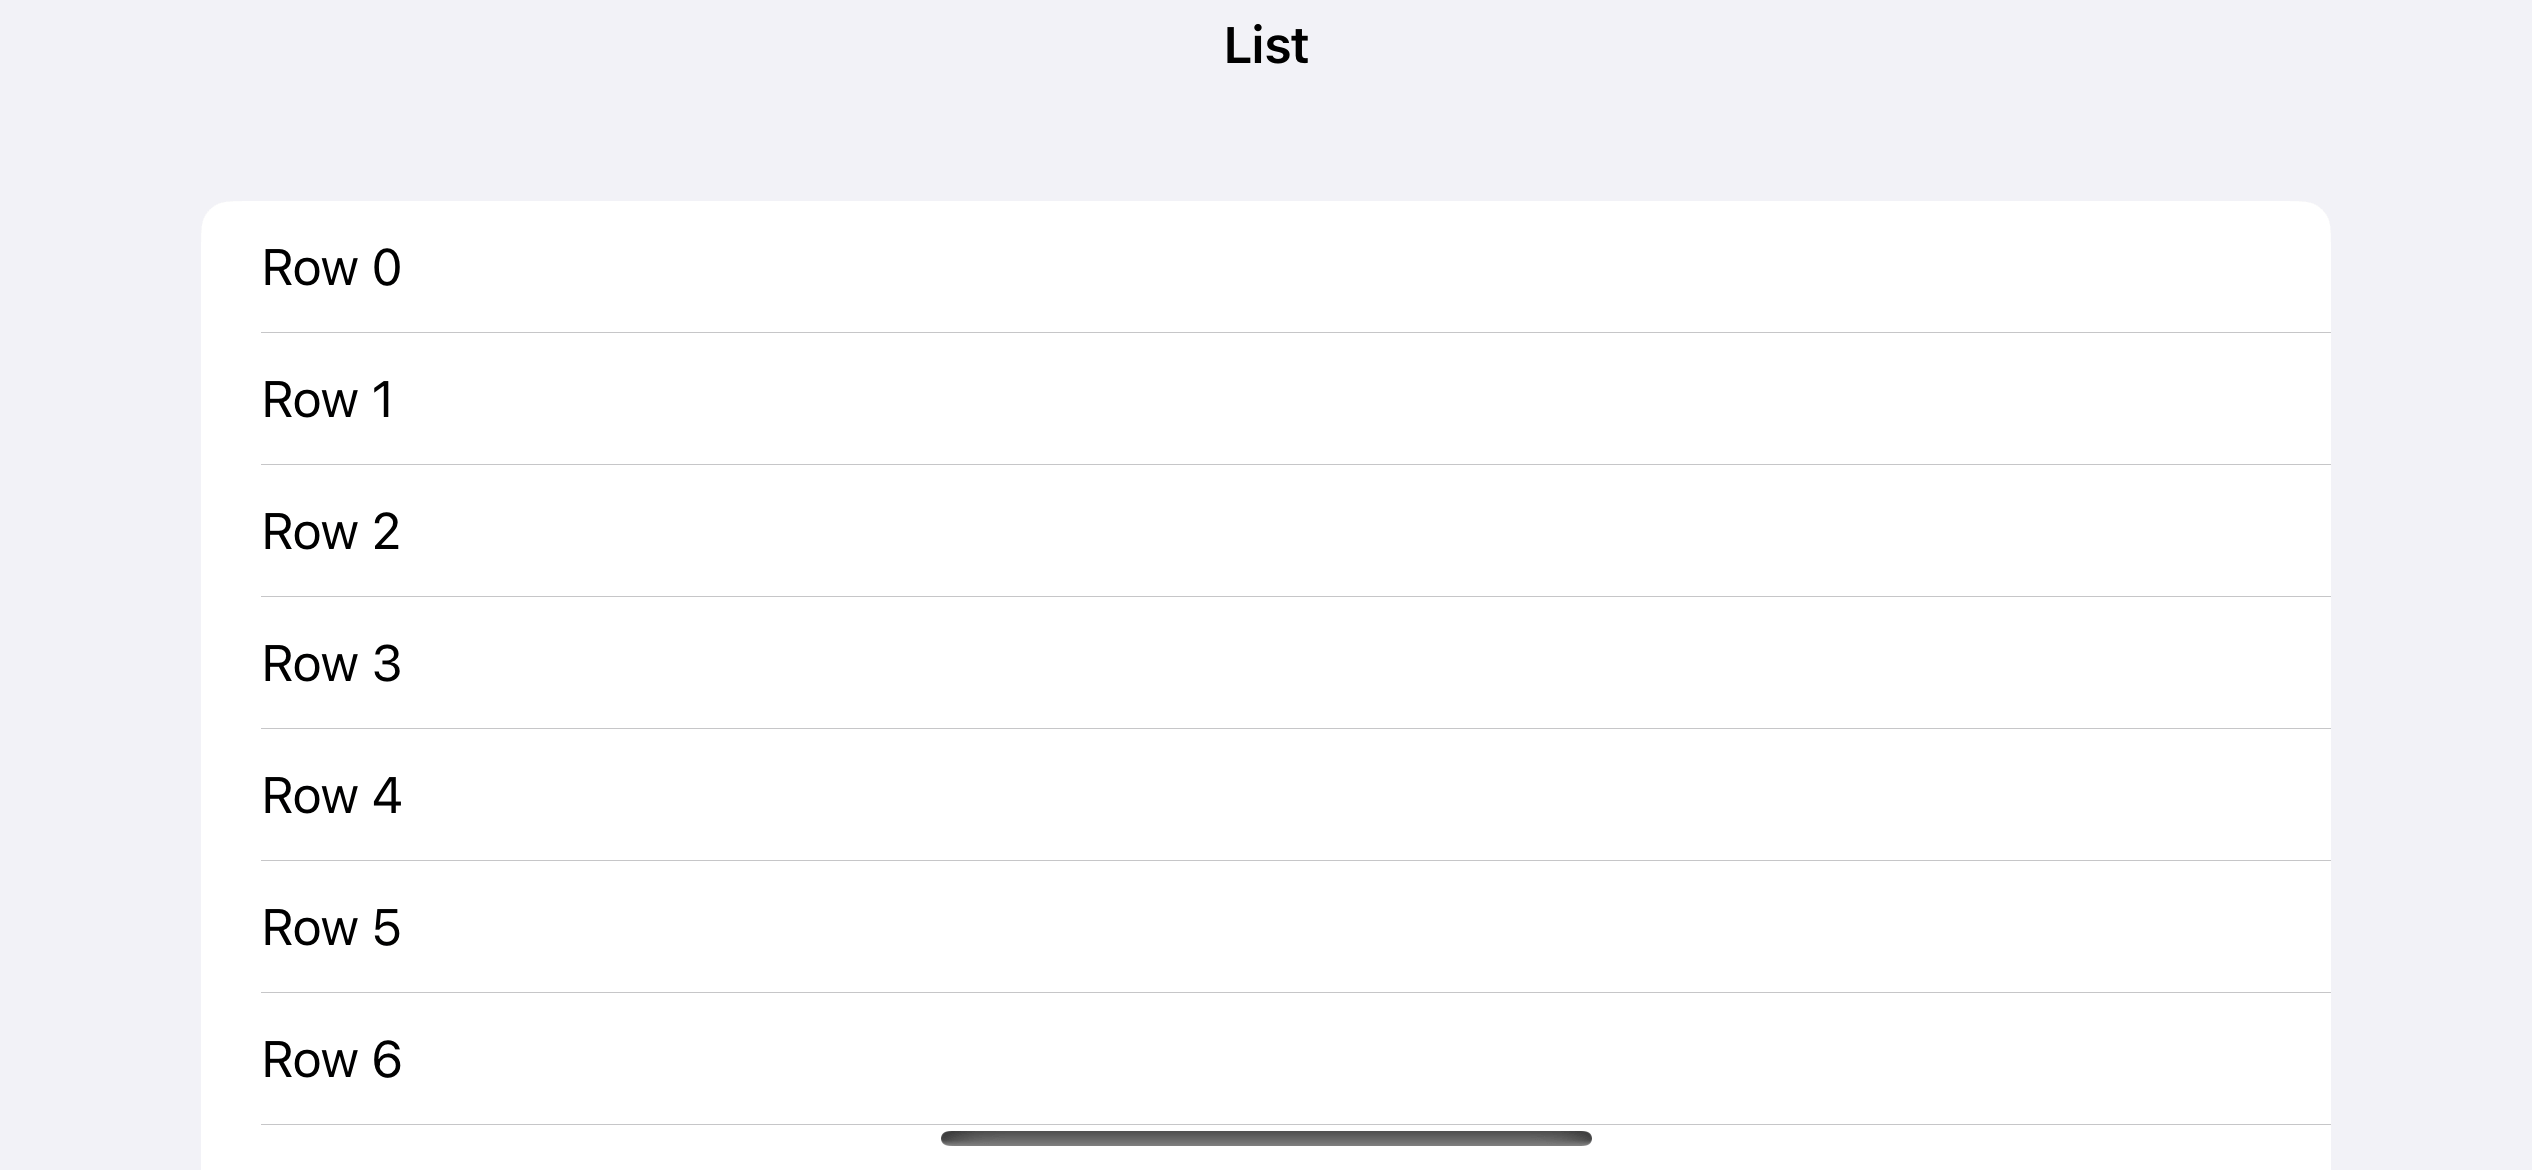
This might be the behavior you expected most of the time, but if you have a custom and unique List row design, you might want to remove the row separators from a SwiftUI List.
In iOS 15, we can remove a List row separator. Let's learn how to do it.
How to remove SwiftUI List Row separators
To remove the list row separator, we use a new modifier introduced in iOS 15, .listRowSeparator(_:edges:).
You use .listRowSeparator(.hidden) on a list row where you want to remove a separator.
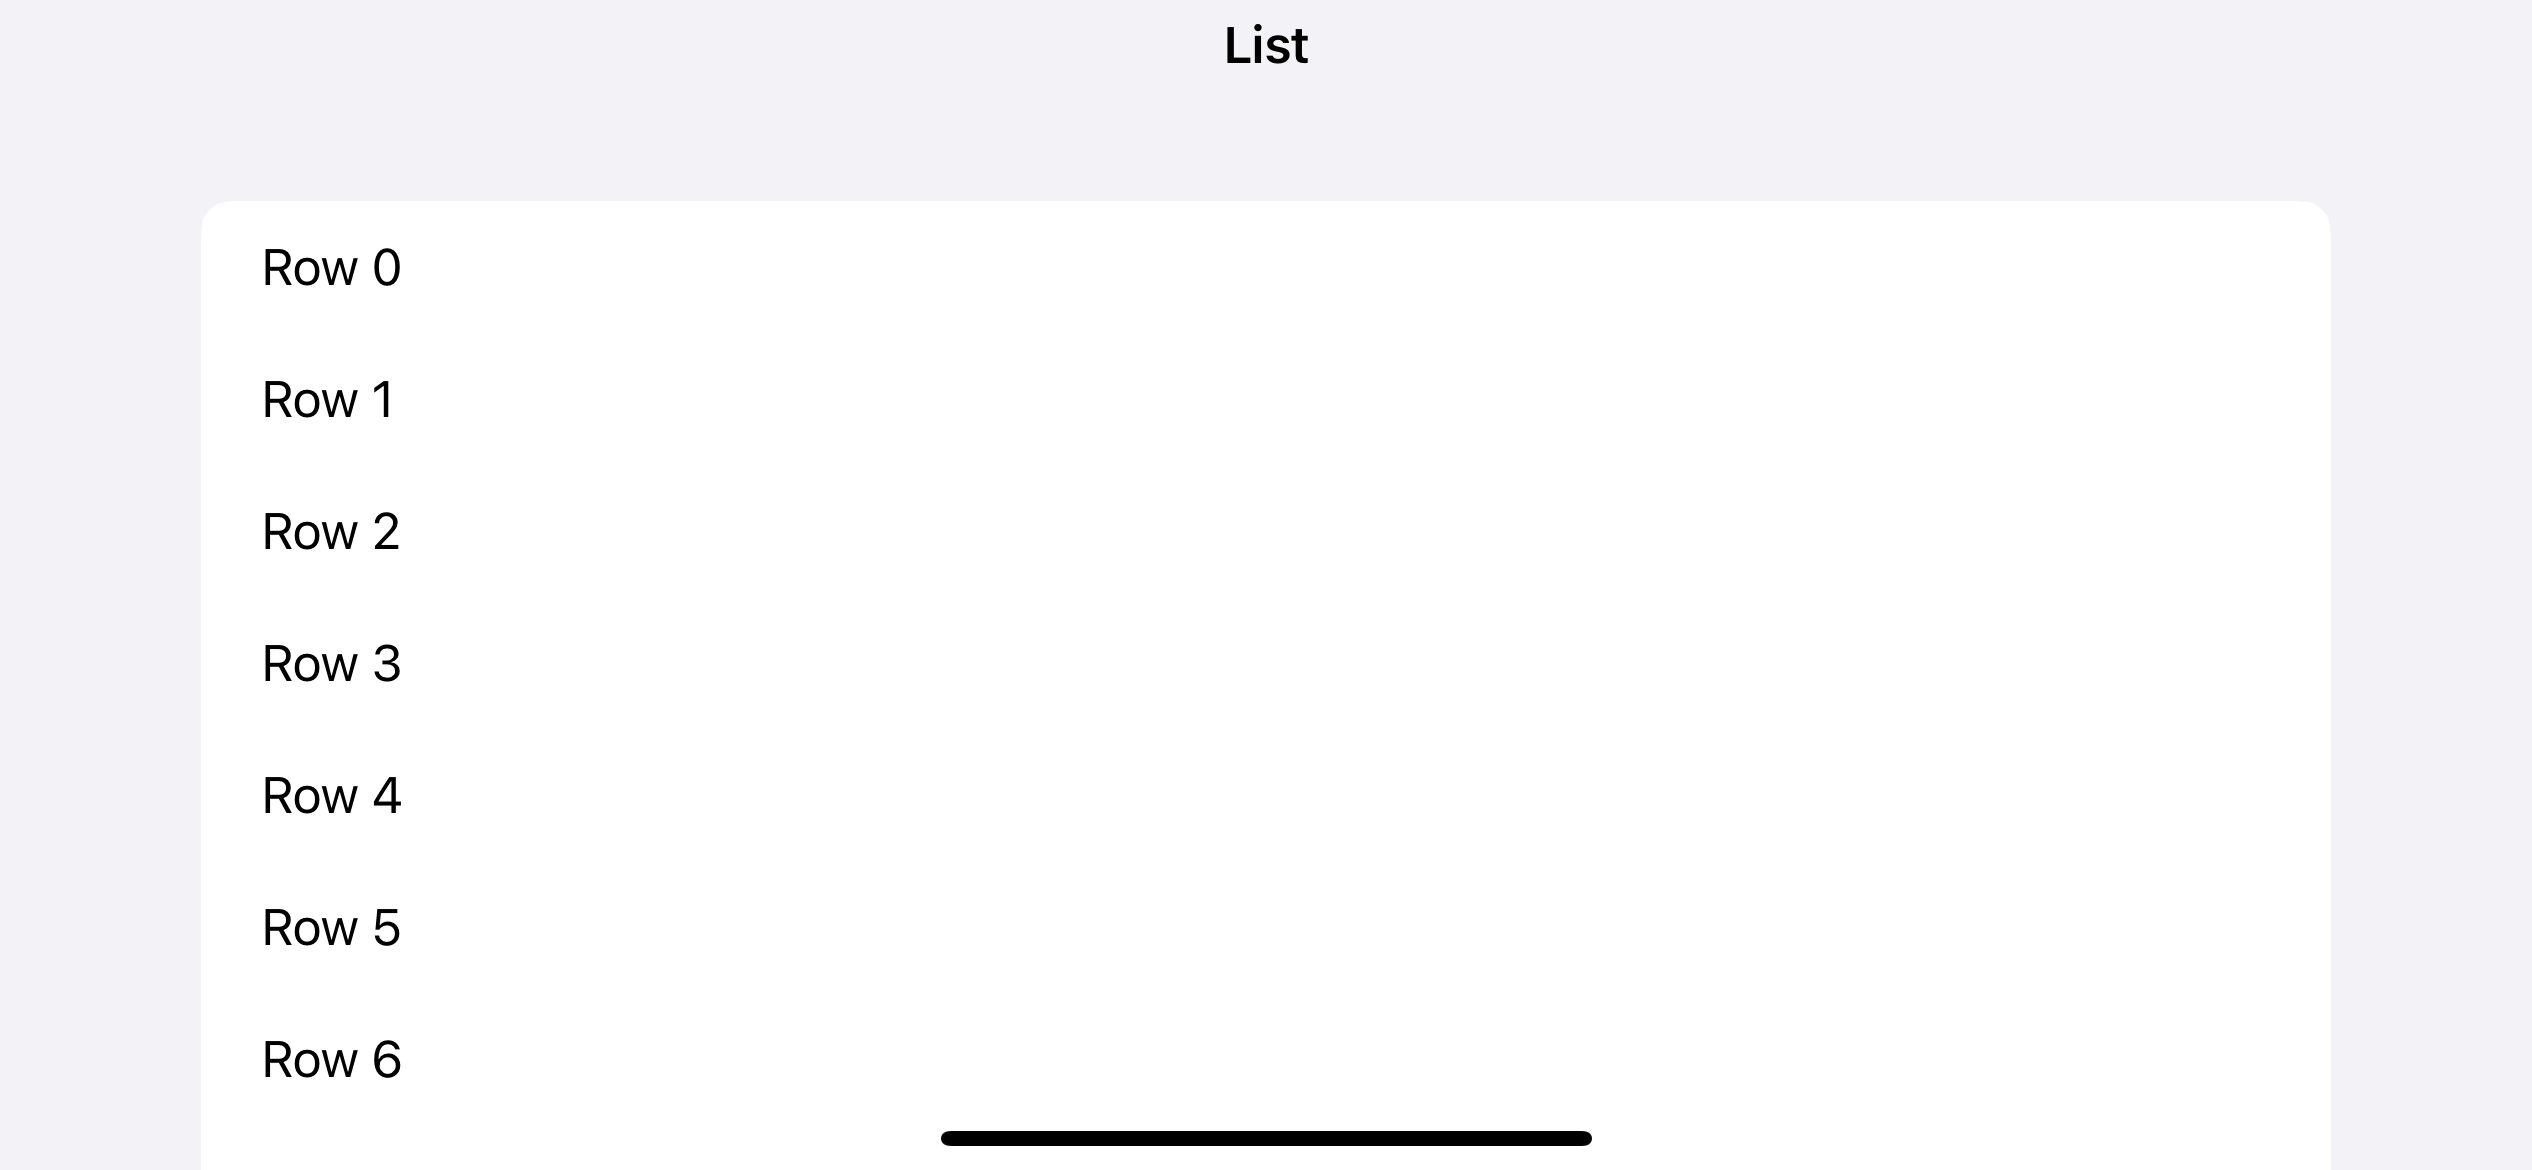
The following example hides all row separators.
struct ContentView: View {
    var body: some View {
        NavigationView {
            List(0..<20) { i in
                Text("Row \(i.description)")
                    .listRowSeparator(.hidden)
            }
            .navigationTitle("List")
        }
    }
}
You can easily support sarunw.com by checking out this sponsor.
Localization Buddy: Easiest way to localize and update App Store metadata.
How to remove the Top or Bottom List Row separator
You might not be aware of this fact, but List row separators can be presented above and below a row.
Some list styles like .insetGrouped and .sidebar might decide not to display separators for some edges.
But some list styles, e.g., .plain, show both separators on both top and bottom edge.
The .listRowSeparator(_:edges:) modifier allow us to specify which edge you want to hide a row separator by providing the second parameter, edges. The default is all, which will hide both top and bottom edges.
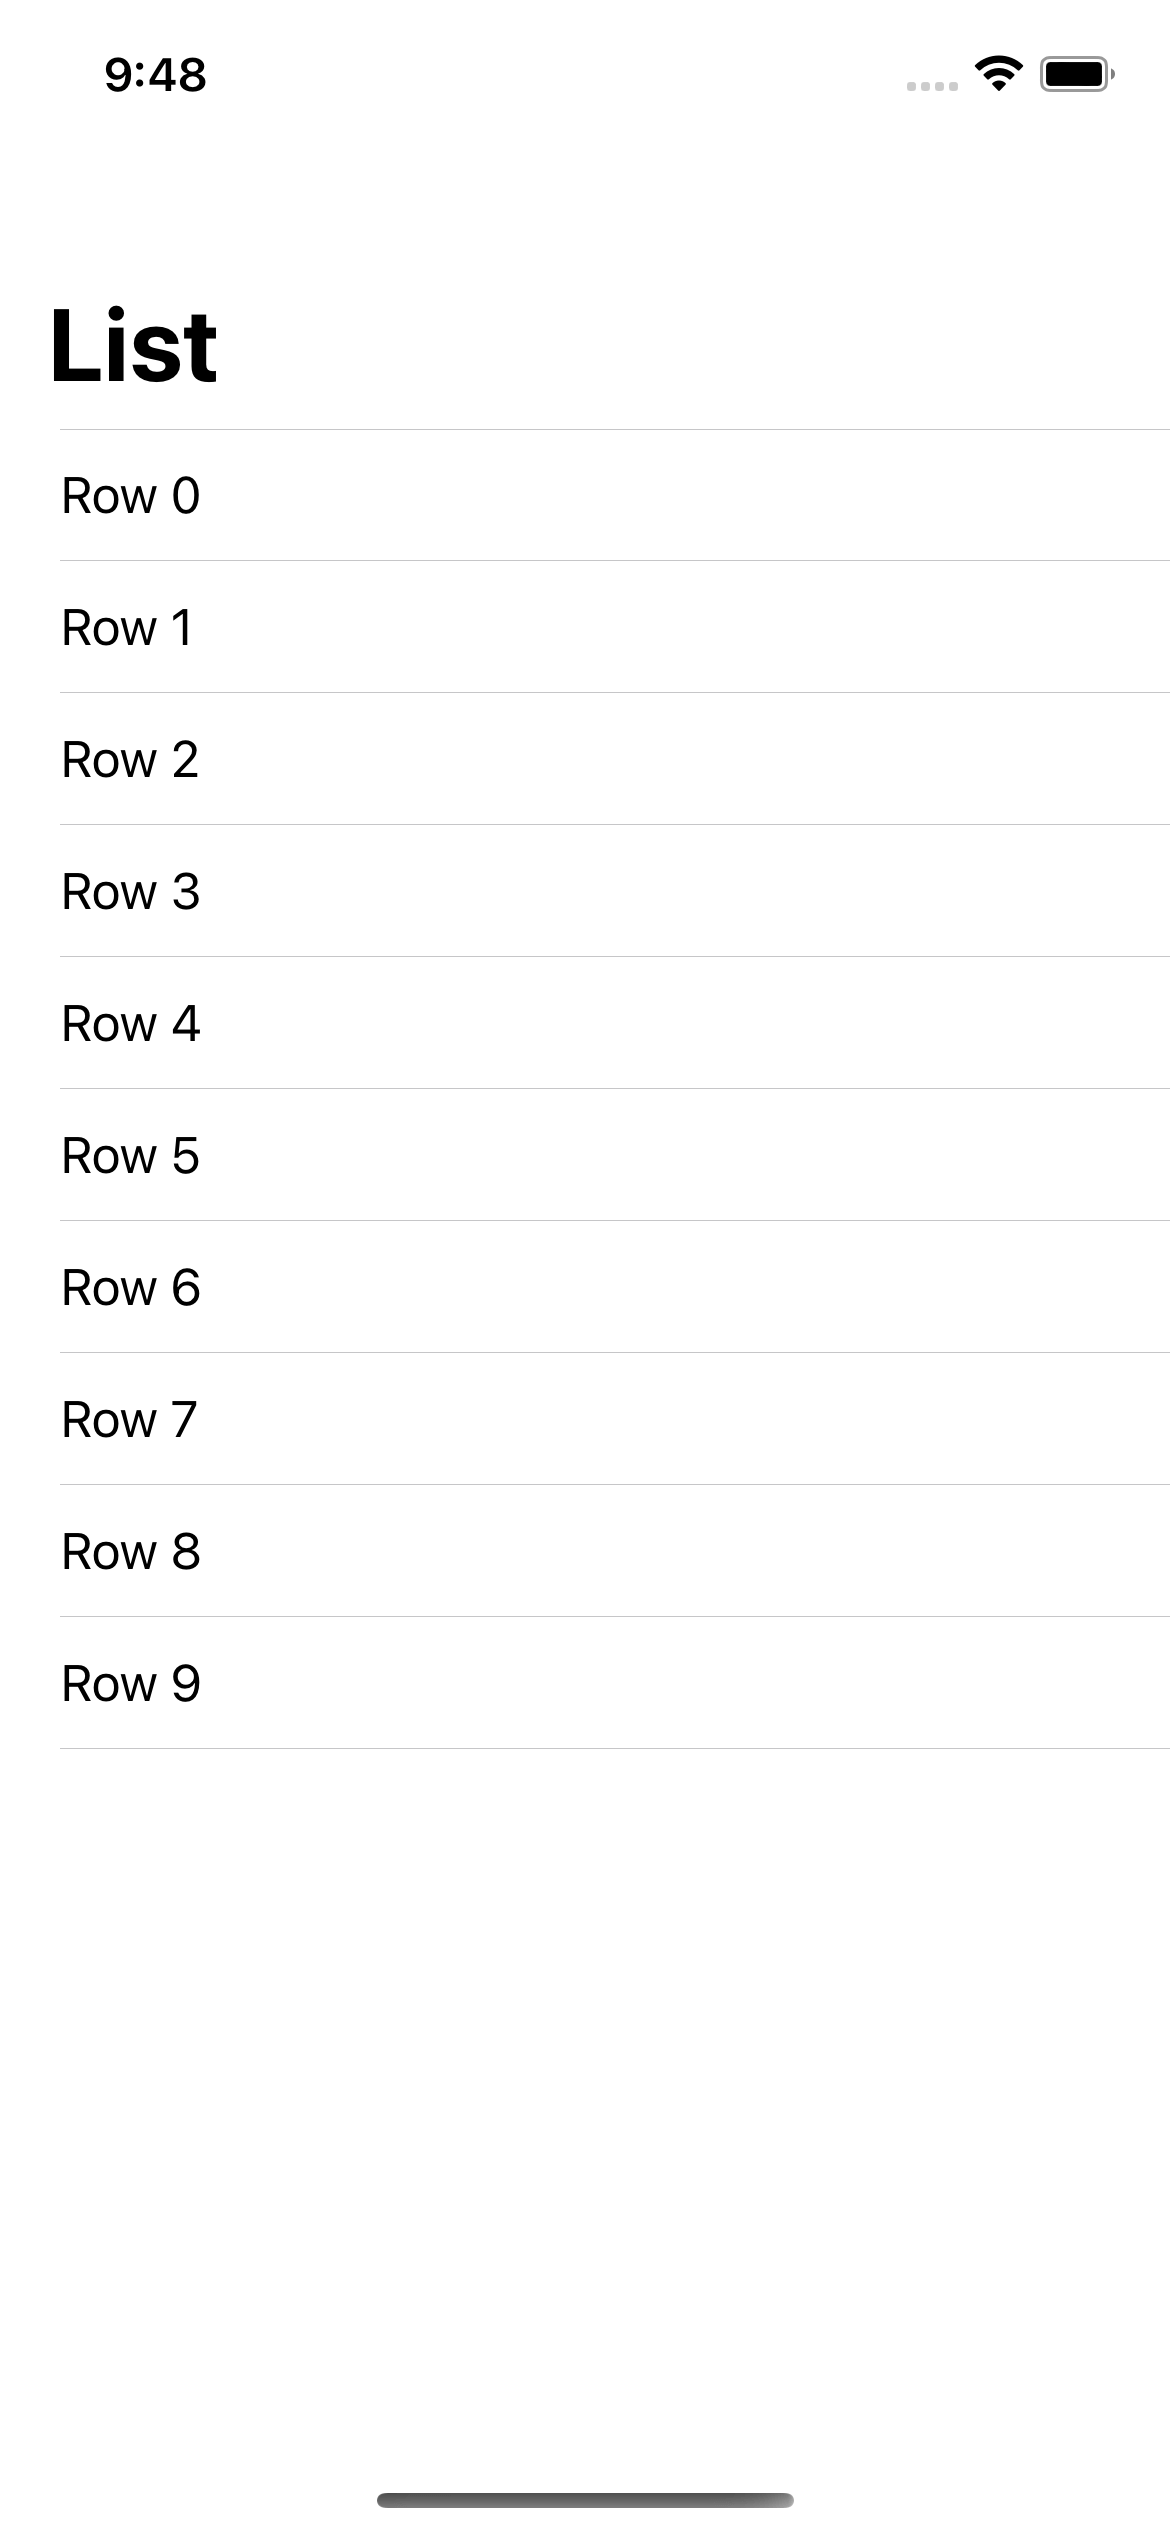
The following example show s plain list style whose top row separators are hidden.
struct ContentView: View {
    var body: some View {
        NavigationView {
            List(0..<10) { i in
                Text("Row \(i.description)")
                    .listRowSeparator(.hidden, edges: .top)
            }
            .listStyle(.plain)
            .navigationTitle("List")
        }
    }
}
As you can see, by hiding only the top edge, the last bottom separator is still visible.
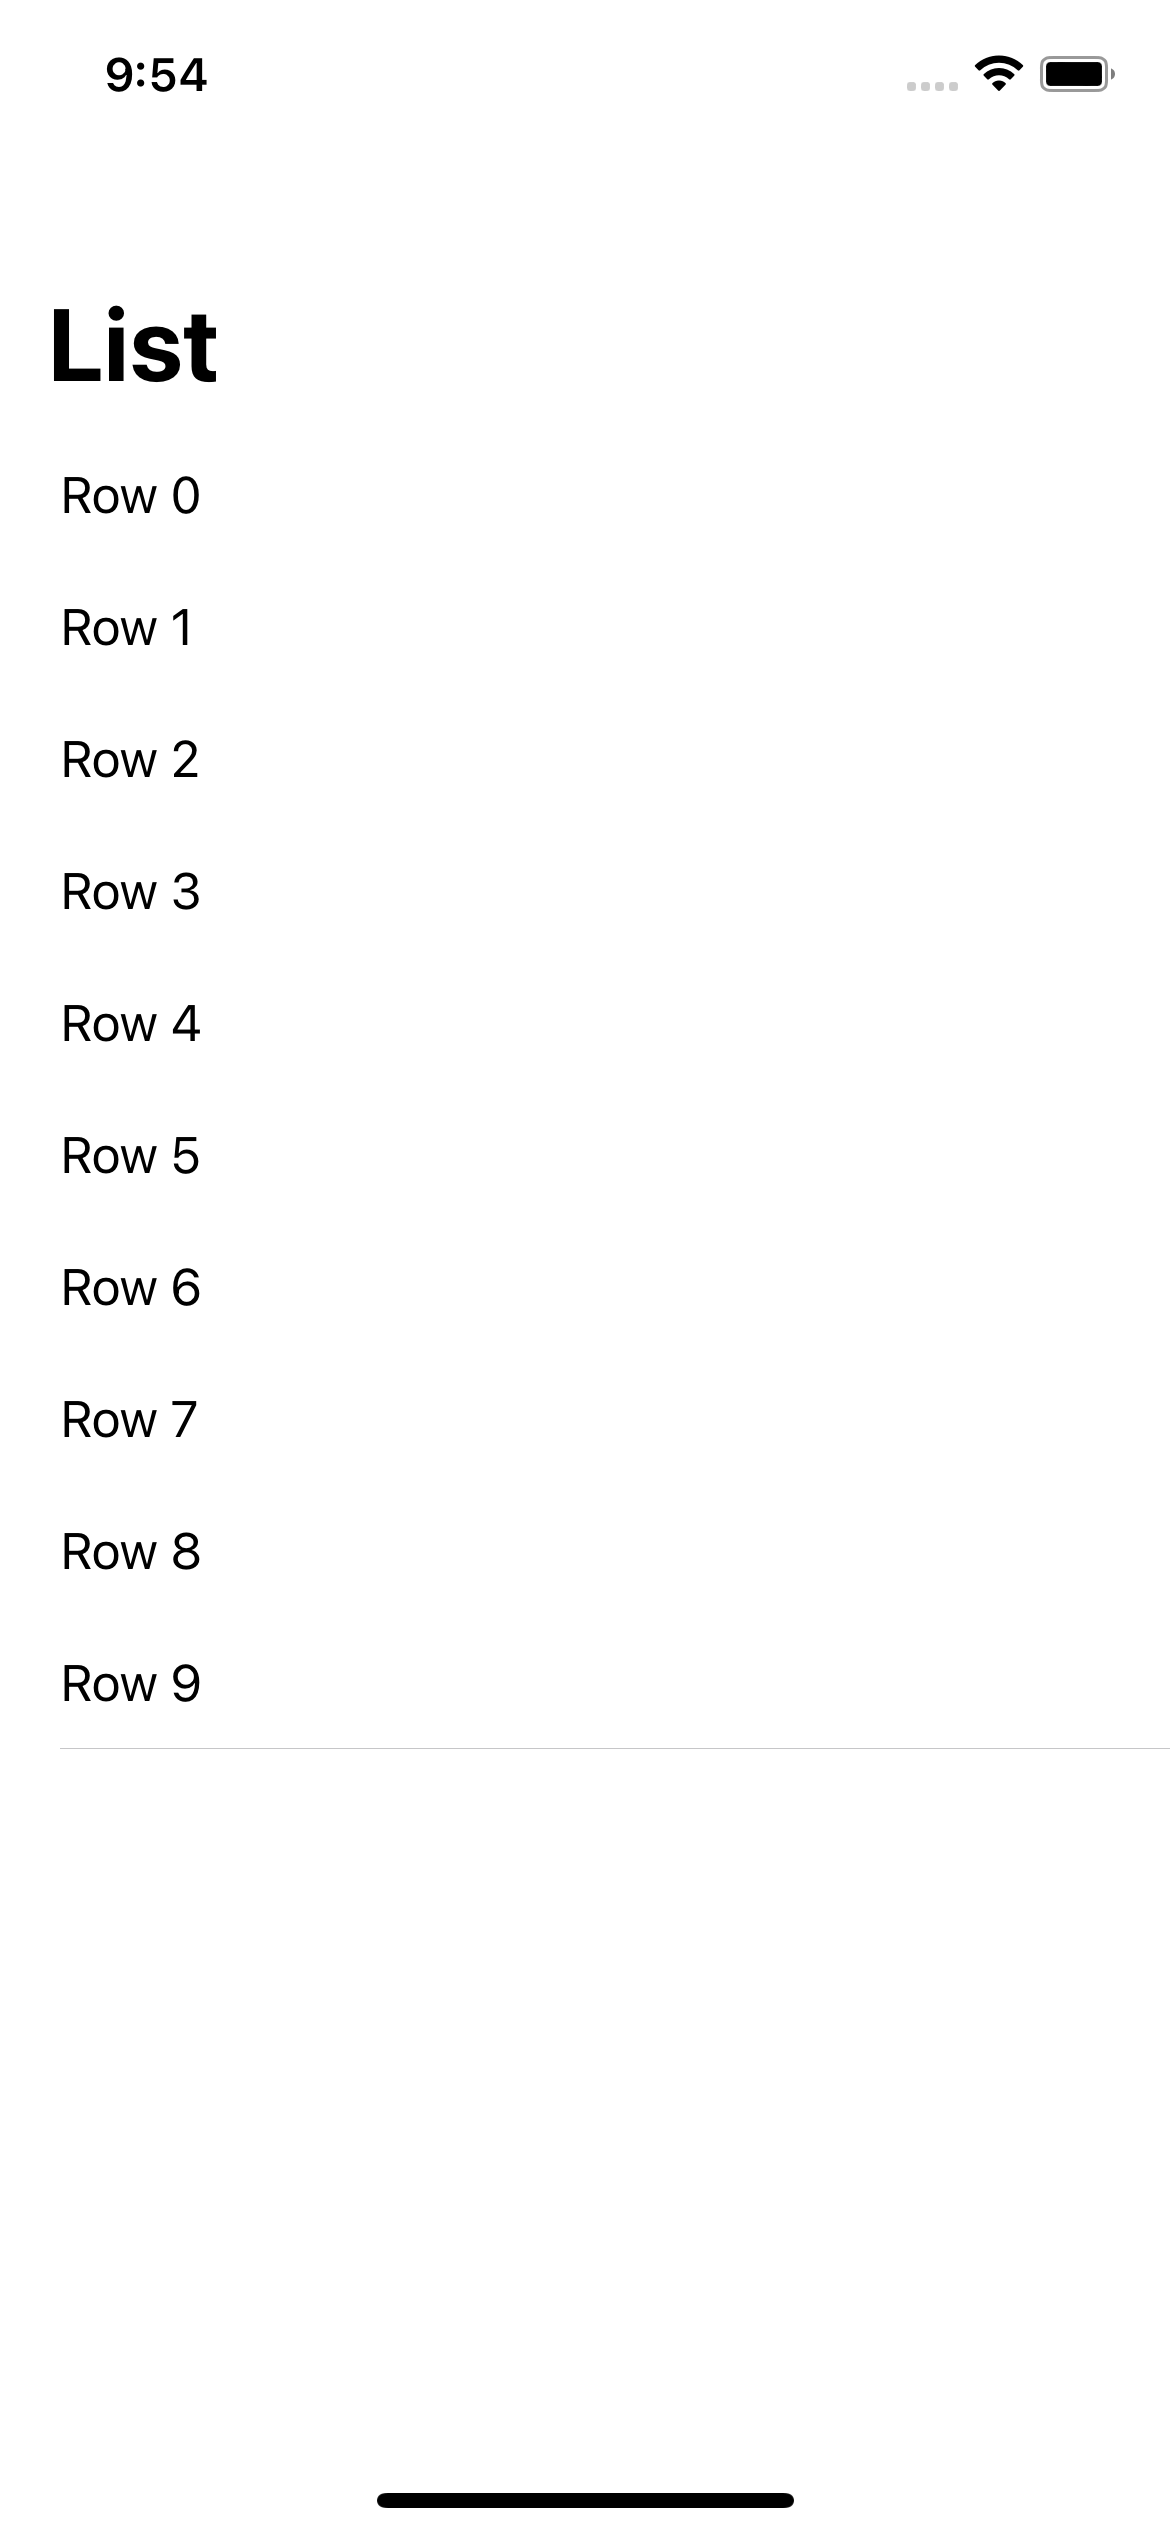
Here is another example where we hide only the bottom row separators.
struct ContentView: View {
    var body: some View {
        NavigationView {
            List(0..<10) { i in
                Text("Row \(i.description)")
                    .listRowSeparator(.hidden, edges: .bottom)
            }
            .listStyle(.plain)
            .navigationTitle("List")
        }
    }
}
This time, the very top row separator is still visible.

Read more article about SwiftUI, List, iOS 15, or see all available topic
Enjoy the read?
If you enjoy this article, you can subscribe to the weekly newsletter.
Every Friday, you'll get a quick recap of all articles and tips posted on this site. No strings attached. Unsubscribe anytime.
Feel free to follow me on Twitter and ask your questions related to this post. Thanks for reading and see you next time.
If you enjoy my writing, please check out my Patreon https://www.patreon.com/sarunw and become my supporter. Sharing the article is also greatly appreciated.
Become a patron Buy me a coffee Tweet ShareUsing ForEach in SwiftUI List
You can use ForEach inside a List view in SwiftUI, but when should we use it? Let's learn in which cases we should use ForEach.
Best Free Fonts for iOS app
A curated list of websites which you can find a free font for your iOS app.