How to change a back button image
Table of Contents
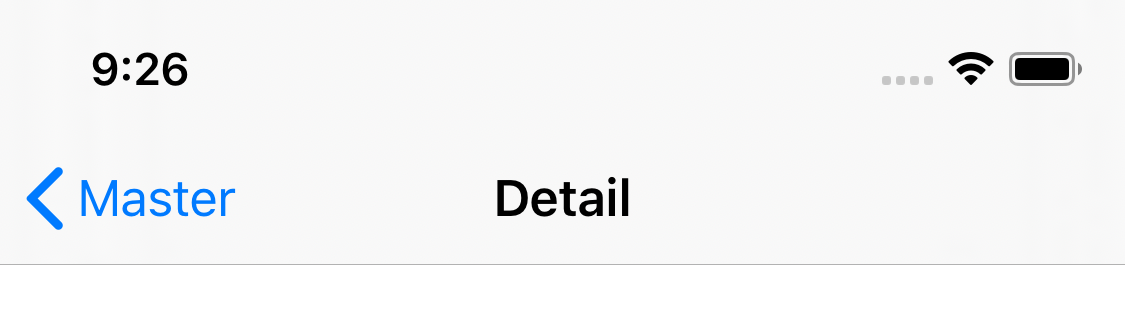
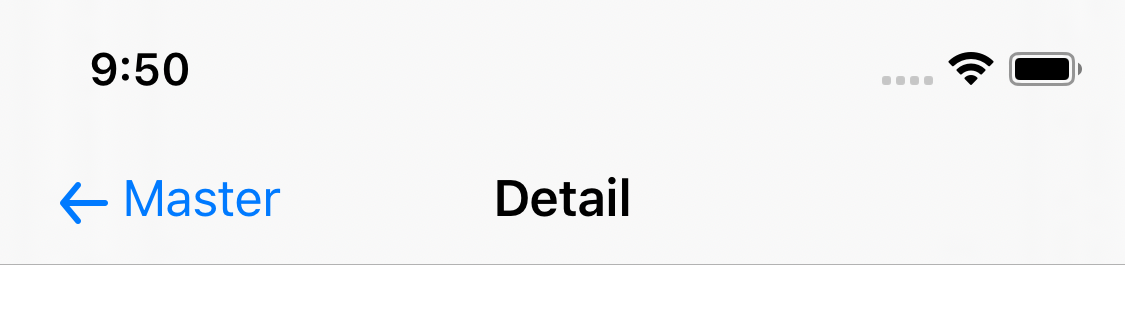
By default UINavigationController back button looks like this:
You can easily change this arrow (back button indicator) by simply set a new one to backIndicatorImage and backIndicatorTransitionMaskImage.
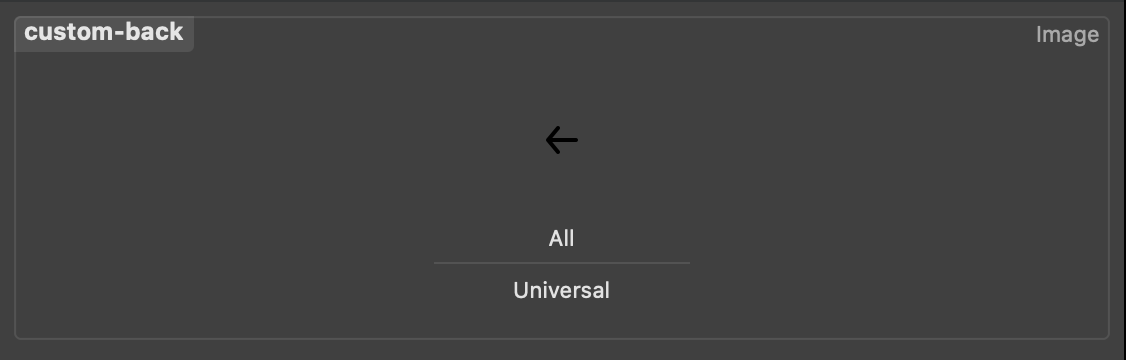
Here is our new back button indicator.
You have many ways to do this.
Globally
To apply a new back button indicator to every UINavigationBar, you use UINavigationBar.appearance().
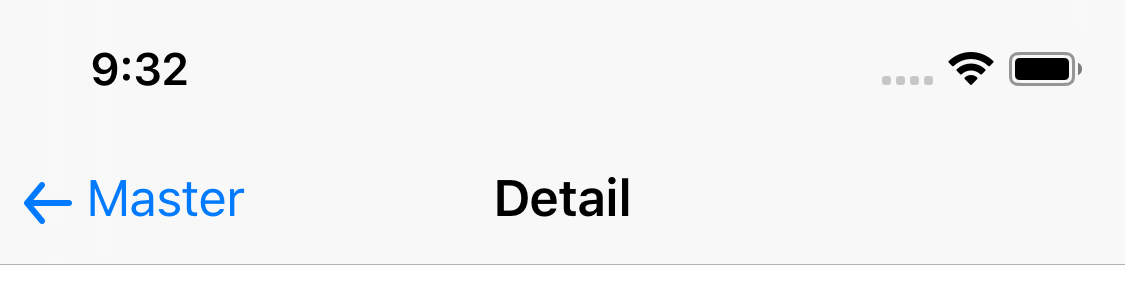
UINavigationBar.appearance().backIndicatorImage = UIImage(named: "custom-back")
UINavigationBar.appearance().backIndicatorTransitionMaskImage = UIImage(named: "custom-back")
Call the code in AppleDelegate or SceneDelegate, and you will get the following result.
You can easily support sarunw.com by checking out this sponsor.
AI Paraphrase:Are you tired of staring at your screen, struggling to rephrase sentences, or trying to find the perfect words for your text?
Only Specific Places
If you interest in changing only a UINavigationBar back button in some UINavigationController, you can do that by set backIndicatorImage and backIndicatorTransitionMaskImage on a navigation bar instance. In our example, we set it in viewDidLoad() of a navigation controller's root view controller.
override func viewDidLoad() {
    super.viewDidLoad()

    navigationController?.navigationBar.backIndicatorImage = UIImage(named: "custom-back")
    navigationController?.navigationBar.backIndicatorTransitionMaskImage = UIImage(named: "custom-back")
}
Storyboard
You can also set this in the Storyboard. Select UINavigationBar and select the Attributes Inspector tab. Then you can change those two images under Back and Back Mask attributes.

iOS 13
In iOS 13, there are changes in navigation bar. Navigation bar can be categories into three types standardAppearance, compactAppearance, and scrollEdgeAppearance. You may continue to use the above two legacy methods to customize your navigation bar's appearance, which will be applied to all three appearances. But if you want to have a different back indicator for each appearance, you need to set it with the following methods.
Set setBackIndicatorImage(_:transitionMaskImage:) on UINavigationBarAppearance.
let lineImage = UIImage(named: "custom-back-line")
let fancyImage = UIImage(named: "custom-back-fancy")
let fancyAppearance = UINavigationBarAppearance()
fancyAppearance.configureWithDefaultBackground()
fancyAppearance.setBackIndicatorImage(fancyImage, transitionMaskImage: fancyImage)
let lineAppearance = UINavigationBarAppearance()
lineAppearance.configureWithDefaultBackground()
lineAppearance.setBackIndicatorImage(lineImage, transitionMaskImage: lineImage)
UINavigationBar.appearance().scrollEdgeAppearance = fancyAppearance
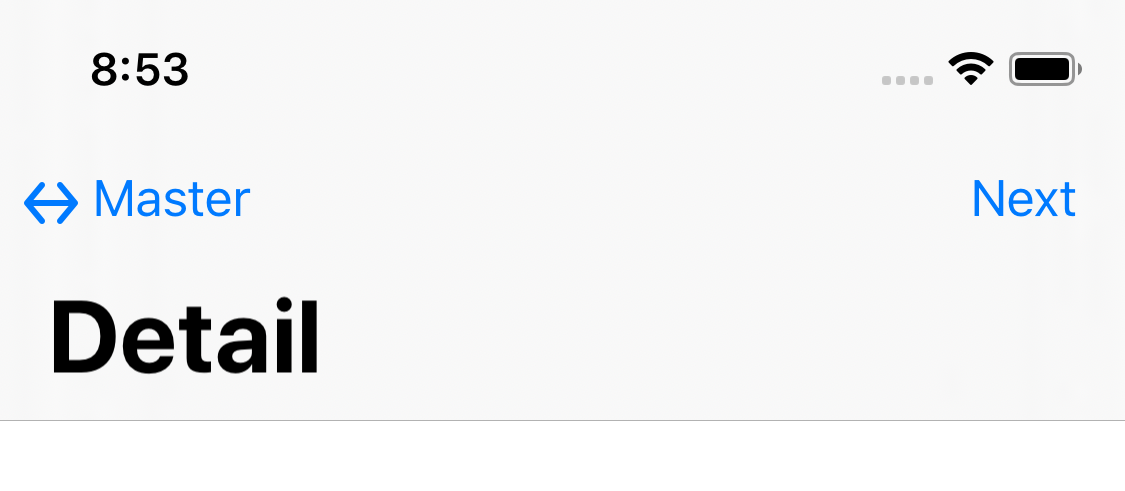
UINavigationBar.appearance().compactAppearance = lineAppearanceThese will produce different back indicators for the large title and compact appearance.

If you want to set just specific navigation controller, you can do it like this:
let fancyImage = UIImage(named: "custom-back-fancy")

var fancyAppearance = UINavigationBarAppearance()
fancyAppearance.configureWithDefaultBackground()
fancyAppearance.setBackIndicatorImage(fancyImage, transitionMaskImage: fancyImage)

navigationController?.navigationBar.scrollEdgeAppearance = fancyAppearance
You can read more about UINavigationBar changes in iOS13 here.
Position
The easiest way to position the back button indicator is by manually add transparent padding to your image. To do that, you need to know the default position and dimension of the back button indicator.
Default
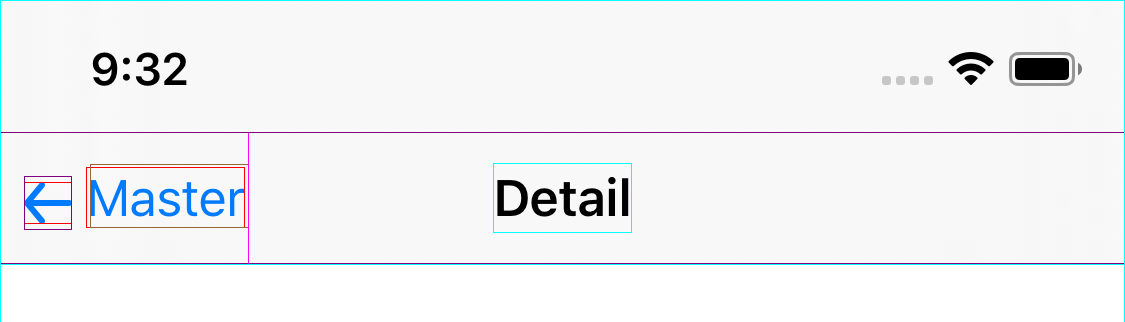
By default, our image will position 8 points from the left edge, 11 points from the bottom edge, 6 points from the back button title, and a minimum height of 18 points.
| Leadding | Bottom | Trailing | Minimum Height |
|---|---|---|---|
| 8 | 11 | 6 | 18 |
Here are examples of the back button image in a variety of sizes and shapes. You can see that they have the same padding.
Back button with a size of 16x14. You can see the bounding box is larger than its true size.
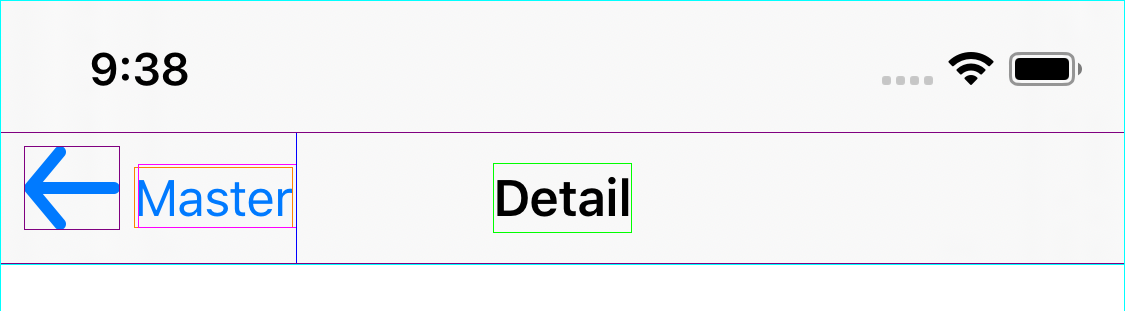
Back button with a size of 32x28.
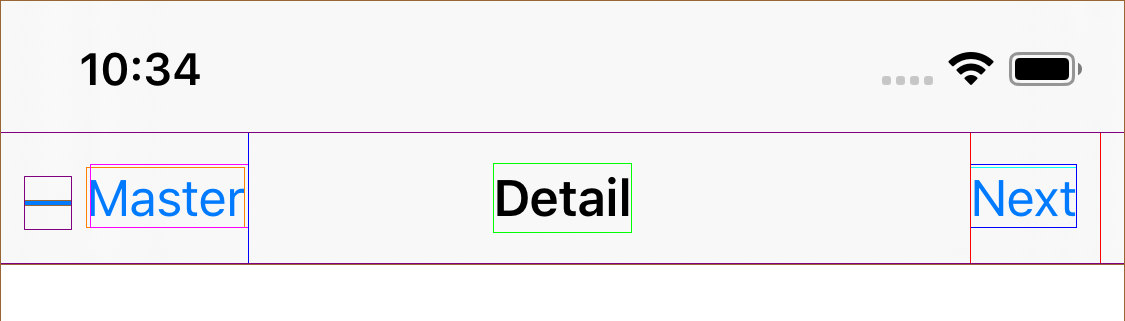
Back button with a size of 16x2. You can see the bounding box is larger than its true size.
Adjustment
After you know the default position, you can make it match your design by adding transparent padding to your image.
Let's say your design has left padding of 20. Since the default left padding is 8, you need to add 12 points of transparent padding to your image. So, if our original image has a dimension of 16x14, it will become 28x14. Here is our image with padding; you can notice that it is not center-aligned anymore.
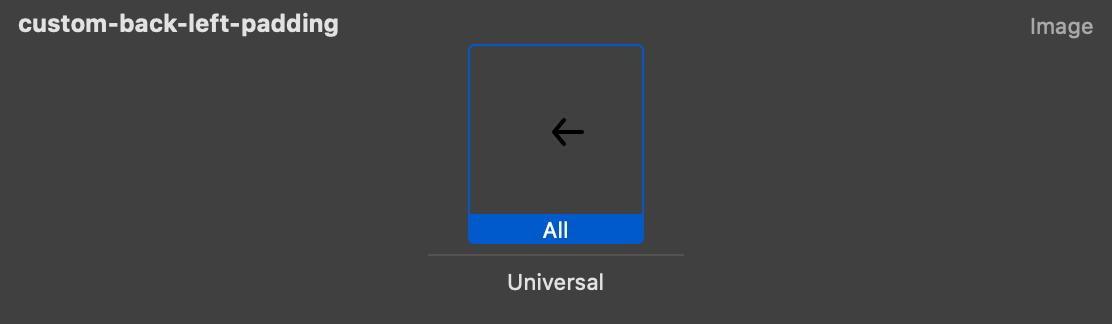
Use the new image, and you will get perfect padding that matches your designer spec.
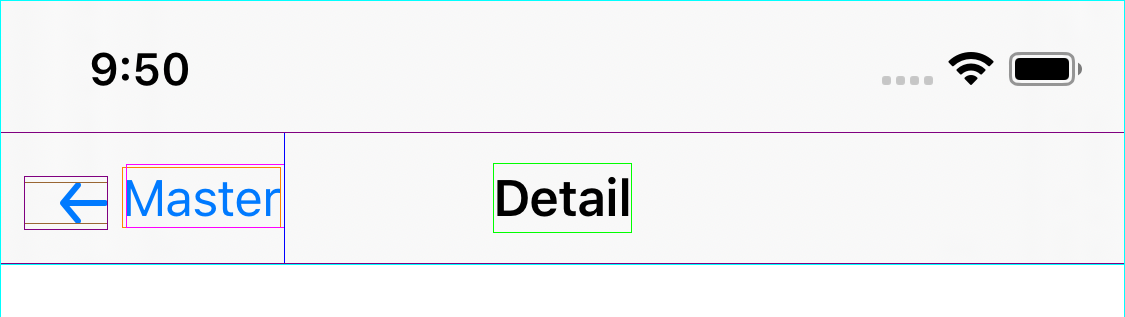
Here is the same view that shows view frames. You can easily see transparent left-padding right there.
You can easily support sarunw.com by checking out this sponsor.
AI Paraphrase:Are you tired of staring at your screen, struggling to rephrase sentences, or trying to find the perfect words for your text?
Related Resource
Read more article about UIKit, UINavigationBar, Back Button, or see all available topic
Enjoy the read?
If you enjoy this article, you can subscribe to the weekly newsletter.
Every Friday, you'll get a quick recap of all articles and tips posted on this site. No strings attached. Unsubscribe anytime.
Feel free to follow me on Twitter and ask your questions related to this post. Thanks for reading and see you next time.
If you enjoy my writing, please check out my Patreon https://www.patreon.com/sarunw and become my supporter. Sharing the article is also greatly appreciated.
Become a patron Buy me a coffee Tweet ShareResponsive design with UIStackView
Learn how UIStackView can help to make your UI adapt to size change.
What is backIndicatorTransitionMaskImage
To set a custom image for the back button, we need to set an image to both backIndicatorImage and backIndicatorTransitionMaskImage, but what does backIndicatorTransitionMaskImage really mean?