How to get Root view controller in Swift
Table of Contents
In this article, I will show you a quick and dirty way to get a root view controller in an iOS app.
Before iOS 13, you might use the following code to get a key window or a root view controller.
UIApplication.shared.keyWindow?.rootViewController
// Or
UIApplication.shared.windows.first?.rootViewController
But in iOS 13, iOS add is supporting multiple scenes and windows. This makes a concept of a single key window obsolete.
Apple deprecated UIApplication.shared.keyWindow and UIApplication.shared.windows in iOS 13, and iOS 15, respectively.
How to get Root view controller in iOS
So, to get a key window or root view controller in iOS 13 onward, we should use something like this.
extension UIApplication {
    var firstKeyWindow: UIWindow? {
        // 1
        let windowScenes = UIApplication.shared.connectedScenes
            .compactMap { $0 as? UIWindowScene }
        // 2
        let activeScene = windowScenes
            .filter { $0.activationState == .foregroundActive }
        // 3
        let firstActiveScene = activeScene.first
        // 4
        let keyWindow = firstActiveScene?.keyWindow

        return keyWindow
    }
}
1 We get all scenes with UIApplication.shared.connectedScenes and compact map them to UIWindowScene, which is the scene that we are interested.
2 Then, we filter only an active scene. Multiple windows support means we can get more than one active scene here.
3 We grab the first scene from array of all active scenes.
4 Then we get a key window from that scene.
Then we can get a root view controller like this.
let vc = UIApplication.shared.firstKeyWindow?.rootViewControllerYou can easily support sarunw.com by checking out this sponsor.

Offline Transcription: Fast, privacy-focus way to transcribe audio, video, and podcast files. No data leaves your Mac.
Quick and Dirty
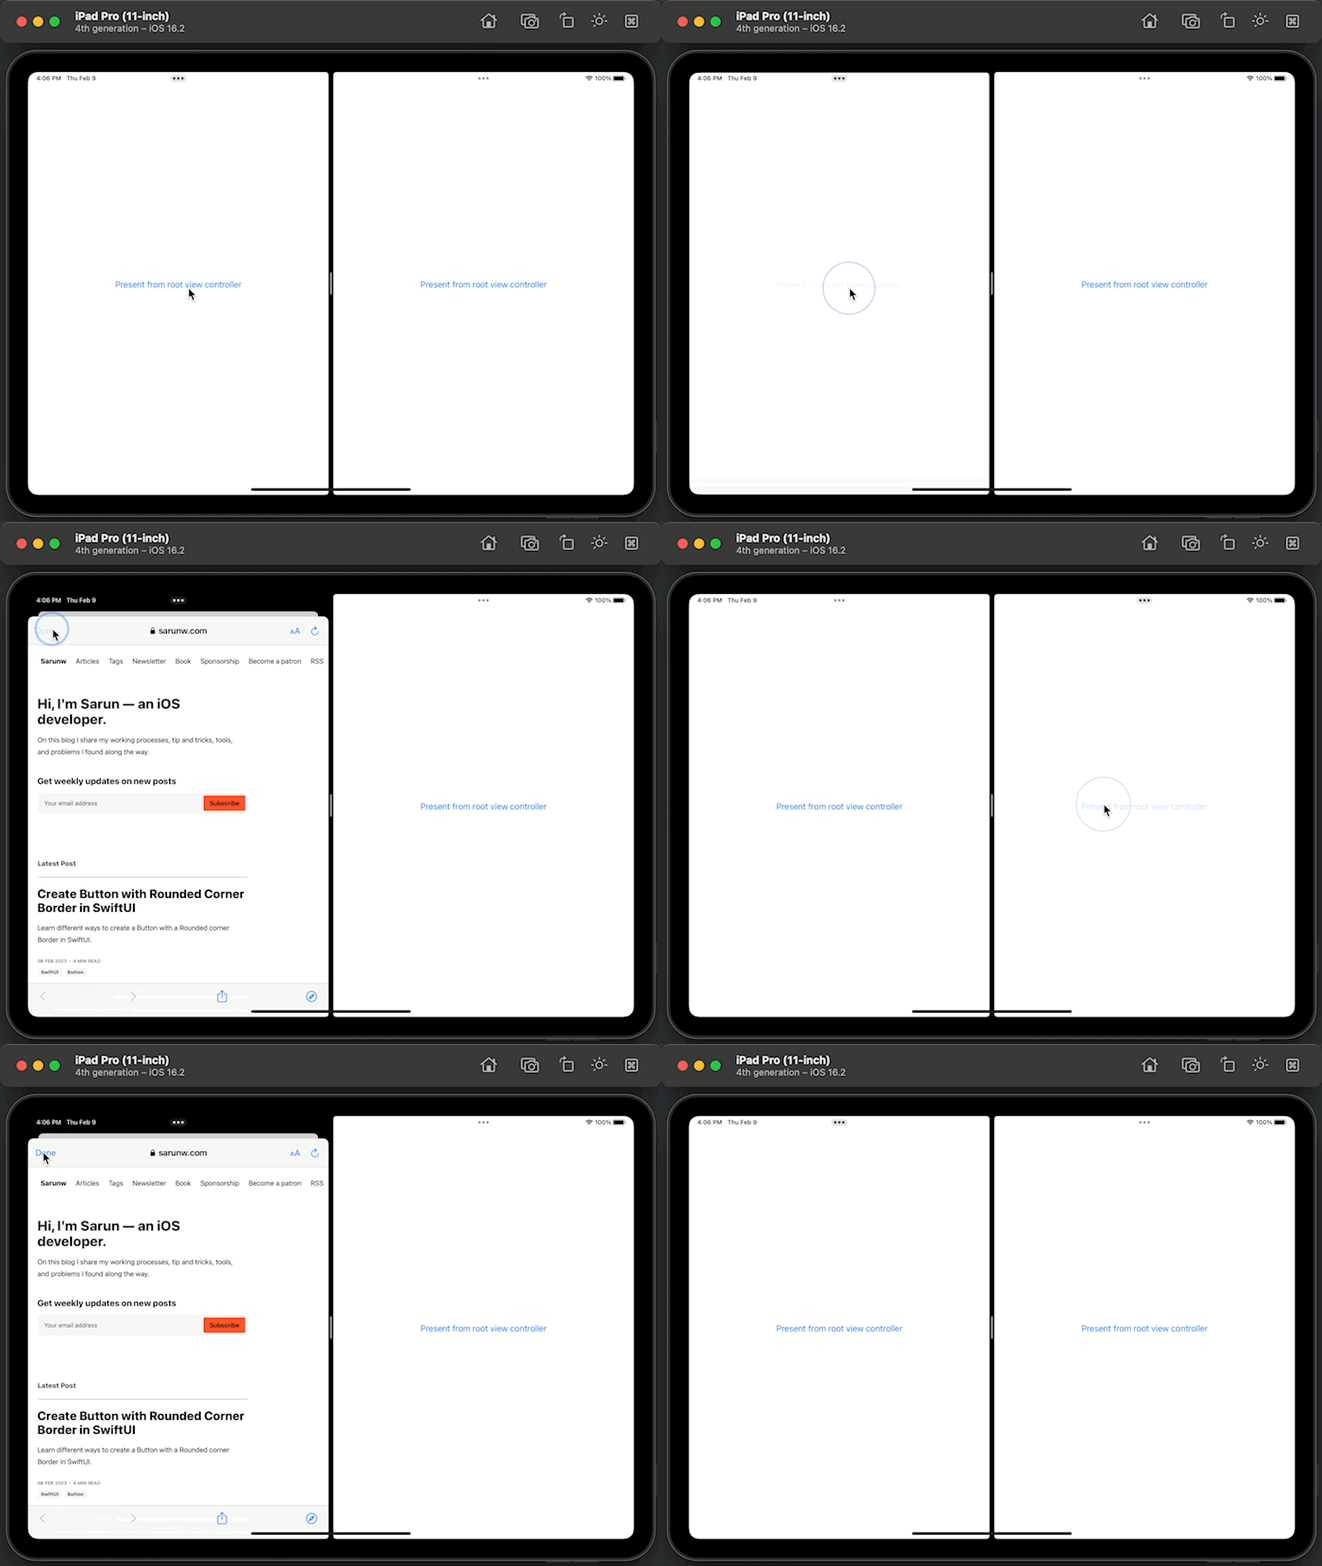
I mentioned that this is a quick and dirty implementation because there is a chance that there are two active scenes and we don't really care which one is calling this method.
extension UIApplication {
    var firstKeyWindow: UIWindow? {
        let windowScenes = UIApplication.shared.connectedScenes
            .compactMap { $0 as? UIWindowScene }
        // 1
        let activeScene = windowScenes
            .filter { $0.activationState == .foregroundActive }
        // 2
        let firstActiveScene = activeScene.first
        let keyWindow = firstActiveScene?.keyWindow

        return keyWindow
    }
}
1 There is a chance that there is more than one active scene.
2 We just randomly picked the first one in this implementation.
As a result, the root view you get might not be the same one that was calling it.

Read more article about iOS or see all available topic
Enjoy the read?
If you enjoy this article, you can subscribe to the weekly newsletter.
Every Friday, you'll get a quick recap of all articles and tips posted on this site. No strings attached. Unsubscribe anytime.
Feel free to follow me on Twitter and ask your questions related to this post. Thanks for reading and see you next time.
If you enjoy my writing, please check out my Patreon https://www.patreon.com/sarunw and become my supporter. Sharing the article is also greatly appreciated.
Become a patron Buy me a coffee Tweet ShareDifferent ways to map over Dictionary in Swift
Learn how to map function work with Swift dictionary.
Create Button with Rounded Corner Border in SwiftUI
Learn different ways to create a Button with a Rounded corner Border in SwiftUI.