How to ignore safe area insets in UIKit
Table of Contents
Most view in UIKit doesn't automatically avoid safe area insets, the only exception (that I know of) is UISCrollView and its descendent UITableView and UICollectionView.
By default, the scrollable view will present its content within the safe area by update its content insets to match the safe area insets.
Here is an example of UITableViewController embed in UINavigationController on iPhone 12 Pro device.[1]
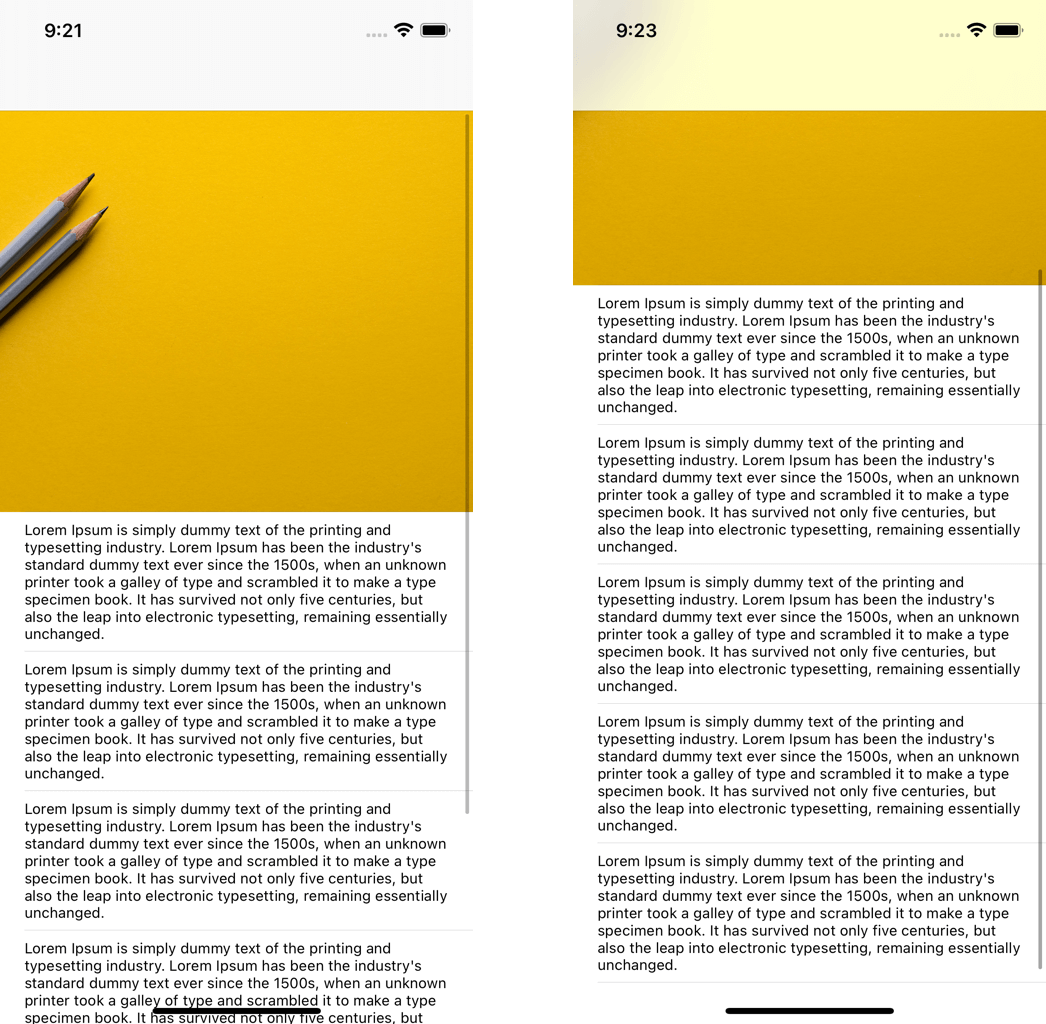
As you can see, UIKit will automatically adjust content insets of a scroll view to make sure the content stays visible within a safe area.
This is the behavior we want most of the time. But if you want to ignore some of the edges or all of them, how can you do this? That is what we are going to discover in this article.
Ignore safe area insets on all edges.
The default behavior of a scrollable view, which adjusts its content insets according to the safe area insets, is controlled by the contentInsetAdjustmentBehavior property.
contentInsetAdjustmentBehavior control the behavior for determining the content insets. By default, this is set to automatic. The automatic behavior adjusts content insets by taking safe area insets into account.
To opt-out from this behavior, we set it to never.
override func viewDidLoad() {
    super.viewDidLoad()

    tableView.contentInsetAdjustmentBehavior = .never
}
With this simple change, our content extends beyond the safe area.
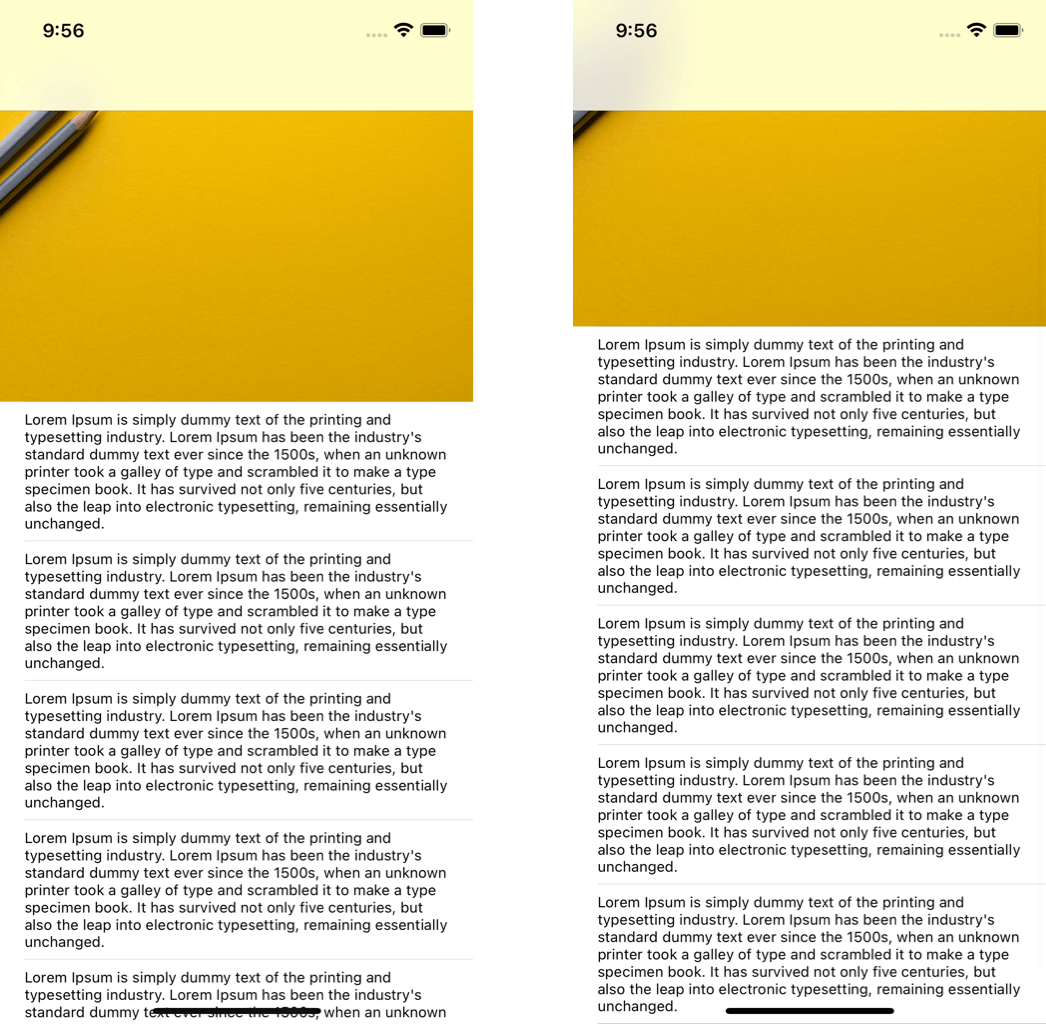
This might be the behavior you want if you have a transparent navigation bar design.

You can easily support sarunw.com by checking out this sponsor.
Translate your app In 1 click: Simplifies app localization and helps you reach more users.
Ignore safe area insets at a specific edge
Typically, you might want to ignore safe area insets on specific edges. Ignoring the safe area insets on all edges like our last example might yield a satisfying result on the top, but not at the bottom where some part of the text overlaps with the home button indicator.
There is no easy way to do this in UIKit. The workaround is to ignore safe area in all edges, then set it back on the edges that you want.
You can set it back in a viewSafeAreaInsetsDidChange() method. This method gets called to notify the view controller that the safe area insets of its root view changed, which is a perfect place to update content edge insets.
override func viewDidLoad() {
super.viewDidLoad()
//1
tableView.contentInsetAdjustmentBehavior = .never
}
override func viewSafeAreaInsetsDidChange() {
super.viewSafeAreaInsetsDidChange()
// 2
var insets = view.safeAreaInsets
insets.top = 0
tableView.contentInset = insets
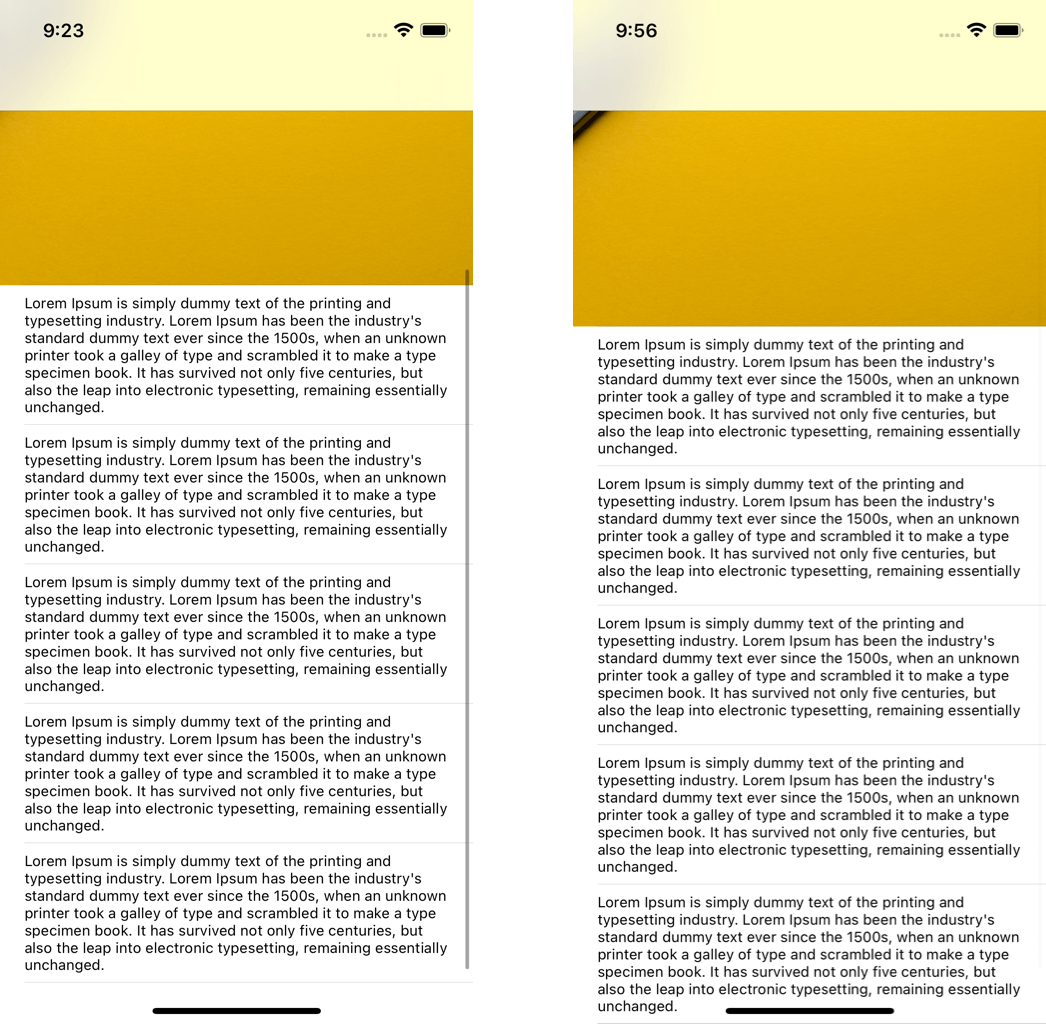
}<1> First, we ignore the safe area insets of all edges.
<2> Then in viewSafeAreaInsetsDidChange, we set it back. In this case, we only ignore the top safe area by setting it to zero and leave other edges the same.
Photo by Joanna Kosinska on Unsplash. ↩︎
Read more article about UIKit or see all available topic
Enjoy the read?
If you enjoy this article, you can subscribe to the weekly newsletter.
Every Friday, you'll get a quick recap of all articles and tips posted on this site. No strings attached. Unsubscribe anytime.
Feel free to follow me on Twitter and ask your questions related to this post. Thanks for reading and see you next time.
If you enjoy my writing, please check out my Patreon https://www.patreon.com/sarunw and become my supporter. Sharing the article is also greatly appreciated.
Become a patron Buy me a coffee Tweet ShareSpell checking in Xcode
Did you know that you have an option to enable spell checking in Xcode?
Different ways to catch throwing errors from Swift do-catch
It is tempting to just catch all a throwing error in a single catch clause and call it a day, but not all errors are created equals, and you should treat it as such.