How to make a macOS menu bar app
Table of Contents
Menu bar apps are the app that sits on the menu bar. It comes in many shapes and forms.
It can operate right on the menu bar, e.g., Harvest app, where you can start/stop a timer right from the menu bar.

It can present another Window or menu item when tap, e.g., the Siri app presents a popup window to interact with Siri or Battery app that shows battery status when tap.
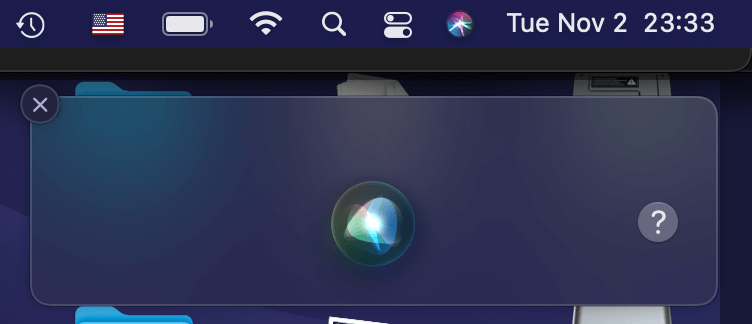
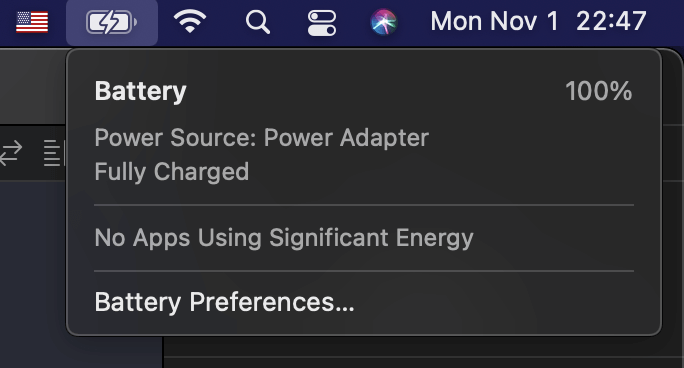
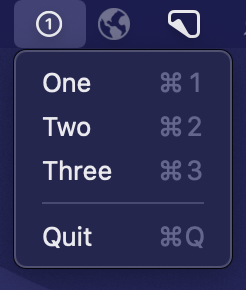
In this article, we will learn what it takes to create a toy menu bar application. It is an app that shows a number from 1 to 3, and you change it by tapping it and selecting the new number from the menu item.
Getting Started
Let's start by creating a simple macOS project. I will create this app programmatically without a storyboard. If you aren't familiar with the process, I encourage you to check my previous post, How to create a macOS app without storyboard or xib files, where I explain how to do it in detail. We only need a portion of what we did in that article.
Here is how our AppDelegate looks like.
class AppDelegate: NSObject, NSApplicationDelegate {

    private var window: NSWindow!

    func applicationDidFinishLaunching(_ aNotification: Notification) {

        window = NSWindow(
            contentRect: NSRect(x: 0, y: 0, width: 480, height: 270),
            styleMask: [.miniaturizable, .closable, .resizable, .titled],
            backing: .buffered, defer: false)
        window.center()
        window.title = "No Storyboard Window"
        window.makeKeyAndOrderFront(nil)
    }
}
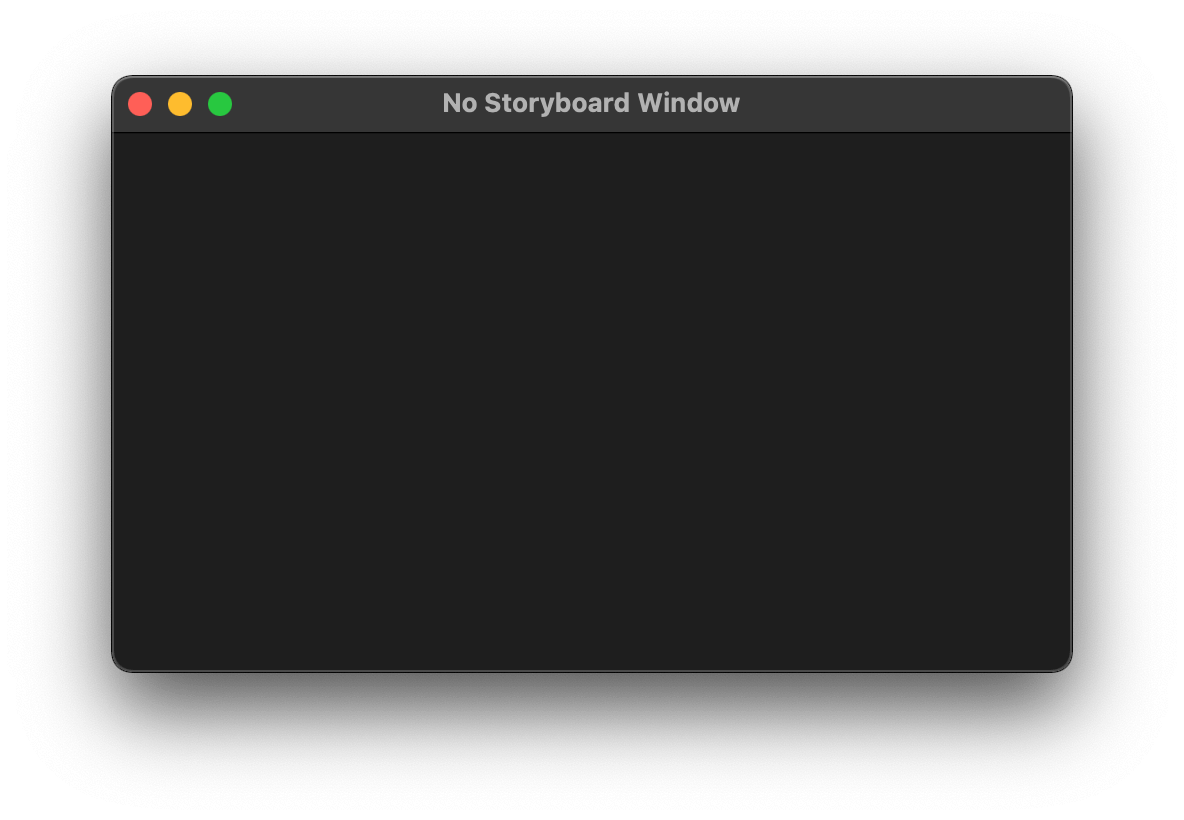
Run the app, and you will see a normal macOS app with an empty window.
We need three simple steps to build a menu bar app out of this.
- Adding a status item.
- Hiding the dock icon and main window.
- Adding a Menu to the Status Item.
You can easily support sarunw.com by checking out this sponsor.

Localization Buddy: Easiest way to localize and update App Store metadata.
Adding a status item
First, we want our app to show on the system menu bar along with others. The UI element that represents the UI on the menu bar is called NSStatusItem.
To add a new NSStatusItem to the menu bar, all you need to do is initialize an instance of NSStatusItem.
class AppDelegate: NSObject, NSApplicationDelegate {
    private var window: NSWindow!
    // 1
    private var statusItem: NSStatusItem!

    func applicationDidFinishLaunching(_ aNotification: Notification) {

        window = NSWindow(
            contentRect: NSRect(x: 0, y: 0, width: 480, height: 270),
            styleMask: [.miniaturizable, .closable, .resizable, .titled],
            backing: .buffered, defer: false)
        window.center()
        window.title = "No Storyboard Window"
        window.makeKeyAndOrderFront(nil)

        // 2
        statusItem = NSStatusBar.system.statusItem(withLength: NSStatusItem.variableLength)
        // 3
        if let button = statusItem.button {
            button.image = NSImage(systemSymbolName: "1.circle", accessibilityDescription: "1")
        }
    }
}
1 You need to create a property to hold the NSStatusItem instance. Otherwise, it will immediately deallocate after out of the applicationDidFinishLaunching method scope.
2 Create a new instance of NSStatusItem, which will automatically add to the menu bar. But it has no appearance at this stage. You need to customize it by modifying the button property.
3 We customize our menu bar by adding an image to it. We use SF Symbols in this case.
Run the app, and our app will show up on the system menu bar. We got a menu bar app!

Hiding the dock icon and main window
Since we have a new UI element in place, let's remove two things from our starter project.
- Remove the main window.
- Remove the dock icon.
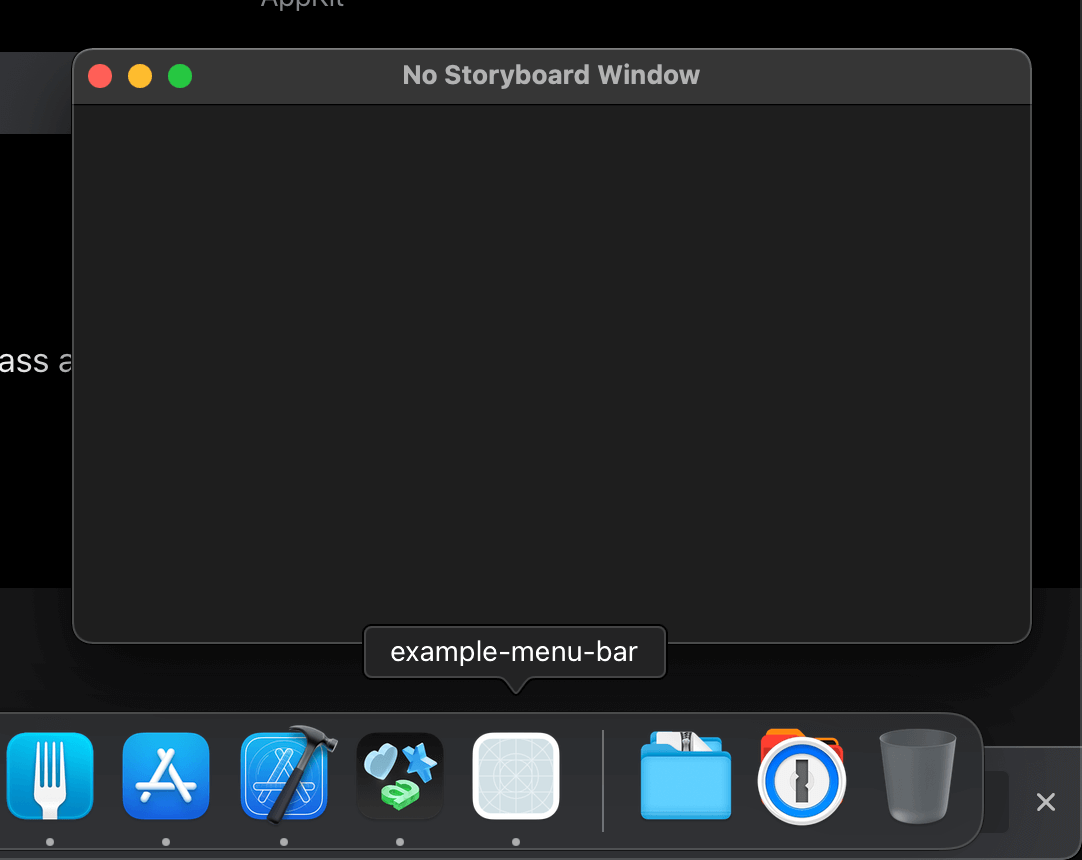
Remove the main window
To remove the main window, we simply remove window-related stuff from the AppDelegate.
class AppDelegate: NSObject, NSApplicationDelegate {

//    private var window: NSWindow!
    private var statusItem: NSStatusItem!

    func applicationDidFinishLaunching(_ aNotification: Notification) {

//        window = NSWindow(
//            contentRect: NSRect(x: 0, y: 0, width: 480, height: 270),
//            styleMask: [.miniaturizable, .closable, .resizable, .titled],
//            backing: .buffered, defer: false)
//        window.center()
//        window.title = "No Storyboard Window"
//        window.makeKeyAndOrderFront(nil)

        statusItem = NSStatusBar.system.statusItem(withLength: NSStatusItem.variableLength)
        if let button = statusItem.button {
            button.image = NSImage(systemSymbolName: "1.circle", accessibilityDescription: "1")
        }
    }
}
Remove the dock icon
To remove the dock icon, open Info.plist and add a new key "Application is agent (UIElement)" (LSUIElement) and sets its value to YES.

Rerun the app to verify that both window and the dock icon are gone.
You can easily support sarunw.com by checking out this sponsor.

Localization Buddy: Easiest way to localize and update App Store metadata.
Adding a Menu to the Status Item
The last step is where you add a function to your application. Our toy app needs to present menu items when users click on the menu bar item, and that is what we are going to do here.
To add menus to NSStatusItem, we crate an NSMenu and populate it with NSMenuItem. Then we assign it to NSStatusItem's menu property.
class AppDelegate: NSObject, NSApplicationDelegate {

    var statusItem: NSStatusItem!

    func applicationDidFinishLaunching(_ aNotification: Notification) {

        statusItem = NSStatusBar.system.statusItem(withLength: NSStatusItem.variableLength)
        if let button = statusItem.button {
            button.image = NSImage(systemSymbolName: "1.circle", accessibilityDescription: "1")
        }

        setupMenus()
    }

    func setupMenus() {
        // 1
        let menu = NSMenu()

        // 2
        let one = NSMenuItem(title: "One", action: #selector(didTapOne) , keyEquivalent: "1")
        menu.addItem(one)

        let two = NSMenuItem(title: "Two", action: #selector(didTapTwo) , keyEquivalent: "2")
        menu.addItem(two)

        let three = NSMenuItem(title: "Three", action: #selector(didTapThree) , keyEquivalent: "3")
        menu.addItem(three)

        menu.addItem(NSMenuItem.separator())

        menu.addItem(NSMenuItem(title: "Quit", action: #selector(NSApplication.terminate(_:)), keyEquivalent: "q"))

        // 3
        statusItem.menu = menu
    }

    ...
}
1 We create a menu instance to hold our menu items.
2 We create menu items with different actions and key binding.
3 We assign menu instance to status item menu property.
When clicking on each menu item, we change the status item's appearance by assigning a new image to it.
class AppDelegate: NSObject, NSApplicationDelegate {

    ...

    // 1
    private func changeStatusBarButton(number: Int) {
        if let button = statusItem.button {
            button.image = NSImage(systemSymbolName: "\(number).circle", accessibilityDescription: number.description)
        }
    }

    @objc func didTapOne() {
        changeStatusBarButton(number: 1)
    }

    @objc func didTapTwo() {
        changeStatusBarButton(number: 2)
    }

    @objc func didTapThree() {
        changeStatusBarButton(number: 3)
    }
}
1 Change the status item's appearance by assigning a new image to the button.image property.
Run the app, and we got a working menu bar app.

Read more article about macOS or see all available topic
Enjoy the read?
If you enjoy this article, you can subscribe to the weekly newsletter.
Every Friday, you'll get a quick recap of all articles and tips posted on this site. No strings attached. Unsubscribe anytime.
Feel free to follow me on Twitter and ask your questions related to this post. Thanks for reading and see you next time.
If you enjoy my writing, please check out my Patreon https://www.patreon.com/sarunw and become my supporter. Sharing the article is also greatly appreciated.
Become a patron Buy me a coffee Tweet ShareHow to initialize NSViewController programmatically without nib
Initializing an NSViewController without nib isn't straightforward as UIViewController. Trying to do so would result in a runtime error. Let's learn how to do that.
How to position an UIButton image to the right side of the text
By default, when you set an image to an UIButton, it will position on the leading edge of the text. Let's learn how to put it on the trailing edge instead.