How to resize a SwiftUI Image and keep its aspect ratio
Table of Contents
By default, SwiftUI's Image views automatically size themselves to their image contents. If the image is larger than the device screen, it will go beyond it.
struct ContentView: View {
var body: some View {
Image("donuts")
}
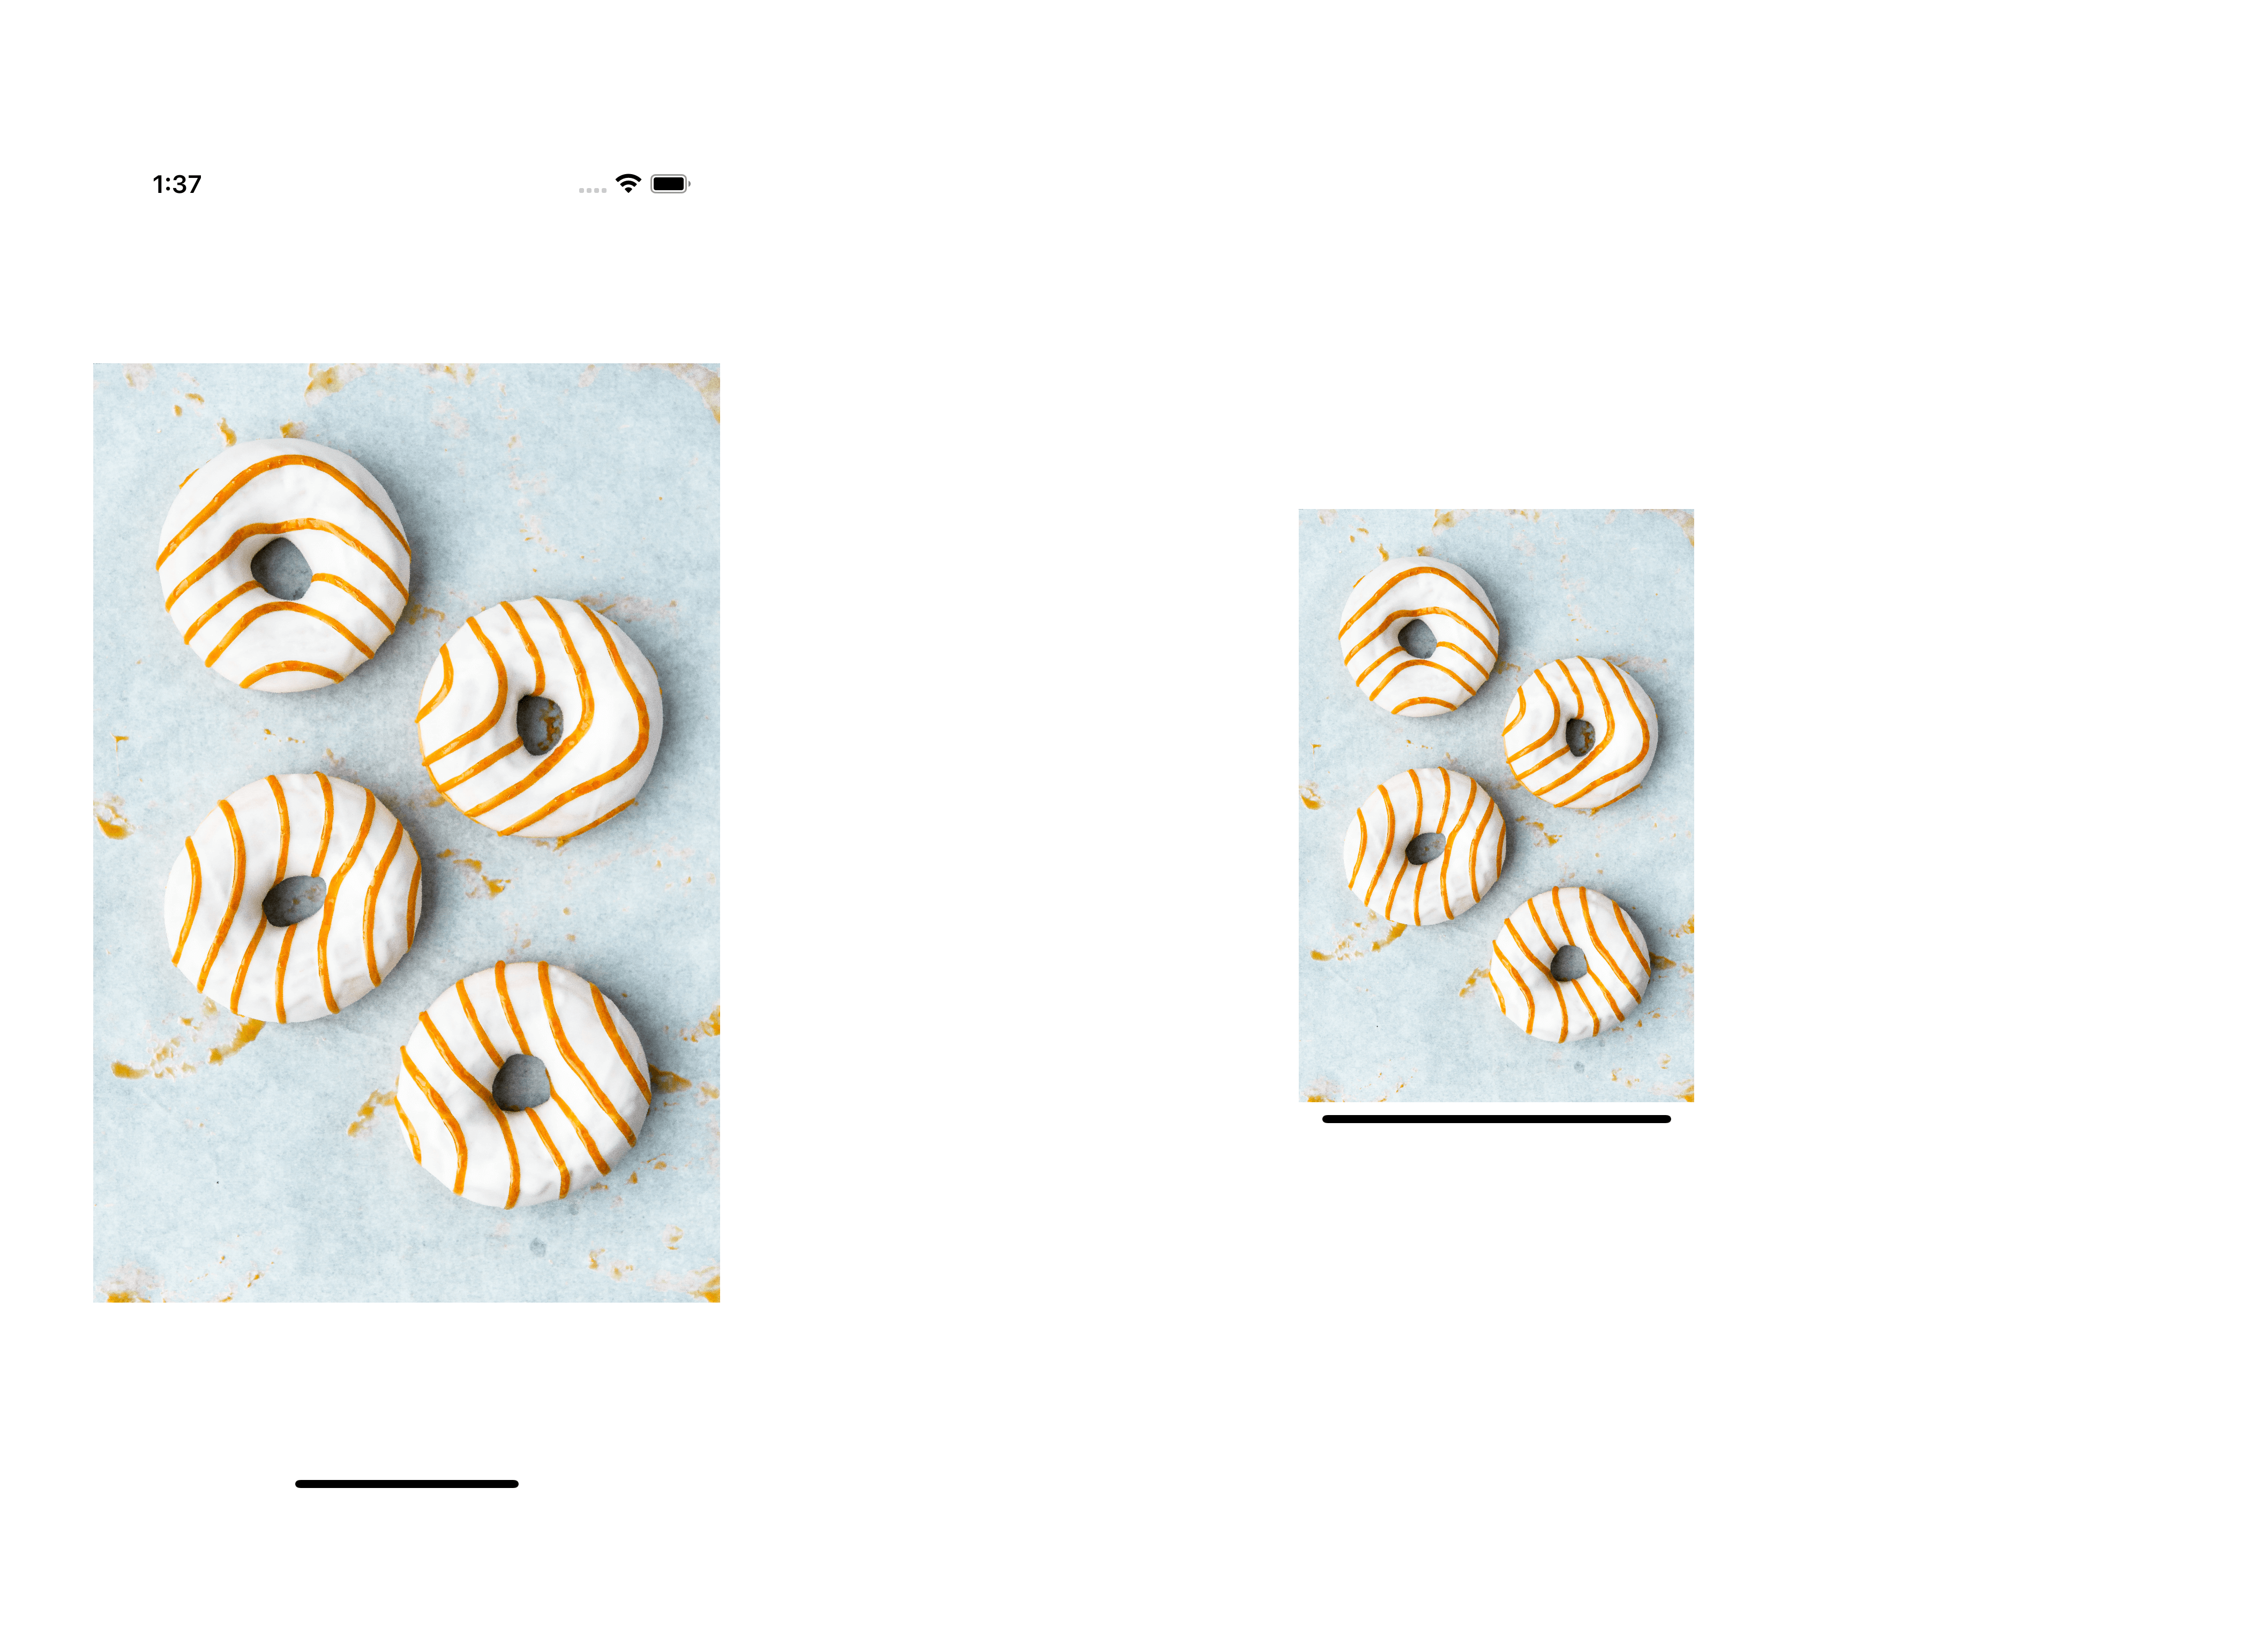
}The image will render at its actual size, which is larger than the device, so you will only see a portion of it.[1]
Resizable
To make an image scales to fit the current view, we use the resizable() modifier, which resizes an image to fit available space.
struct ContentView: View {
var body: some View {
Image("donuts")
.resizable()
}
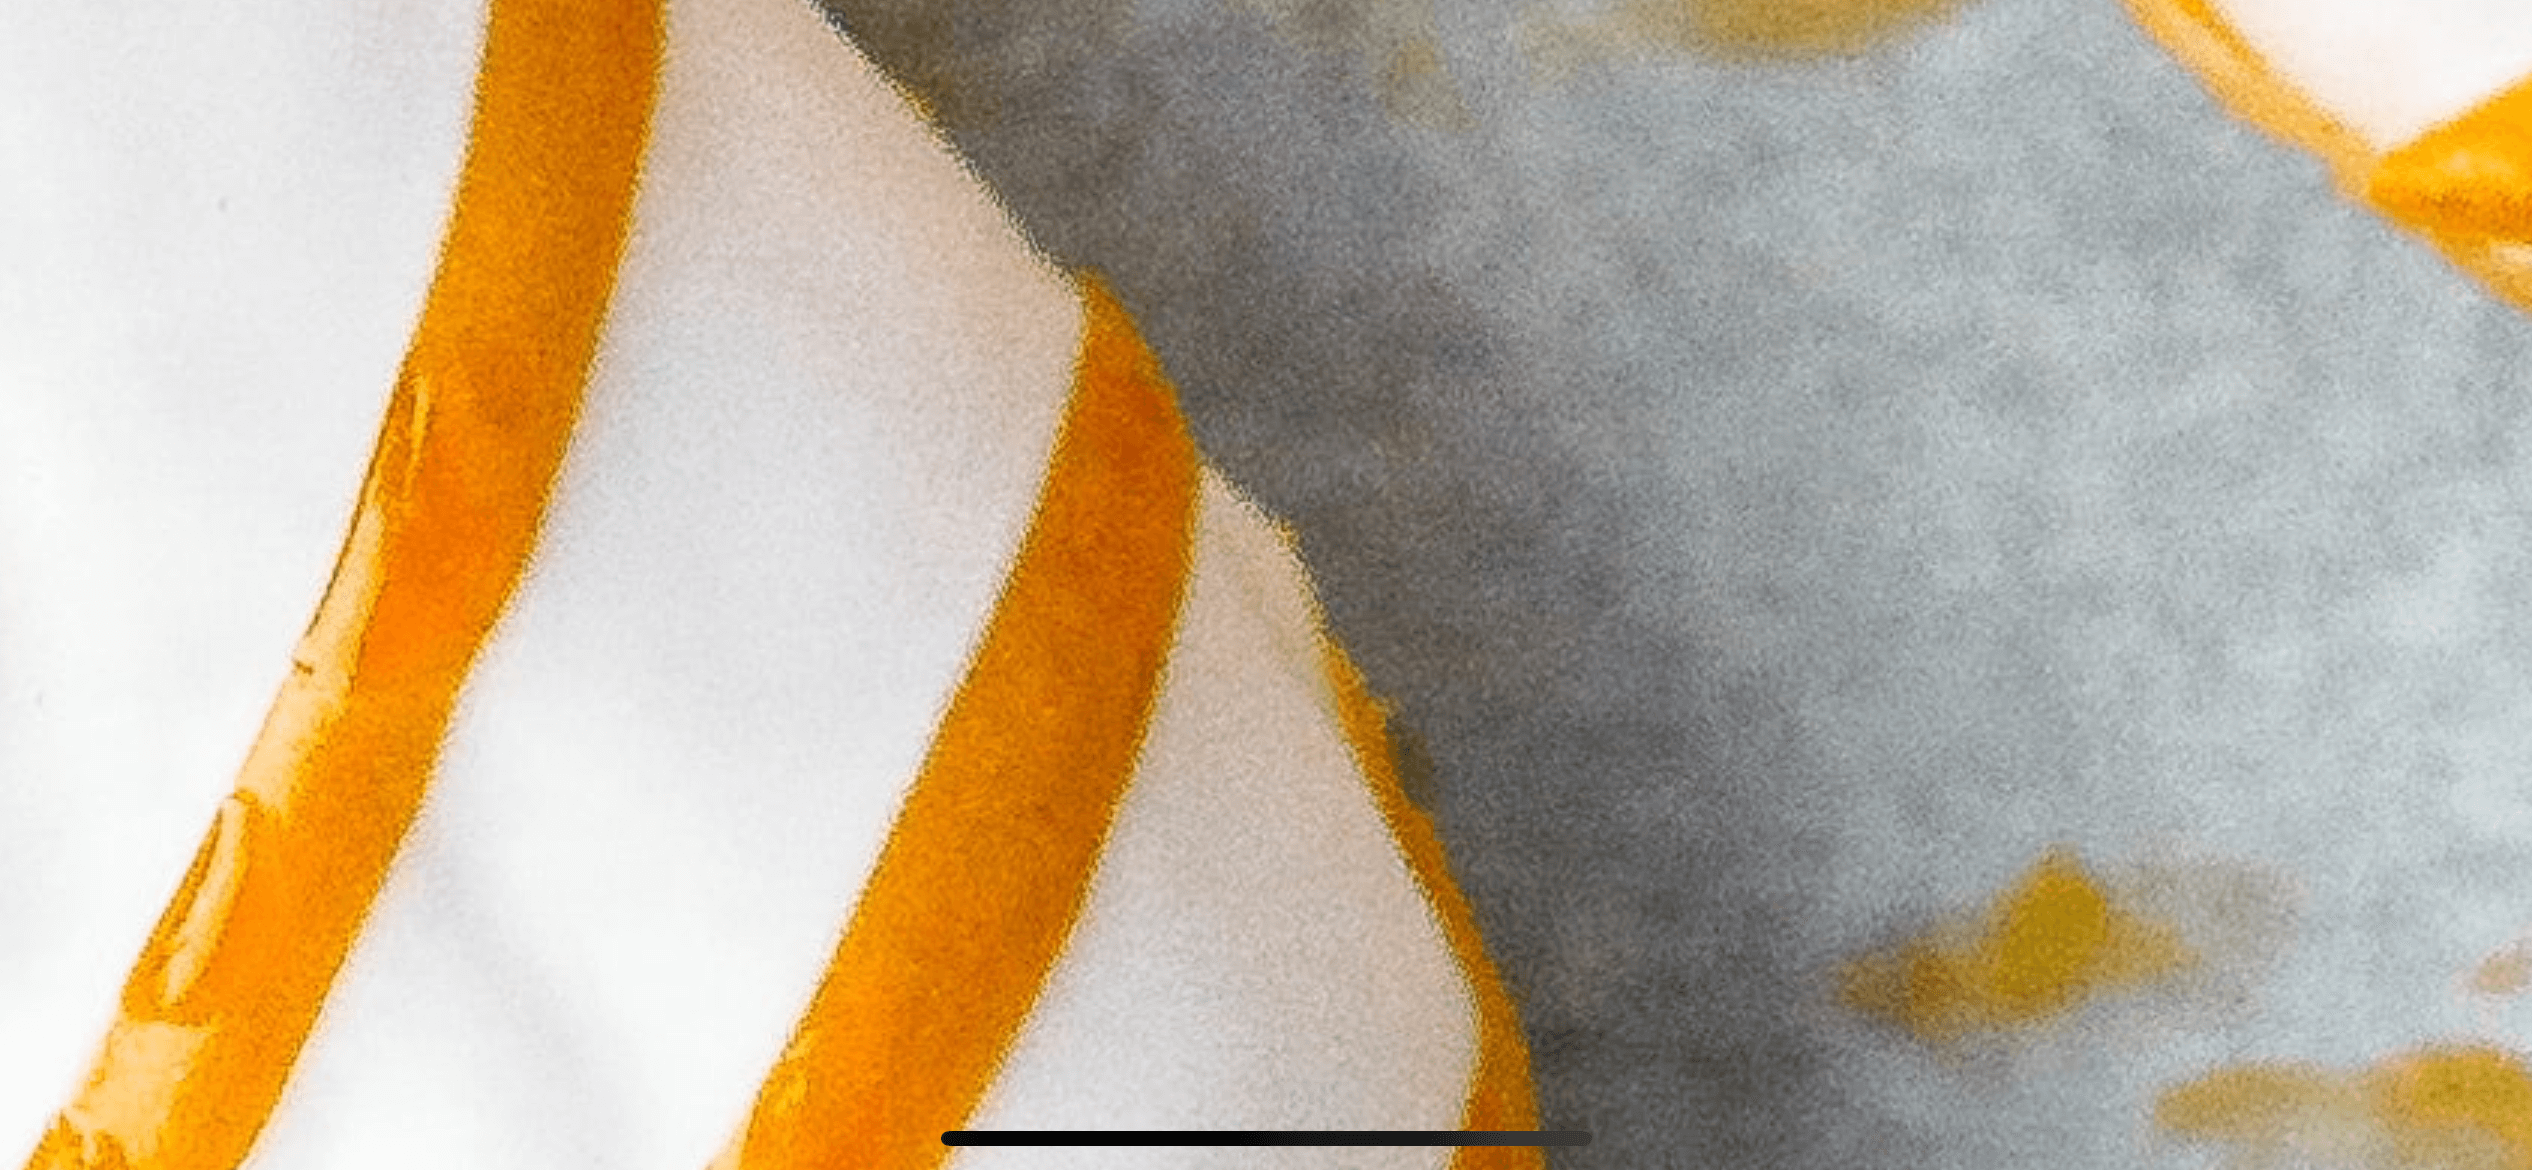
}We can see the whole image now, but it got stretched out and losing its aspect ratio, which is usually not the behavior we want.
You can easily support sarunw.com by checking out this sponsor.
Localization Buddy: Easiest way to localize and update App Store metadata.
Aspect ratio
We use .aspectRatio(_:contentMode:) modifier to constraints the view dimensions. The method accept one of two strategies of ContentMode, fit and fill.
Fit
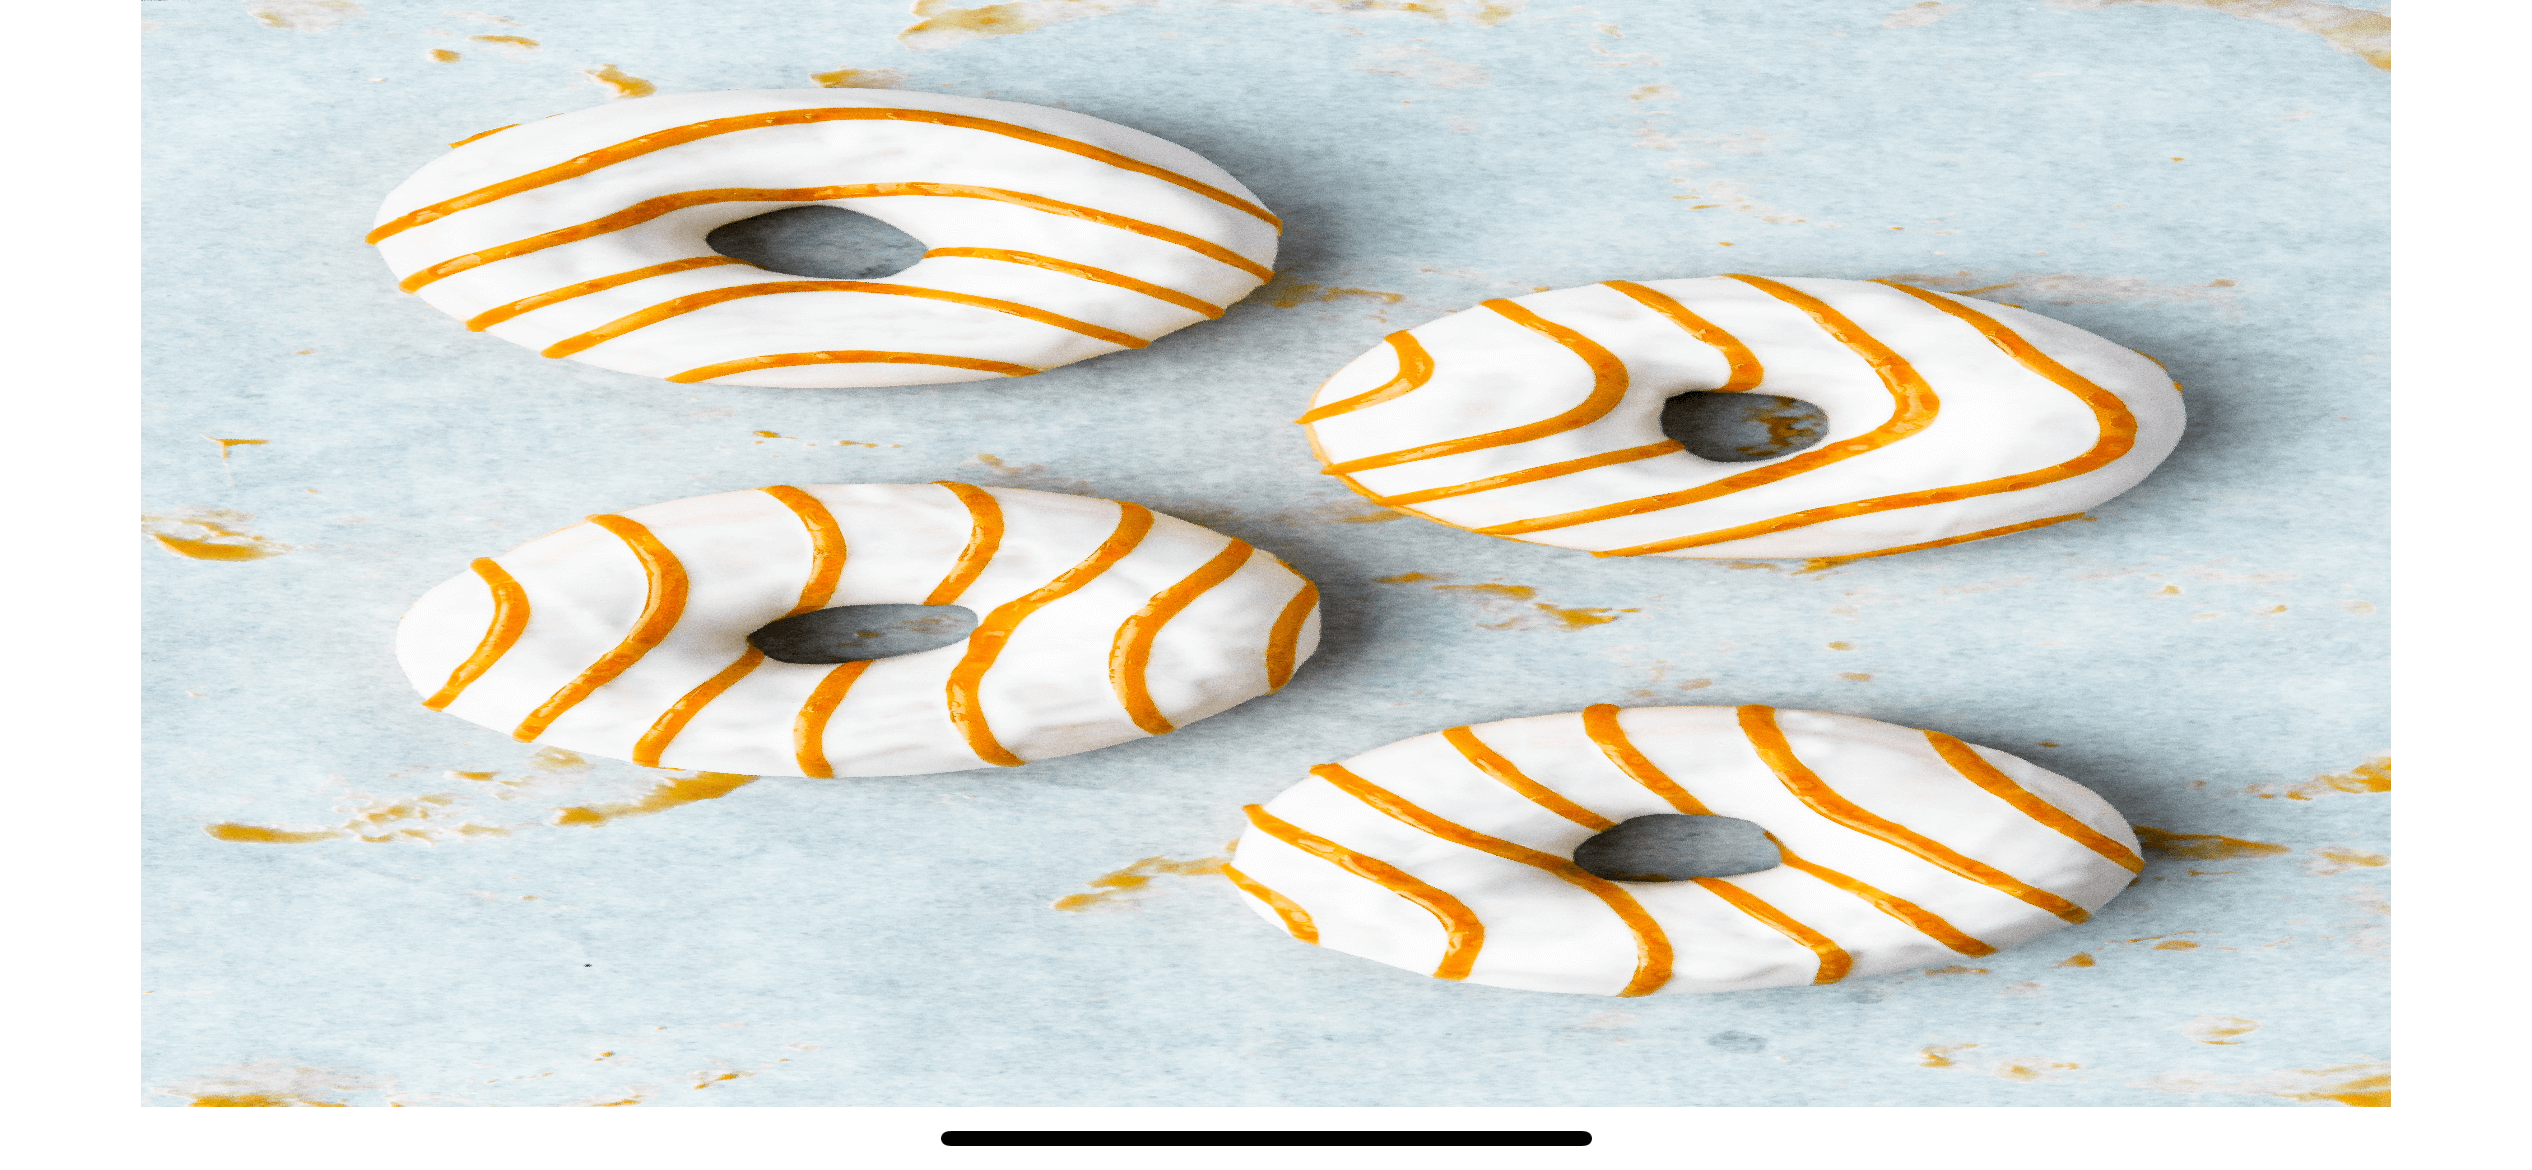
Fit content mode attempts to show the whole image by scales the image to fit the view size along one axis, possibly leaving empty space along the other axis. The result would guarantee that the whole image is shown.
struct ContentView: View {
    var body: some View {
        Image("donuts")
            .resizable()
            .aspectRatio(contentMode: .fit)
    }
}
Fill
Fill content mode attempts to fill the image to available space by scales the image to fill the entire view leaving no empty space in any axis. This leads to a potential of an image go beyond the view's bounds.
struct ContentView: View {
    var body: some View {
        Image("donuts")
            .resizable()
            .aspectRatio(contentMode: .fill)
    }
}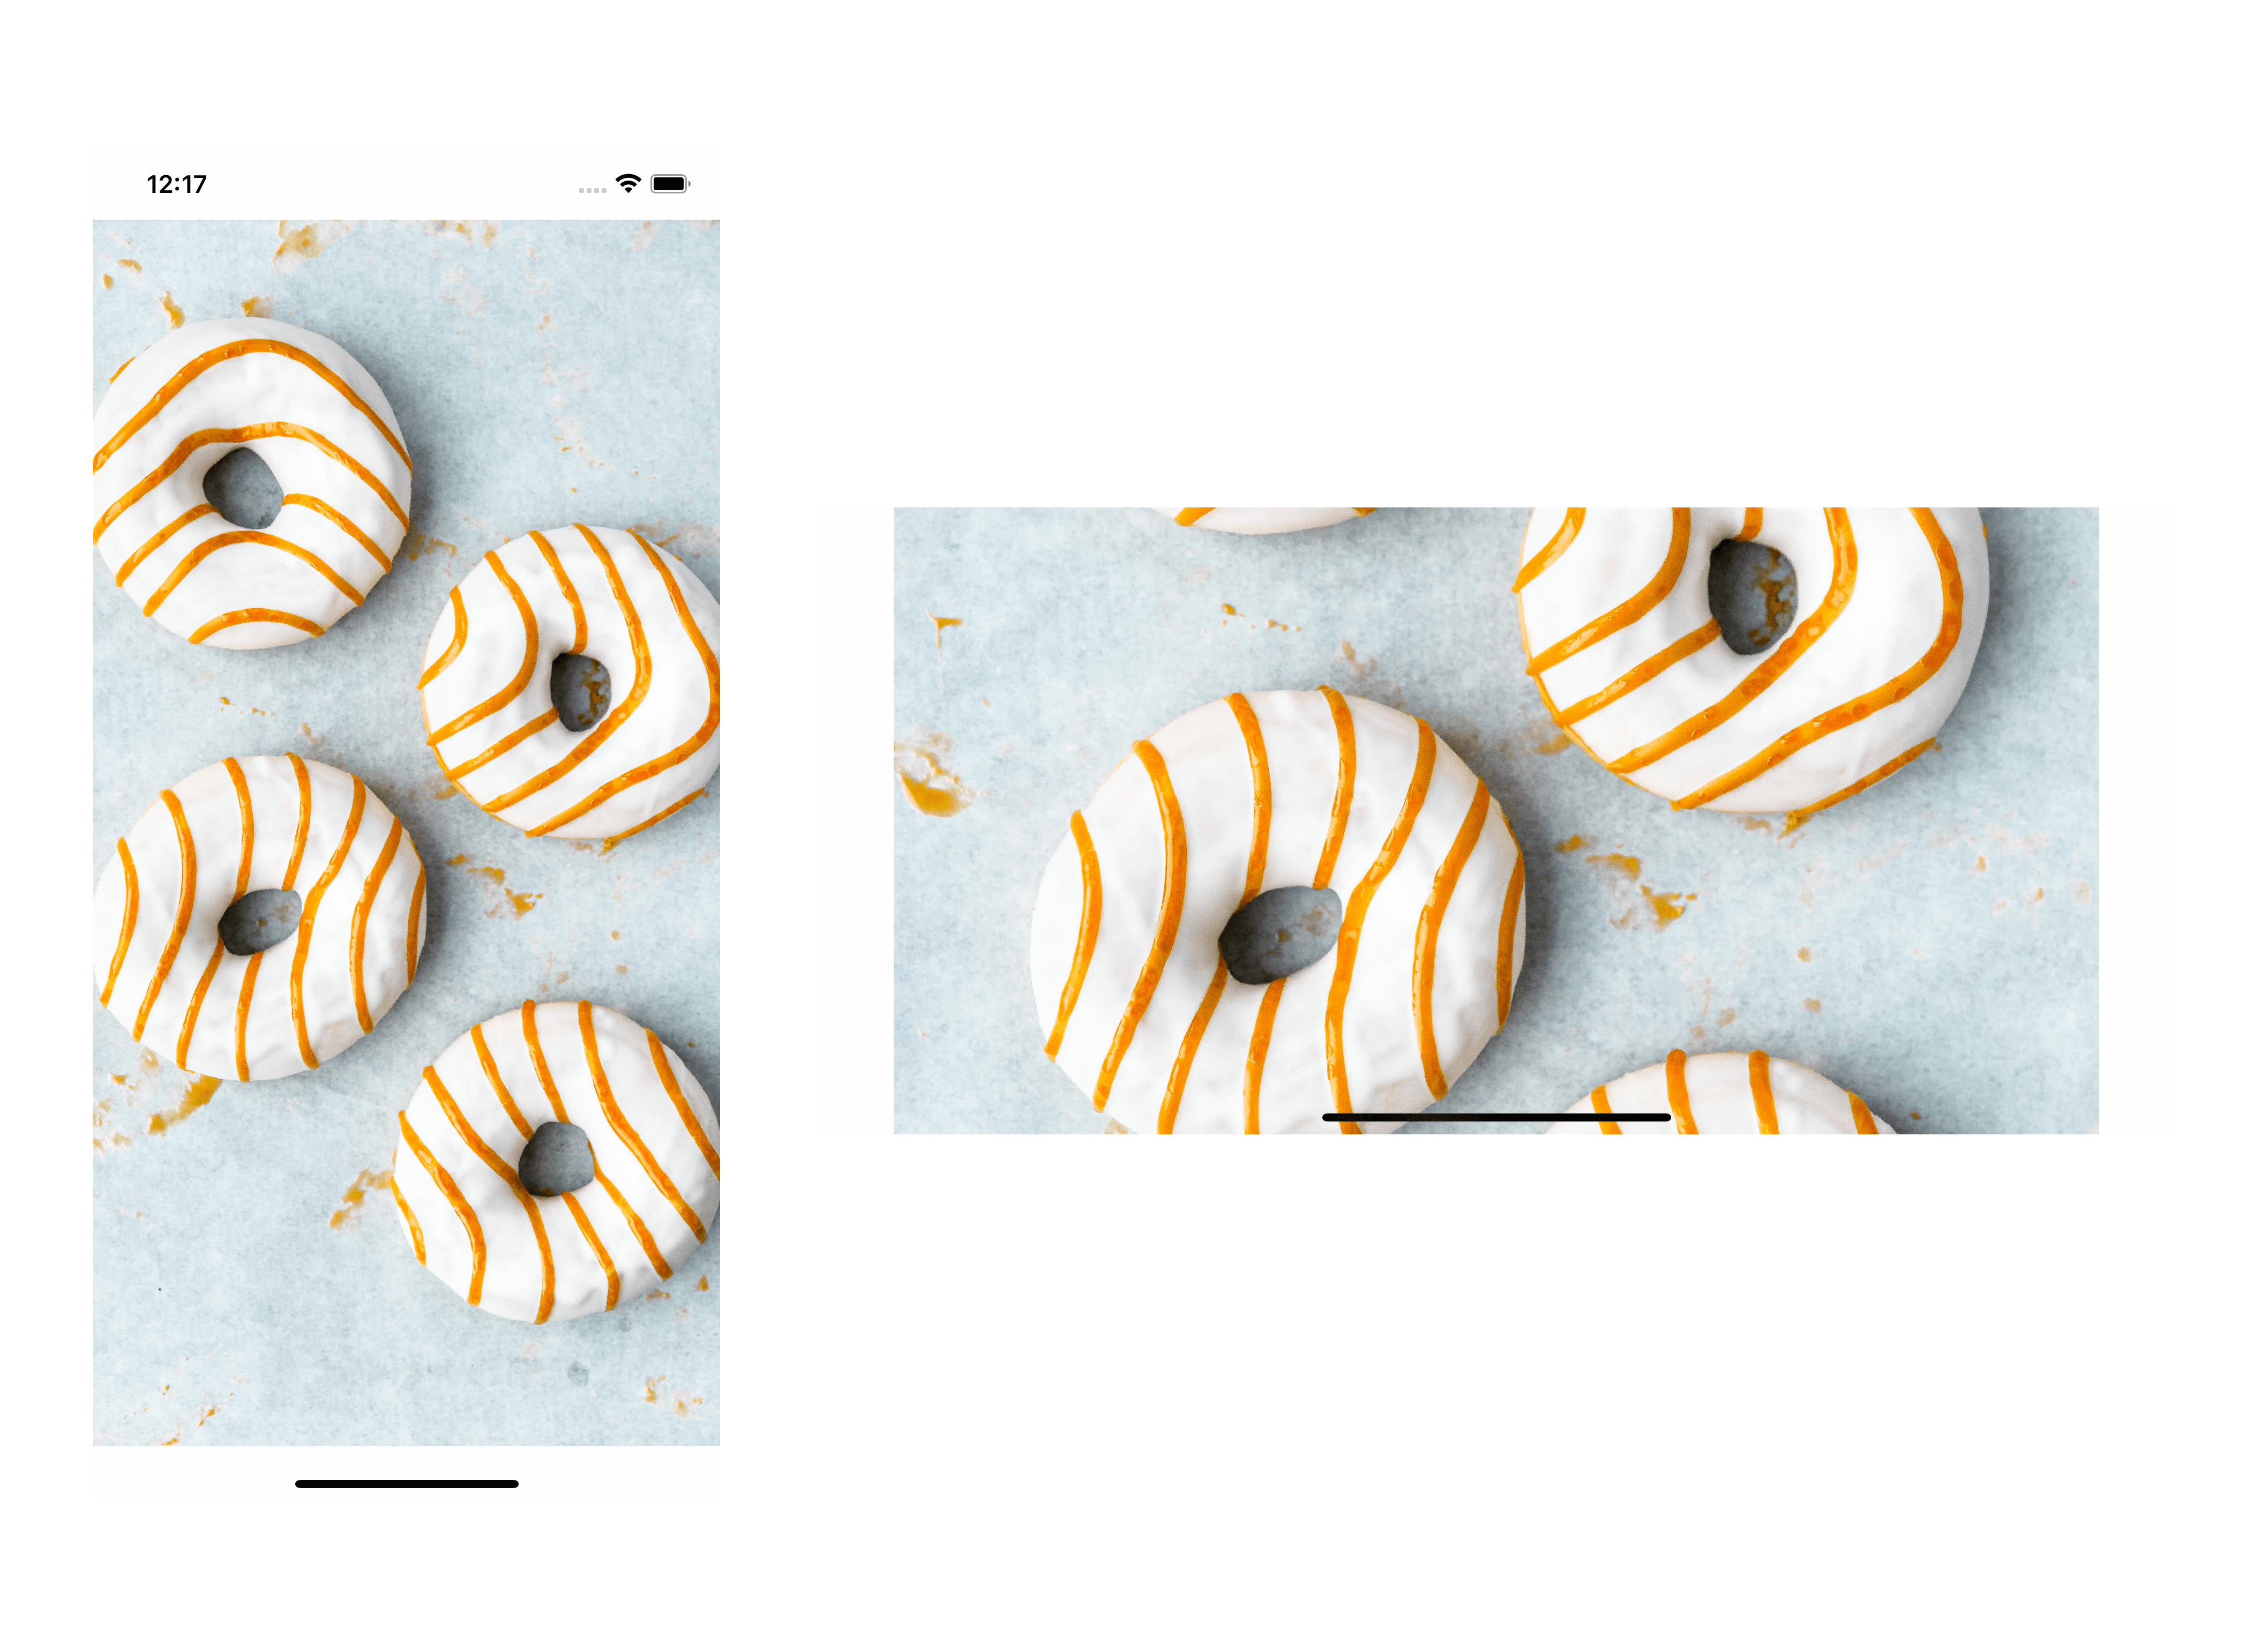
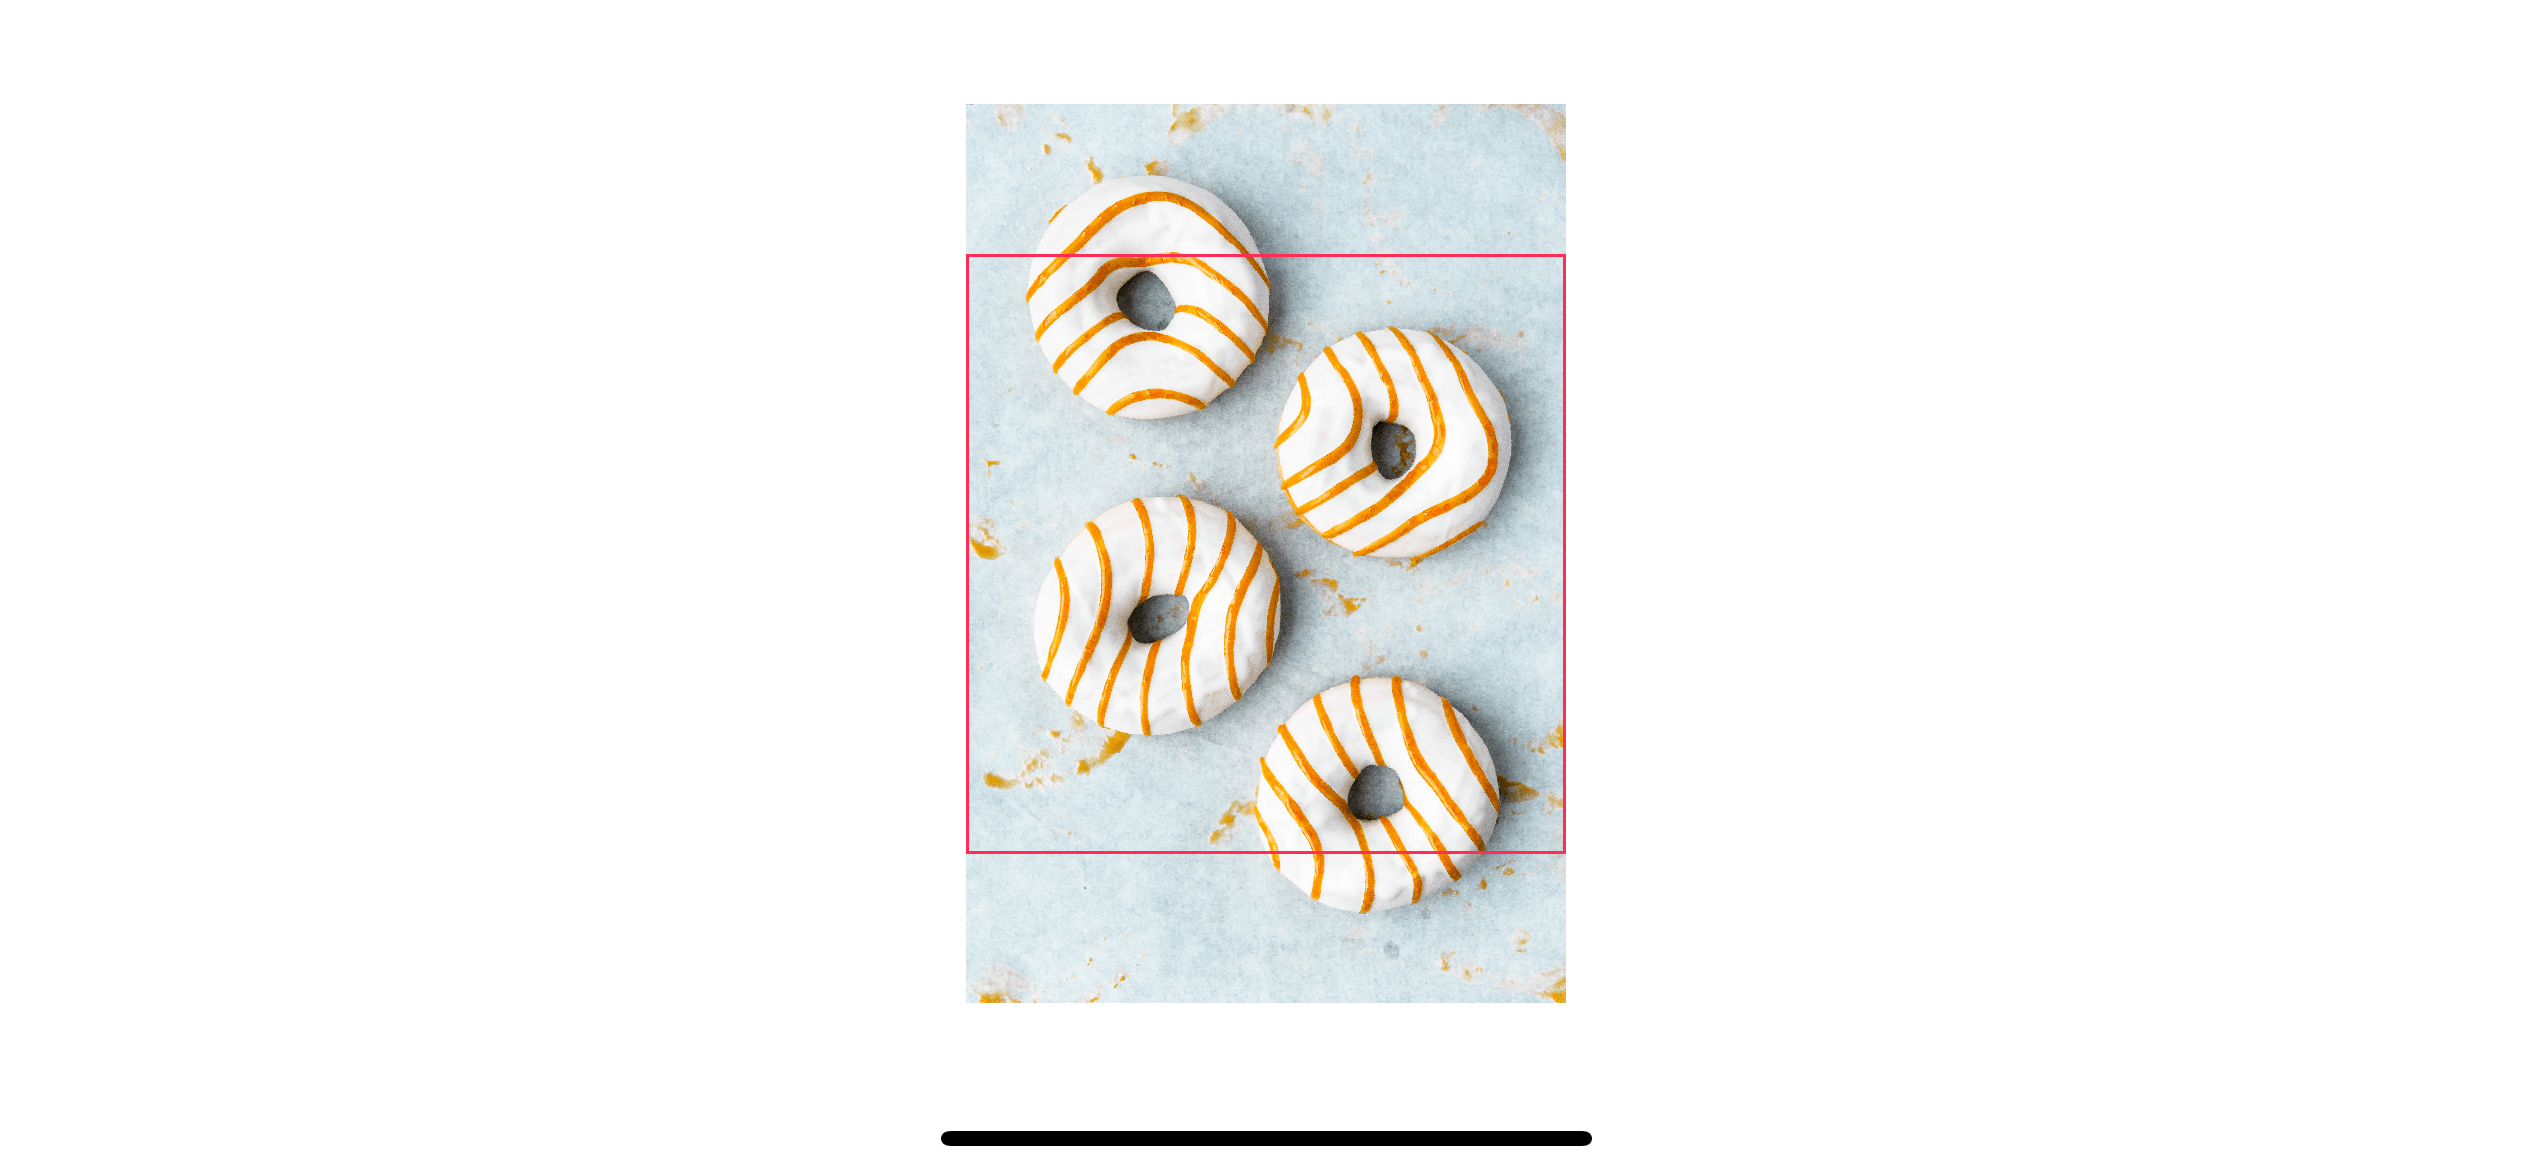
One thing you need to know, which is not obvious from our example, is that the fill content mode can lead to a potential of an image go beyond the view's bounds. And the image portion that goes beyond the image view won't get clipped.
To demonstrate this, I frame the image view to 200x200 and set fill content mode. I also add a pink border to make it easier to visualize the problem.
struct ContentView: View {
    var body: some View {
        Image("donuts")
            .resizable()
            .scaledToFill()
            .frame(width: 200, height: 200)
            .border(Color.pink)
    }
}
As you can see, the image fills within an image view frame, but the extending part doesn't get clipped. We have to clip it manually.
You can easily support sarunw.com by checking out this sponsor.
Localization Buddy: Easiest way to localize and update App Store metadata.
Clipping
To clip the image content within its view's bounds, we use clipped().
struct ContentView: View {
    var body: some View {
        Image("donuts")
            .resizable()
            .scaledToFill()
            .frame(width: 200, height: 200)
            .border(Color.pink)
            .clipped()
    }
}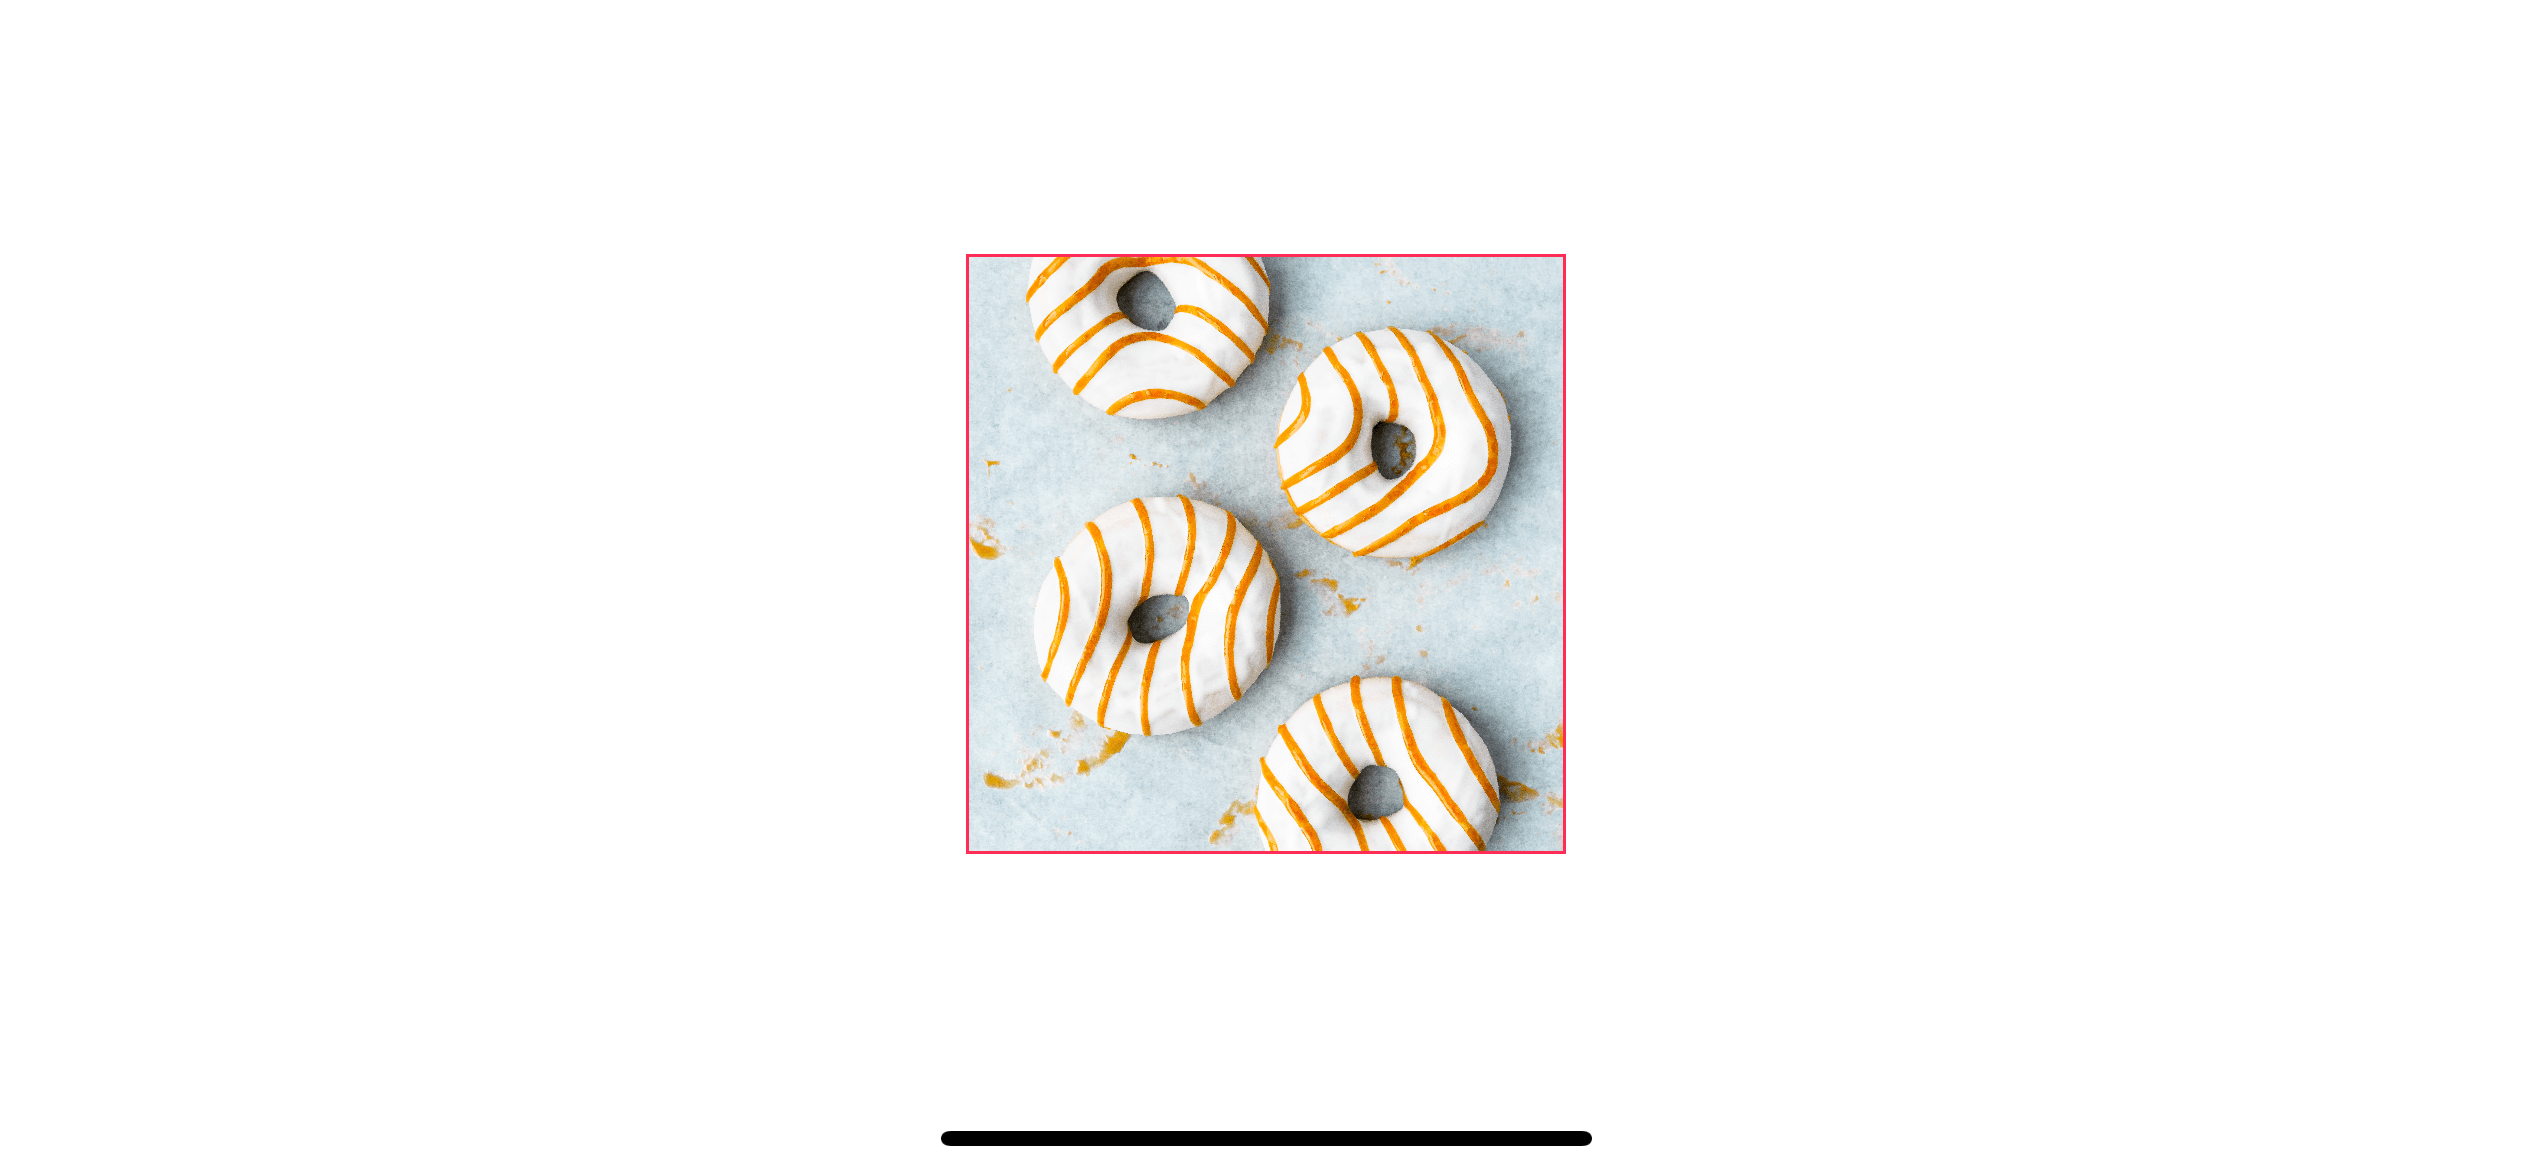
Photo by Lore Schodts on Unsplash ↩︎
Read more article about SwiftUI, Image, Resize, or see all available topic
Enjoy the read?
If you enjoy this article, you can subscribe to the weekly newsletter.
Every Friday, you'll get a quick recap of all articles and tips posted on this site. No strings attached. Unsubscribe anytime.
Feel free to follow me on Twitter and ask your questions related to this post. Thanks for reading and see you next time.
If you enjoy my writing, please check out my Patreon https://www.patreon.com/sarunw and become my supporter. Sharing the article is also greatly appreciated.
Become a patron Buy me a coffee Tweet ShareTuist scaffold: How to use the Tuist template to create a new module for an ongoing project
Learn how the scaffold command helps you to bootstrap new components or features such as a new VIPER module or a new framework for your new feature.
What is the difference between Tuist init and scaffold
A brief summary of init and scaffold commands.