// MARK: - What is it?
Table of Contents
If you have ever created a new view controller, you might have a chance to see this boilerplate code in the newly created view controller.
/*
// MARK: - Navigation

// In a storyboard-based application, you will often want to do a little preparation before navigation
override func prepare(for segue: UIStoryboardSegue, sender: Any?) {
    // Get the new view controller using segue.destination.
    // Pass the selected object to the new view controller.
}
*/
If you are coding long enough, you might already know what it is. But for a newcomer, you might wonder what is // MARK: - Navigation doing here.
What is this // MARK
MARK is one of a code annotation[1] that adds a visual clue to the jump bar[2] and minimap[3].
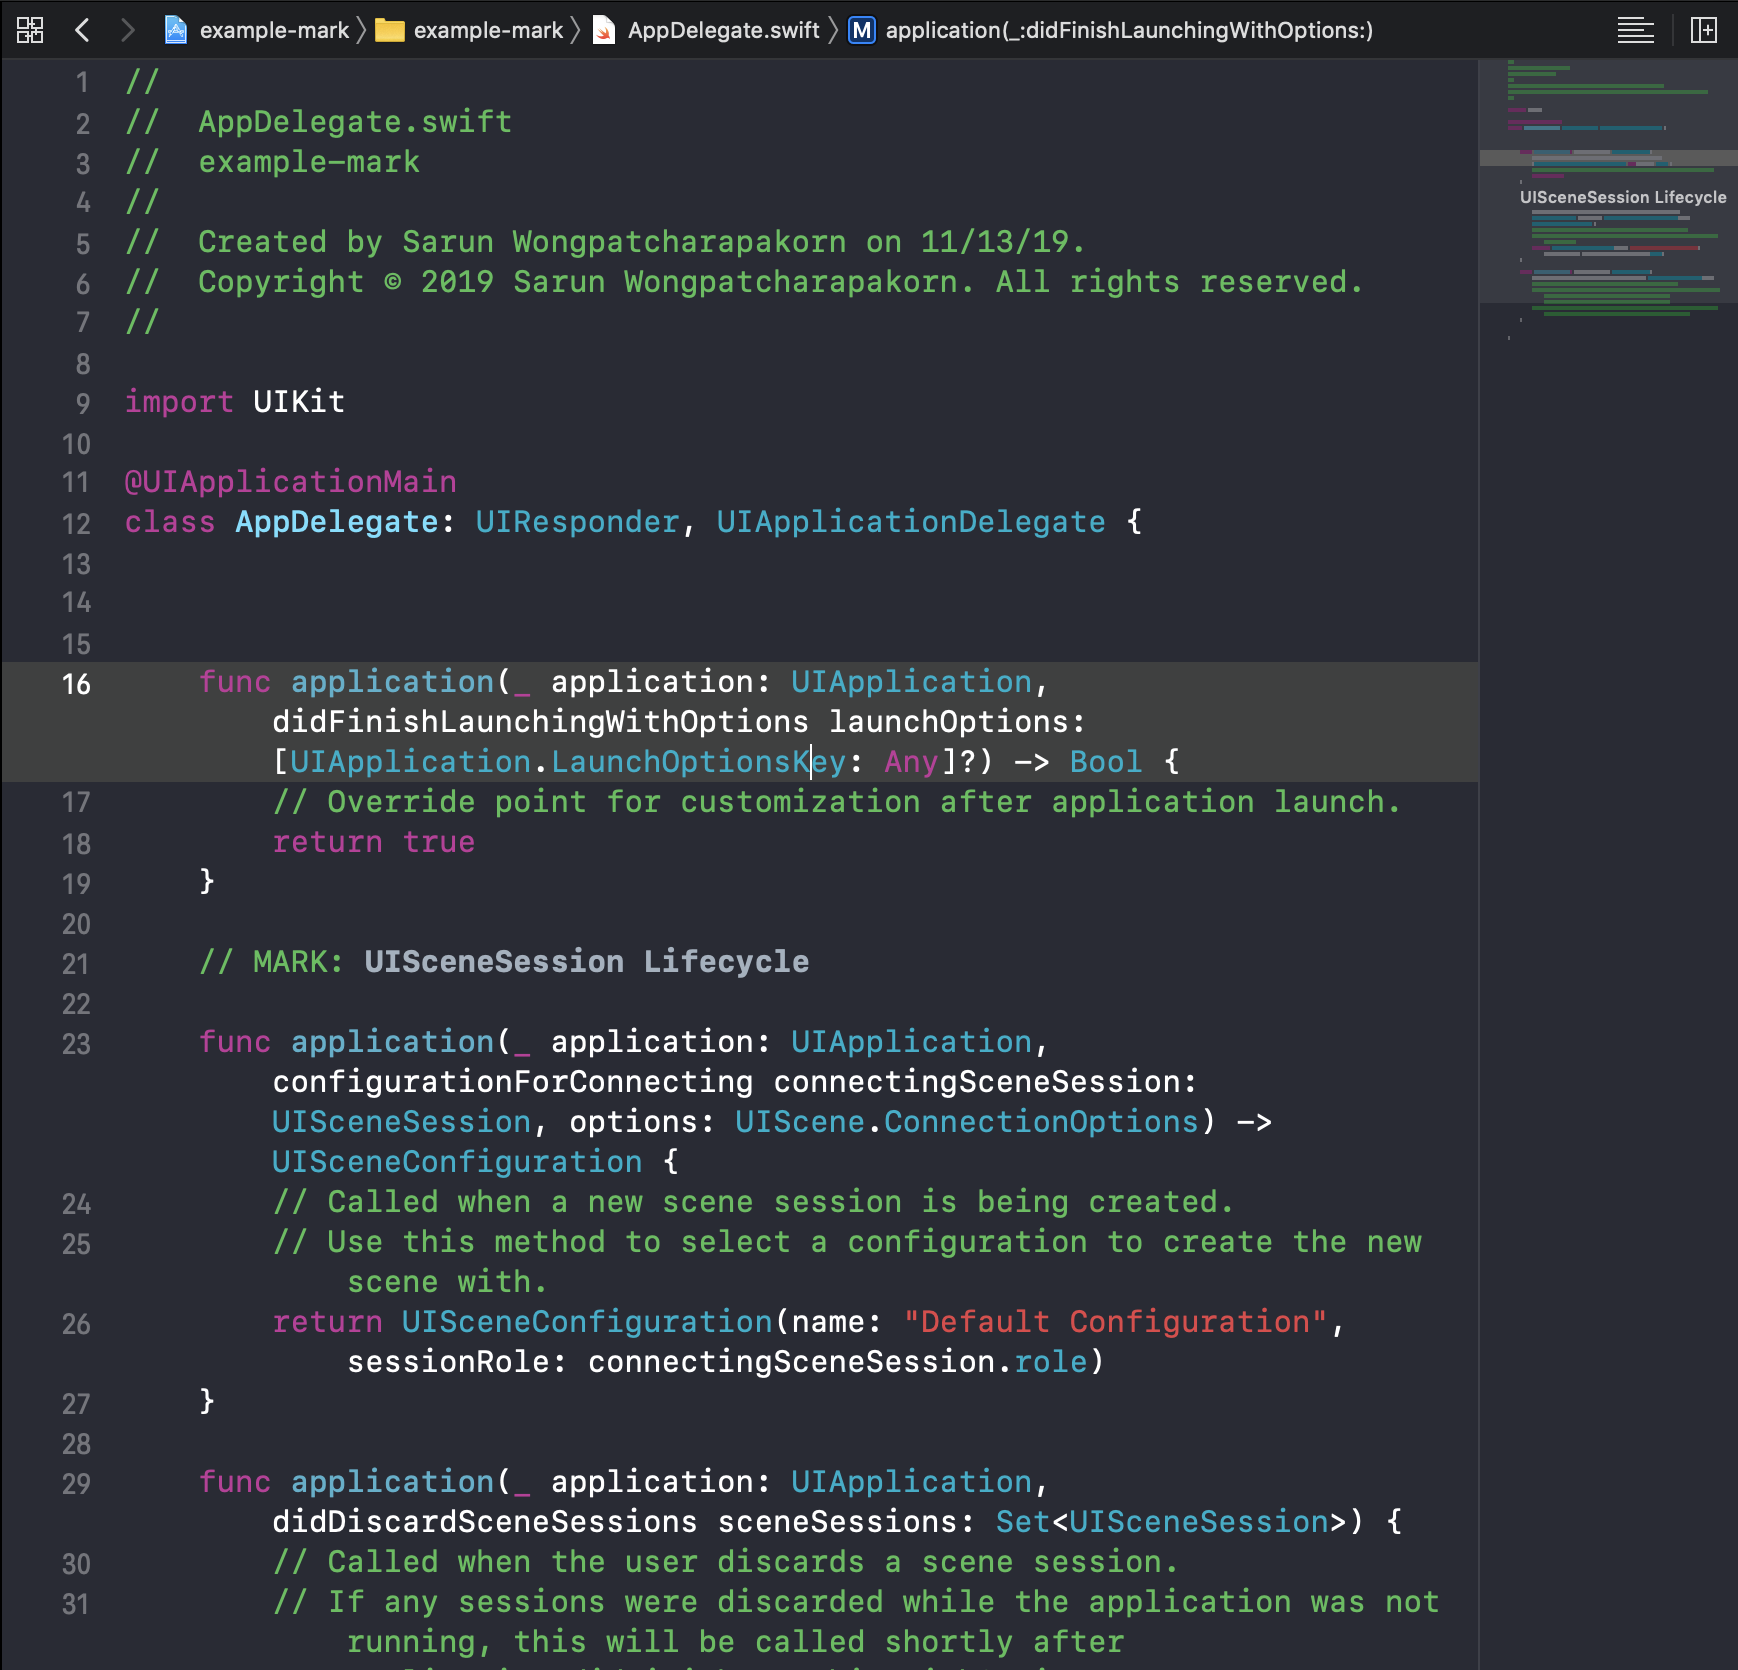
The following is an example of how // MARK shows up in the jump bar and minimap.
@UIApplicationMain
class AppDelegate: UIResponder, UIApplicationDelegate {
    ...

    // MARK: UISceneSession Lifecycle
    func application(_ application: UIApplication, configurationForConnecting connectingSceneSession: UISceneSession, options: UIScene.ConnectionOptions) -> UISceneConfiguration {
        // Called when a new scene session is being created.
        // Use this method to select a configuration to create the new scene with.
        return UISceneConfiguration(name: "Default Configuration", sessionRole: connectingSceneSession.role)
    }

    ...
}
The above code will result in a header name "UISceneSession Lifecycle" showing up in jump bar and minimap.


You can easily support sarunw.com by checking out this sponsor.
Localization Buddy: Easiest way to localize and update App Store metadata.
Variations
There are some variations of code annotation, I will briefly go through all of them.
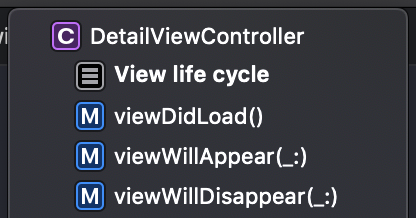
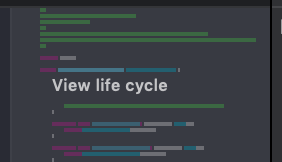
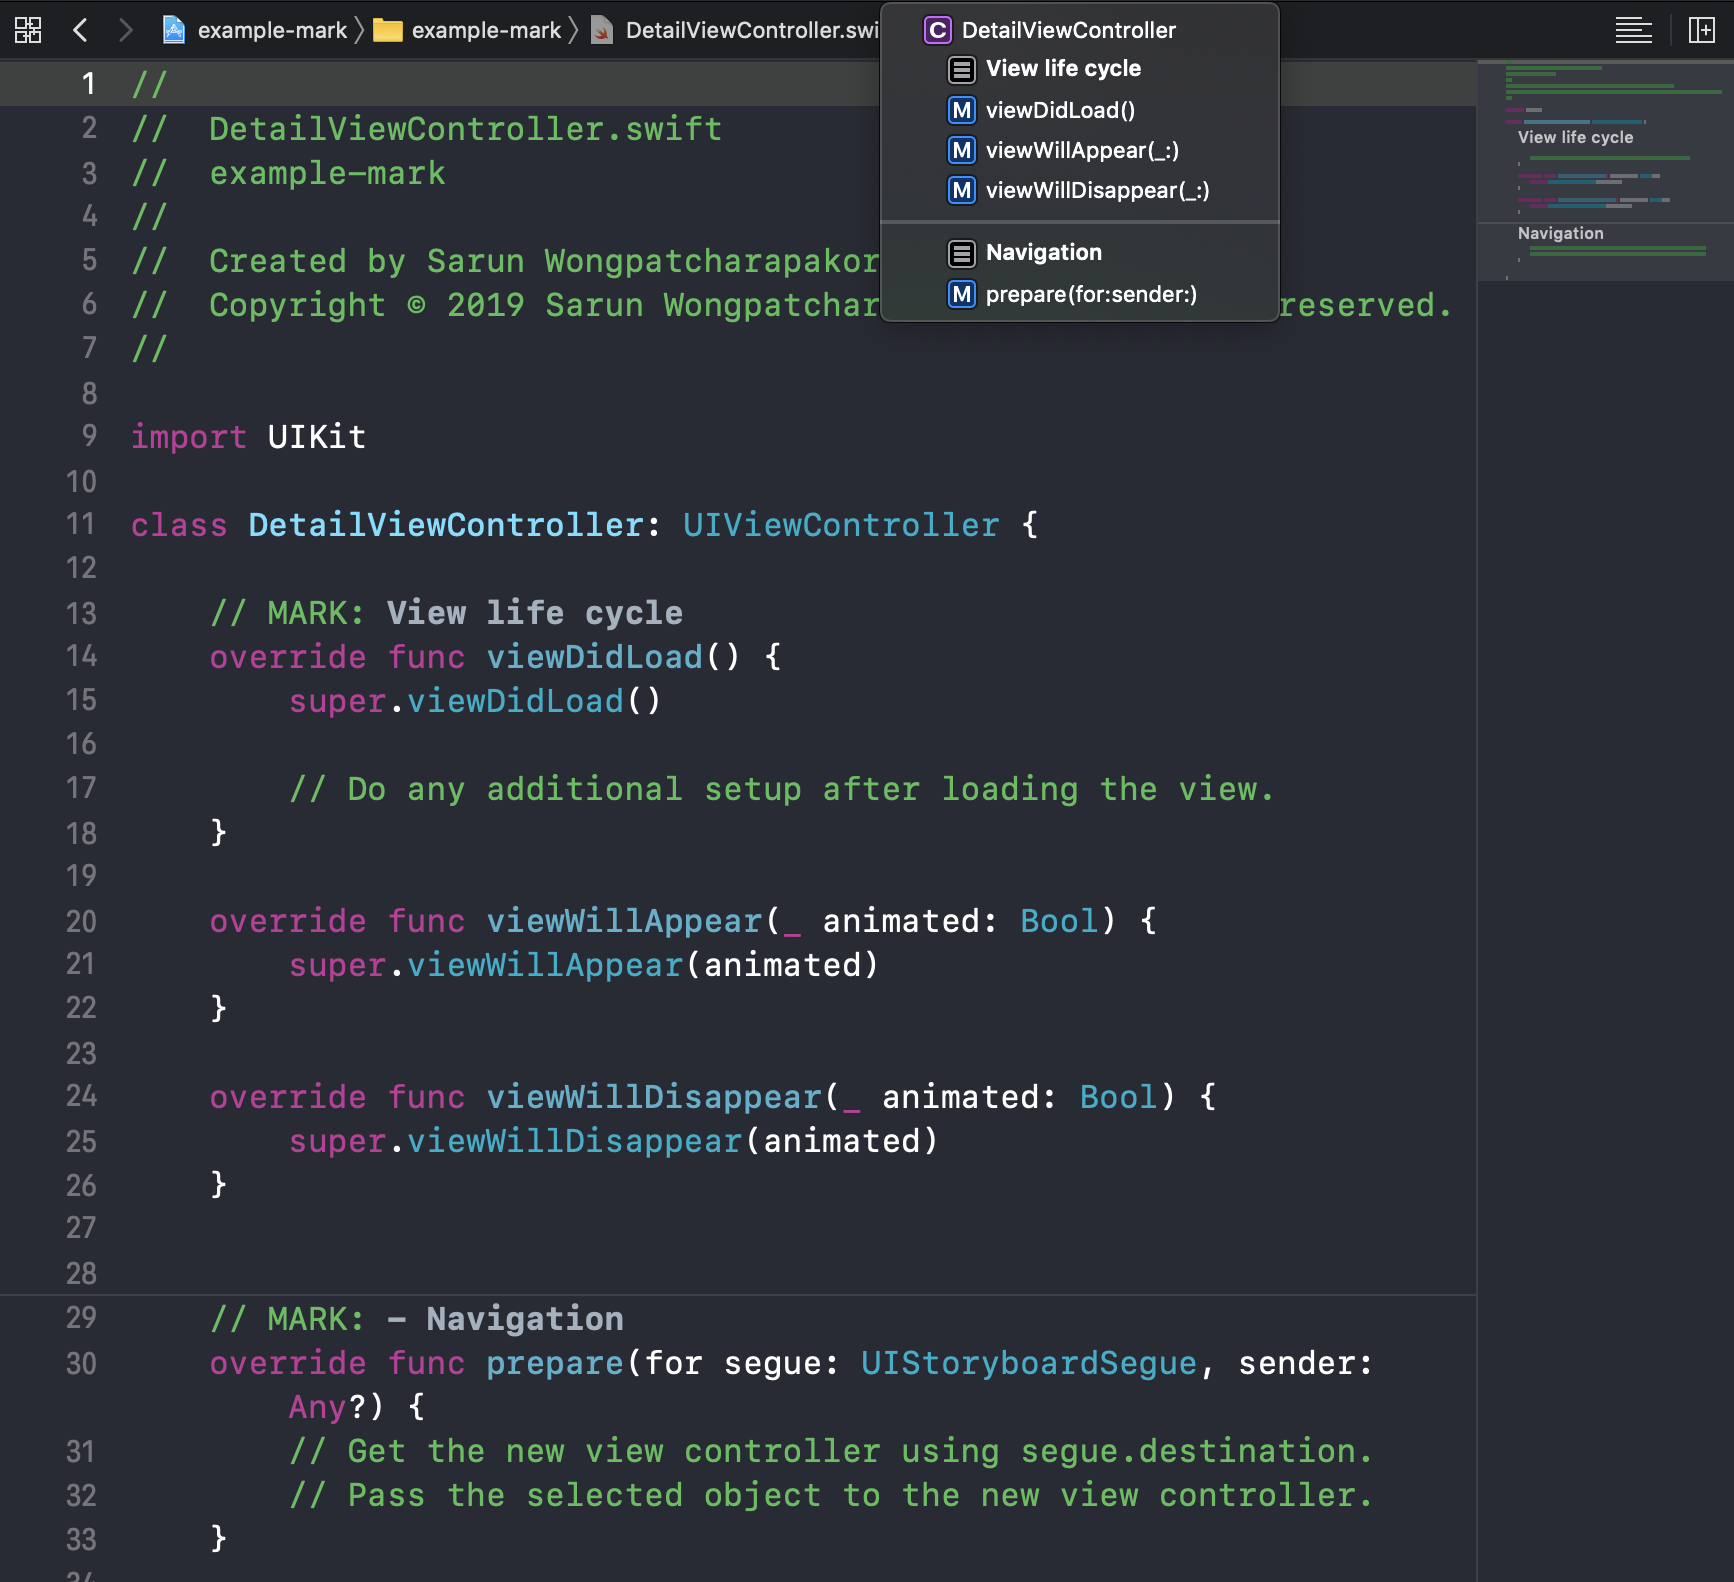
Add a heading
Insert a comment (//) with the prefix MARK: followed by your section heading.
// MARK: View life cycle
override func viewDidLoad() {
    super.viewDidLoad()

    // Do any additional setup after loading the view.
}
Mark in Objective-C
You can also use #pragma mark and #pragma mark - in Objective-C. Which is equivalent to // MARK: and // MARK: -.
#pragma mark View life cycle
- (void)viewDidLoad {
[super viewDidLoad];
// Do any additional setup after loading the view.
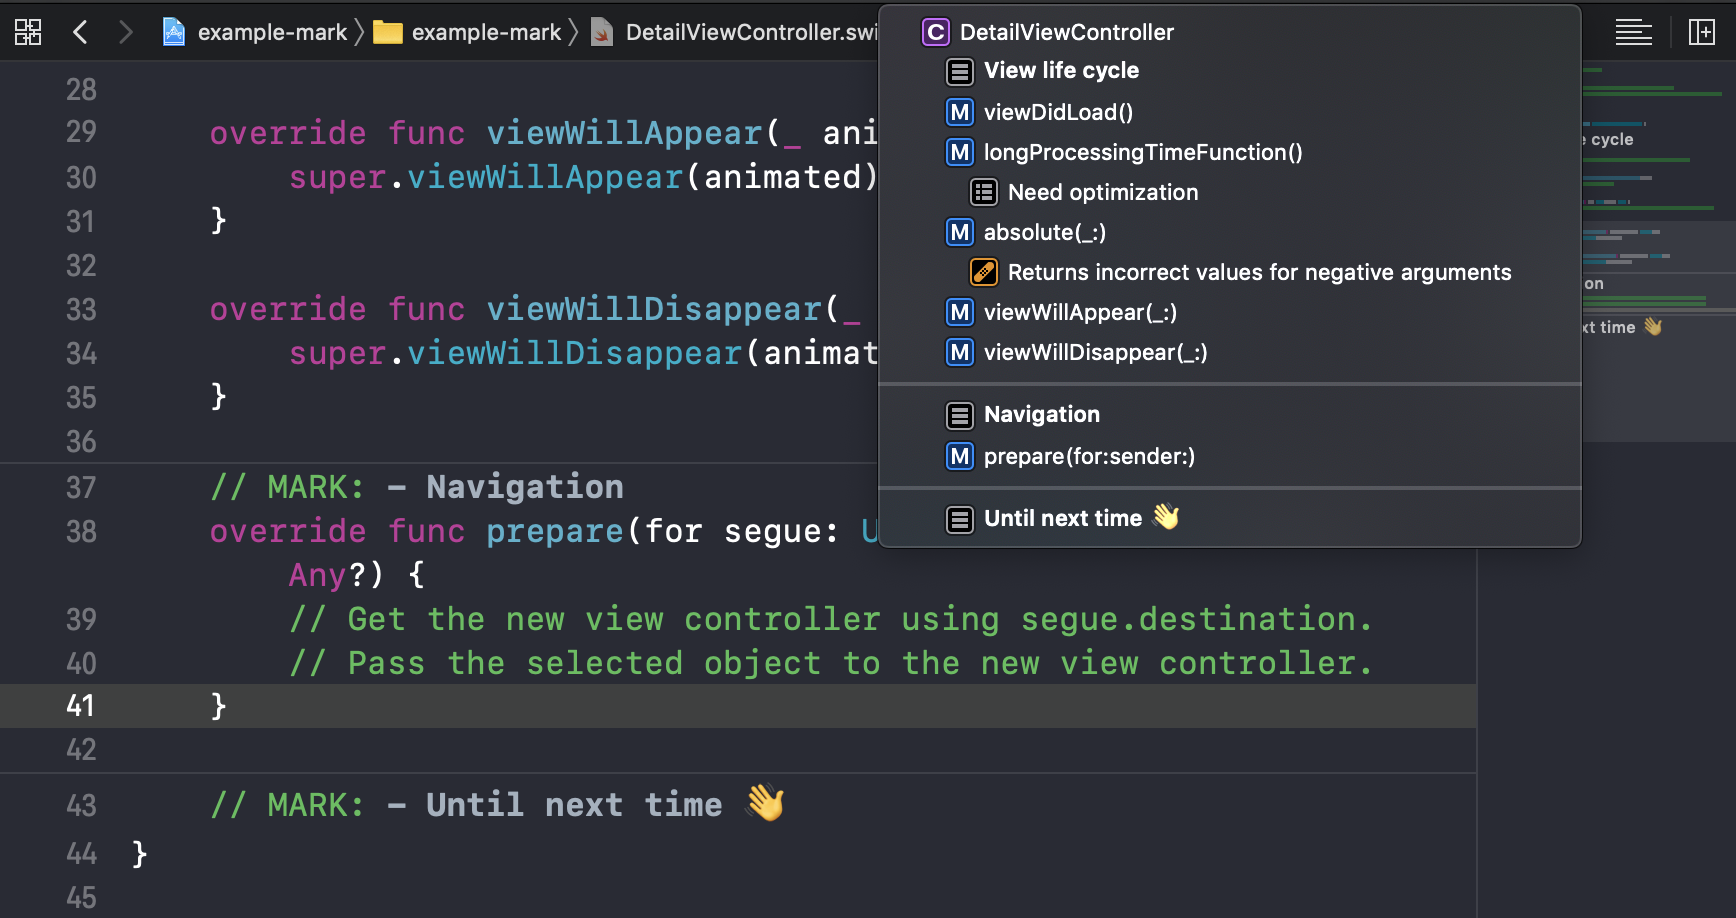
}Add a separator line
Throughout the article, you might notice a MARK with and without a hyphen (-). This hyphen has a special meaning. If you put a hyphen before the comment part of an annotation, it will add a separator above your annotation in three places: code, jump bar, and minimap.
// MARK: - Navigation
override func prepare(for segue: UIStoryboardSegue, sender: Any?) {
    // Get the new view controller using segue.destination.
    // Pass the selected object to the new view controller.
}
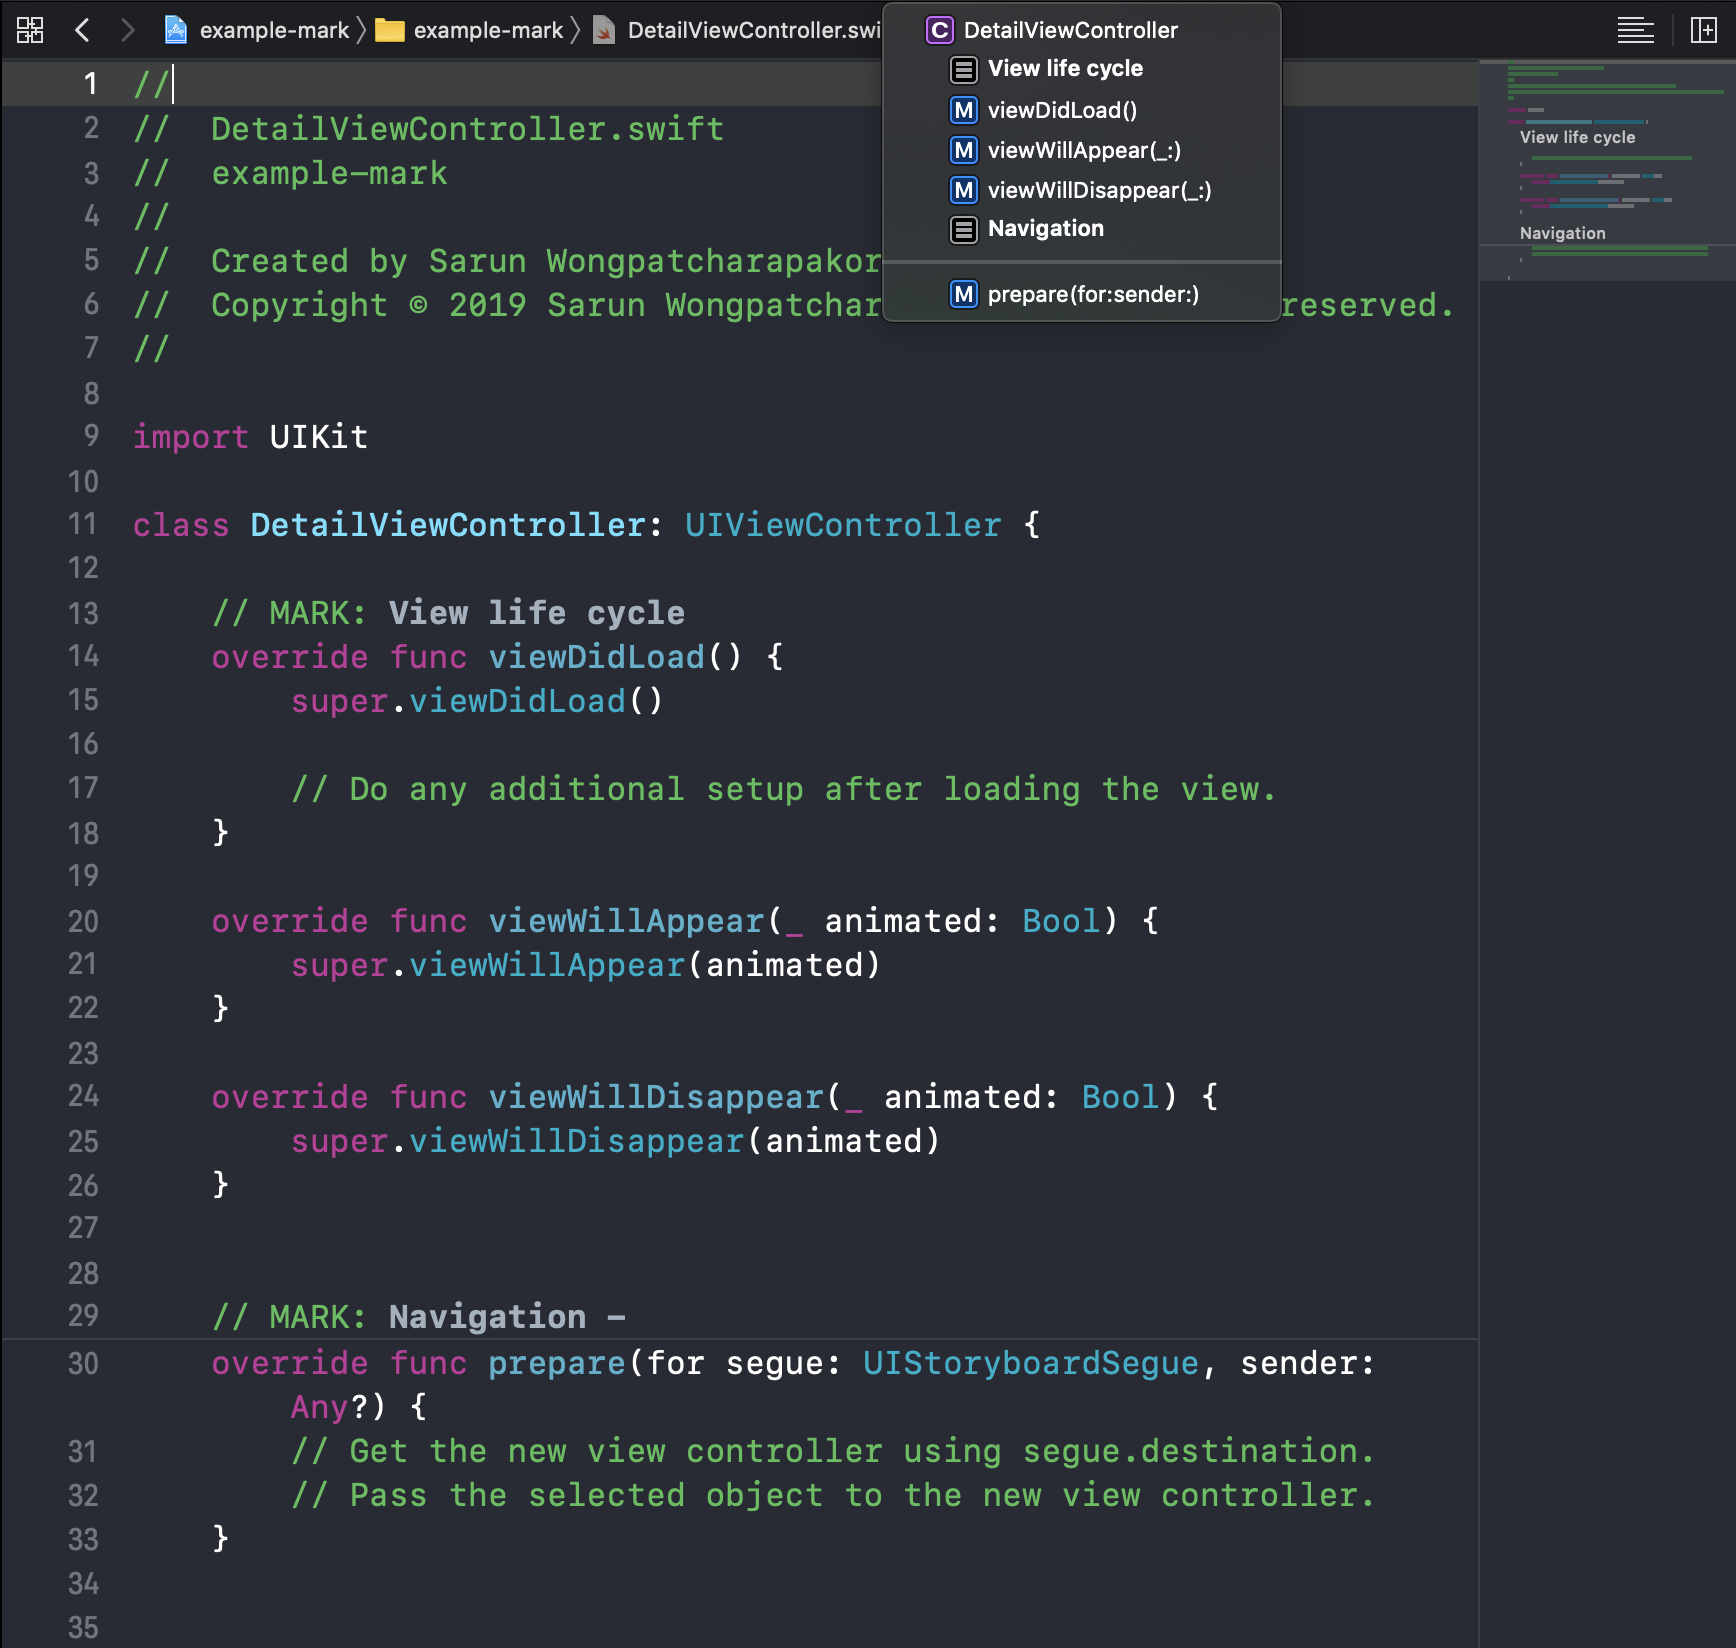
Add a separator below a comment
There is also a less less-known variation on the separator. If you put a hyphen after a comment, it will add a separator below the comment.
// MARK: Navigation -
override func prepare(for segue: UIStoryboardSegue, sender: Any?) {
    // Get the new view controller using segue.destination.
    // Pass the selected object to the new view controller.
}
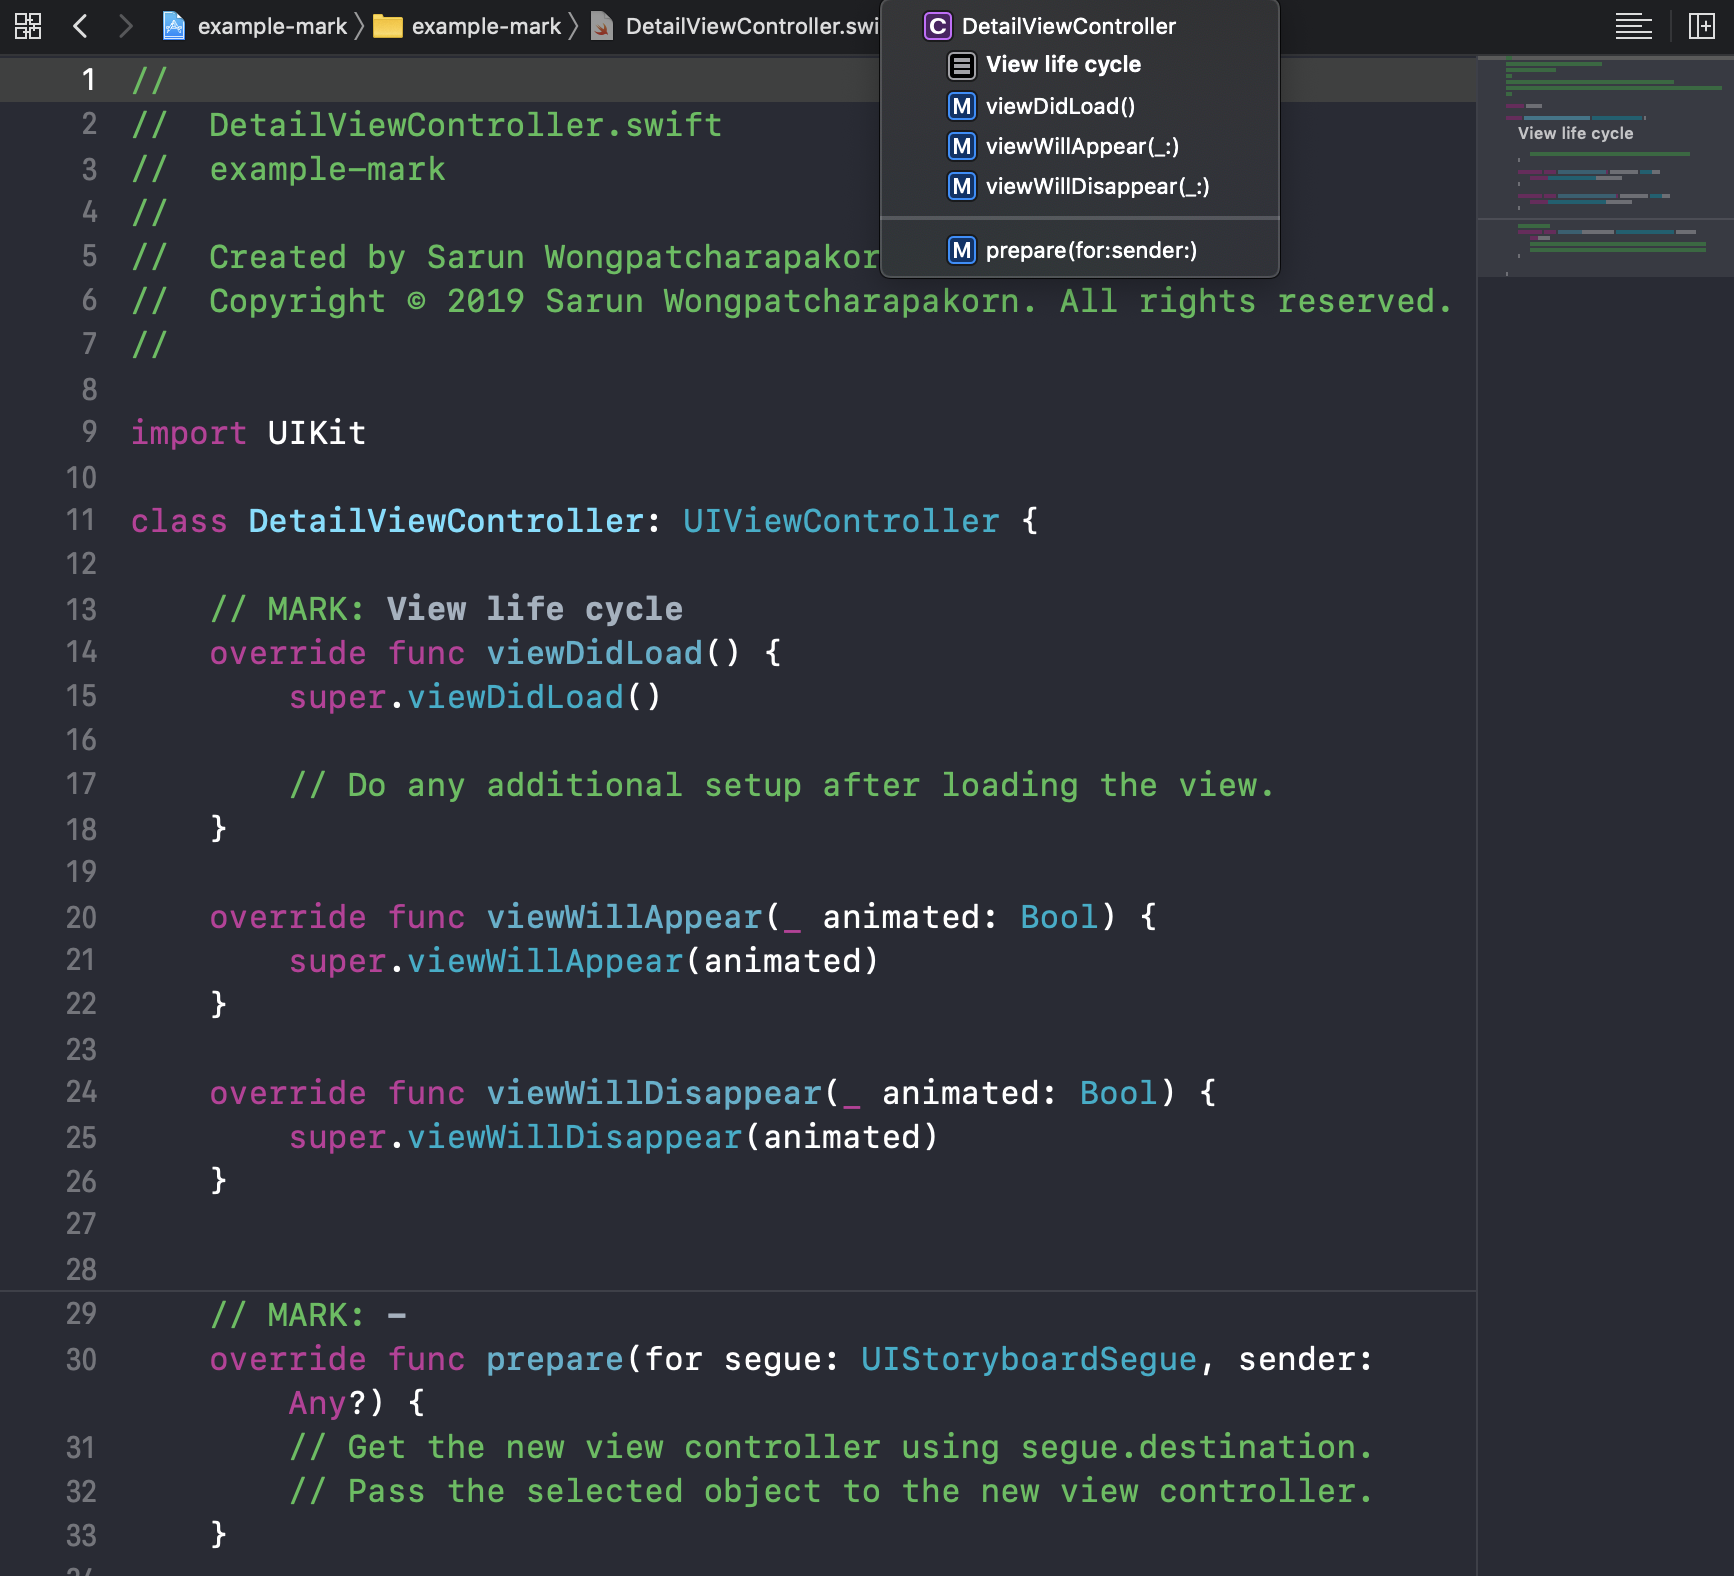
Add a separator with no comment
If you want just a separator, that also possible with a hyphen without any comment.
// MARK: -
override func prepare(for segue: UIStoryboardSegue, sender: Any?) {
    // Get the new view controller using segue.destination.
    // Pass the selected object to the new view controller.
}
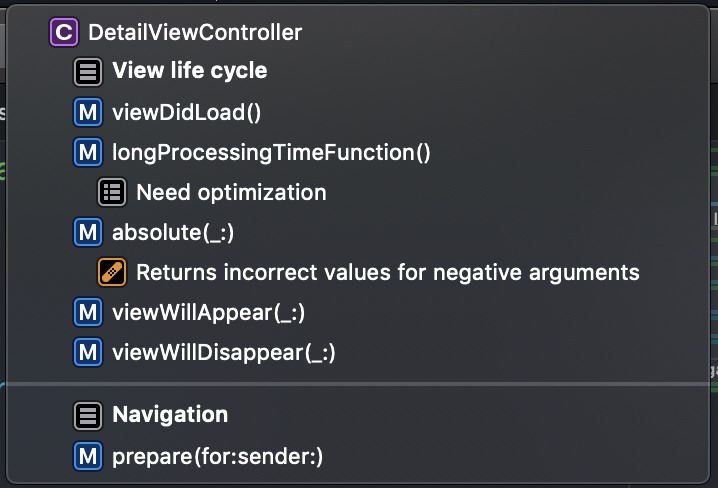
There are two more annotations that don't have a visual clue on code or the minimap, but convey special meaning and icon in the jump bar.
Add a to-do item
There is a // TODO: which will show as a to-do icon in the jump bar.
private func longProcessingTimeFunction() {
    // TODO: Need optimization
}
Add a bug fix reminder
To add a bug fix reminder, use FIXME. Which will add a shiny band-aid icon in the jump bar. This one is quite standout from other annotations, which is good.
private func absolute(_ x: Int) -> Int {
    // FIXME: Returns incorrect values for negative arguments
    return x
}
You can easily support sarunw.com by checking out this sponsor.
Localization Buddy: Easiest way to localize and update App Store metadata.
How to use
These annotations exist to help you annotate your code. So that you can section and quickly navigation within the file (MARK), pinpoint the remaining tasks (TODO), and remind you for the remaining problems (FIXME).
There is no rule on how to use these, this article shows you all possible ways to annotate your code. How do you use this tool is solely up to you.
Feel free to tweet me your creative way of using these annotations. Right now, I mostly use it for section delegate and data source.
The jump bar is an interactive control for quickly navigating to files and other items, such as structures, enums, and methods in your source code. It is located at the top part of the Editor area. About the source editor, Navigate to files and symbols using the jump bar ↩︎
Minimap is a feature that available in most text editors, e.g., Sublime, Atom, Visual Code, to show an overview of your code for easy navigation. ↩︎
Read more article about Xcode, Workflow, or see all available topic
Enjoy the read?
If you enjoy this article, you can subscribe to the weekly newsletter.
Every Friday, you'll get a quick recap of all articles and tips posted on this site. No strings attached. Unsubscribe anytime.
Feel free to follow me on Twitter and ask your questions related to this post. Thanks for reading and see you next time.
If you enjoy my writing, please check out my Patreon https://www.patreon.com/sarunw and become my supporter. Sharing the article is also greatly appreciated.
Become a patron Buy me a coffee Tweet ShareCaching dependencies in Github Actions
How to cache Pods, Ruby gem, and Carthage in your iOS project.
Unwrap optional values in XCTest with XCTUnwrap
No more manual if let and guard let in your tests.