Pop-Up Buttons in SwiftUI
Table of Contents
Pop-Up Buttons
A pop-up button (often referred to as a pop-up menu) is a type of button in macOS that, when clicked, displays a menu containing a list of mutually exclusive choices.
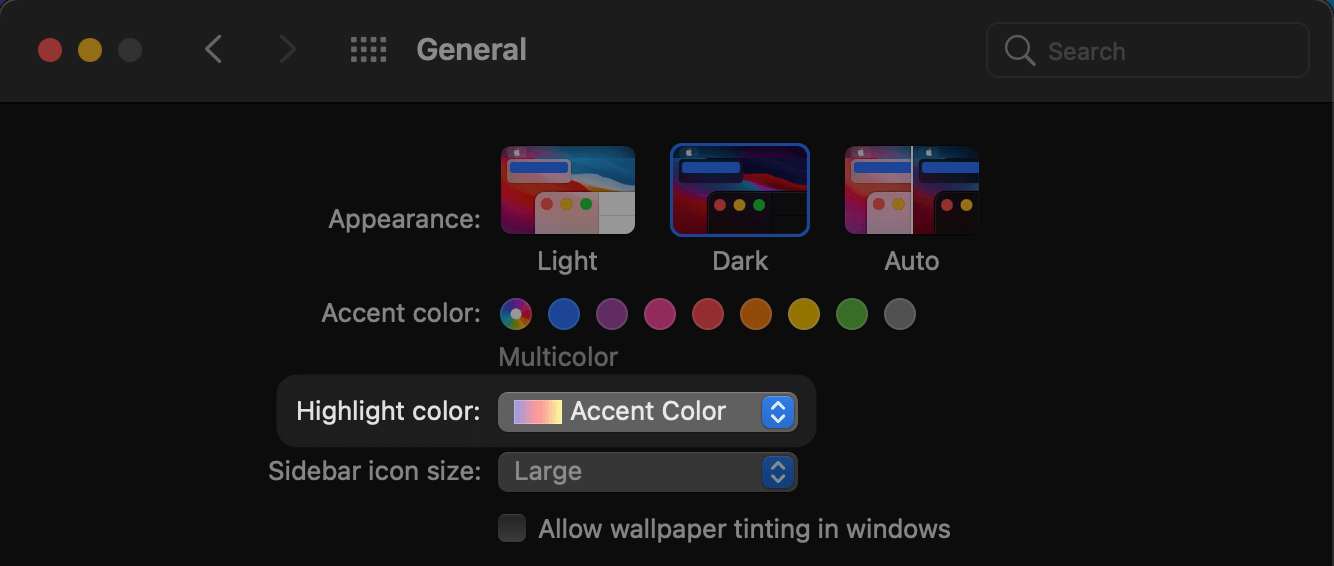
Here is a pop-up button in action.
You can easily support sarunw.com by checking out this sponsor.
Screenshot Studio: Create App Store screenshots in seconds not minutes.
SwiftUI Implementation
Despite the name button, the way we implement this in SwiftUI is via a Picker. I think the reason for this is coming from the SwiftUI declarative nature where we declare our intention, not the implement detail. Let's get back to the definition of a pop-up button one more time.
A pop-up button is a type of button that, when clicked, displays a menu containing a list of mutually exclusive choices.
And here is a Picker definition.
A control for selecting from a set of mutually exclusive values.
The key here is a "mutually exclusive choices" part. Both a pop-up button and SwiftUI picker share the same purpose.
To implement a pop-up button, we declare a picker. If you don't know how to do it, you can read it from How to use SwiftUI Picker.
struct ContentView: View {
    @State private var selectedItem: Int = 0

    var body: some View {
        VStack {
            Text("Content")
            // 1
            Picker("Color", selection: $selectedItem) {
                Text("Red").tag(0)
                Text("Blue").tag(1)
                Text("Green").tag(2)
            }
        }
        .padding()
        .toolbar {
            ToolbarItem {
                // 2
                Picker("Color", selection: $selectedItem) {
                    Text("Red").tag(0)
                    Text("Blue").tag(1)
                    Text("Green").tag(2)
                }
            }
        }
    }
}
<1> A pop-up button in a view content.
<2> A pop-up button in a toolbar.
A picker view will present as a pop-up button on macOS. In the above example, I put two pickers, one on a toolbar and one in a content view, to show a visual difference between the two.
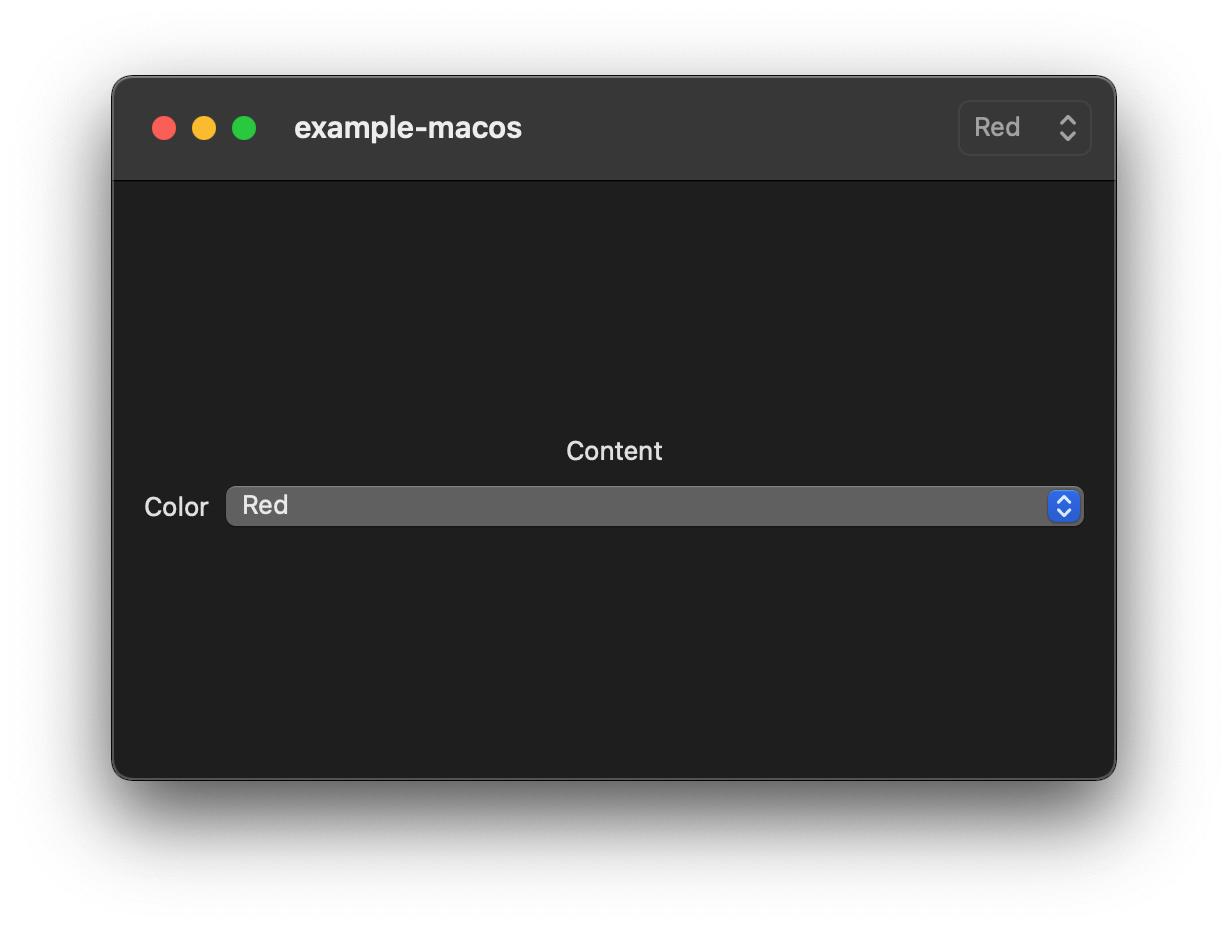
The pop-up button on a toolbar is more subtle and blends into the toolbar, while the one in the content will be more prominent. The selection menus are the same, though.
You can easily support sarunw.com by checking out this sponsor.
Screenshot Studio: Create App Store screenshots in seconds not minutes.
Conclusion
Many macOS components don't have a dedicated view in SwiftUI. SwiftUI handles this by letting us pick views that match our purpose and present them in a design language that matches particular platforms.
It might not be very obvious at first which view we should use to get the result we want. But once we get used to it, I think our code would be simpler this way.
We can use a Picker view for all platforms because we know SwiftUI will pick the right view that serves that purpose. So, we don't have to handle that ourselves.
Here is an example of how our code might look if we have to handle this ourselves.
#if os(macOS)
PopupButton()
#else
Picker()
#endifRead more article about macOS, SwiftUI, or see all available topic
Enjoy the read?
If you enjoy this article, you can subscribe to the weekly newsletter.
Every Friday, you'll get a quick recap of all articles and tips posted on this site. No strings attached. Unsubscribe anytime.
Feel free to follow me on Twitter and ask your questions related to this post. Thanks for reading and see you next time.
If you enjoy my writing, please check out my Patreon https://www.patreon.com/sarunw and become my supporter. Sharing the article is also greatly appreciated.
Become a patron Buy me a coffee Tweet ShareDifferent ways to catch throwing errors from Swift do-catch
It is tempting to just catch all a throwing error in a single catch clause and call it a day, but not all errors are created equals, and you should treat it as such.