For loop in SwiftUI using ForEach
Table of Contents
How to create views using For loop in SwiftUI
When creating an app, there is a time when you want to create a repetitive view or a collection of views from an array of data. We can do that in SwiftUI with ForEach.
ForEach can create views on demand from an underlying collection of identified data.
Identified data that work with ForEach can be classified into three groups.
- A range of integer, e.g.,
0..<10. - A collection of
Identifiabledata. - A collection of arbitrary data with keypath that can uniquely identified them.
You can easily support sarunw.com by checking out this sponsor.
Offline Transcription: Fast, privacy-focus way to transcribe audio, video, and podcast files. No data leaves your Mac.
Create views from a range of integer
The first initializer allows us to create views from a range of integers.
Here is the example using ForEach to loop over a range of 1..<11, then we create a text view from an integer within that range.
struct ContentView: View {
    var body: some View {
        VStack {
            ForEach(1..<11) { index in
                Text("Item \(index)")
            }
        }
    }
}
Create views from an Identifiable data
Identifiable is a protocol that ask for one thing, a stable identity to a class or value type.
Identity can range from a database id, a book's ISBN, or a user's identity number.
The only thing you need to do is to make your data conform to the Identifiable protocol.
Identifiable protocol required two things.
- An variable name
idof typeID. IDmust be hashable (Conform toHashableprotocol).
public protocol Identifiable {

    /// A type representing the stable identity of the entity associated with
    /// an instance.
    associatedtype ID : Hashable

    /// The stable identity of the entity associated with this instance.
    var id: Self.ID { get }
}
If your data has a property that you can uniquely identify the data, e.g., id, ISBN, or SKU, you can make your data conform to the Identifiable protocol. Then use a collection of that data in a ForEach.
Here is a Book model where we use an ISBN as an id.
struct Book: Identifiable {
var id: String {
return isbn
}
let isbn: String
let name: String
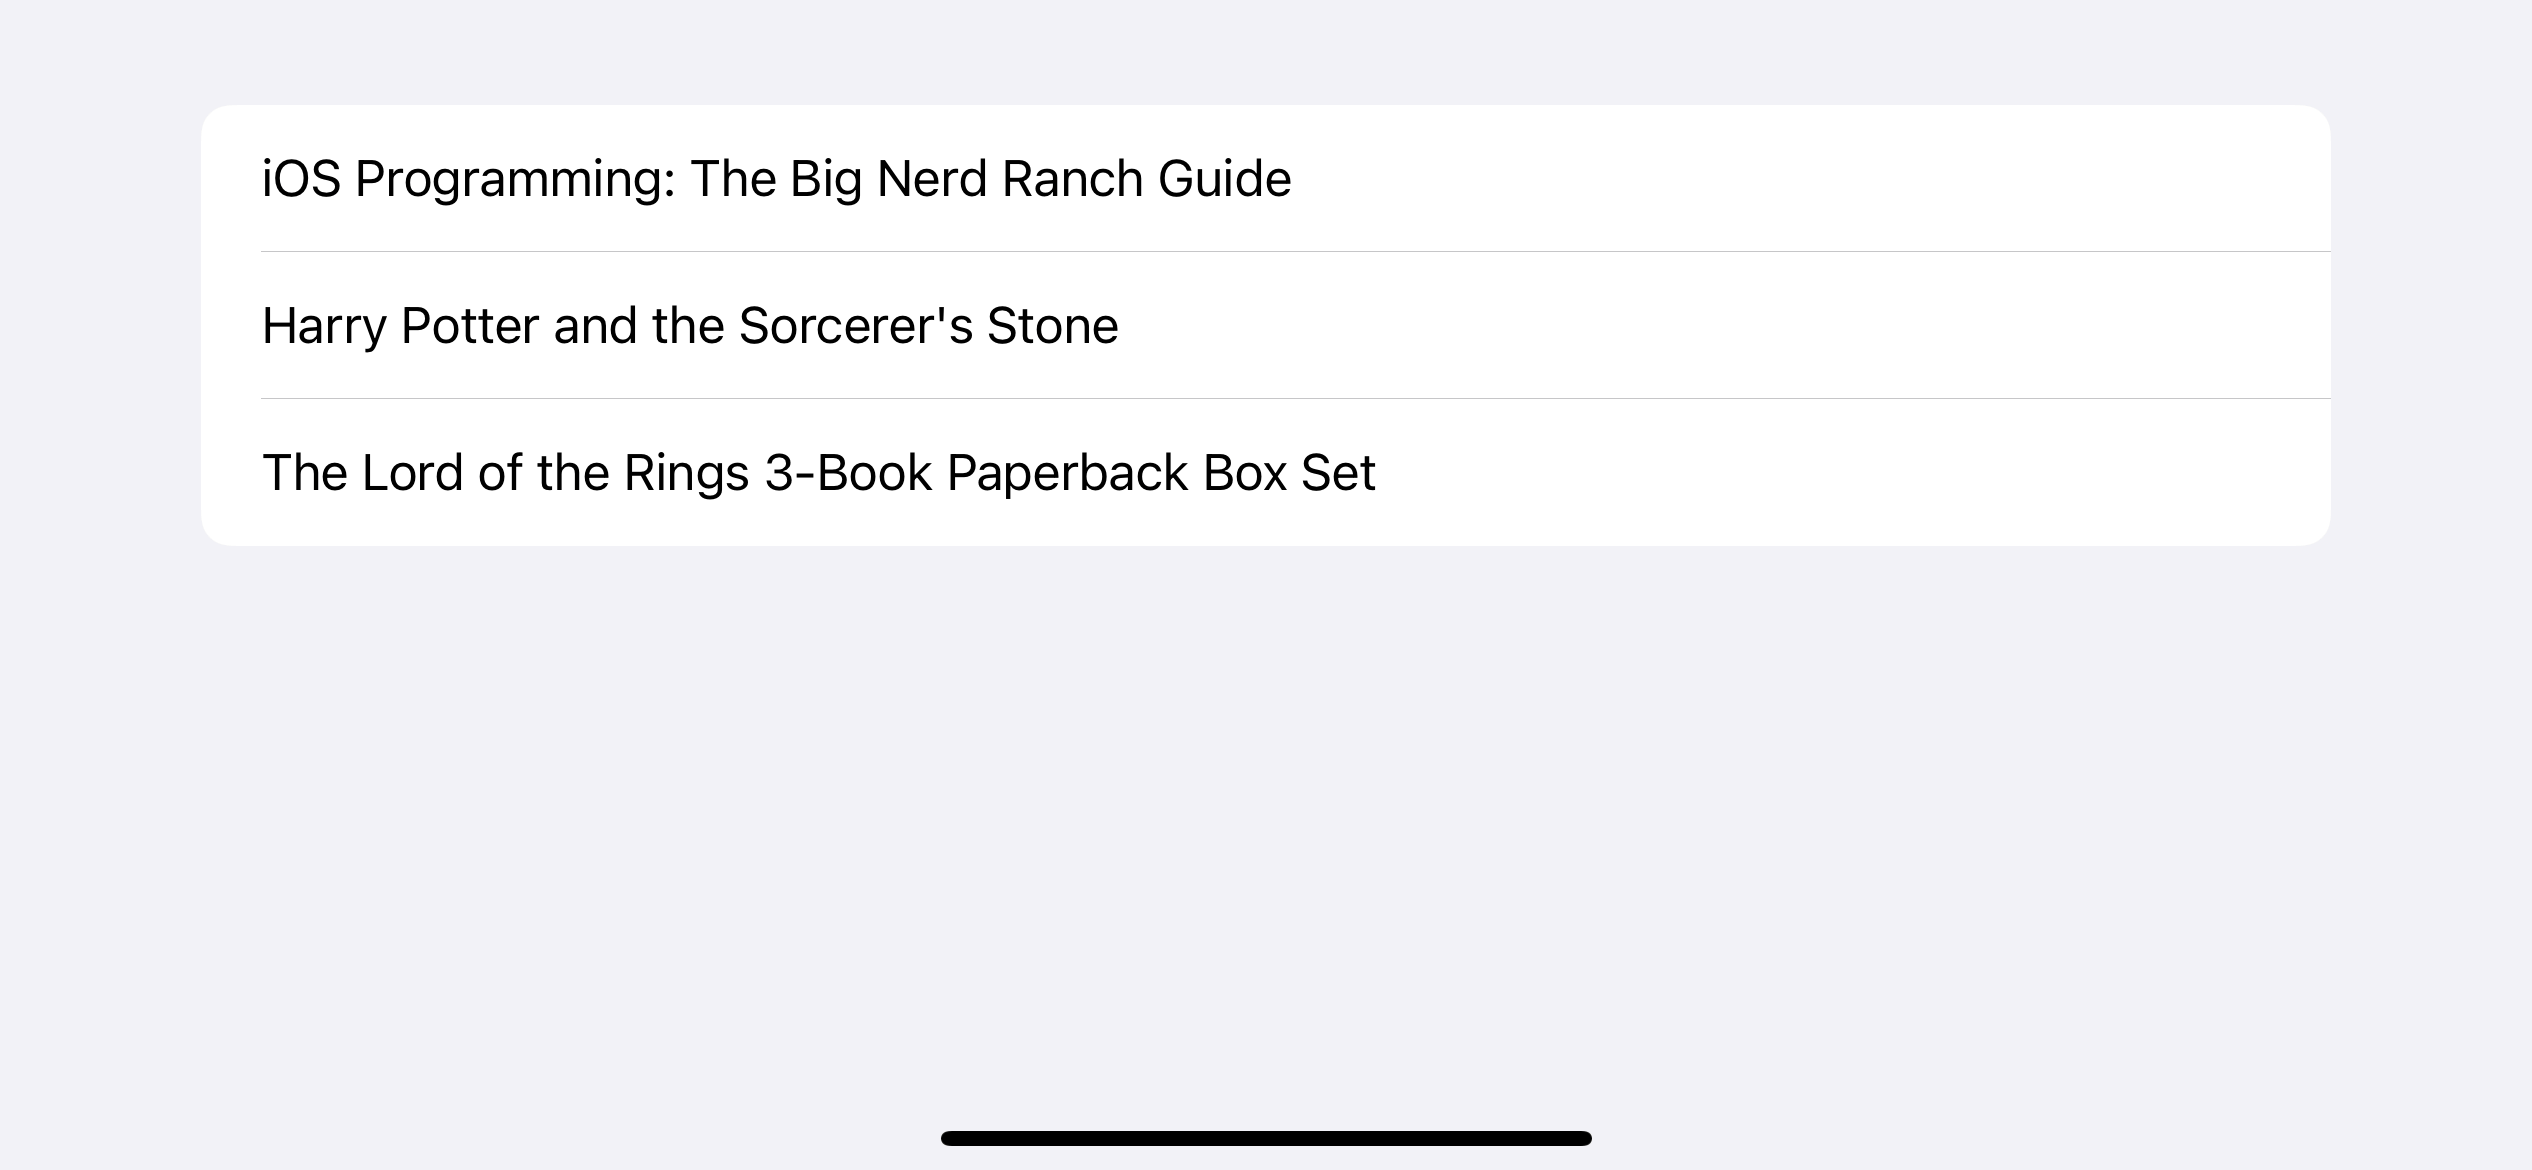
}And here is an example where we use a collection of Book in a ForEach.
struct ContentView: View {
    let books = [
        Book(isbn: "0135264022", name: "iOS Programming: The Big Nerd Ranch Guide"),
        Book(isbn: "0439708184", name: "Harry Potter and the Sorcerer's Stone"),
        Book(isbn: "0358439191", name: "The Lord of the Rings 3-Book Paperback Box Set")
    ]

    var body: some View {
        List {
            ForEach(books) { book in
                Text(book.name)
            }
        }
    }
}
You can easily support sarunw.com by checking out this sponsor.
Offline Transcription: Fast, privacy-focus way to transcribe audio, video, and podcast files. No data leaves your Mac.
Create views from any data with a keypath to the data's identity
If you have a primitive or simple data that you don't want to conform to the Identifiable protocol, ForEach has an option for you to explicitly provide a key path to property that can uniquely identify that data.
In the following example, we have an array of color names that we want users to pick from. A simple string is sufficient for the picker, and I don't want to bother creating a new type for it. So, I use the \.self keypath, which references to string itself as an identity.
struct ContentView: View {
    var colors = ["Red", "Green", "Blue"]
    @State private var selectedColor = "Red"

    var body: some View {
        VStack {
            Picker("Please select a color", selection: $selectedColor) {
                // 1
                ForEach(colors, id: \.self) {
                    Text($0)
                }
            }
            .pickerStyle(.wheel)
            Text("You selected: \(selectedColor)")
        }
    }
}
1 We provide a self key path \.self as an id.

Read more article about SwiftUI, ForEach, List, or see all available topic
Enjoy the read?
If you enjoy this article, you can subscribe to the weekly newsletter.
Every Friday, you'll get a quick recap of all articles and tips posted on this site. No strings attached. Unsubscribe anytime.
Feel free to follow me on Twitter and ask your questions related to this post. Thanks for reading and see you next time.
If you enjoy my writing, please check out my Patreon https://www.patreon.com/sarunw and become my supporter. Sharing the article is also greatly appreciated.
Become a patron Buy me a coffee Tweet ShareHow to get index and value from for loop in Swift
Swift has many ways to retrieve an index of an array, but it might not be obvious. Let's learn how to do it.
viewDidLoad() in SwiftUI
Learn how to simulate the viewDidLoad() behavior in SwiftUI using the onAppear modifier.