SwiftUI Form Styling
Table of Contents
SwiftUI Form is a container view that specializes in creating a setting screen.
It applies a platform-dependent style* to its child views.
At the moment (iOS 16), there is no specific way to style a Form. But you can style it based on the style that SwiftUI chooses for that platform. In iOS, Form uses a List view style.
In this article, I will try to put some style on a Form in iOS.
You can easily support sarunw.com by checking out this sponsor.
AI Grammar: Correct grammar, spell check, check punctuation, and parphrase.
SwiftUI Form Styling
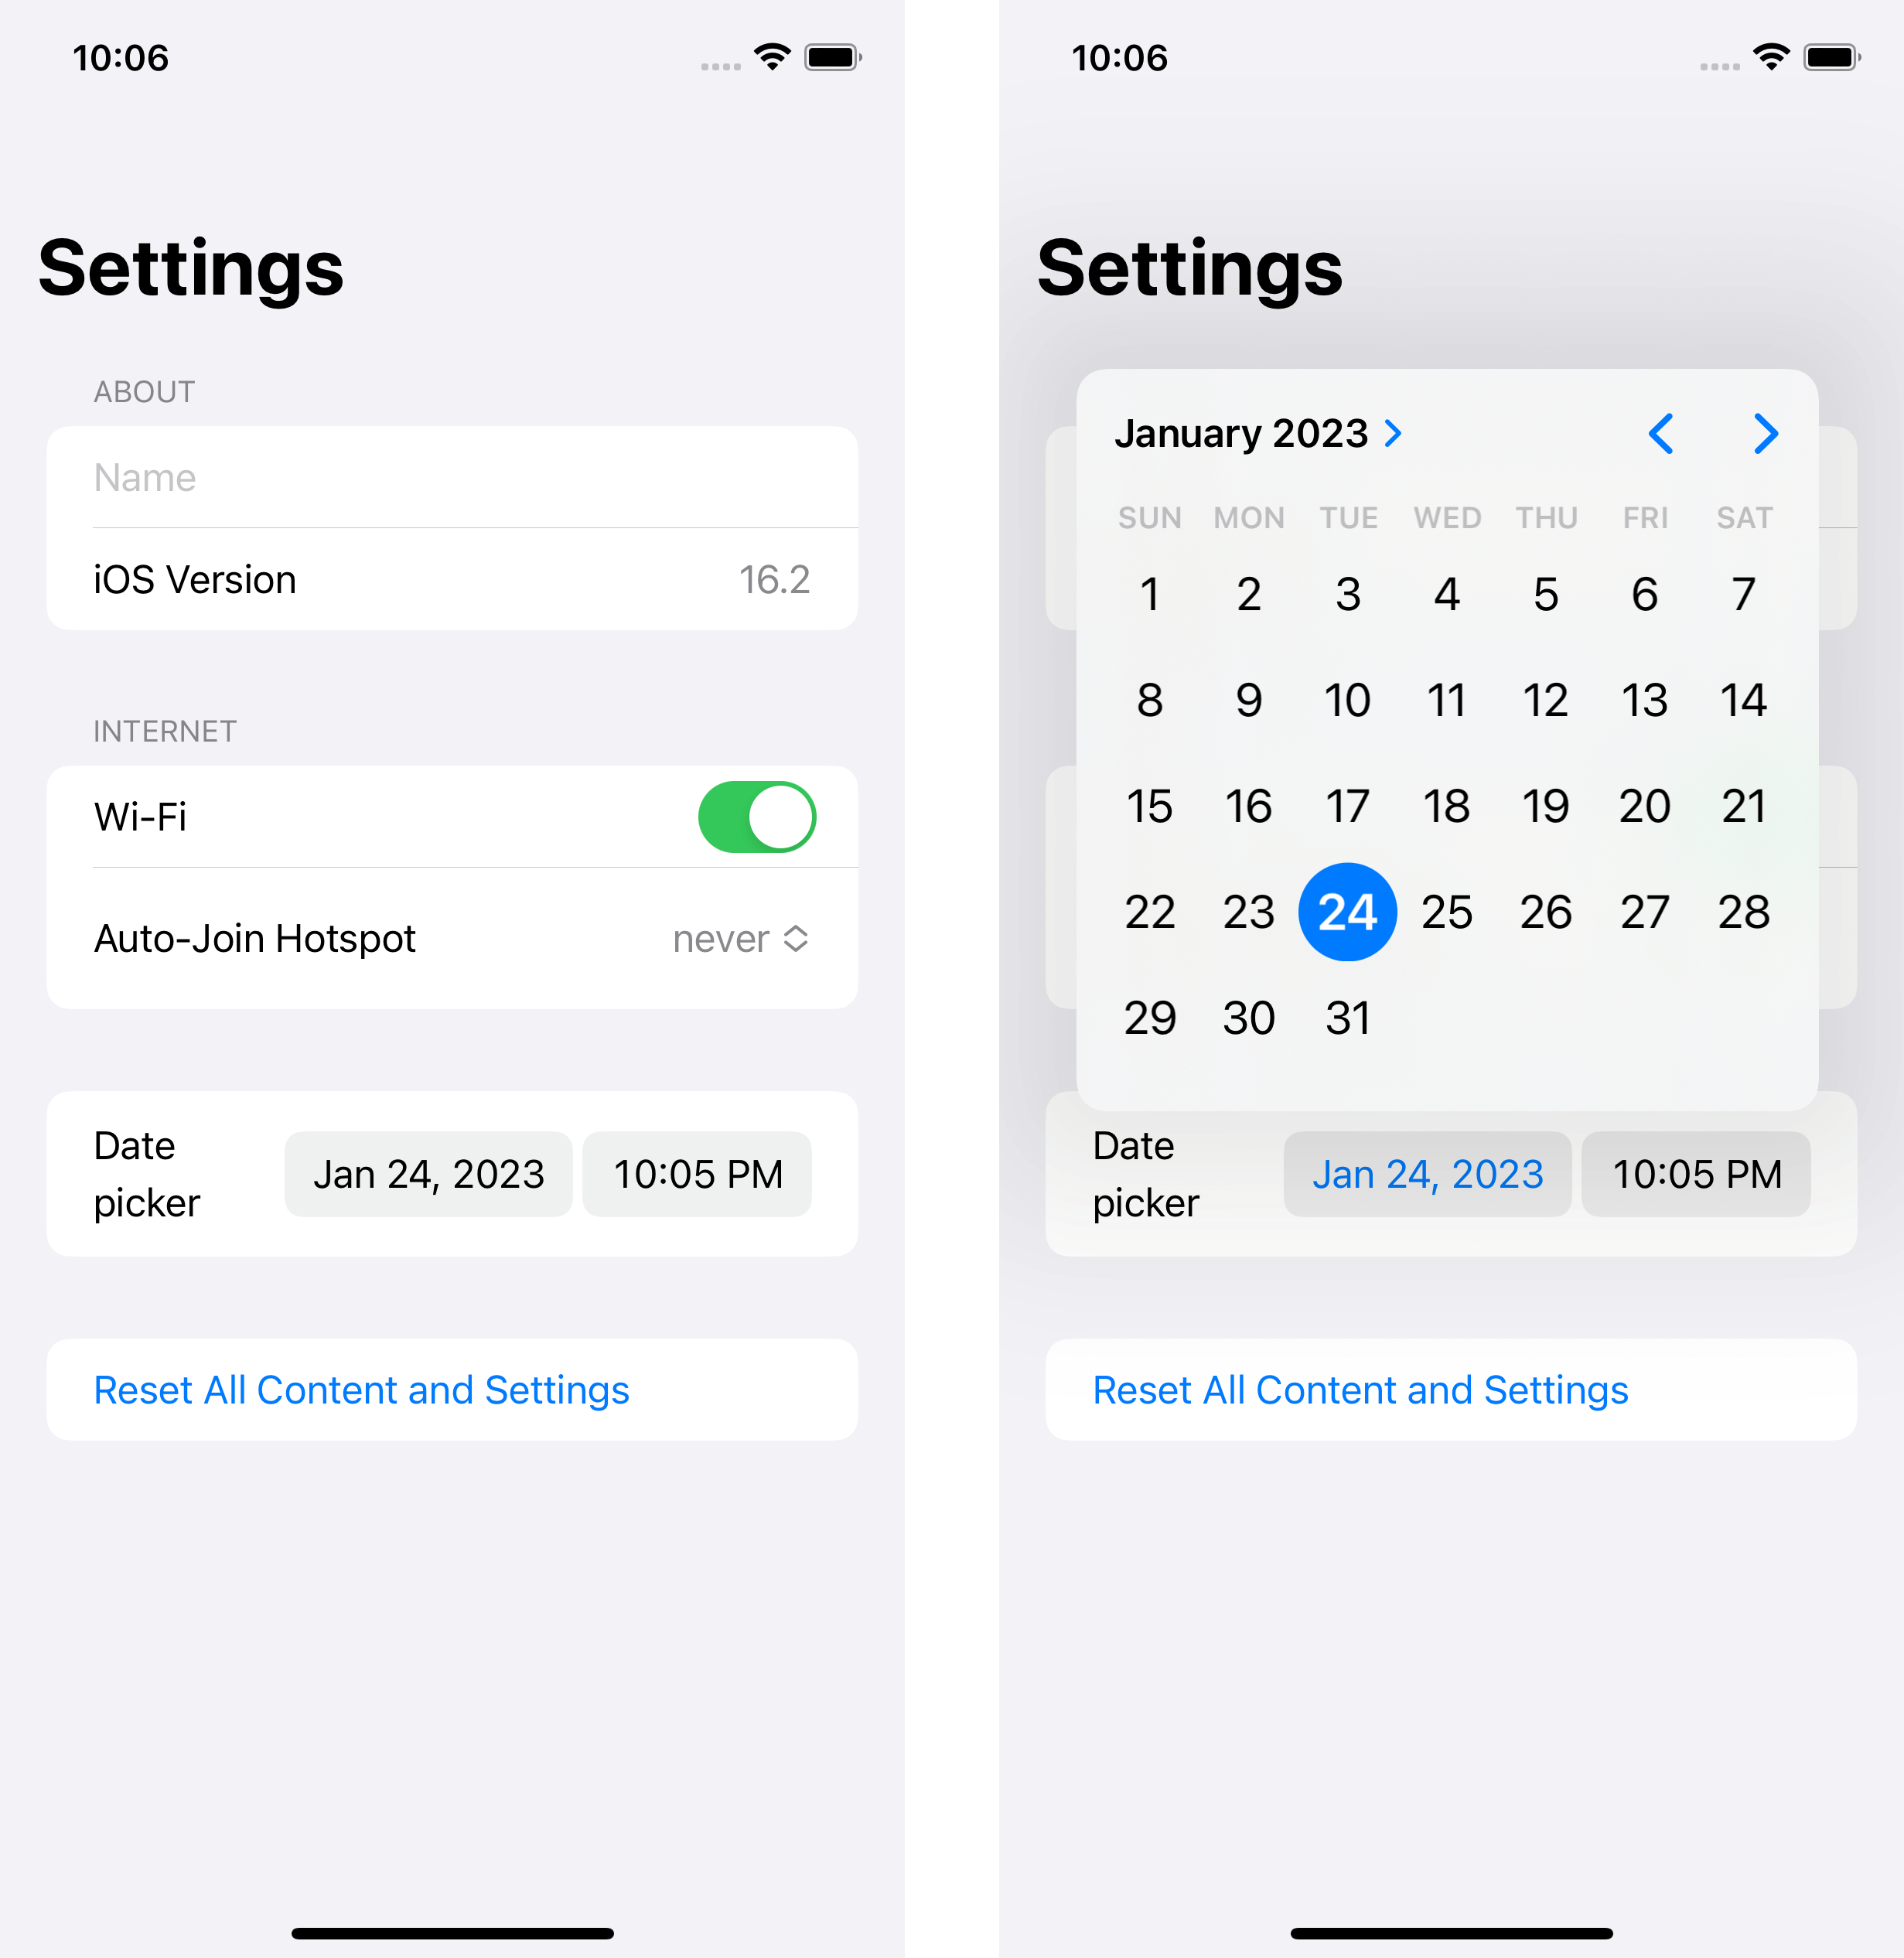
The default form style in iOS is GroupedFormStyle, which is identical to a List view with an insetGrouped style.
Let's create a simple Form with some controls and views in it. We will use this as a demo throughout the article.
struct ContentView: View {
    @State private var deviceName: String = ""
    @State private var isWifiEnabled: Bool = false
    @State private var autoJoinOption: AutoJoinHotspotOption = .never
    @State private var date = Date()

    var body: some View {
        NavigationStack {
            Form {
                Section {
                    TextField("Name", text: $deviceName)
                    LabeledContent("iOS Version", value: "16.2")
                } header: {
                    Text("About")
                }

                Section {
                    Toggle("Wi-Fi", isOn: $isWifiEnabled)
                    Picker("Auto-Join Hotspot", selection: $autoJoinOption) {
                        ForEach(AutoJoinHotspotOption.allCases) { option in
                            Text(option.rawValue)
                        }
                    }

                } header: {
                    Text("Internet")
                }

                Section {
                    DatePicker("Date picker", selection: $date)
                }

                Section {
                    Button("Reset All Content and Settings") {
                        // Reset logic
                    }
                }
            }
            .navigationBarTitle("Settings")
        }
    }
}
As you can see, the Form appearance in iOS is the same a List view.
Changing Tint color
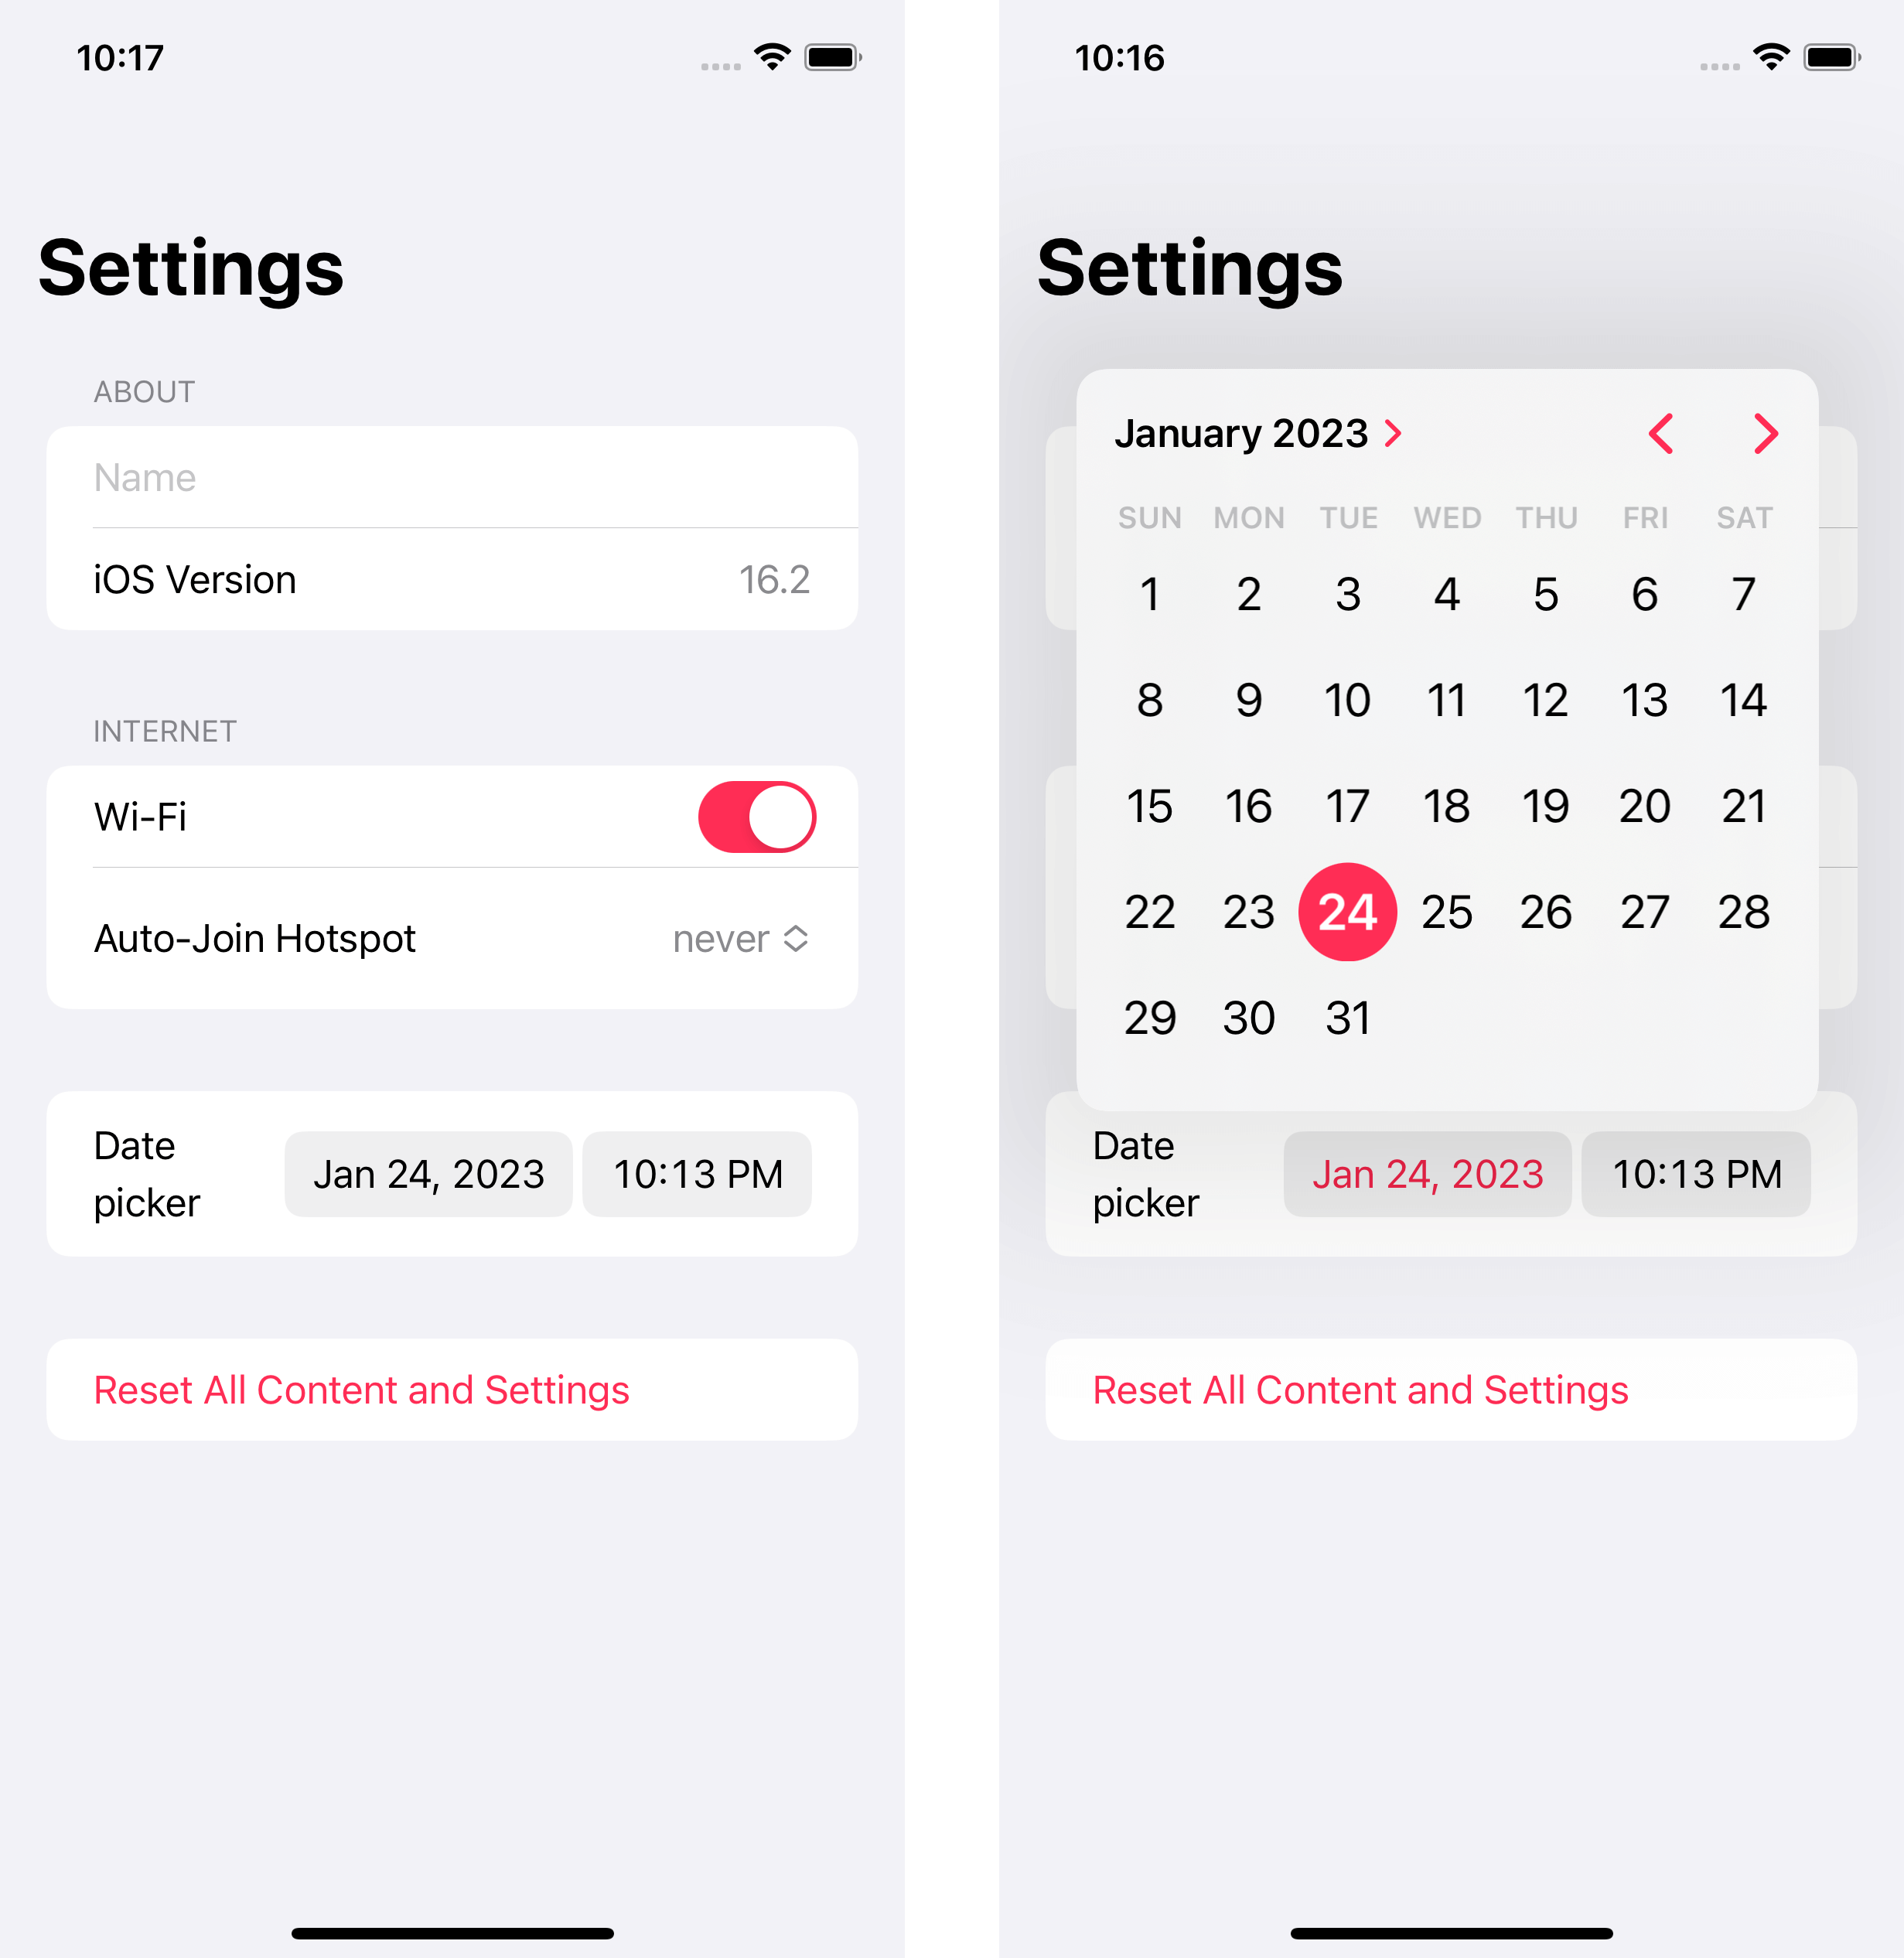
Tint color is the simplest form of styling. You can set a tint color for the whole form by applying the .tint modifier.
In this example, we change the tint color to pink, .tint(.pink).
struct ContentView: View {
    @State private var deviceName: String = ""
    @State private var isWifiEnabled: Bool = false
    @State private var autoJoinOption: AutoJoinHotspotOption = .never
    @State private var date = Date()

    var body: some View {
        NavigationStack {
            Form {
                // ...
            }
            .tint(.pink)
            .navigationBarTitle("Settings")
        }
    }
}
Every control that uses tint color would change accordingly. In this example, the button, toggle, and date picker are adapted to the new tint color.
Changing Text Color
You can change the text color by using the .foregroundColor modifier.
In this case, we apply a brown color, .foregroundColor(.brown).
Form {
    // ...
}
.foregroundColor(.brown)
.tint(.pink)
.navigationBarTitle("Settings")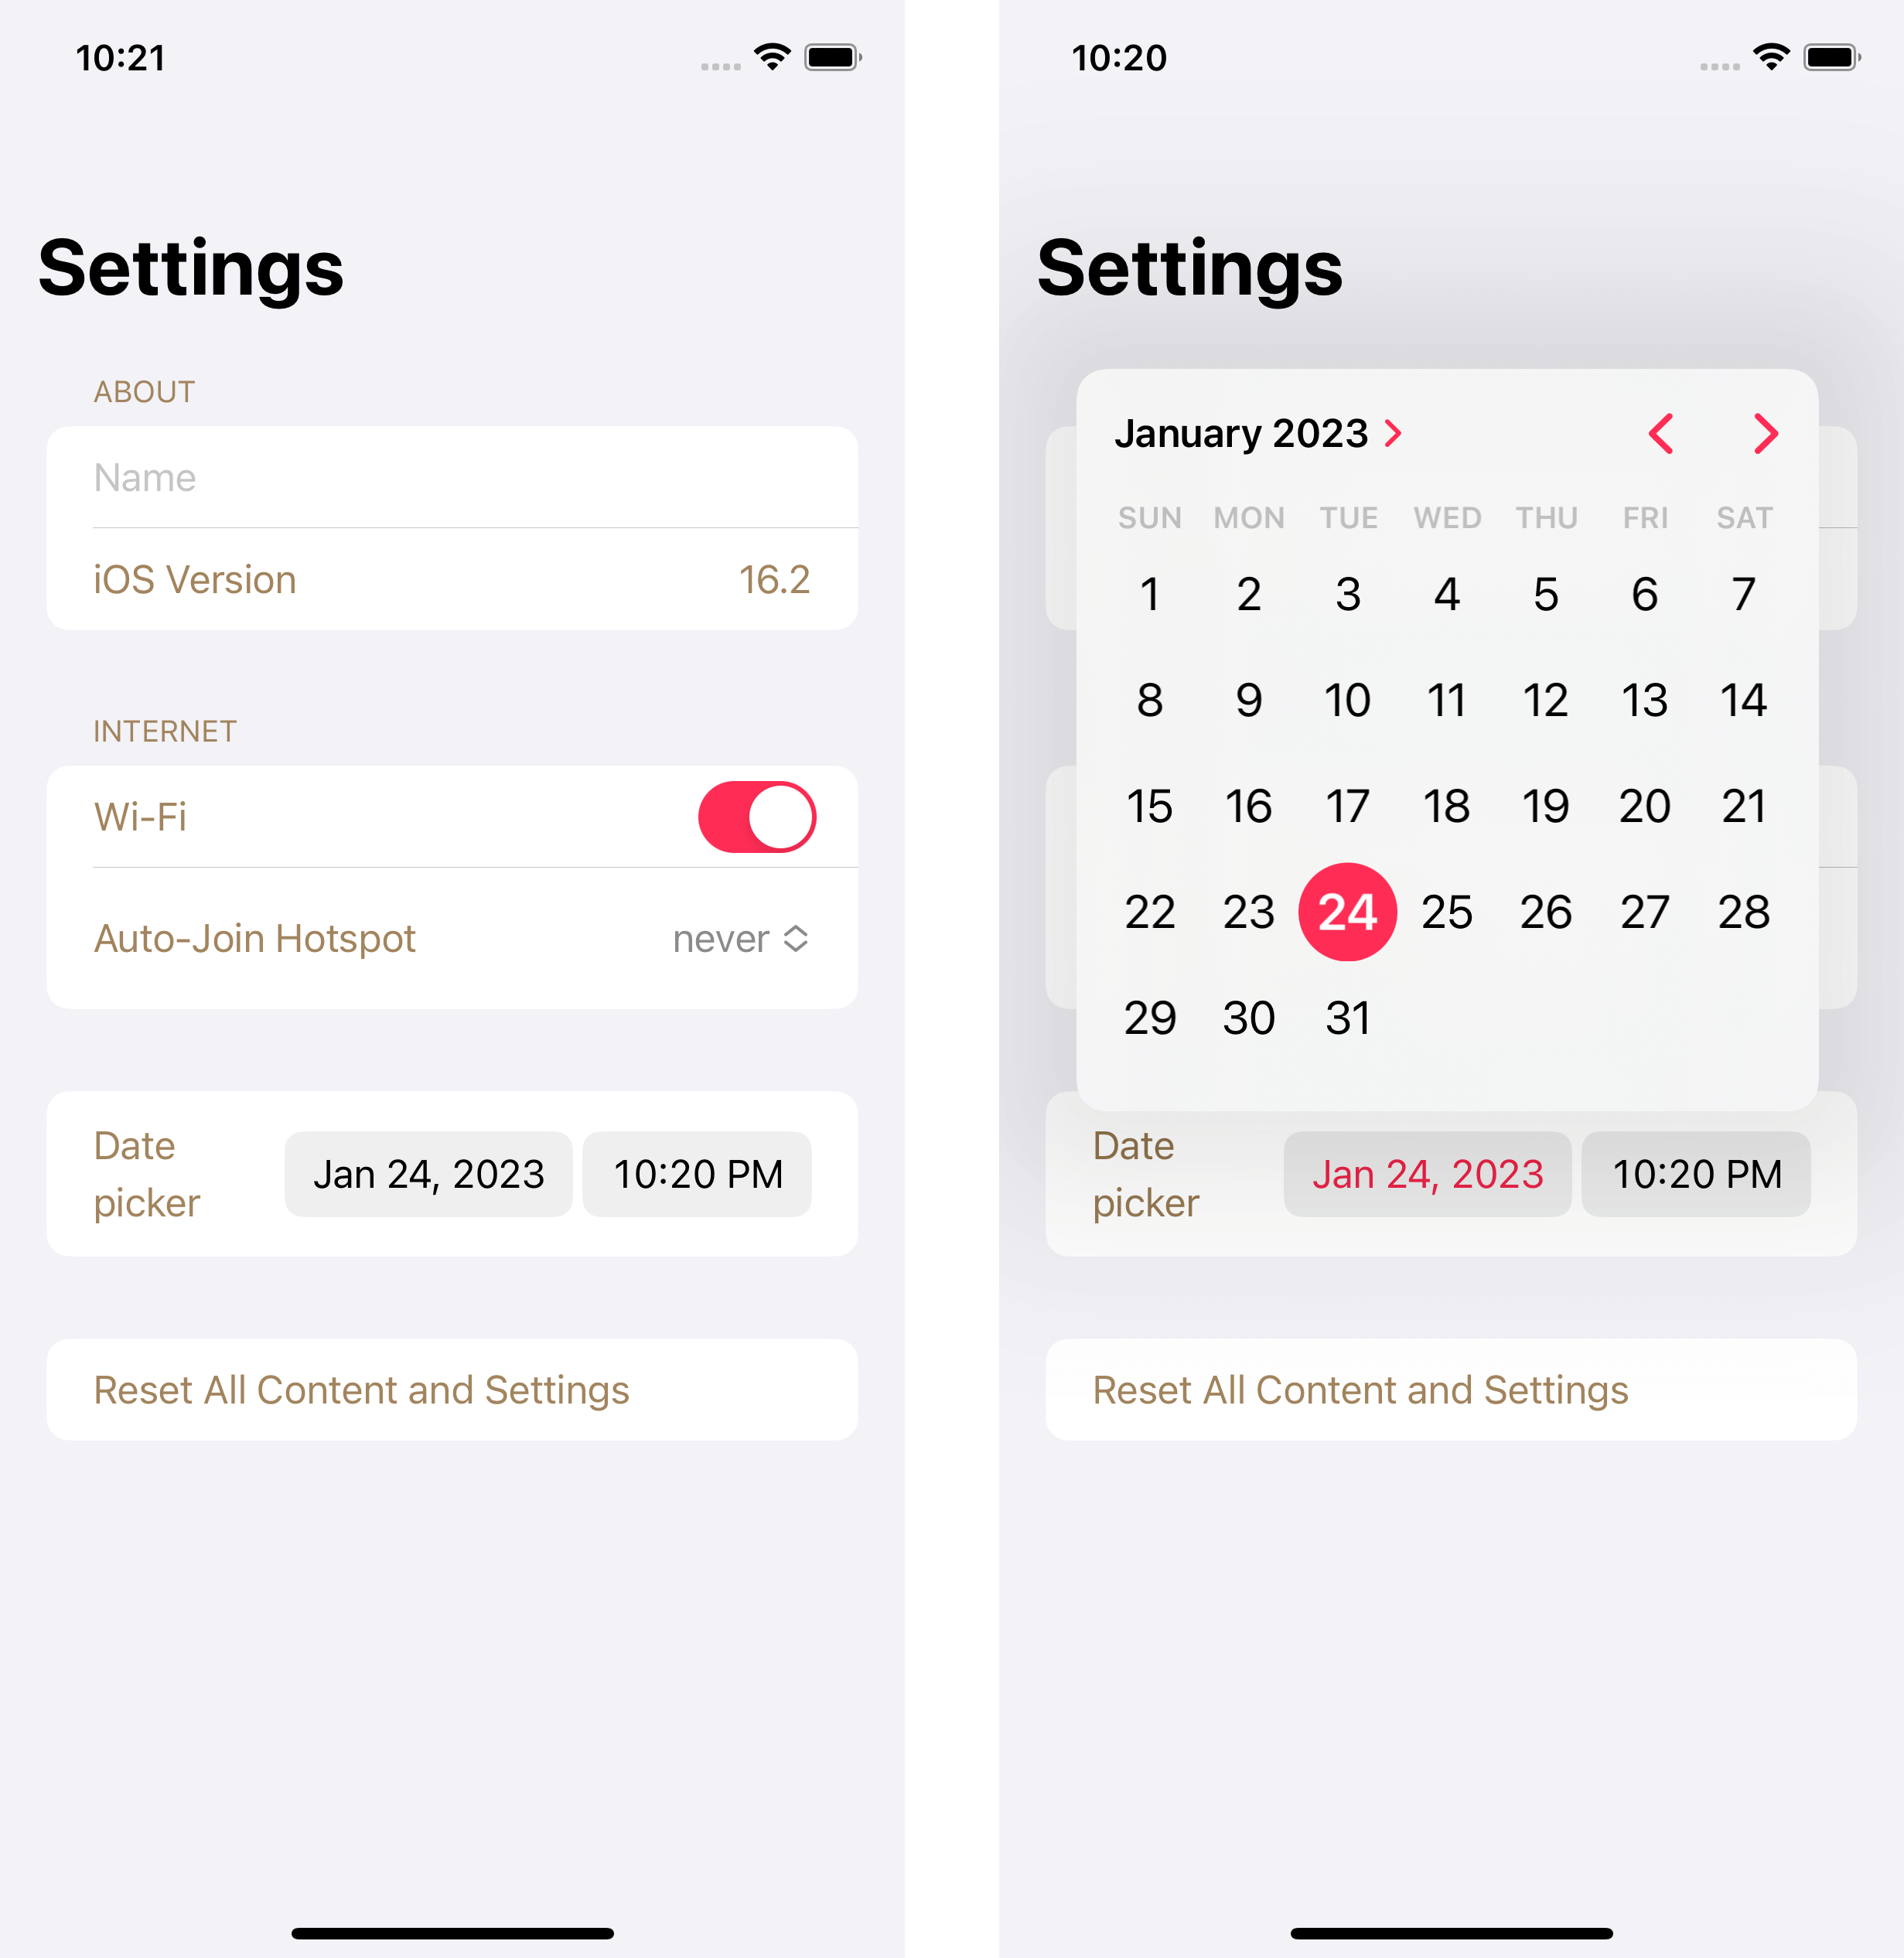
Changing Background color
We can change the background color the same way we did with a list view.
In iOS 16, we got a native way to do that using a combination of two modifiers, .background and .scrollContentBackground(.hidden).
Form {
    // ...
}
.foregroundColor(.brown)
.tint(.pink)
.background(Color.pink)
.scrollContentBackground(.hidden)
.navigationBarTitle("Settings")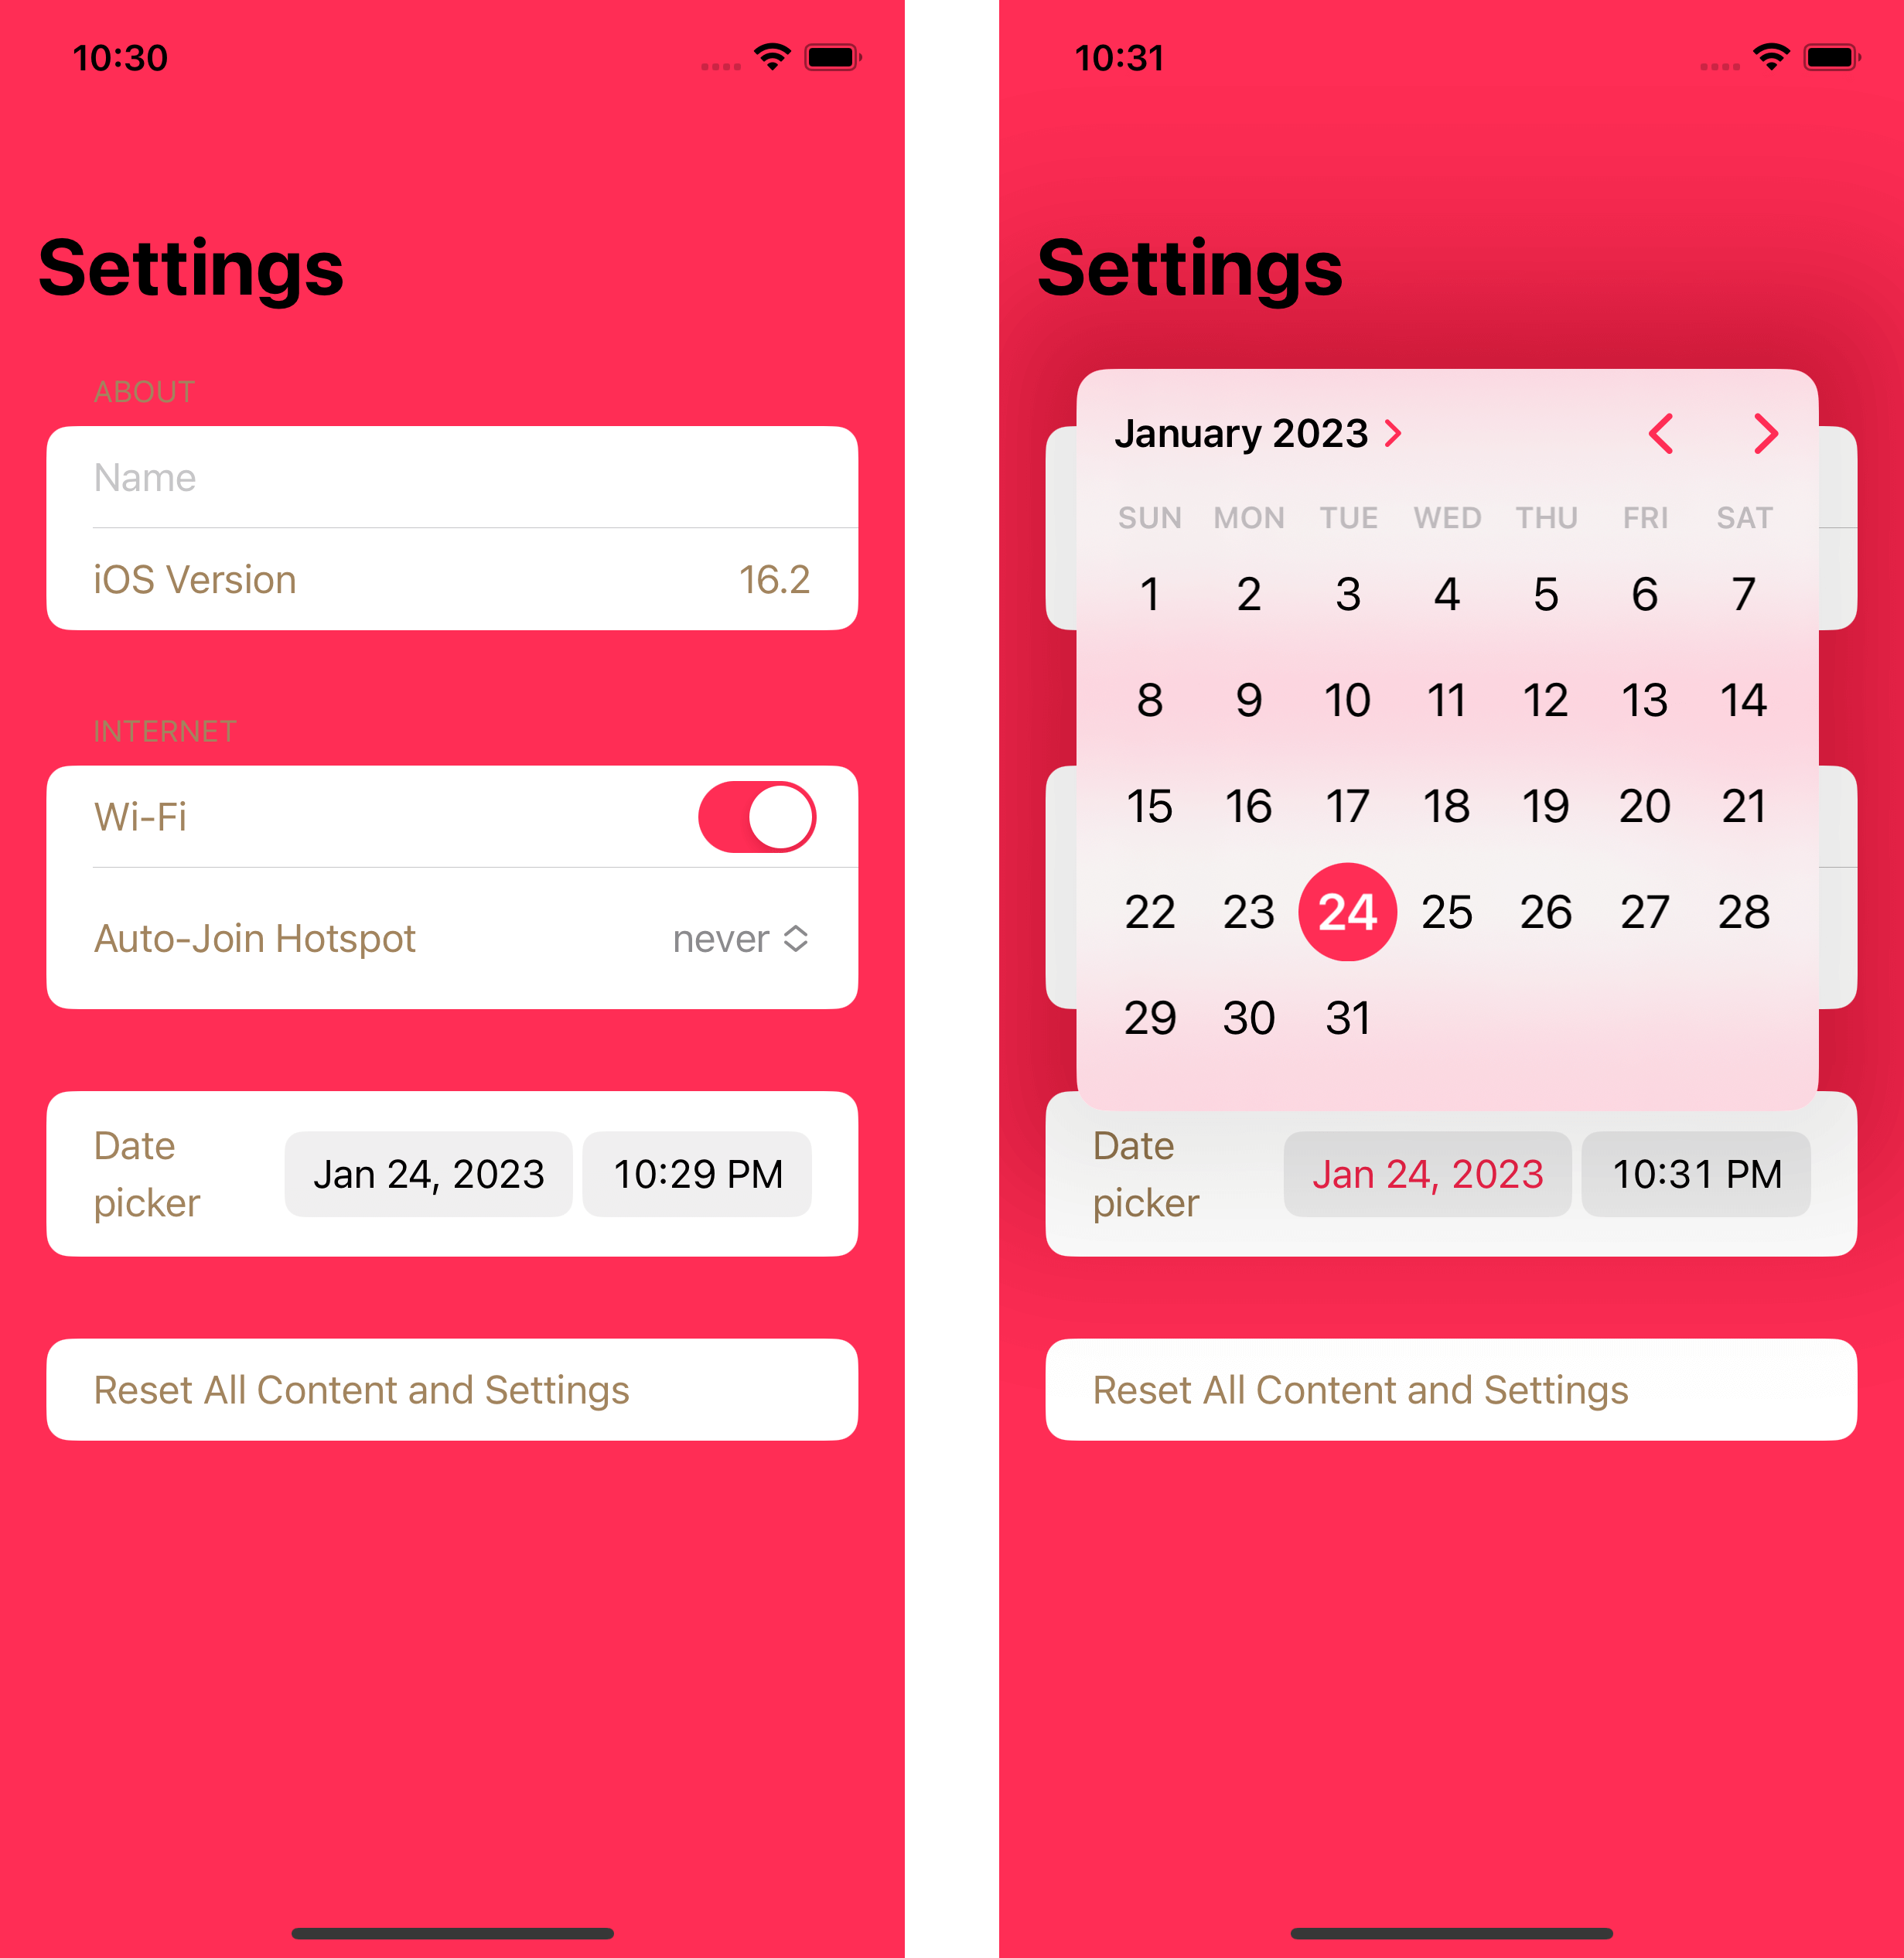
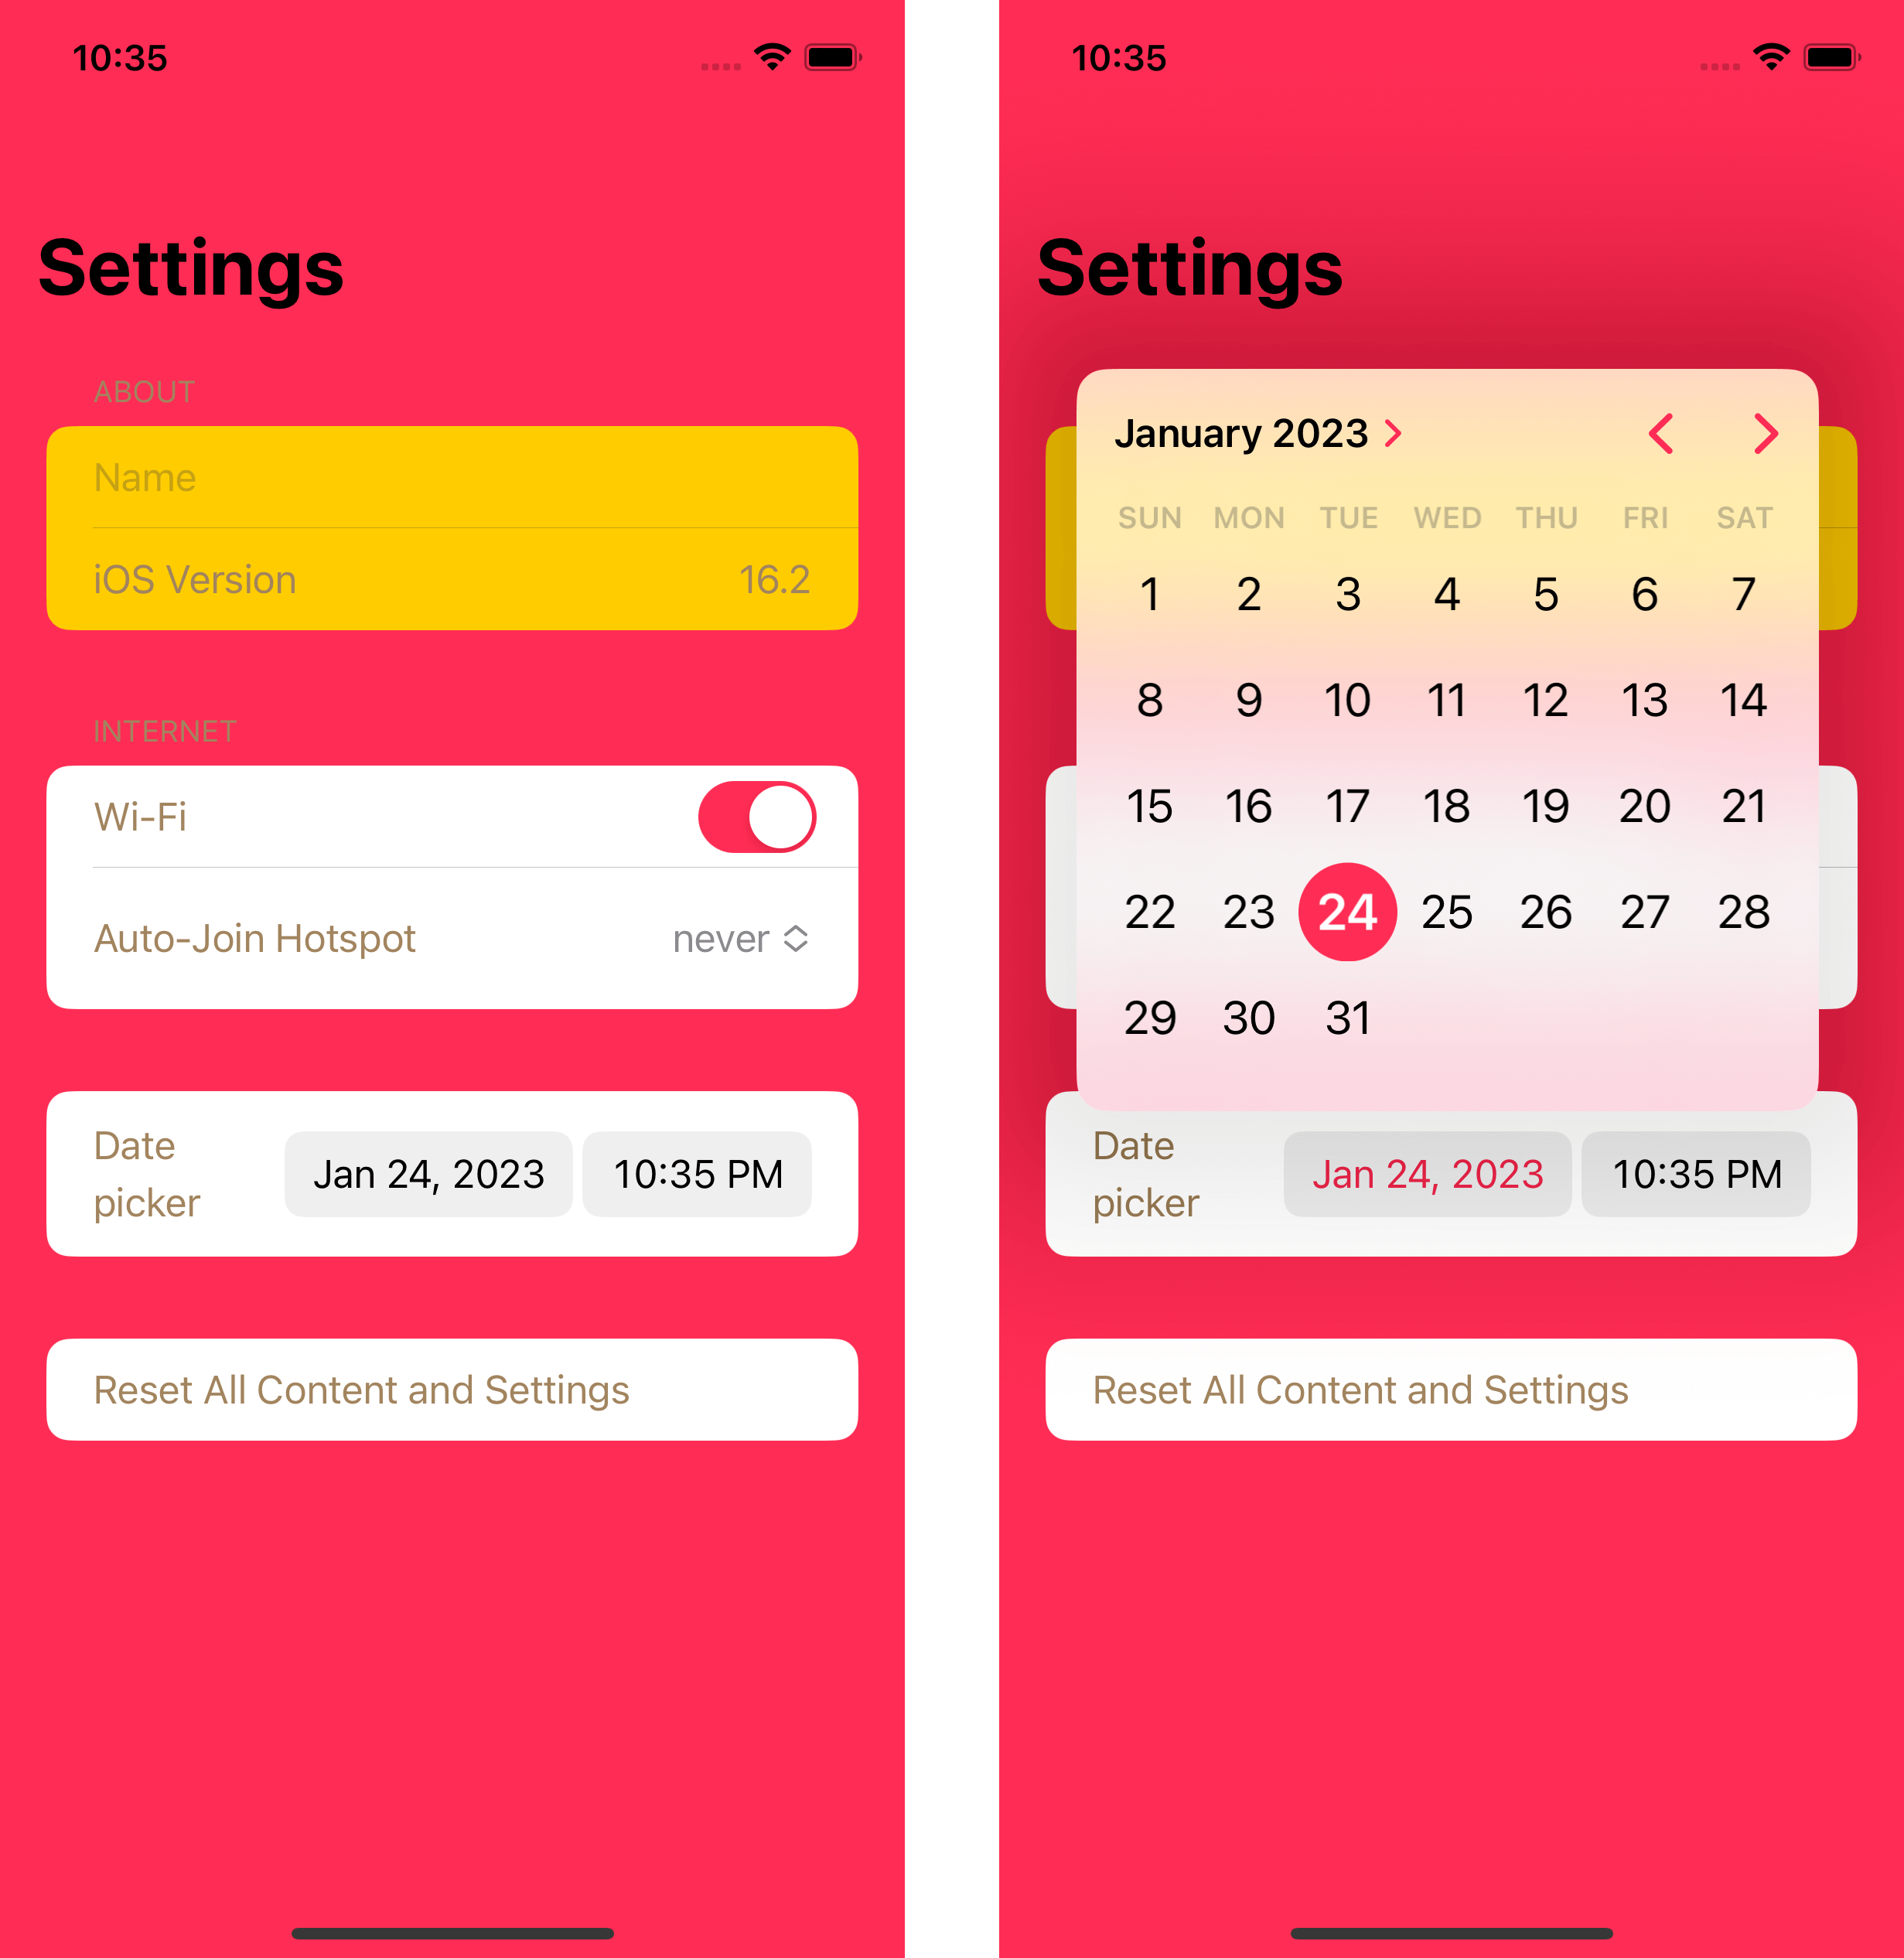
Changing Row Background color
You can also change the background color of each row in the form by using the .listRowBackground modifier.
You need to apply this to the content, not the Form.
Form {
    Section {
        TextField("Name", text: $deviceName)
        LabeledContent("iOS Version", value: "16.2")
    } header: {
        Text("About")
    }
    .listRowBackground(Color.yellow)

    Section {
        Toggle("Wi-Fi", isOn: $isWifiEnabled)
        Picker("Auto-Join Hotspot", selection: $autoJoinOption) {
            ForEach(AutoJoinHotspotOption.allCases) { option in
                Text(option.rawValue)
            }
        }

    } header: {
        Text("Internet")
    }

    Section {
        DatePicker("Date picker", selection: $date)
    }

    Section {
        Button("Reset All Content and Settings") {
            // Reset logic
        }
    }
}
.foregroundColor(.brown)
.tint(.pink)
.background(Color.pink)
.scrollContentBackground(.hidden)
.navigationBarTitle("Settings")
In this example, I apply it to the first Section.
Read more article about SwiftUI, Form, or see all available topic
Enjoy the read?
If you enjoy this article, you can subscribe to the weekly newsletter.
Every Friday, you'll get a quick recap of all articles and tips posted on this site. No strings attached. Unsubscribe anytime.
Feel free to follow me on Twitter and ask your questions related to this post. Thanks for reading and see you next time.
If you enjoy my writing, please check out my Patreon https://www.patreon.com/sarunw and become my supporter. Sharing the article is also greatly appreciated.
Become a patron Buy me a coffee Tweet ShareHow to Open using Rosetta in Xcode 14.3
If you are using Xcode 14.3 or later, you might notice that the option to open Xcode in Rosetta is no longer available. Let's find out what changes.
Configure Different Launch screens based on URL Scheme
Since iOS 14, you can have multiple launch screens responding to different URL schemes. Let's learn how to define it.