Create Button with Image in SwiftUI
Table of Contents
A button in SwiftUI Is very flexible. You can use any view as its content.
In this article, I will show you how to create an image button and how to adjust its color.
How to create a button with image in SwiftUI
To create a button with an image in SwiftUI, you use an Image view as a label.
In this example, I use Symbols image as a button's content.
Button {

} label: {
    Image(systemName: "swift")
}
You can easily support sarunw.com by checking out this sponsor.
Localization Buddy: Easiest way to localize and update App Store metadata.
How to change a button image color
The part where you should aware of when using an image in a button is the color.
All image has a rendering mode property which dictate how that image should be rendered.
There are two rendering modes.
- Original (
.original) which render an image as-is. - Template (
.template) which treat an image as a masking layer.
This is where things get a little complicated.
- All SF Symbols are created with a Template rendering mode by default.
- Other images are created with a Default rendering mode (or whatever you set in an Asset Catalog).
Let's see an example. Here are our image assets.
And here is an example where we use SF Symbols and normal images.
HStack {
Button {
} label: {
Image(systemName: "swift")
}
Button {
} label: {
Image(systemName: "applelogo")
}
Button {
} label: {
Image("visa")
}
Button {
} label: {
Image("city")
}
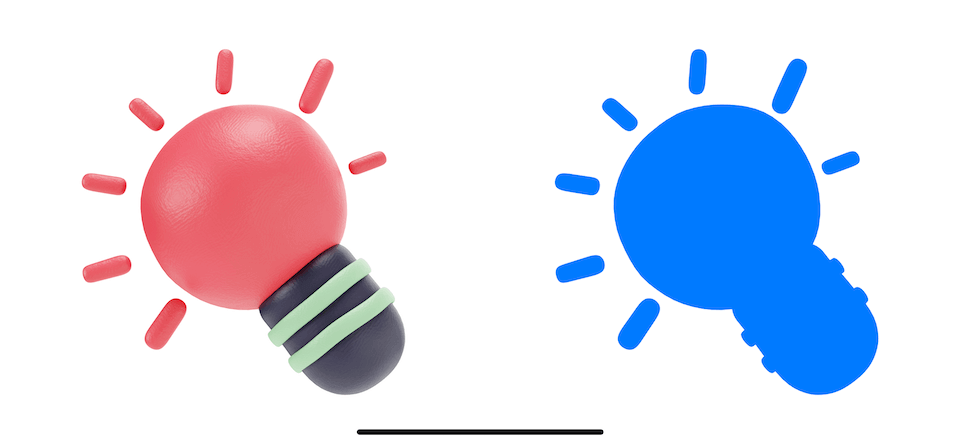
}Images with Template rendering mode pick up a button tint color (blue) and use that as its color.
For images with default rendering mode, a SwiftUI Button will use render them using Original rendering mode, which renders using their true color.

This may or may not be the behavior you expected.
For the Visa image, you might ok to render it as-is, but you might want the City image to render in template mode.
You can control this behavior by changing the image rendering mode.
You can easily support sarunw.com by checking out this sponsor.
Localization Buddy: Easiest way to localize and update App Store metadata.
How to change Image Rendering Mode
There are two ways to change an image rendering mode.
renderingMode modifier
You can set a rendering mode by using .renderingMode(_:) modifier.
We change the image rendering mode to template in this example.
Image("city")
    .renderingMode(.template)
Asset Catalog
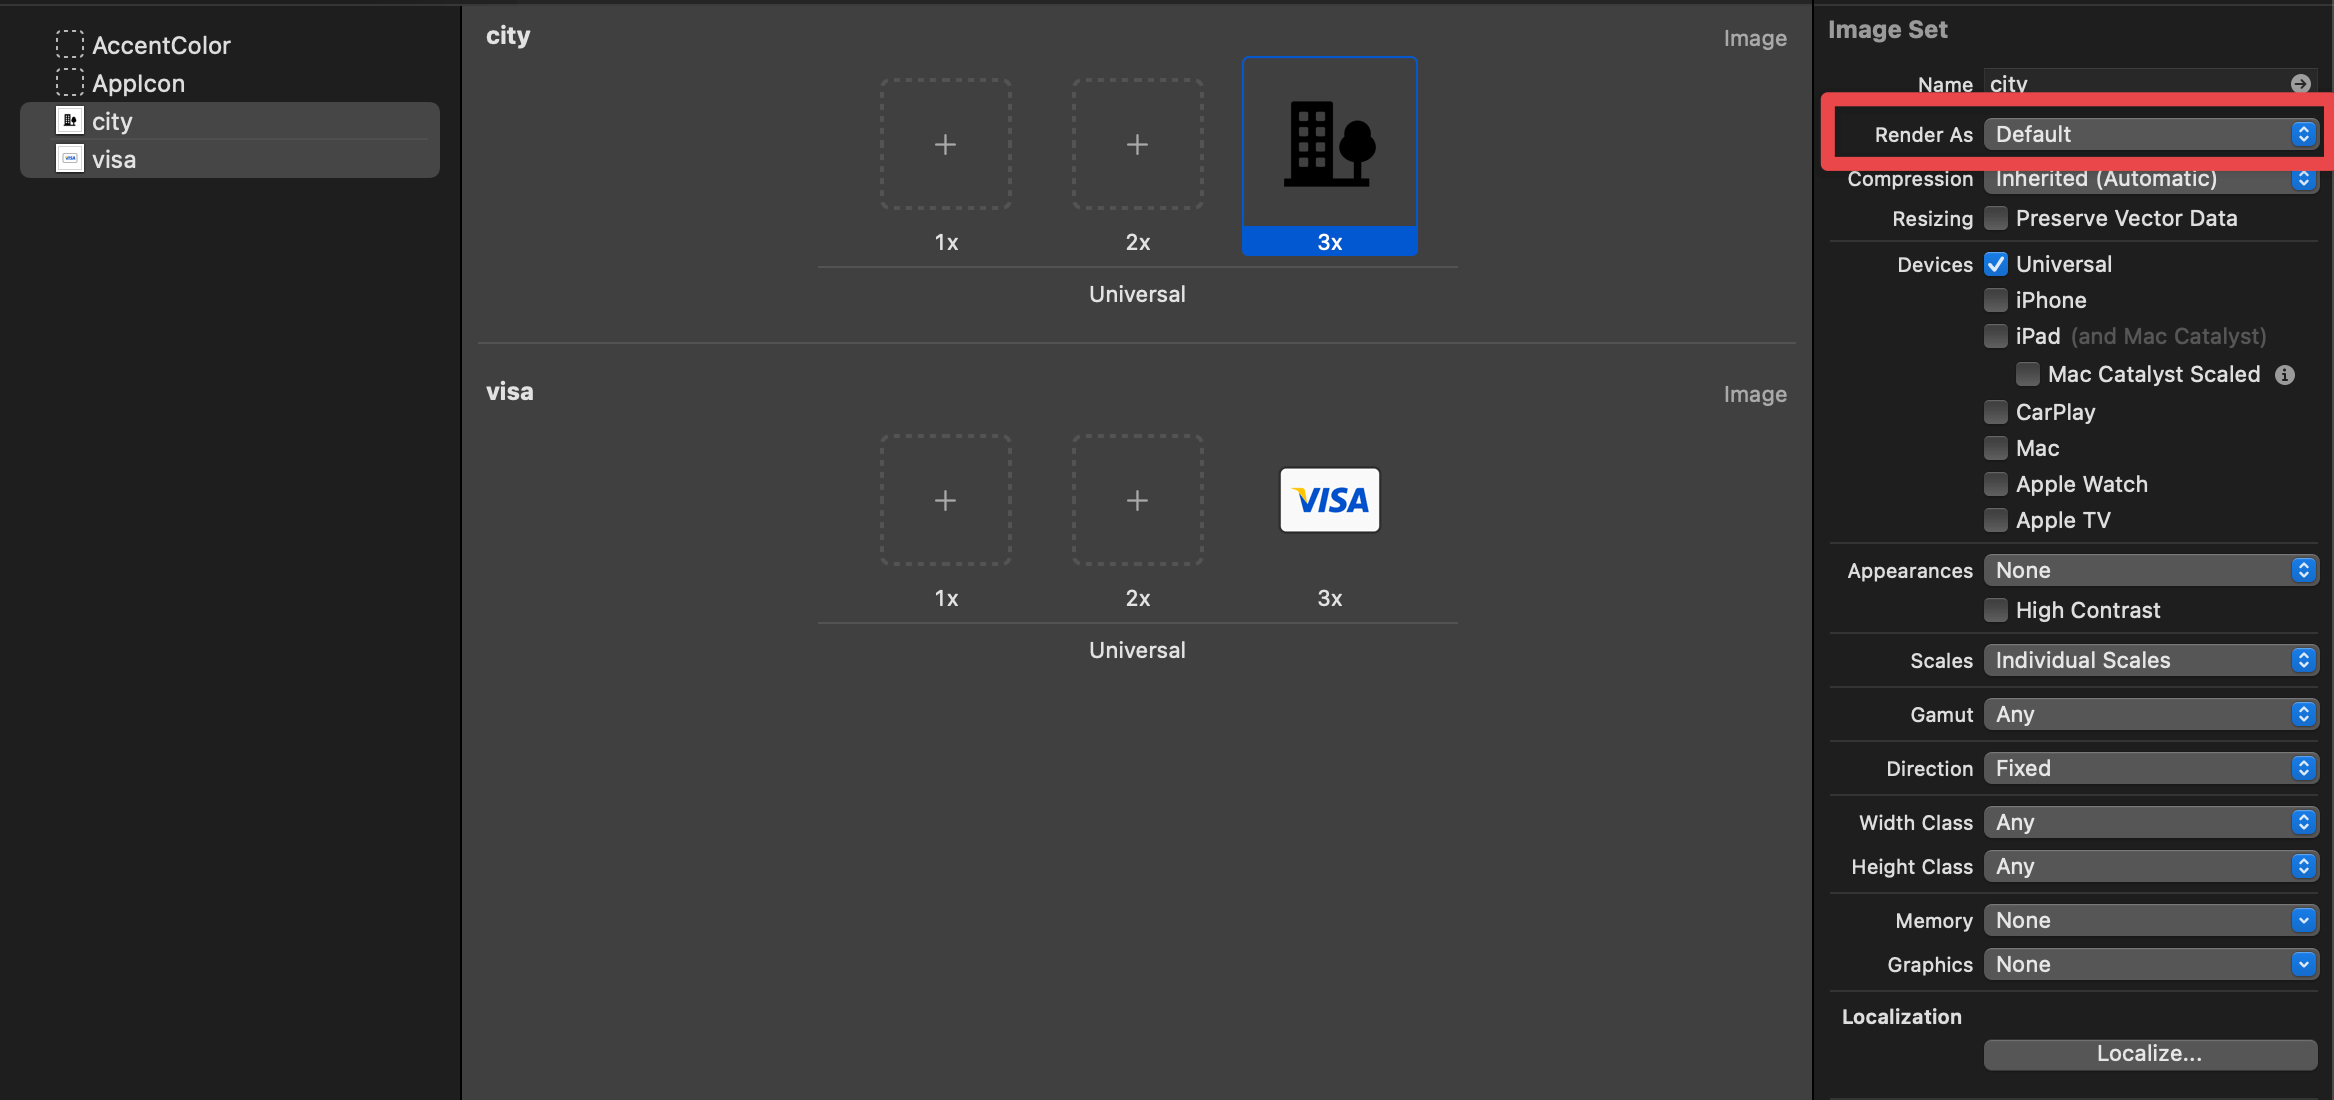
You can also change an image rendering mode in the Asset Catalog.
To do that:
- Selecting an image you want to change the rendering mode in Asset Catalog.
- Change image rendering mode from the "Render As" option under the Attributed Inspector.
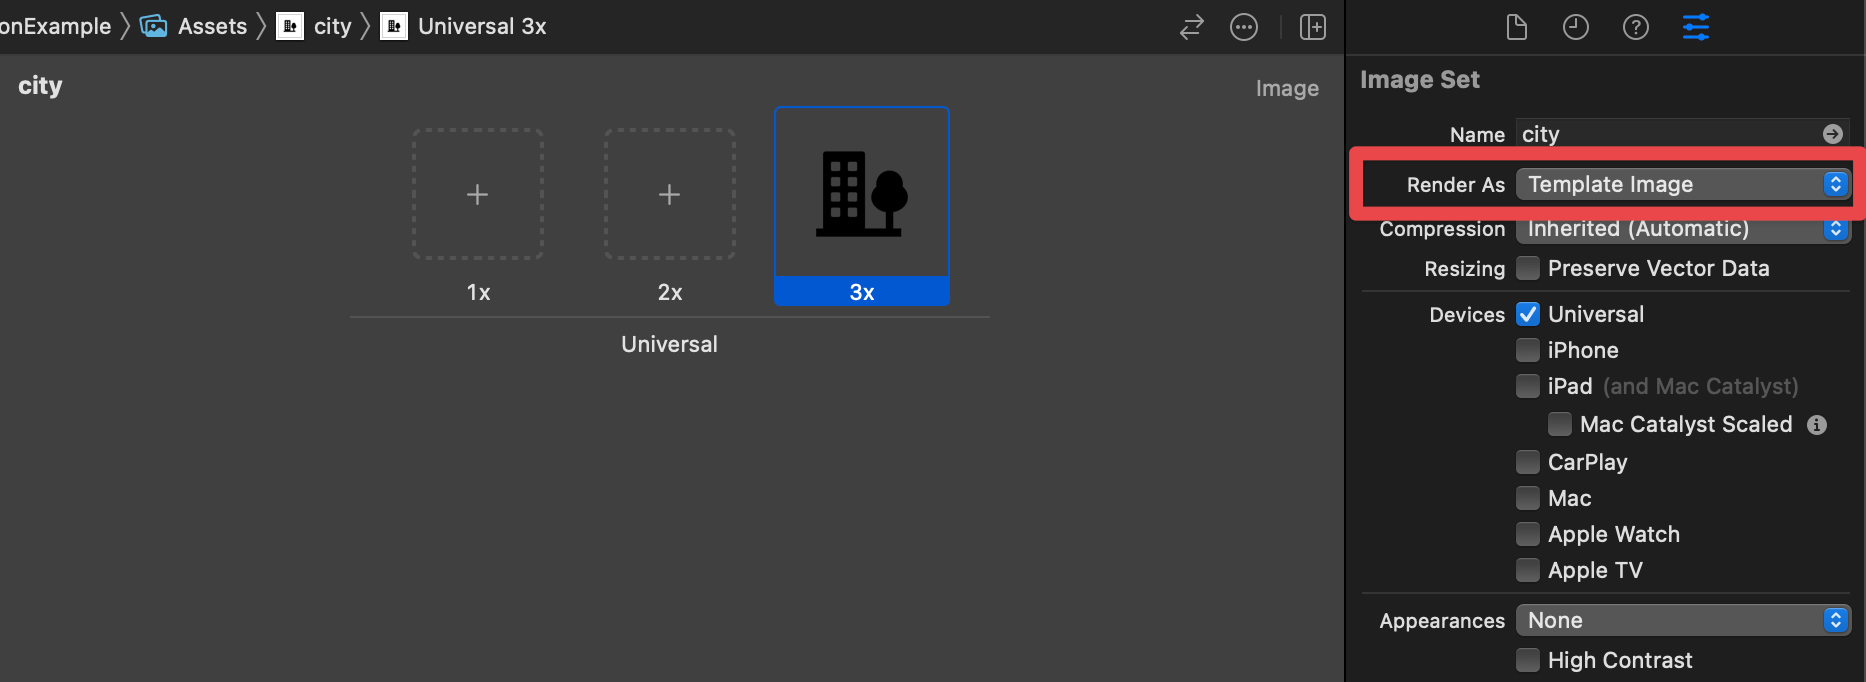
Here is an example where we change our images to template rendering mode.
HStack {
    Button {

    } label: {
        Image("visa")
            .renderingMode(.template)
    }

    Button {

    } label: {
        Image("city")
            .renderingMode(.template)
    }
}
Read more article about SwiftUI, Button, or see all available topic
Enjoy the read?
If you enjoy this article, you can subscribe to the weekly newsletter.
Every Friday, you'll get a quick recap of all articles and tips posted on this site. No strings attached. Unsubscribe anytime.
Feel free to follow me on Twitter and ask your questions related to this post. Thanks for reading and see you next time.
If you enjoy my writing, please check out my Patreon https://www.patreon.com/sarunw and become my supporter. Sharing the article is also greatly appreciated.
Become a patron Buy me a coffee Tweet ShareHow to pop view from Navigation stack in iOS 16
Let's learn how easy it is to pop or dismiss a view from a NavigationStack, a new navigation view in iOS 16.
How to Hide Navigation Bar on Tap in UIKit
Since iOS 8, we can easily add a tap gesture to show and hide a navigation bar and toolbar. Let's learn why and how to do it.