SwiftUI List: Basic usage
Table of Contents
Lists or Tables has been an important view since the beginning of the UIKIt era. With the coming of SwiftUI, Apple made it incredibly easy to use compared to how we do it in UIKit.
In this article, I will cover how to create a static list view where you manually populate each row yourself.
You use a static list view when you want to present a fixed number of data, e.g., Settings or menu.
How to create SwiftUI List
List is a container view that presents its children as a row of data.
You can think of it like VStack and HStack but with some special treatments.
There are two aspects that you get when using List.
- List-like appearance. A list view will put each child view in a row-like container, e.g., line separator, full-width appearance.
- Optional built-in function. You can opt-in for many built-in functions such as rows selection and reorder.
This article will learn about the first aspect, list-like appearance.
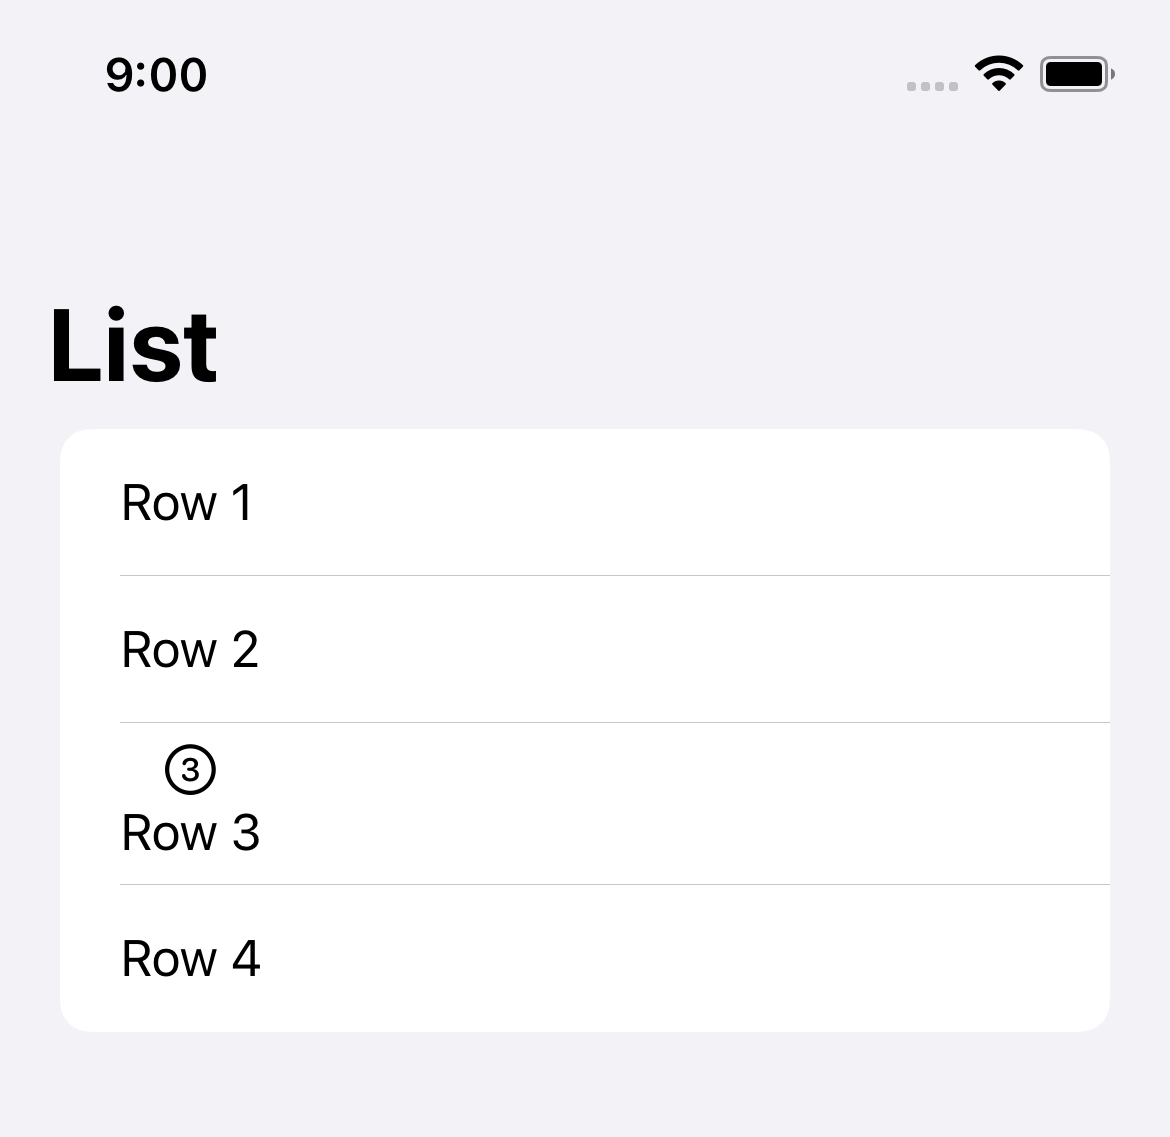
In this example, we create a list with four rows.
struct StaticListView: View {
    var body: some View {
        NavigationView {
            List {
                Text("Row 1")
                Text("Row 2")
                // 1
                VStack {
                    Image(systemName: "3.circle")
                    Text("Row 3")
                }
                Text("Row 4")
            }
            .navigationTitle("List")
        }
    }
}
As you can see, List treat each child's view as a separate row.
Please note that a row doesn't need to be a simple view. The third child 1 is VStack with two child views, and the whole VStack is treated as a single row as dictated by a line separator.
List view is pre-equipped with nice styling. Let's explore more what a list view has to offer.
Apart from the built-in style, like a line separator, the List view has many more features. I will cover two of them in this article.
You can easily support sarunw.com by checking out this sponsor.
Localization Buddy: Easiest way to localize and update App Store metadata.
Section
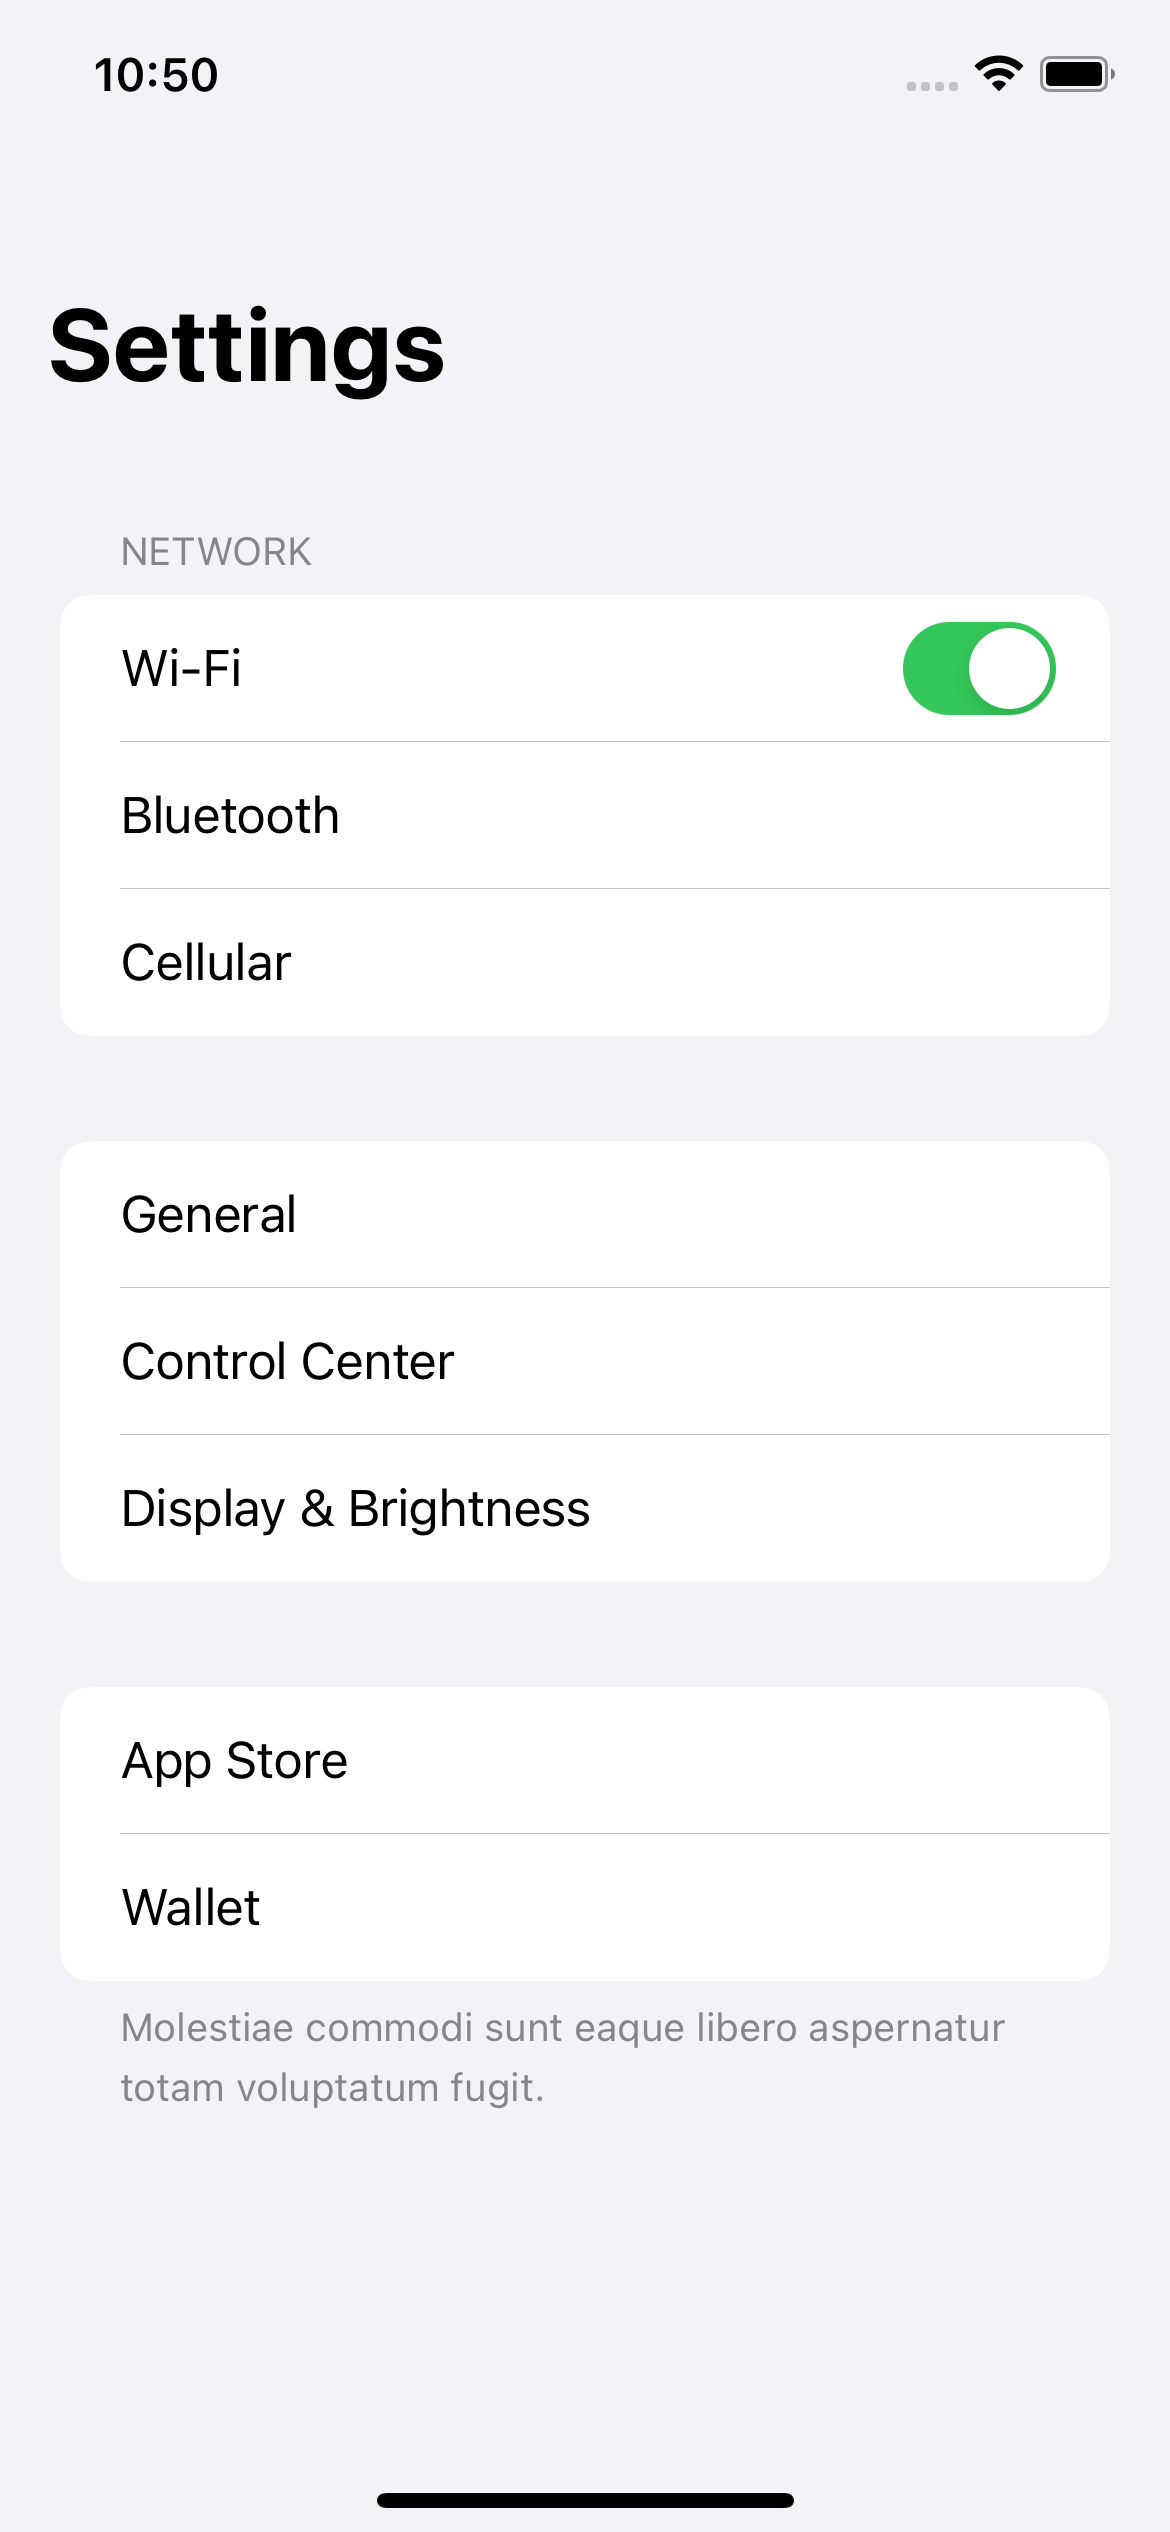
We can use Section to group items into a separate section.
The List view will give a visual separation of each Section based on the list style
We try to replicate the Settings app using a list view. We create a list with three sections.
NavigationView {
    List {
        // 1
        Section("Network") {
            Toggle("Wi-Fi", isOn: .constant(true))
            Text("Bluetooth")
            Text("Cellular")
        }
        // 2
        Section {
            Text("General")
            Text("Control Center")
            Text("Display & Brightness")
        }
        // 3
        Section(content: {
            Text("App Store")
            Text("Wallet")
        }, footer: {
            Text("Molestiae commodi sunt eaque libero aspernatur totam voluptatum fugit.")
        })
    }
    .navigationTitle("Settings")
}
1 Section with a header.
2 Section without a header.
3 Section with a footer.

You can easily support sarunw.com by checking out this sponsor.
Localization Buddy: Easiest way to localize and update App Store metadata.
List Styles
The List view has many styles to choose from. We can customize a list appearance using .listStyle(_:) modifier.
SwiftUI supports many styles that vary based on the platforms. For iOS, we have six options.
Automatic
Up to this point, we didn't specify any list style. In this case, SwiftUI will use the .automatic list style.
.automatic list style describe a platform's default appearance. Since it is platform-dependent, using .automatic on macOS and iOS might not yield the same appearance.
For iOS, the default list style (.automatic ) is .insetGrouped.
It is easier to visualize these styles than to describe them. Let's see the five styles in iOS.
Inset Grouped
List {
    Section("Network") {
        Toggle("Wi-Fi", isOn: .constant(true))
        Text("Bluetooth")
        Text("Cellular")
    }
    Section {
        Text("General")
        Text("Control Center")
        Text("Display & Brightness")
    }
    Section(content: {
        Text("App Store")
        Text("Wallet")
    }, footer: {
        Text("Molestiae commodi sunt eaque libero aspernatur totam voluptatum fugit.")
    })
}
// 1
.listStyle(.insetGrouped)
1 No listStyle, .listStyle(.automatic), and .listStyle(.insetGrouped) are the same in iOS.
Grouped
List {
    // ...
}
.listStyle(.grouped)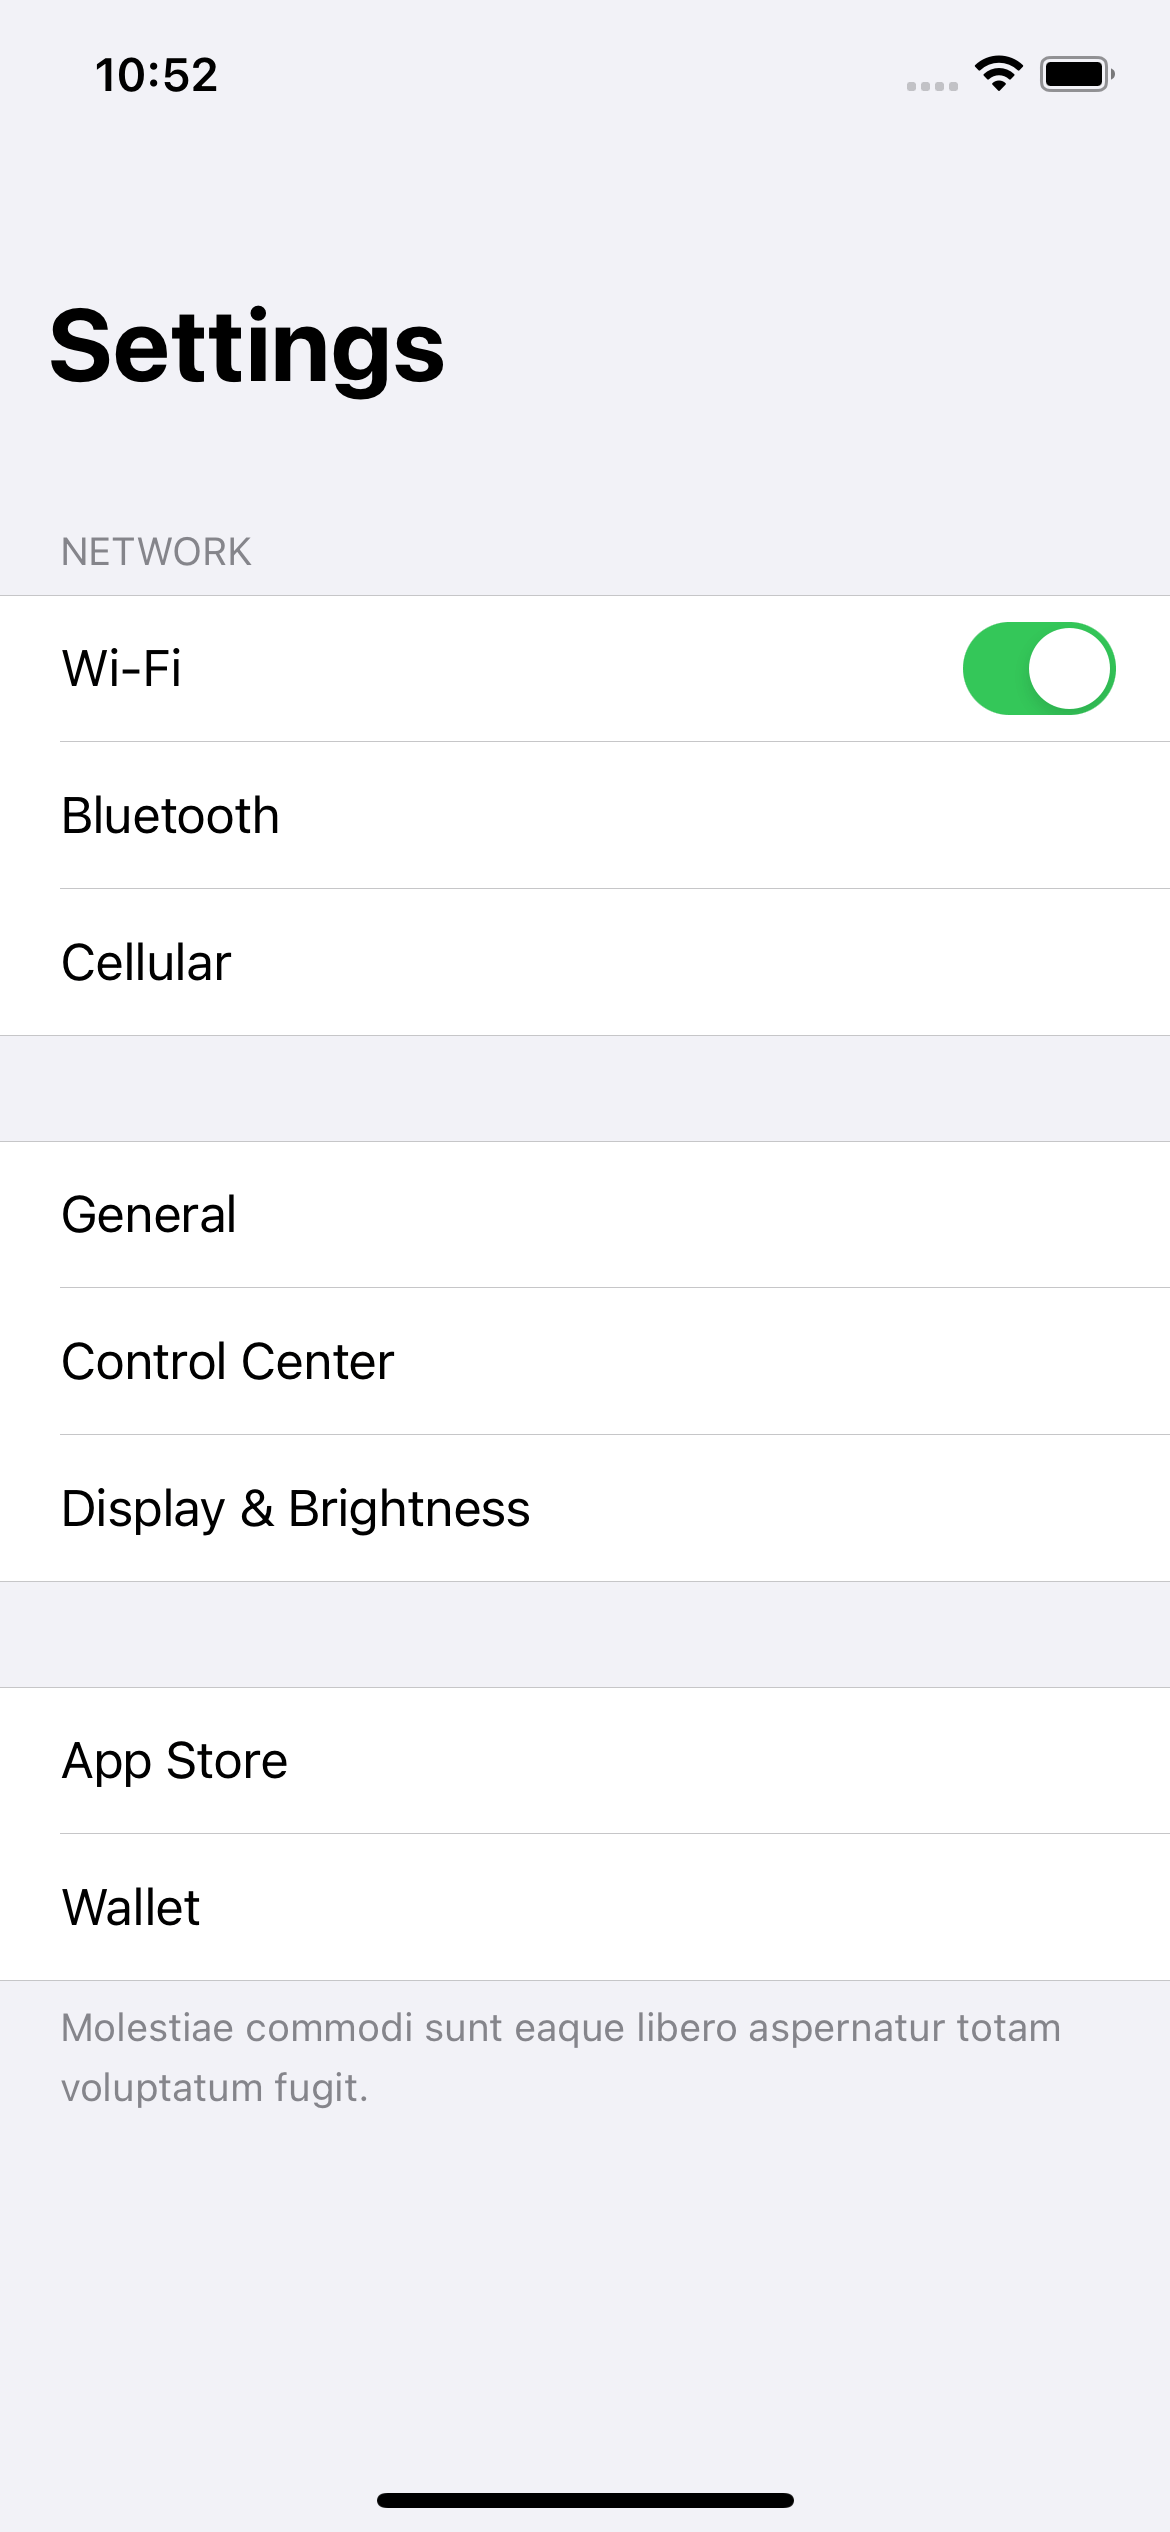
Inset
List {
    // ...
}
.listStyle(.inset)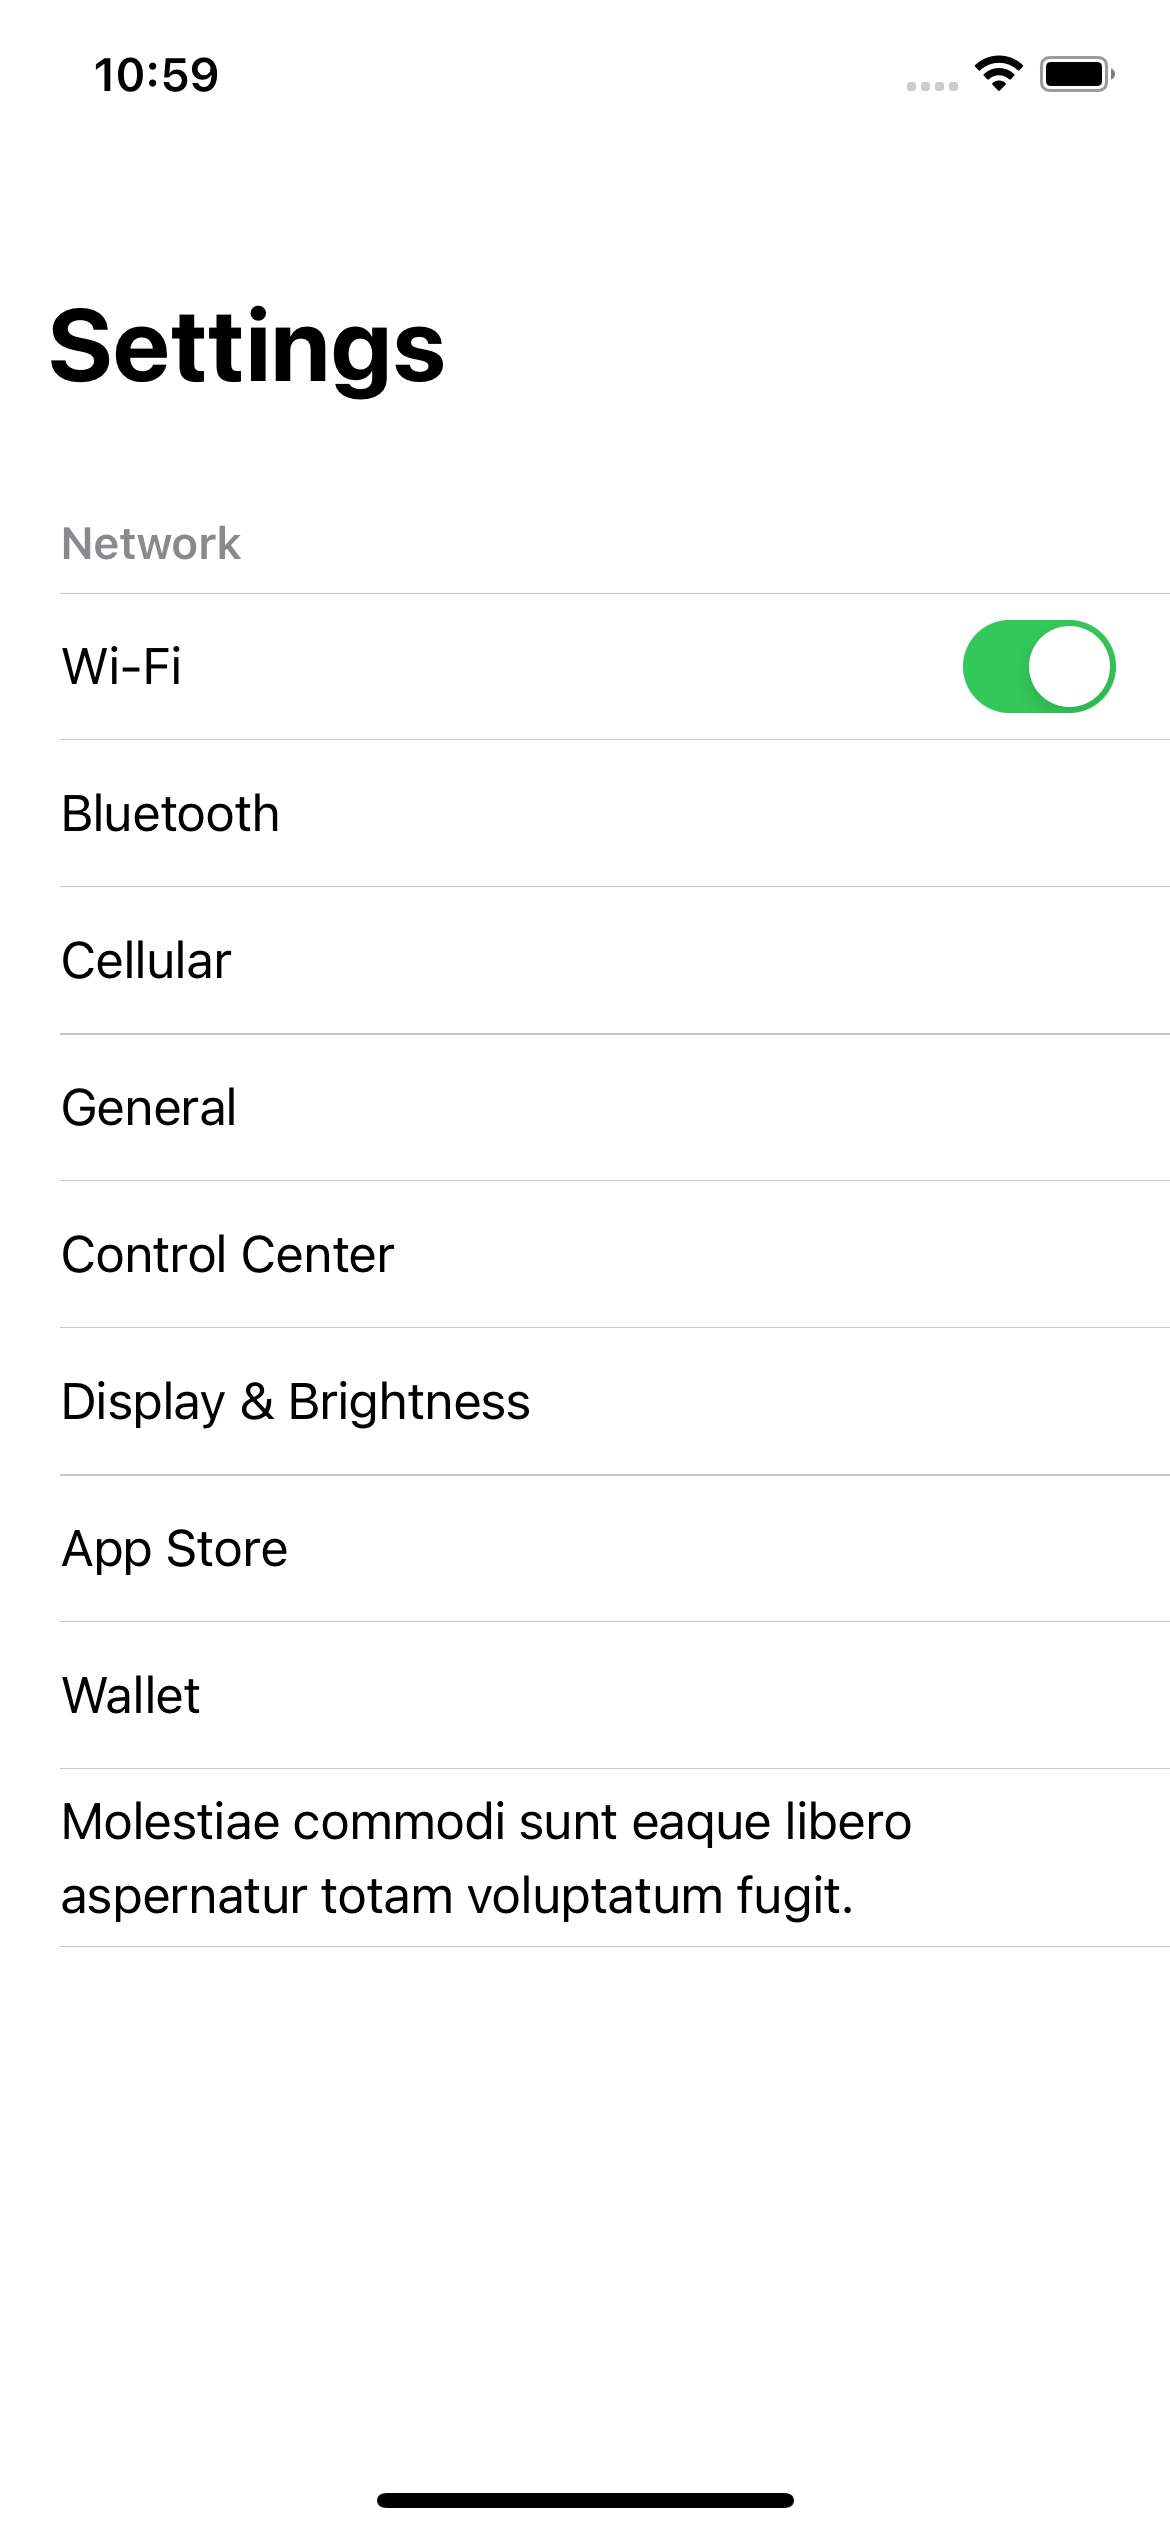
Plain
List {
    // ...
}
.listStyle(.plain)
Sidebar
The sidebar style comes equipped with a special function. On macOS and iOS, the sidebar list style displays disclosure indicators in the section headers (If you wrap your rows inside Section) that allow the user to collapse and expand sections.
List {
    // ...
}
.listStyle(.sidebar)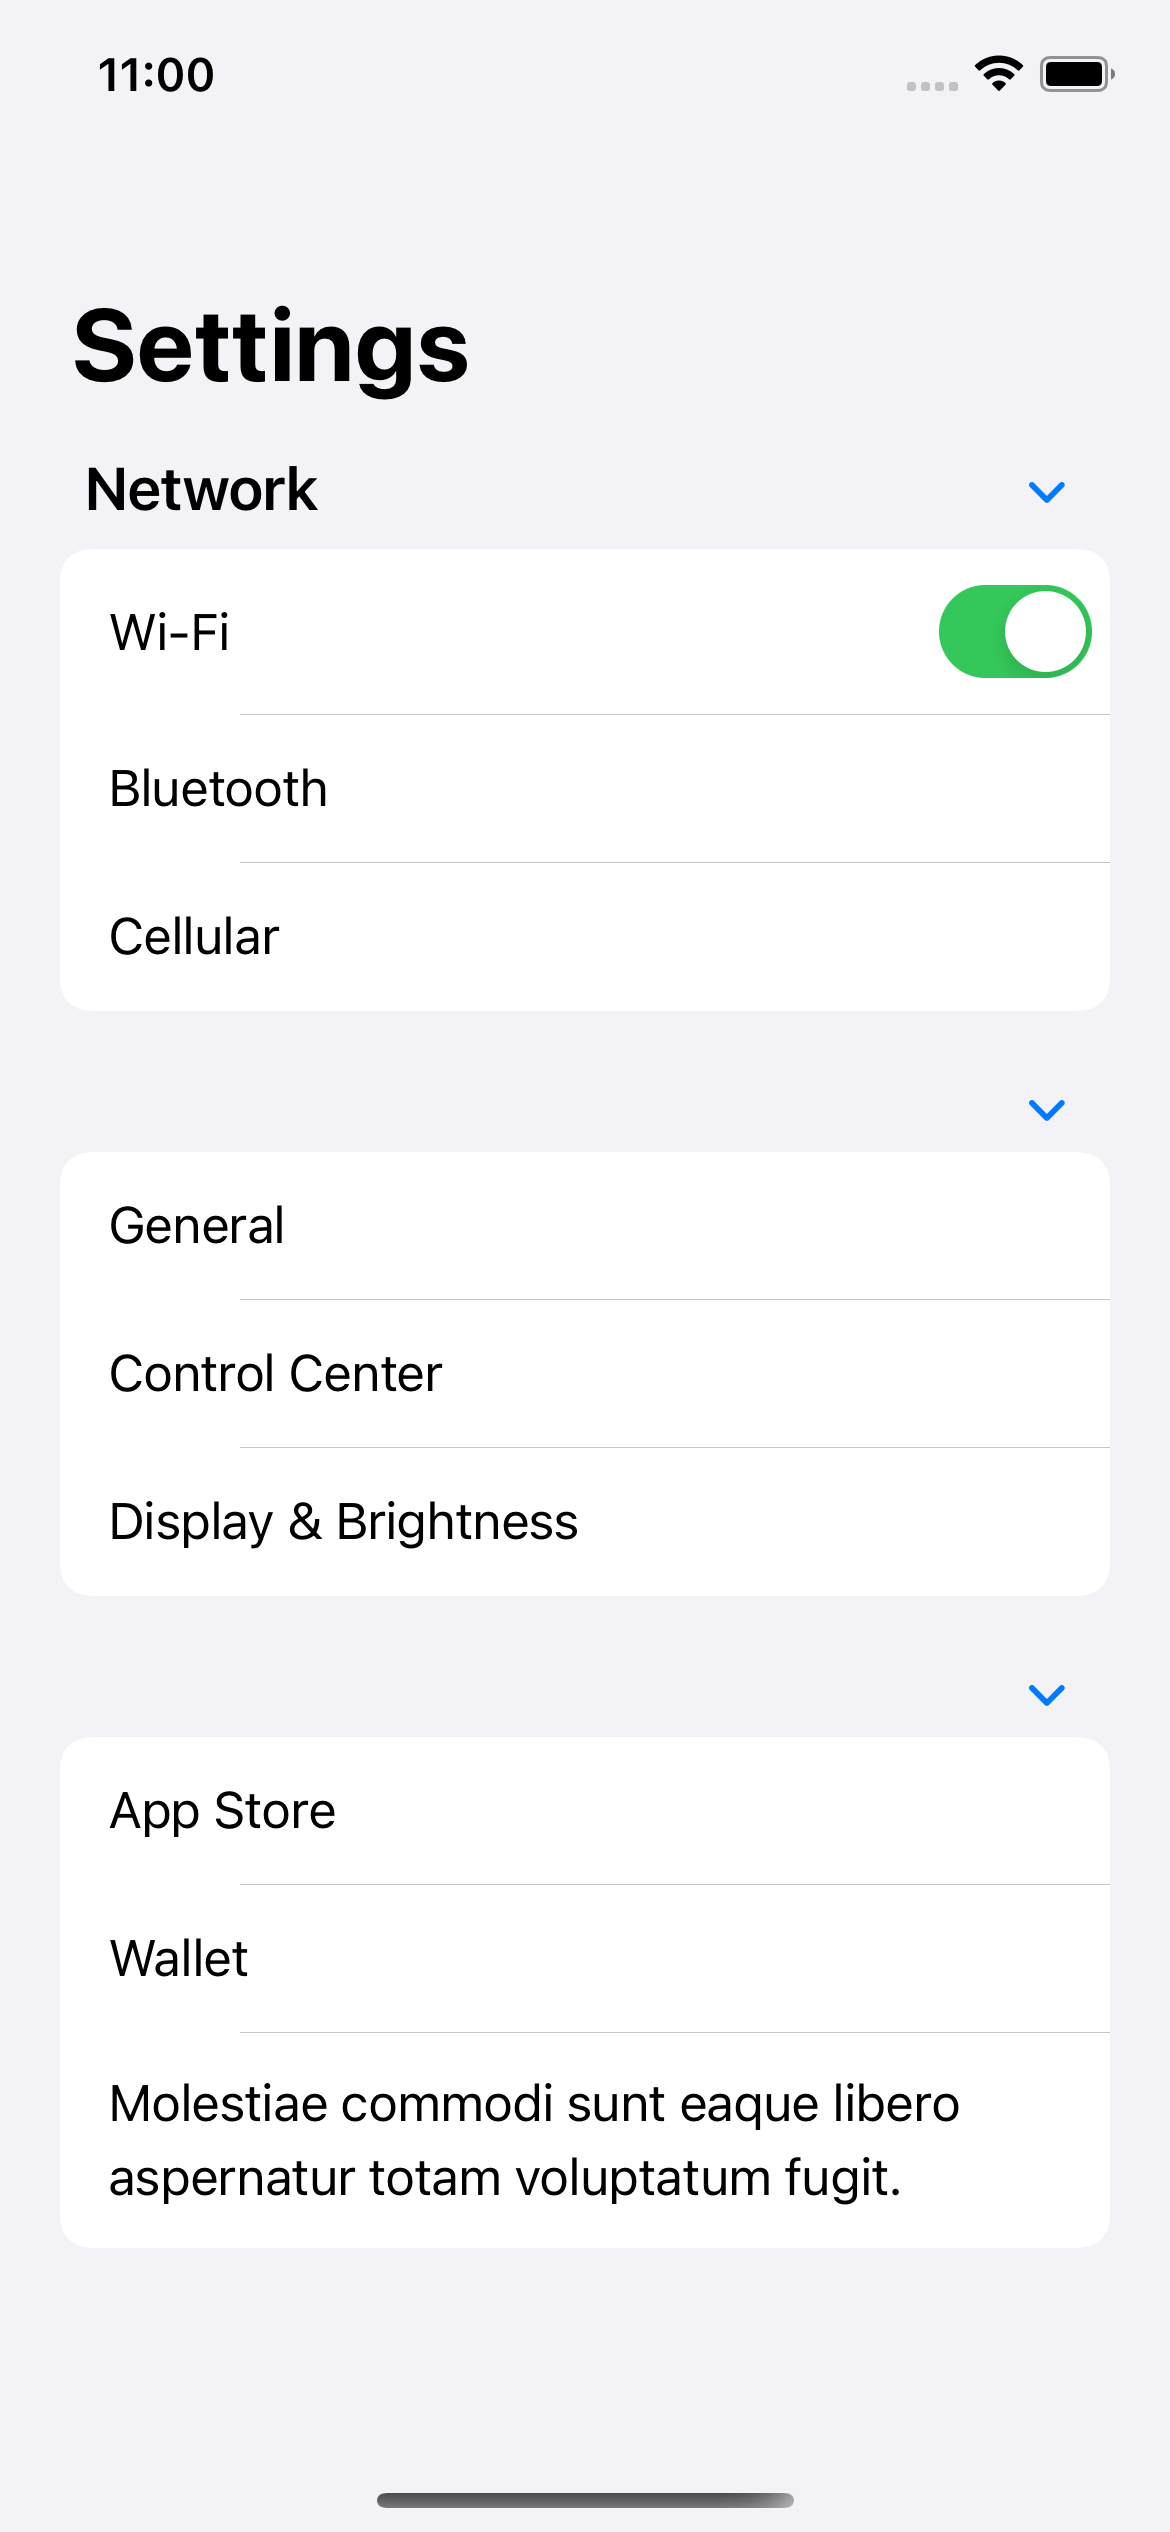
Tap on disclosure indicators in the section headers will collapse and expand that section.
Read more article about SwiftUI, List, or see all available topic
Enjoy the read?
If you enjoy this article, you can subscribe to the weekly newsletter.
Every Friday, you'll get a quick recap of all articles and tips posted on this site. No strings attached. Unsubscribe anytime.
Feel free to follow me on Twitter and ask your questions related to this post. Thanks for reading and see you next time.
If you enjoy my writing, please check out my Patreon https://www.patreon.com/sarunw and become my supporter. Sharing the article is also greatly appreciated.
Become a patron Buy me a coffee Tweet ShareHow to use UIViewController in SwiftUI
Learn how to use UIViewController as a SwiftUI view.
How to Show/hide whitespace characters in Xcode
Learn how to make whitespace characters visible in the Xcode editor and why we need them.