Enable and Disable SwiftUI List rows deletion on a specific row
Table of Contents
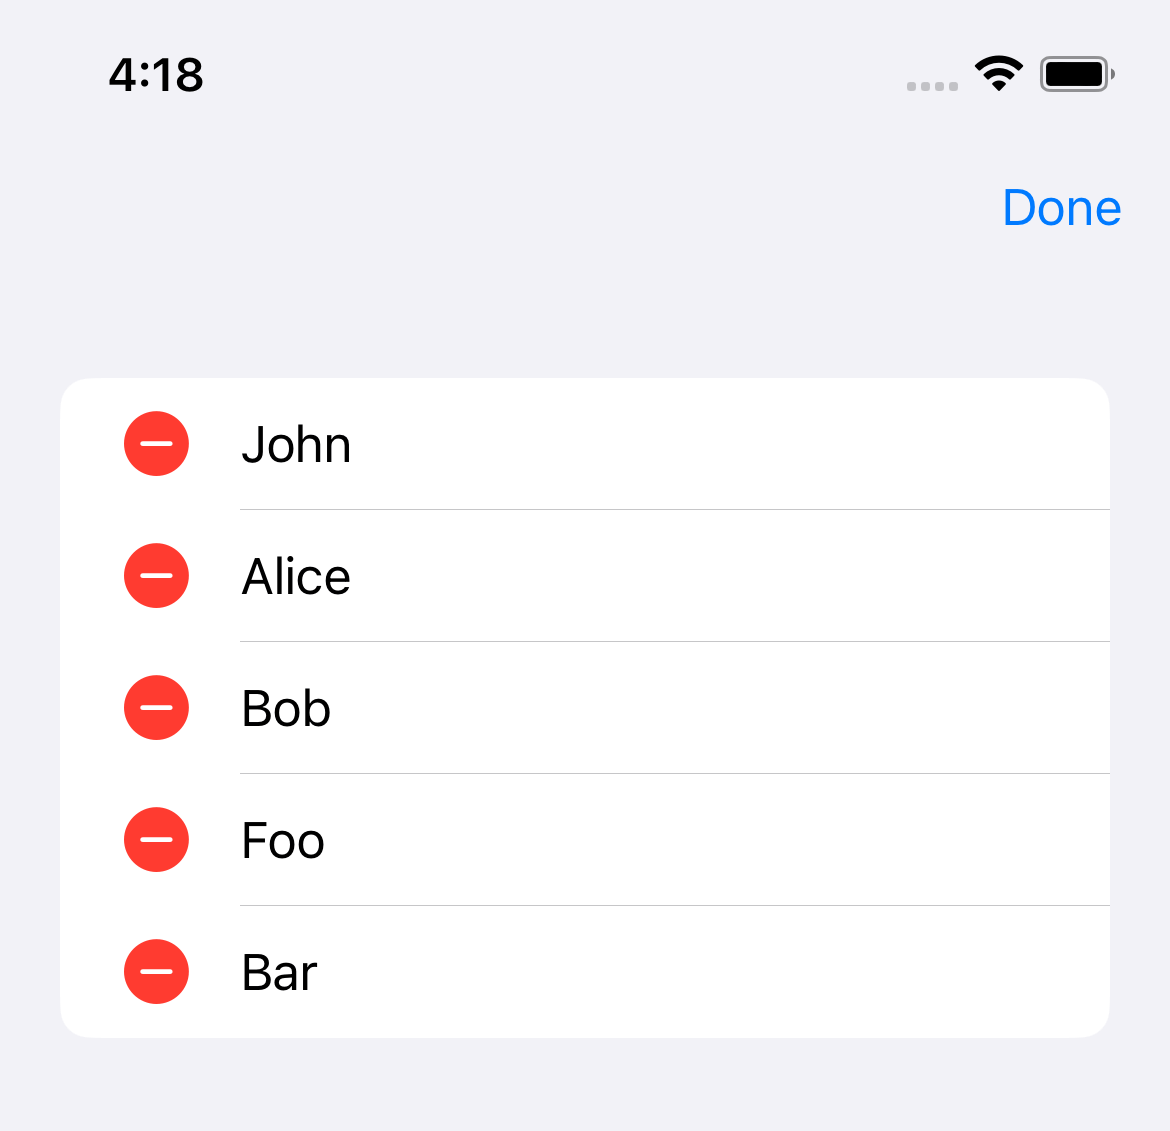
We can easily enable List row deletion in SwiftUI by attaching .onDelete modifier to the list content.
struct ContentView: View {
    @State private var contacts = [...]

    var body: some View {
        NavigationView {
            List {
                ForEach(contacts) { contact in
                    Text(contact.name)
                }.onDelete { indexSet in
                    contacts.remove(atOffsets: indexSet)
                }
            }
            .toolbar {
                EditButton()
            }
        }
    }
}
This will enable item deletion on every row. If you want to disable item deletion on some rows, you can do that by using deleteDisabled(_:) on that particular row.
You can easily support sarunw.com by checking out this sponsor.
AI Paraphrase:Are you tired of staring at your screen, struggling to rephrase sentences, or trying to find the perfect words for your text?
How to disable item deletion on a specific row
To disable item deletion on a particular row, you might want to add a new property in your data model.
In this case, I have a readOnly flag in my model to indicate that it can't be deleted.
struct Contact: Identifiable {
    let id = UUID()
    let name: String
    let readOnly: Bool
}
Then mark the item that you want to disable item deletion by setting readOnly to true.
@State private var contacts = [
Contact(name: "John", readOnly: false),
Contact(name: "Alice", readOnly: true),
Contact(name: "Bob", readOnly: true),
Contact(name: "Foo", readOnly: false),
Contact(name: "Bar", readOnly: false)
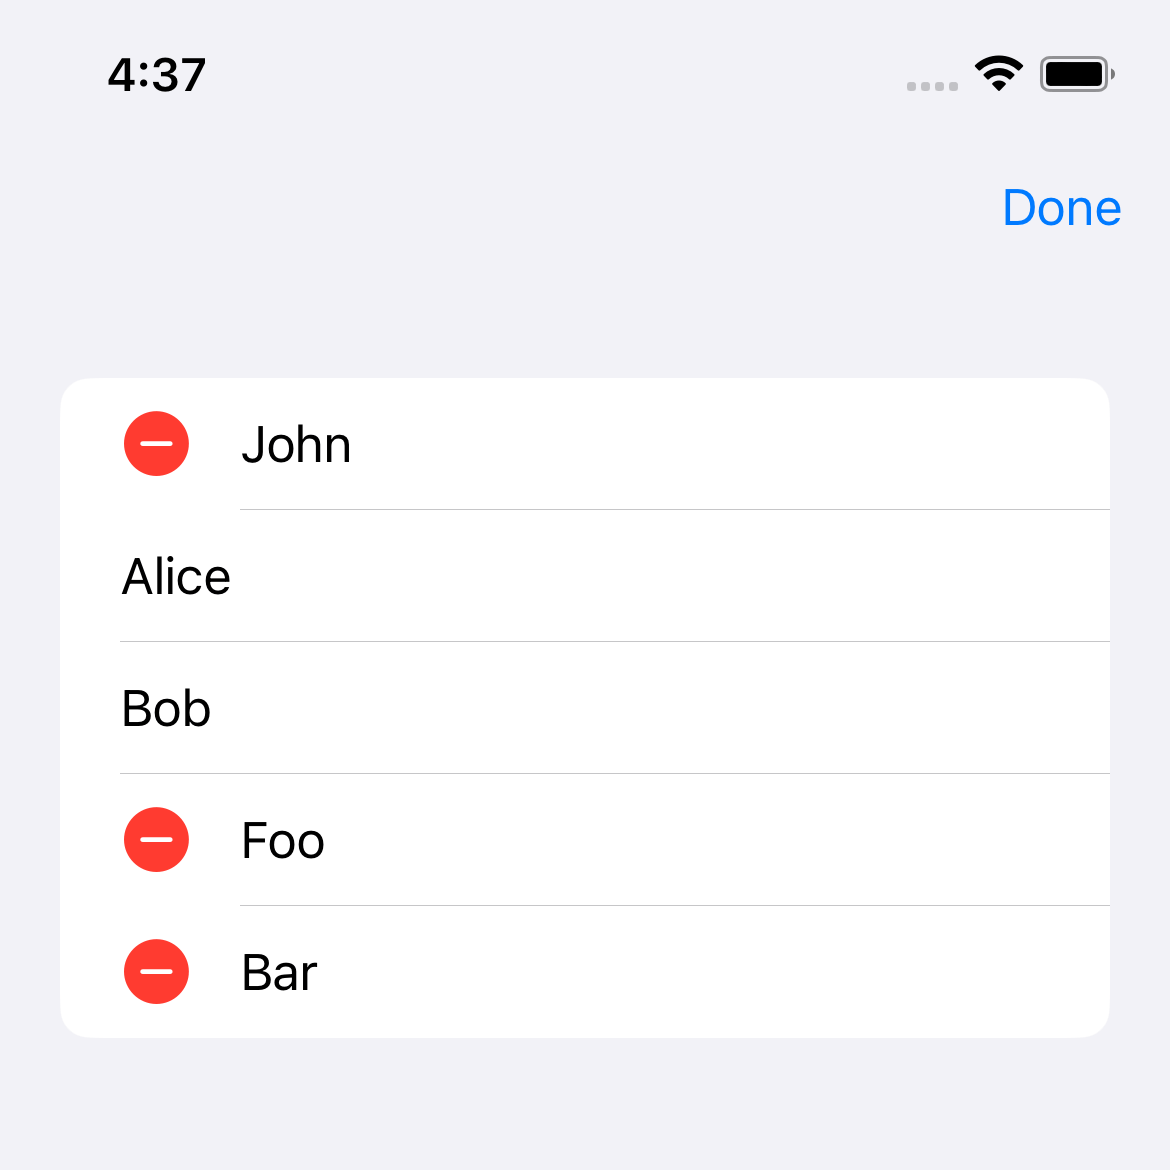
]Then inside each row, you use that readOnly flag to set .deleteDisabled(contact.readOnly) modifier.
struct ContentView: View {
    @State private var contacts = [
        Contact(name: "John", readOnly: false),
        Contact(name: "Alice", readOnly: true),
        Contact(name: "Bob", readOnly: true),
        Contact(name: "Foo", readOnly: false),
        Contact(name: "Bar", readOnly: false)
    ]

    var body: some View {
        NavigationView {
            List {
                ForEach(contacts) { contact in
                    Text(contact.name)
                        .deleteDisabled(contact.readOnly)
                }.onDelete { indexSet in
                    contacts.remove(atOffsets: indexSet)
                }
            }
            .toolbar {
                EditButton()
            }
        }
    }
}
Rerun the app, and the rows with .deleteDisabled set to true won't have a deletion UI.
Read more article about SwiftUI, List, or see all available topic
Enjoy the read?
If you enjoy this article, you can subscribe to the weekly newsletter.
Every Friday, you'll get a quick recap of all articles and tips posted on this site. No strings attached. Unsubscribe anytime.
Feel free to follow me on Twitter and ask your questions related to this post. Thanks for reading and see you next time.
If you enjoy my writing, please check out my Patreon https://www.patreon.com/sarunw and become my supporter. Sharing the article is also greatly appreciated.
Become a patron Buy me a coffee Tweet ShareHow to initialize final variables in Dart
Learn four different ways to initialize final variables in Dart.
How to join an Array of strings into a Single string in Swift
Learn how to turn ["John", "Alice", "Bob"] into "John, Alice, Bob".