Using ForEach in SwiftUI List
Table of Contents
You can use ForEach inside a List view in SwiftUI, but when should we use it? Let's learn in which cases we should use ForEach.
There are many ways that we can create a List view in SwiftUI.
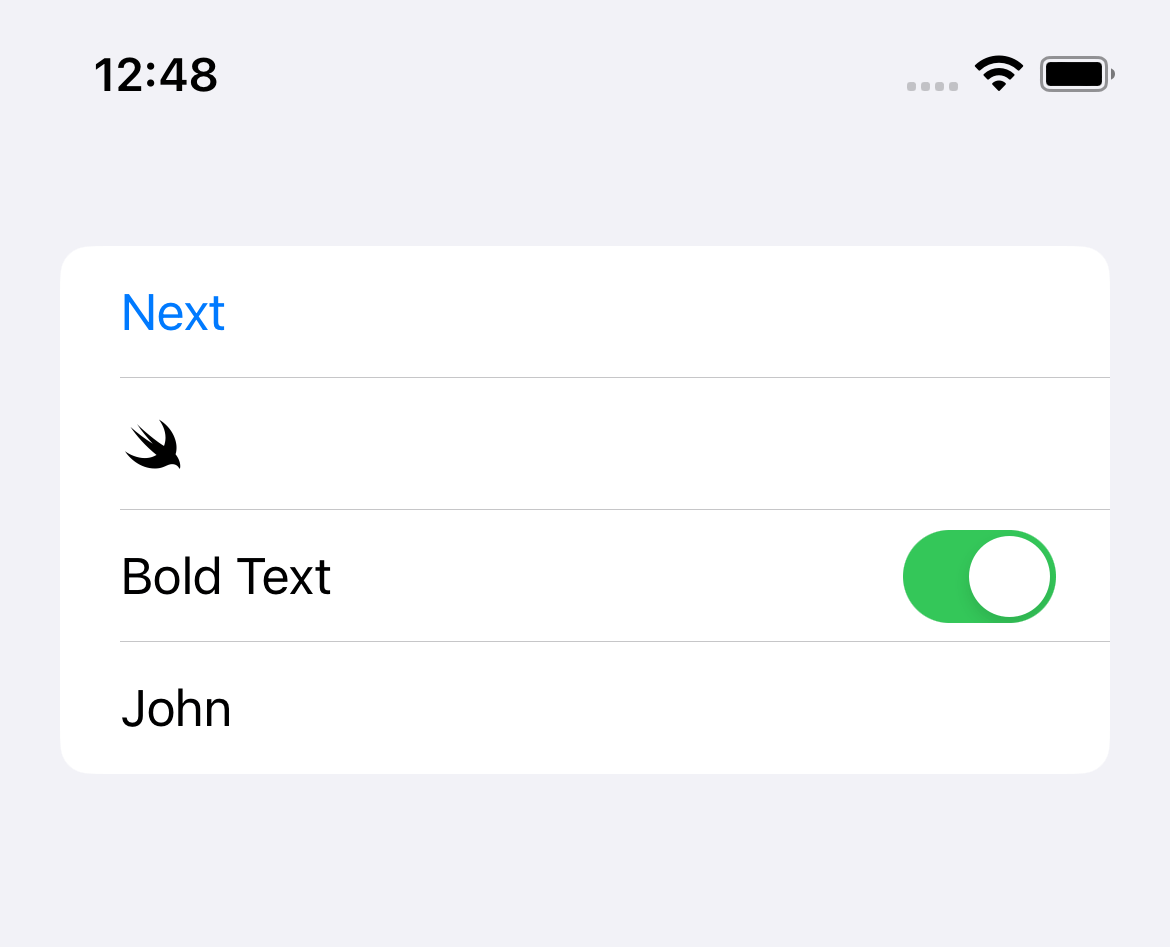
You can populate it with individual views.
List {
    Button("Next") {

    }
    Image(systemName: "swift")
    Toggle("Bold Text", isOn: .constant(true))
    Text("John")
}
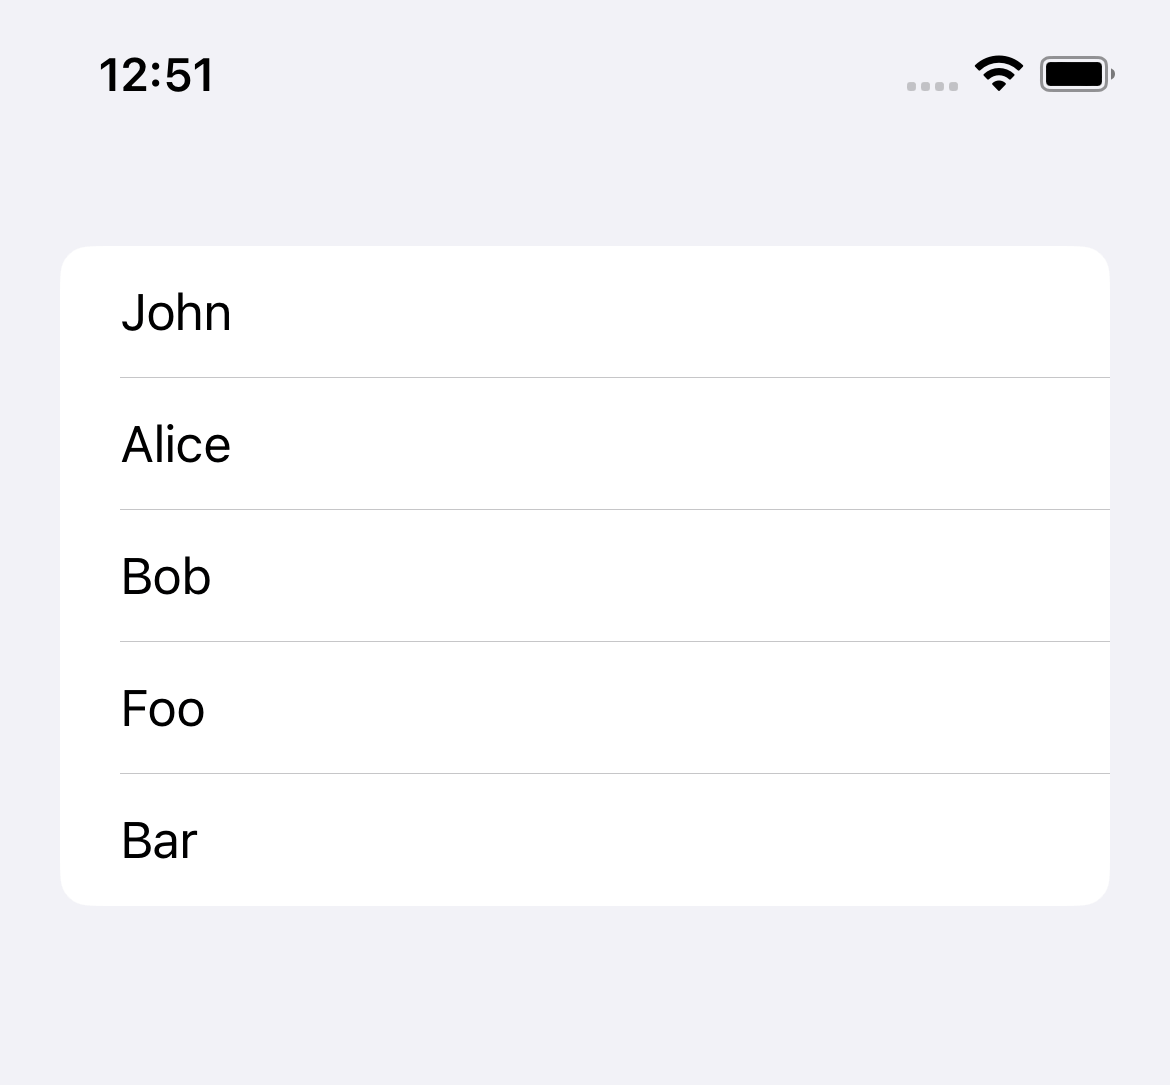
You can populate it with an array of data.
struct ContentView: View {
    let contacts = [
        "John",
        "Alice",
        "Bob",
        "Foo",
        "Bar"
    ]

    var body: some View {
        List(contacts, id: \.self) { contact in
            Text(contact)
        }
    }
}
And you can also populate it using ForEach.
struct ContentView: View {
    let contacts = [
        "John",
        "Alice",
        "Bob",
        "Foo",
        "Bar"
    ]

    var body: some View {
        List {
            ForEach(contacts, id: \.self) { contact in
                Text(contact)
            }
        }
    }
}
As you can see, we can use ForEach inside a List view as a way to populate the content.
But a List view also has an identical initializer that populates its content from an array of data.
List {
    ForEach(contacts, id: \.self) { contact in
        Text(contact)
    }
}
// vs.
List(contacts, id: \.self) { contact in
    Text(contact)
}
The question here is when should we use ForEach in a List view?
When do you need ForEach in a List view
We use ForEach for a list view with a complex row structure.
For a simple list view like our previous example, we might not need ForEach. But if you have a complex list view structure, ForEach is there to help.
I can give you two examples of complex list view structures.
Two-dimensional Lists
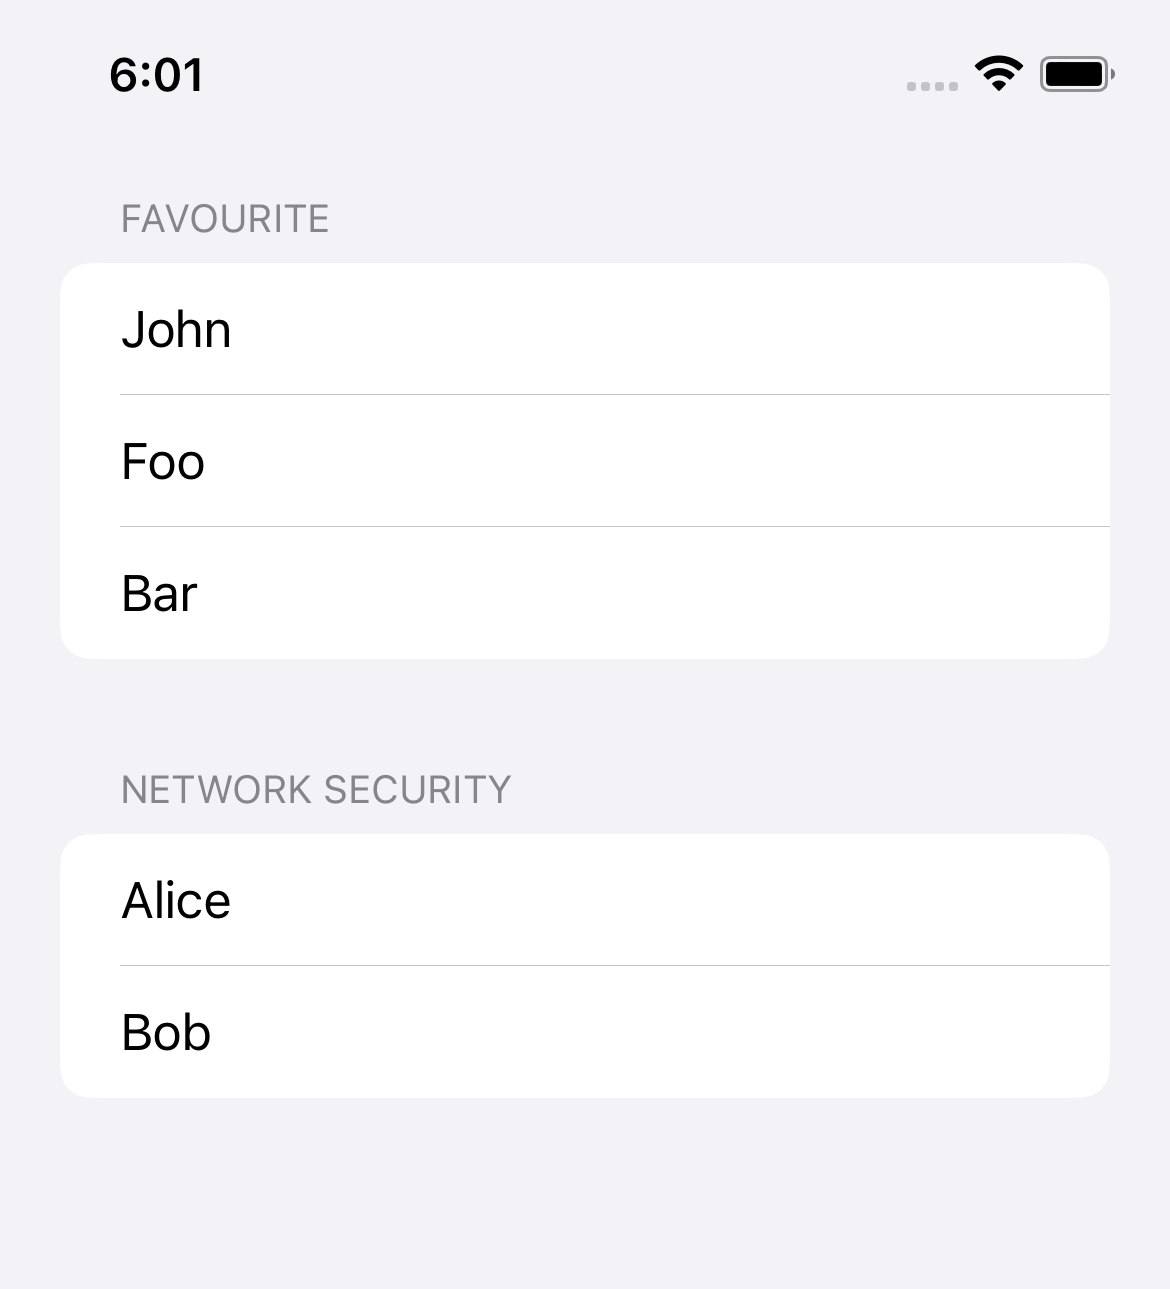
If you have two-dimensional lists or data that you want to present in a different Section, you will need ForEach.
The following example creates list sections after ContactGroup. Each group contains a list of Contact.
struct ContactGroup: Identifiable {
    let id = UUID()
    let name: String
    let contacts: [Contact]
}

struct Contact: Identifiable {
    let id = UUID()
    let name: String
}

struct ContentView: View {
    // 1
    let contactGroups: [ContactGroup] = [
        ContactGroup(
            name: "Favourite",
            contacts: [
                Contact(name: "John"),
                Contact(name: "Foo"),
                Contact(name: "Bar")
            ]),
        ContactGroup(
            name: "Network Security",
            contacts: [
                Contact(name: "Alice"),
                Contact(name: "Bob")
            ]),

    ]

    var body: some View {
        // 2
        List(contactGroups) { group in
            Section {
                // 3
                ForEach(group.contacts) { contact in
                    Text(contact.name)
                }
            } header: {
                Text(group.name)
            }
        }
    }
}
1 We have a nested structure array where each element in an array also contain another array.
2 We create a list from a contactGroups array.
3 But we want to use ContactGroup as a section, so we need to use ForEach for the inner loop over group.contacts.
Here is the result.

List with both Static and Dynamic data
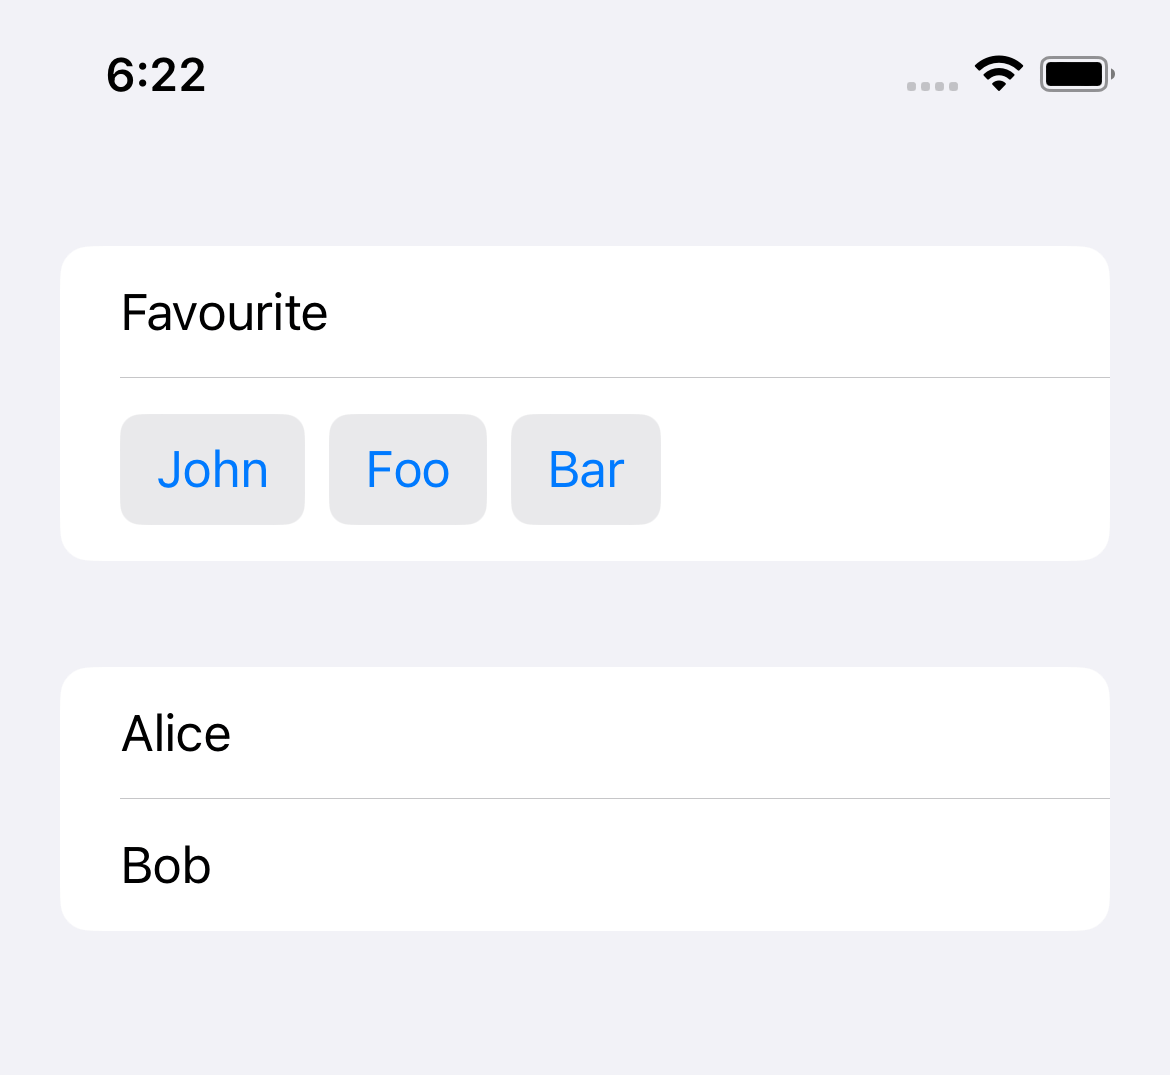
Another scenario where you want to use ForEach inside a list view is when you have a custom list structure that contains both Static and Dynamic data.
In the following example, we have two types of Contact.
- Favourite contacts.
- Non-favourite contacts.
We want to present the favorite ones horizontally while present the rest in a normal list.
struct ListForEachExample2: View {
    let favourite = [
        Contact(name: "John"),
        Contact(name: "Foo"),
        Contact(name: "Bar")
    ]

    let contacts = [
        Contact(name: "Alice"),
        Contact(name: "Bob")
    ]

    var body: some View {
        List {
            // 1
            Text("Favourite")
            HStack {
                ForEach(favourite) { contact in
                    Button(contact.name) {

                    }
                    .buttonStyle(.bordered)
                }
            }
            // 2
            Section {
                ForEach(contacts) { contact in
                    Text(contact.name)
                }
            }
        }
    }
}
1 The first section is where we want to be creative. We put favourite contacts inside HStack to make it render horizontally.
2 For the rest of the data, contacts, we present them as a normal list row.

You can easily support sarunw.com by checking out this sponsor.

Localization Buddy: Easiest way to localize and update App Store metadata.
Conclusion
A List view has a convenient method of presenting data collection in a unified way.
But if you want to customize its appearance in other ways, that's when you need ForEach.
Read more article about SwiftUI, List, ForEach, or see all available topic
Enjoy the read?
If you enjoy this article, you can subscribe to the weekly newsletter.
Every Friday, you'll get a quick recap of all articles and tips posted on this site. No strings attached. Unsubscribe anytime.
Feel free to follow me on Twitter and ask your questions related to this post. Thanks for reading and see you next time.
If you enjoy my writing, please check out my Patreon https://www.patreon.com/sarunw and become my supporter. Sharing the article is also greatly appreciated.
Become a patron Buy me a coffee Tweet ShareDisable scrolling in SwiftUI ScrollView and List
In iOS 16, SwiftUI finally got a new modifier to disable scrolling in ScrolView and List.
How to remove the SwiftUI List Row separators
In iOS 15, we can remove a List row separator. Let's learn how to do it.