Xcode Previews: What is it, and how to use it
Table of Contents
In this article, we will briefly introduce Xcode Previews by answering the following questions.
What is Xcode Preview
Xcode Preview was a feature in Xcode that can generates previews for a SwiftUI view, UIView, or UIViewController without a need to build and run the whole app.
Xcode Preview was introduced at the same time when Apple introduced the SwiftUI framework in WWDC 2019.
Since SwiftUI has no storyboard, we can't debug a view as we did with Interface Builder.
I think the primary purpose of Xcode Previews is to substitute what Interface Builder does on UIKit.
But Xcode Previews is much more powerful. You can see an update in real-time and even interact with it.
Here is an example of a simple counter app.
As you can see,
- The UI updates when the code updates.
- And you can tap the button to see how it works.
You can easily support sarunw.com by checking out this sponsor.
Offline Transcription: Fast, privacy-focus way to transcribe audio, video, and podcast files. No data leaves your Mac.
How to create Xcode Previews
You need to import the SwiftUI module to create a preview.
That's because the PreviewProvider, which is a type that produces previews in Xcode, is defined in SwiftUI.
To create an Xcode preview:
- You need to declare a
structthat conforms to thePreviewProviderprotocol. - Return a view you want to preview from the static computed property,
previews. This is the only required property in thePreviewProviderprotocol.
struct ContentView: View {
    var body: some View {
        VStack {
            Image(systemName: "globe")
            Text("Hello, world!")
        }
        .font(.largeTitle)
        .padding()
    }
}
// 1
struct ContentView_Previews: PreviewProvider {
    // 2
    static var previews: some View {
        // 3
        ContentView()
    }
}
1 We create a new struct that conforms to the PreviewProvider protocol. You can name it whatever you want.
2 PreviewProvider protocol required us to implement the previews computed property.
3 We return a view that we want to preview from the previews computed property.
Xcode automatically discovers preview providers in your project and generates previews for any providers currently open in the source editor.
How to open Preview in Xcode
Normally, Xcode preview will show side-by-side with your source editor.
But if it doesn't show up, you might accidentally close it.
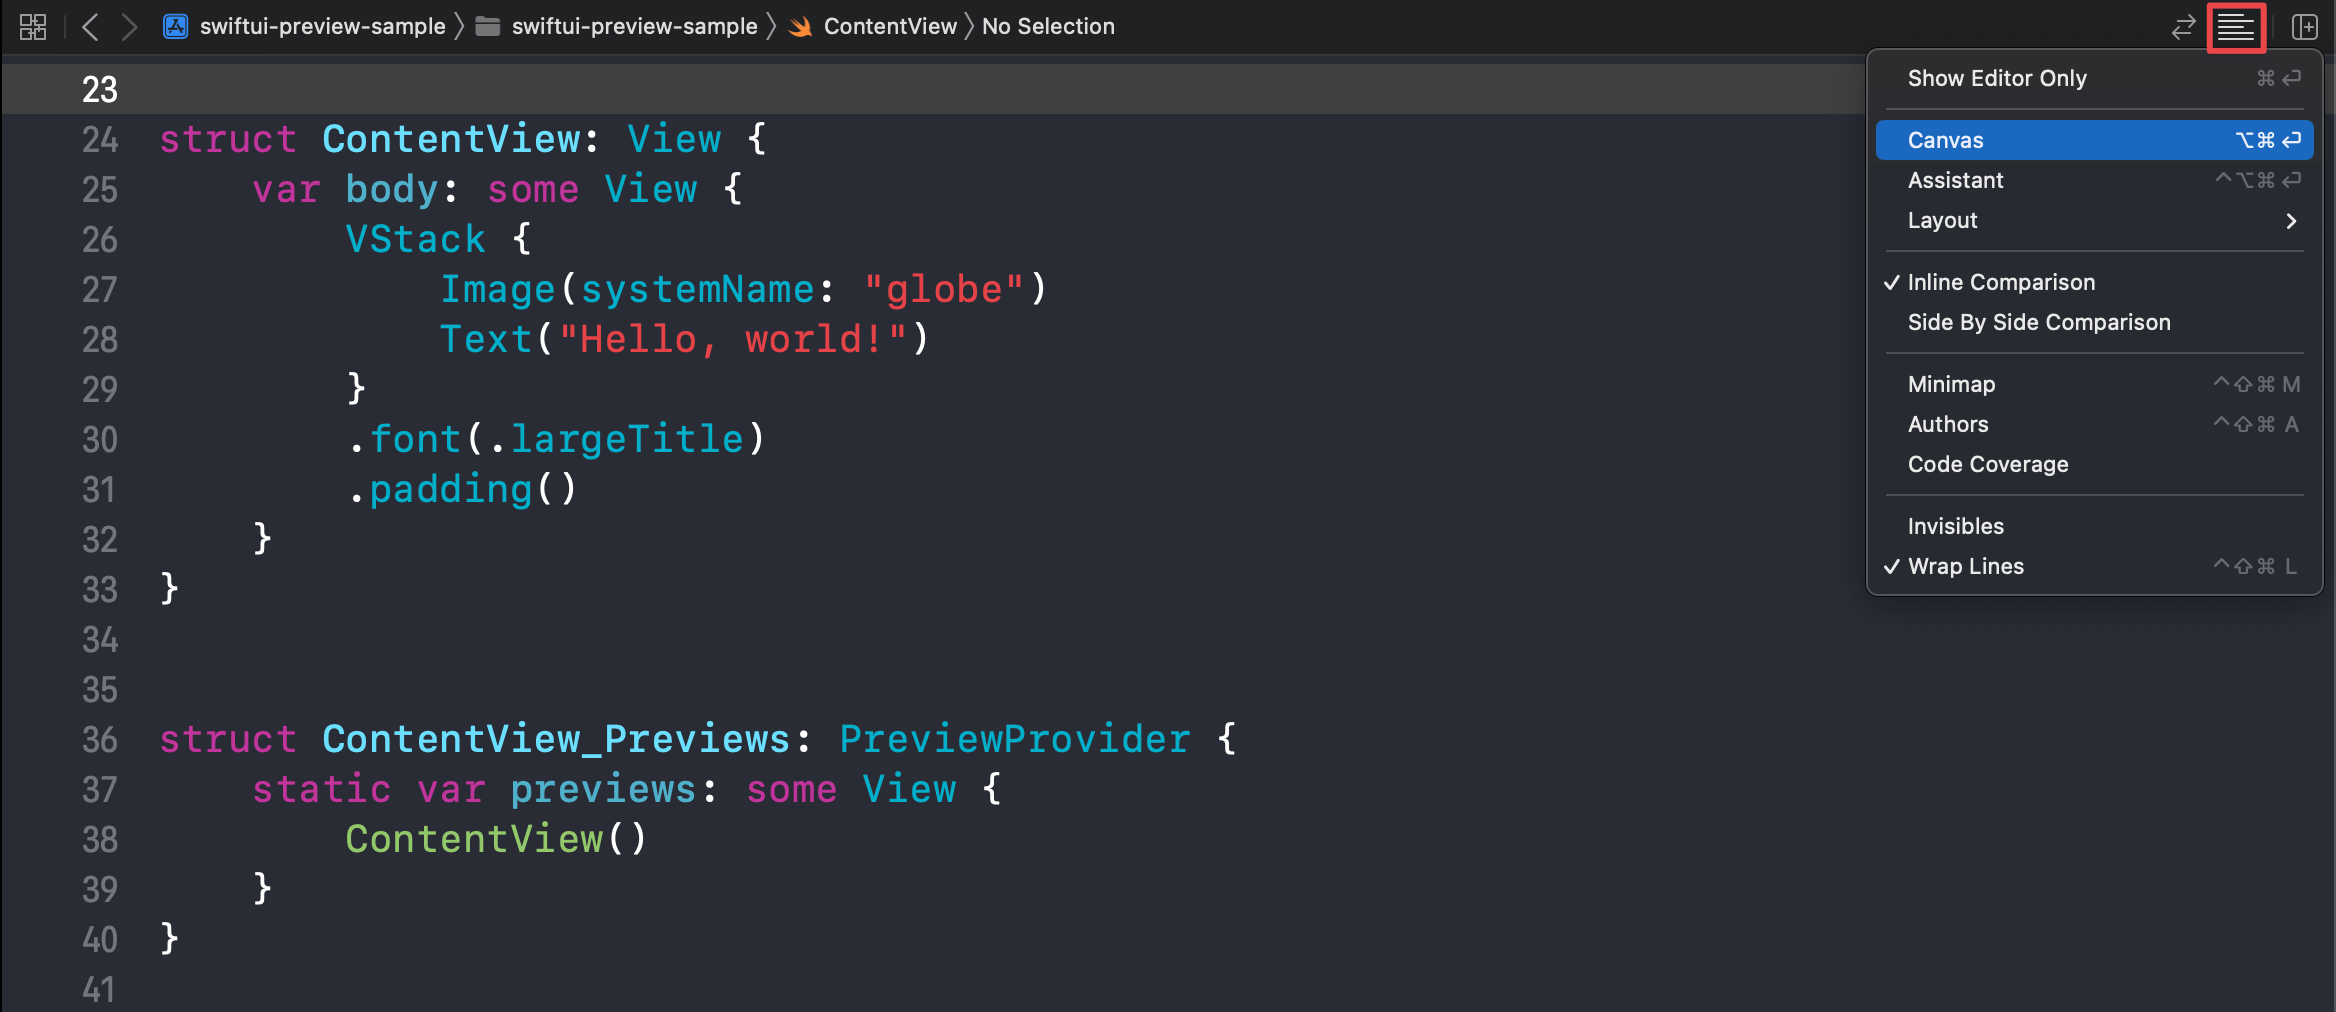
There are many ways to reopen the Xcode preview (Xcode calls this Canvas) as follows:
- ⌘ - command + ⌥ – Option + ⏎ Return.
- Toggle the Canvas editor on in Editor Menu > Canvas.
- Click on "Adjust Editor Options", then select "Canvas".
You can easily support sarunw.com by checking out this sponsor.
Offline Transcription: Fast, privacy-focus way to transcribe audio, video, and podcast files. No data leaves your Mac.
How to use Xcode Previews
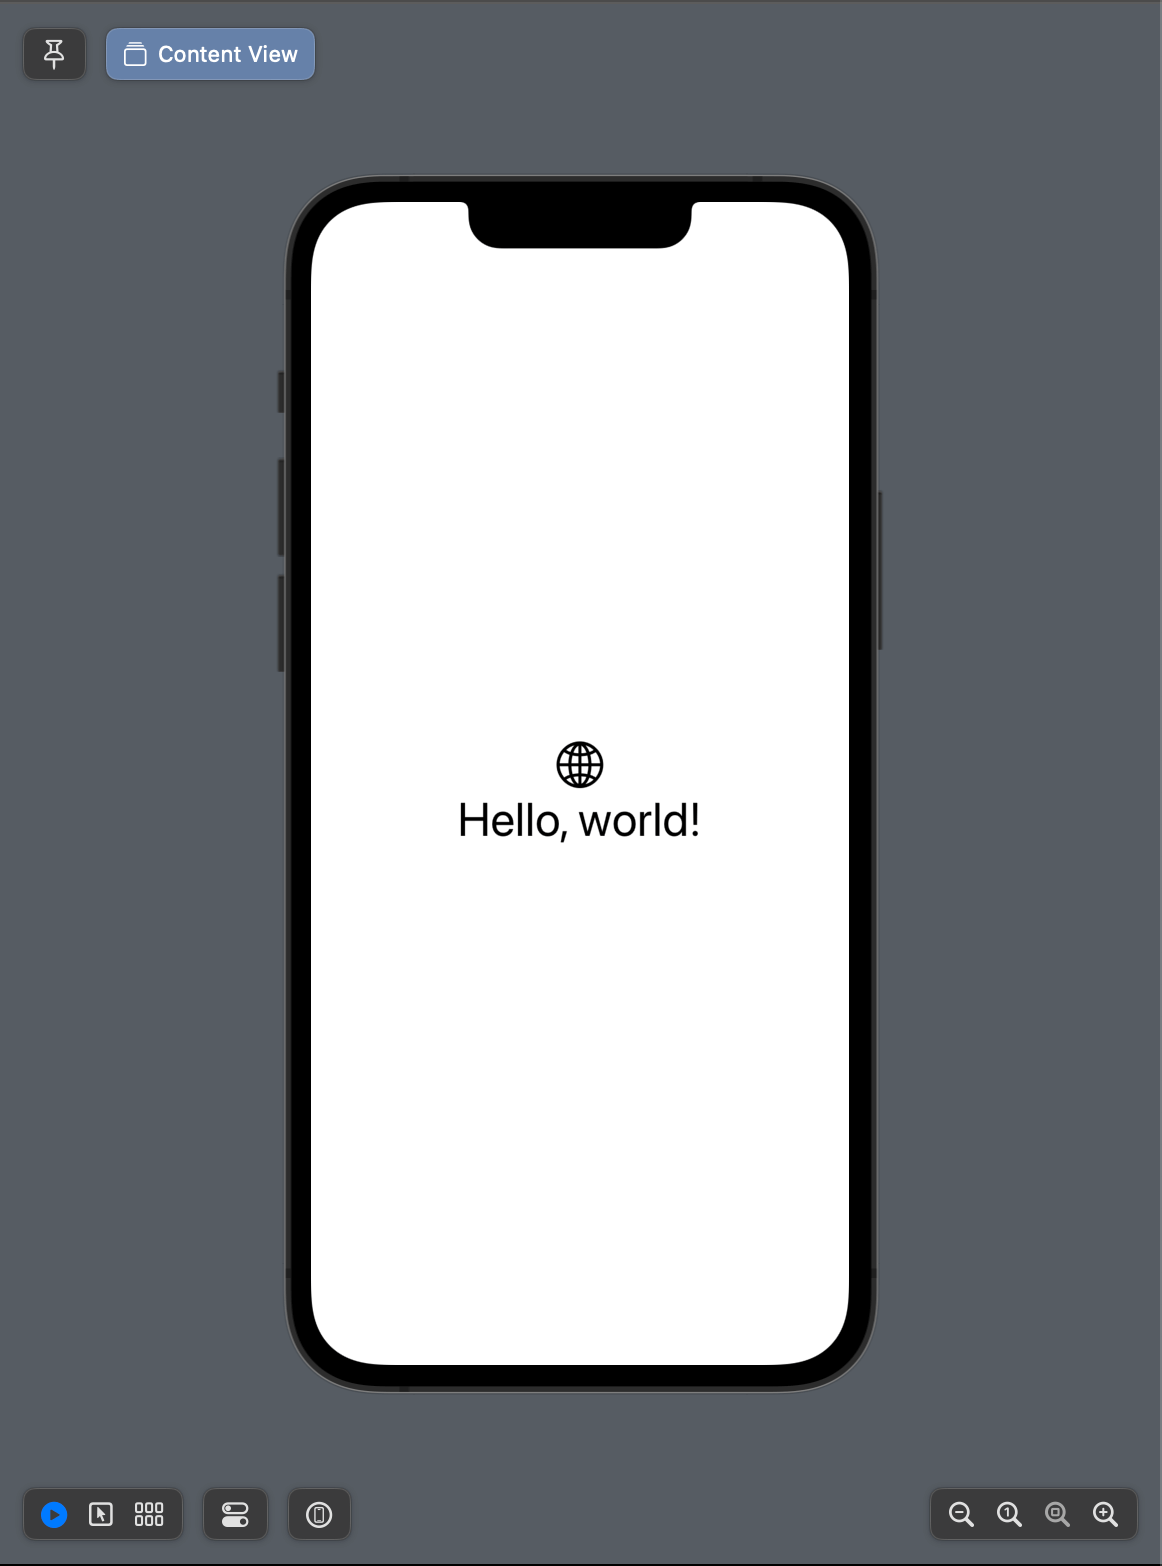
When you open the Canvas editor, you will see a screen like this.
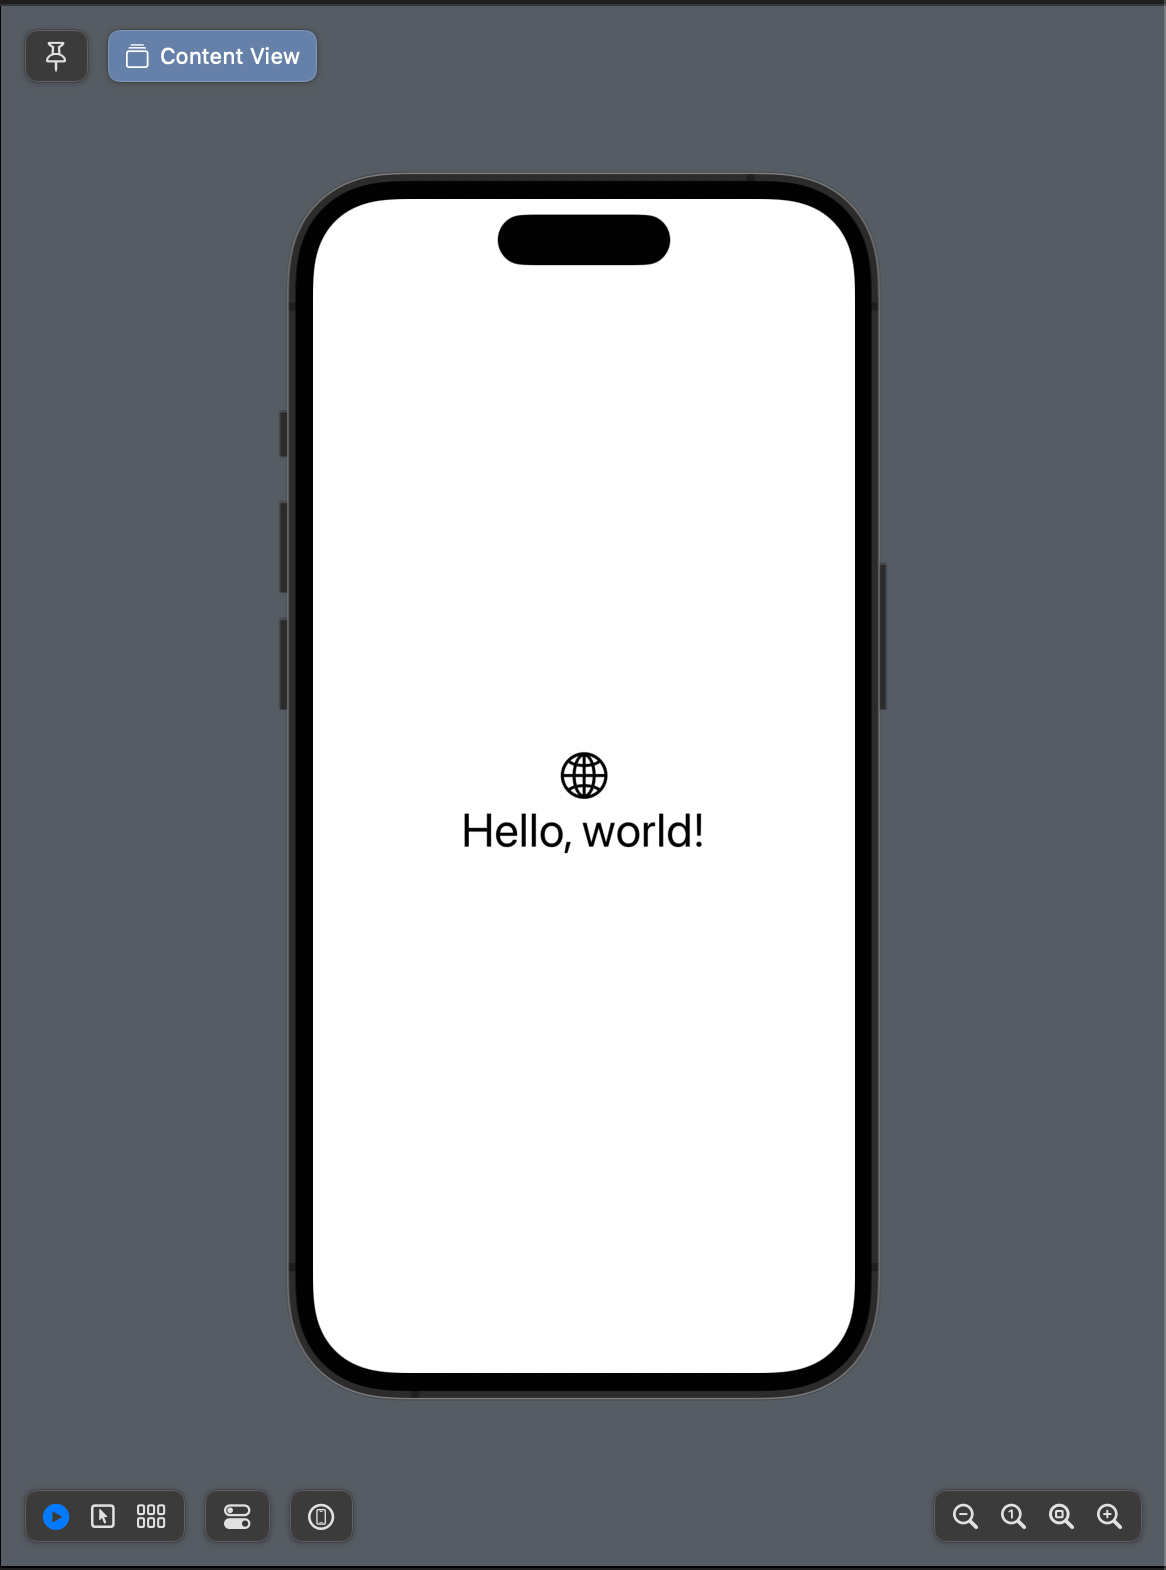
This is where you can control many aspects of the Xcode Previews. I will go through each control one by one.
Zoom level
You can control a zoom level using the control on the bottom right.
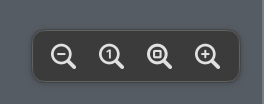
Here is each control from left to right.
- Zoom out
- Zoom to 100%
- Zoom to fit (See the whole device)
- Zoom in
Preview on Device
Preview on Device allows you to preview a view on a physical device.
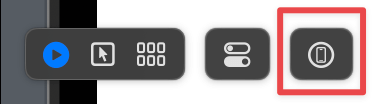
After selecting the Preview on Device button, the currently active preview will show on your device.
You can think of this as a way to build and run a single view on your device.
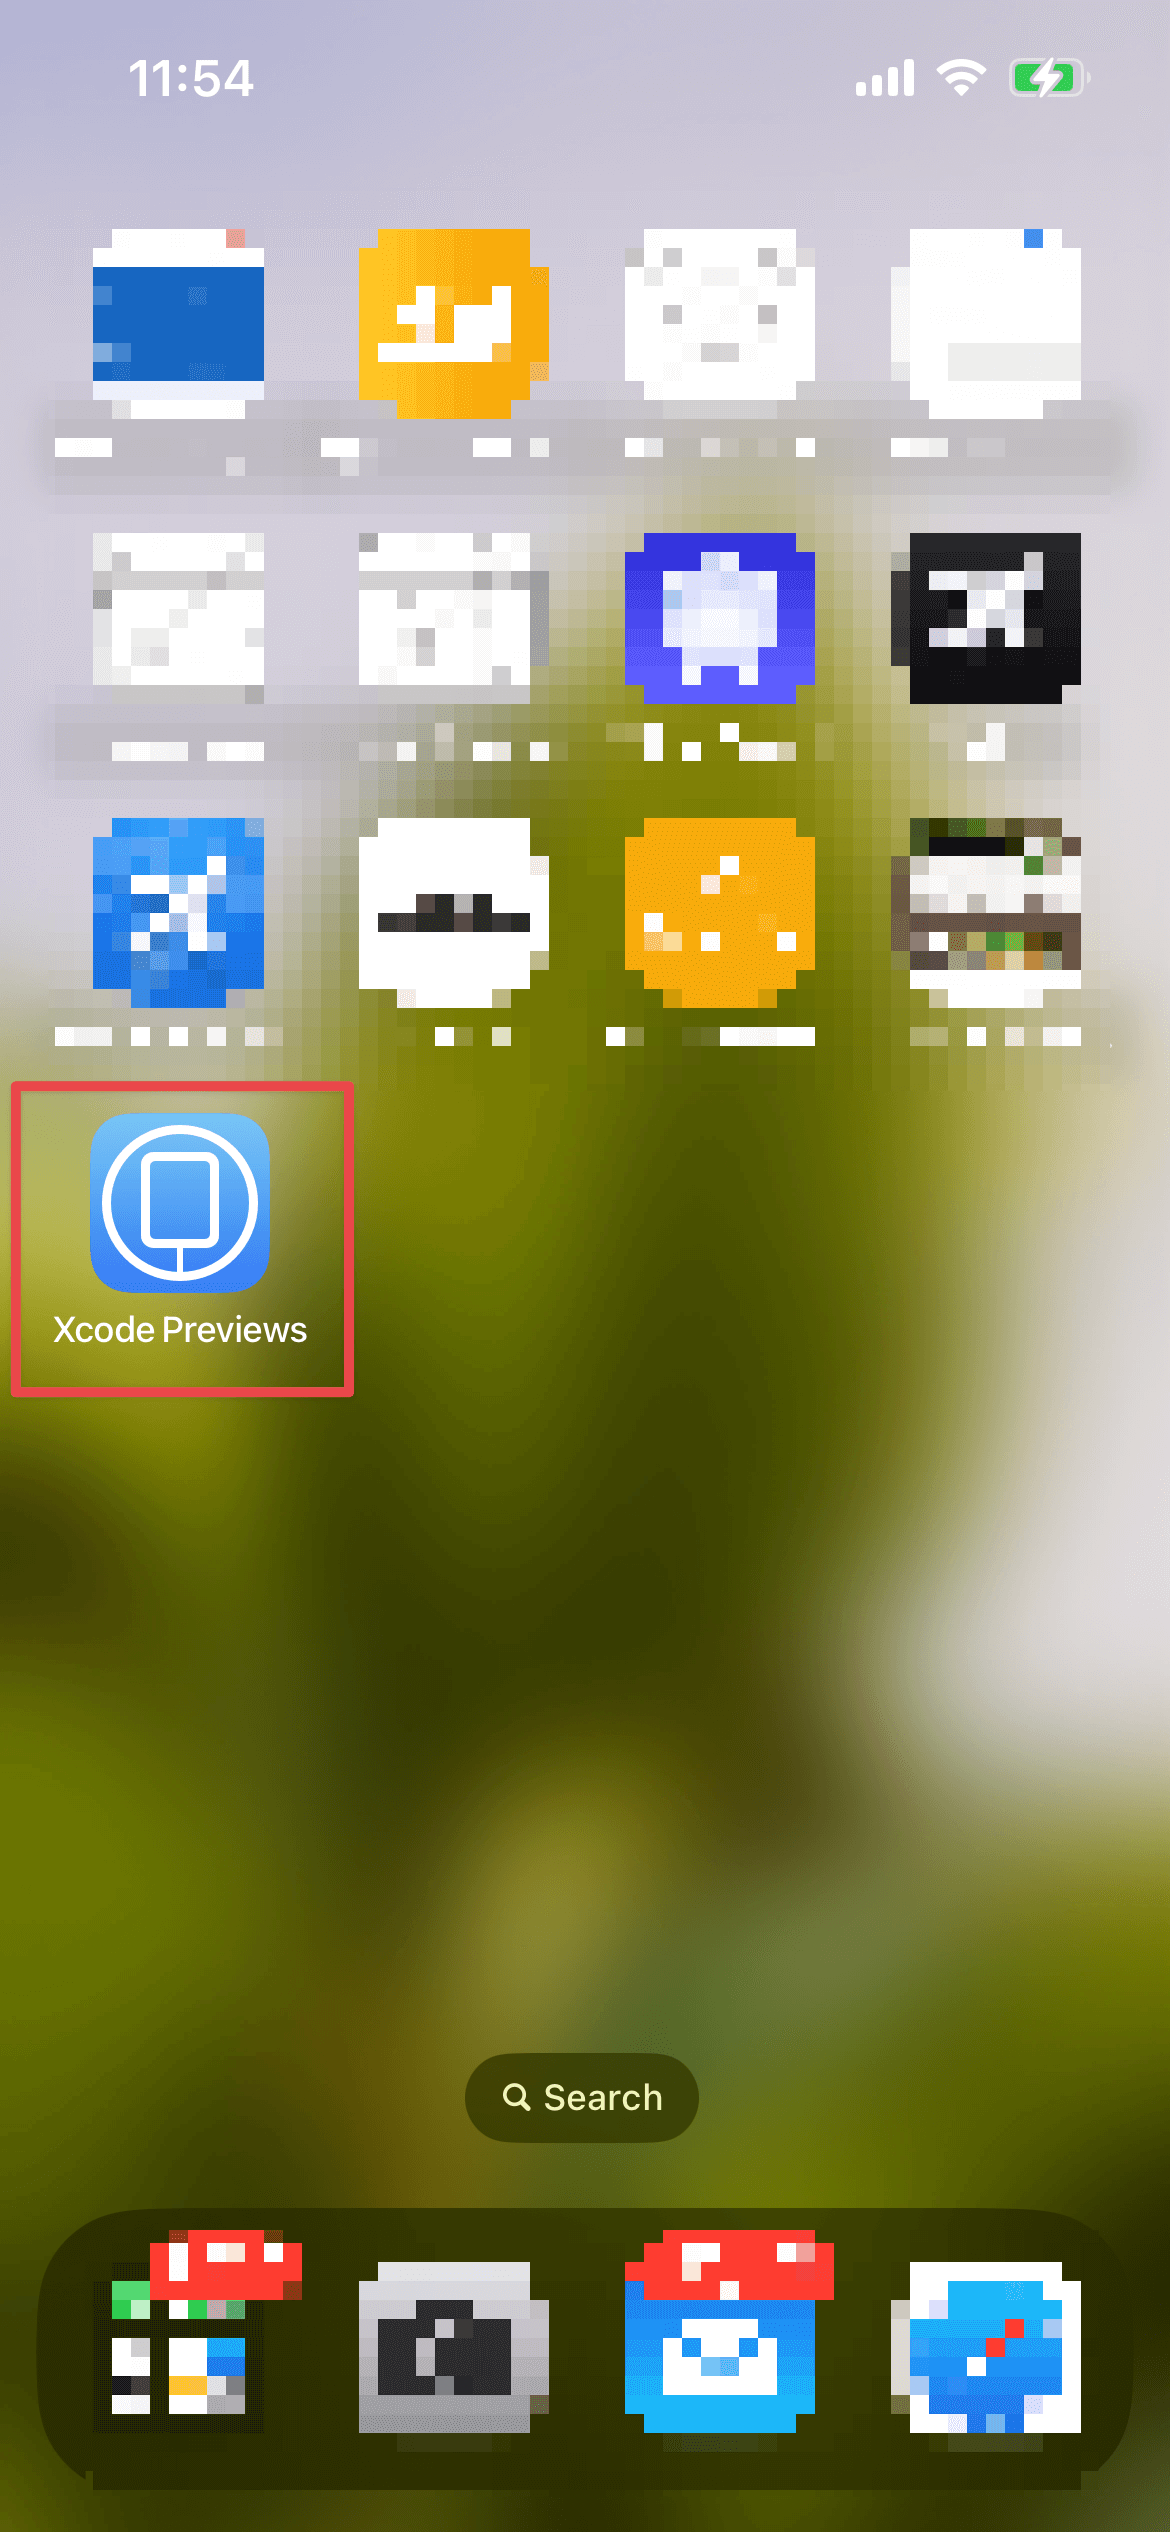
You can still access this preview even after you close the Xcode via the Xcode Previews app.
So, you can use this to show a single screen or component to your teammate quickly.
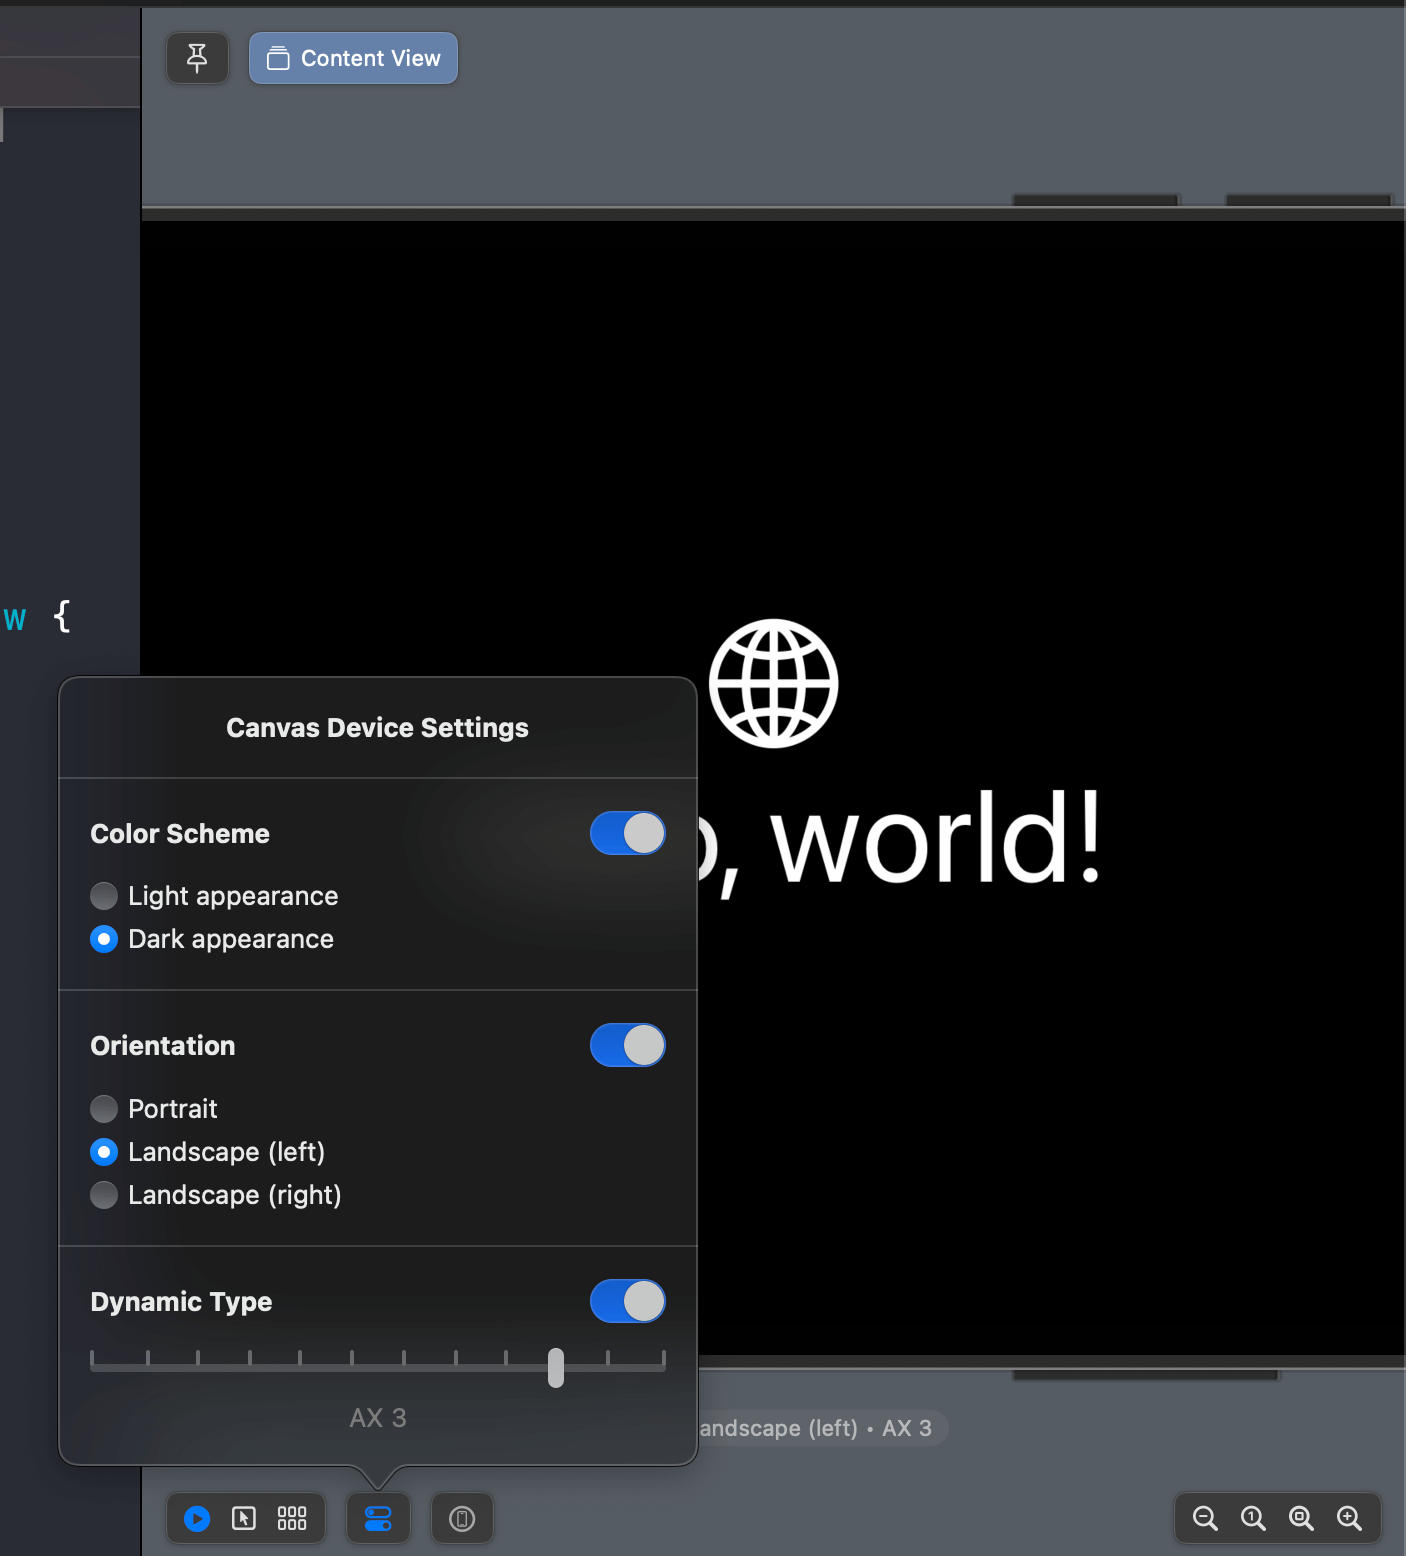
Device Settings
Device Settings let you customize the Color Scheme, Orientation, and Dynamic Type of the preview.
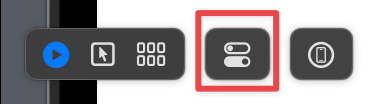
This is useful to check how a view looks on different settings.
Variants
Instead of previewing different settings individually, we can view variations of settings at once using Variants control.
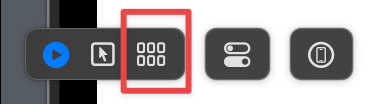
After you select the setting that you want, all variants of that setting will show up.
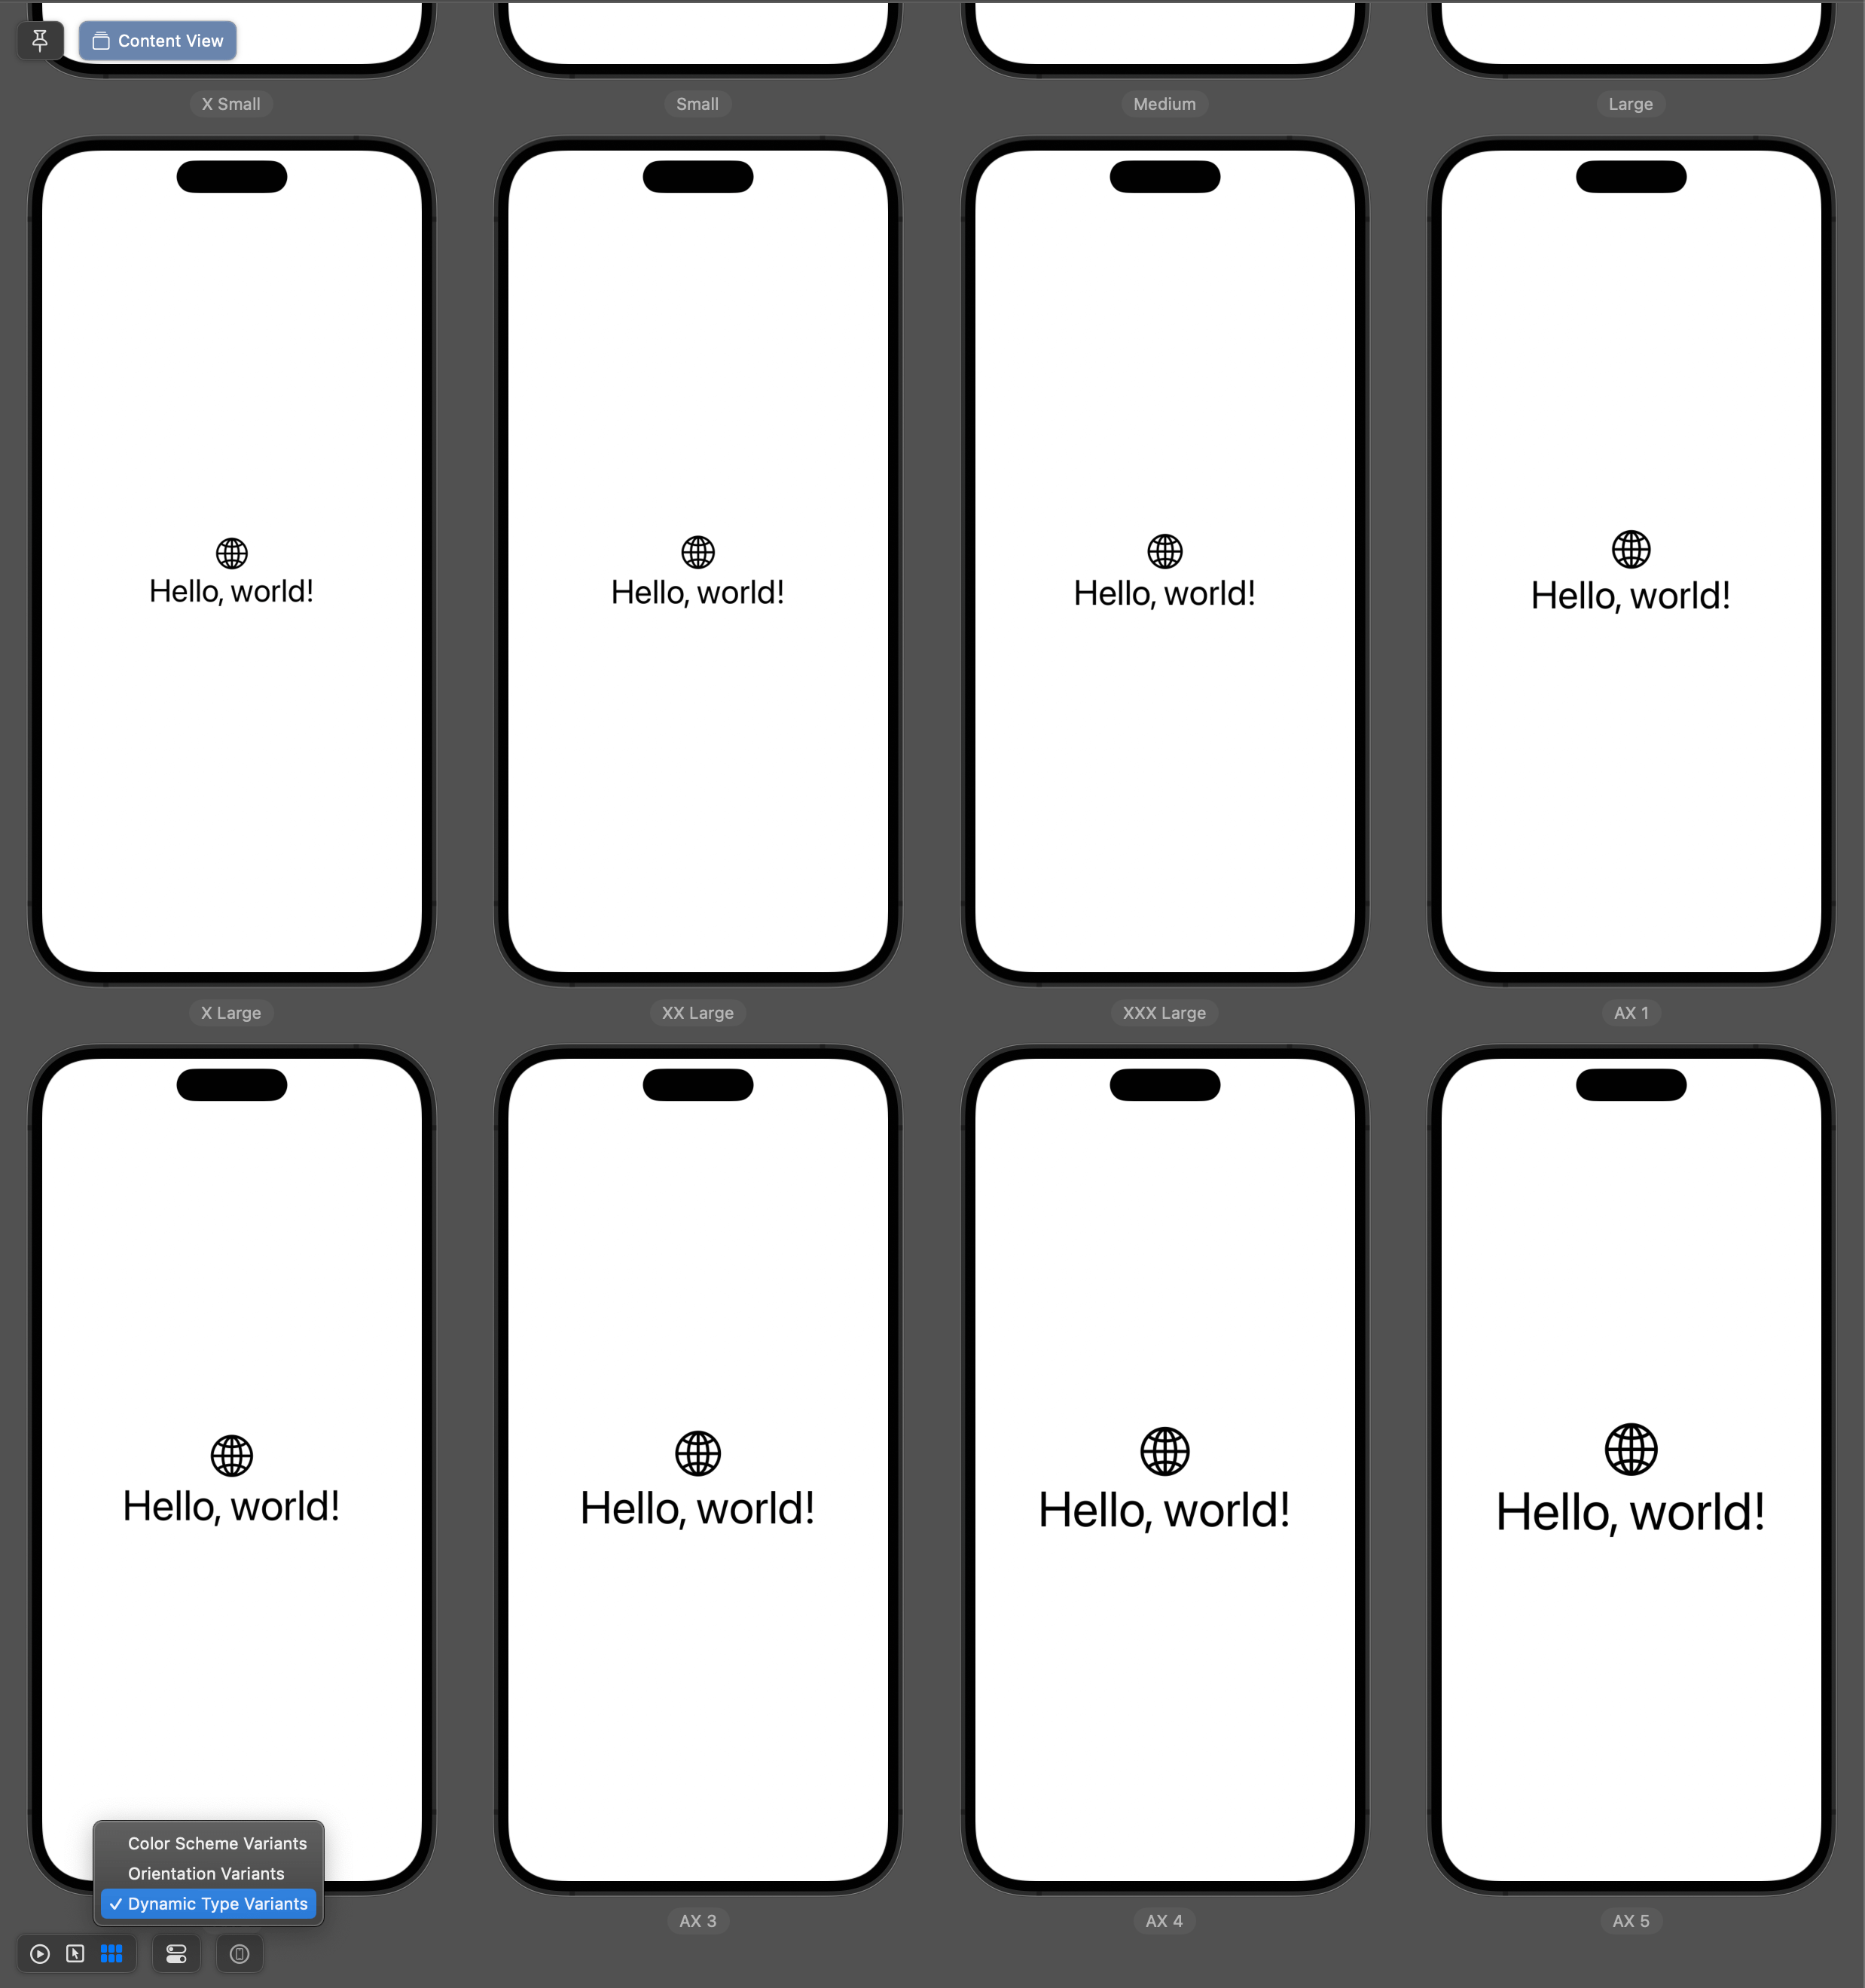
You can also click a variant to see it in full screen.

Live Interaction
Xcode preview is in the Live mode by default. In this mode, you can interact with your preview like a running app.
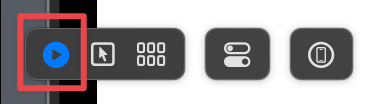
You can interact with a button like a real running app.
Selectable Mode
If you like to build your view using UI instead of code, you might want to use "Selectable" mode.
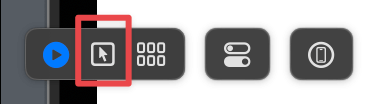
This mode allows you to select and modify a view from Canvas.

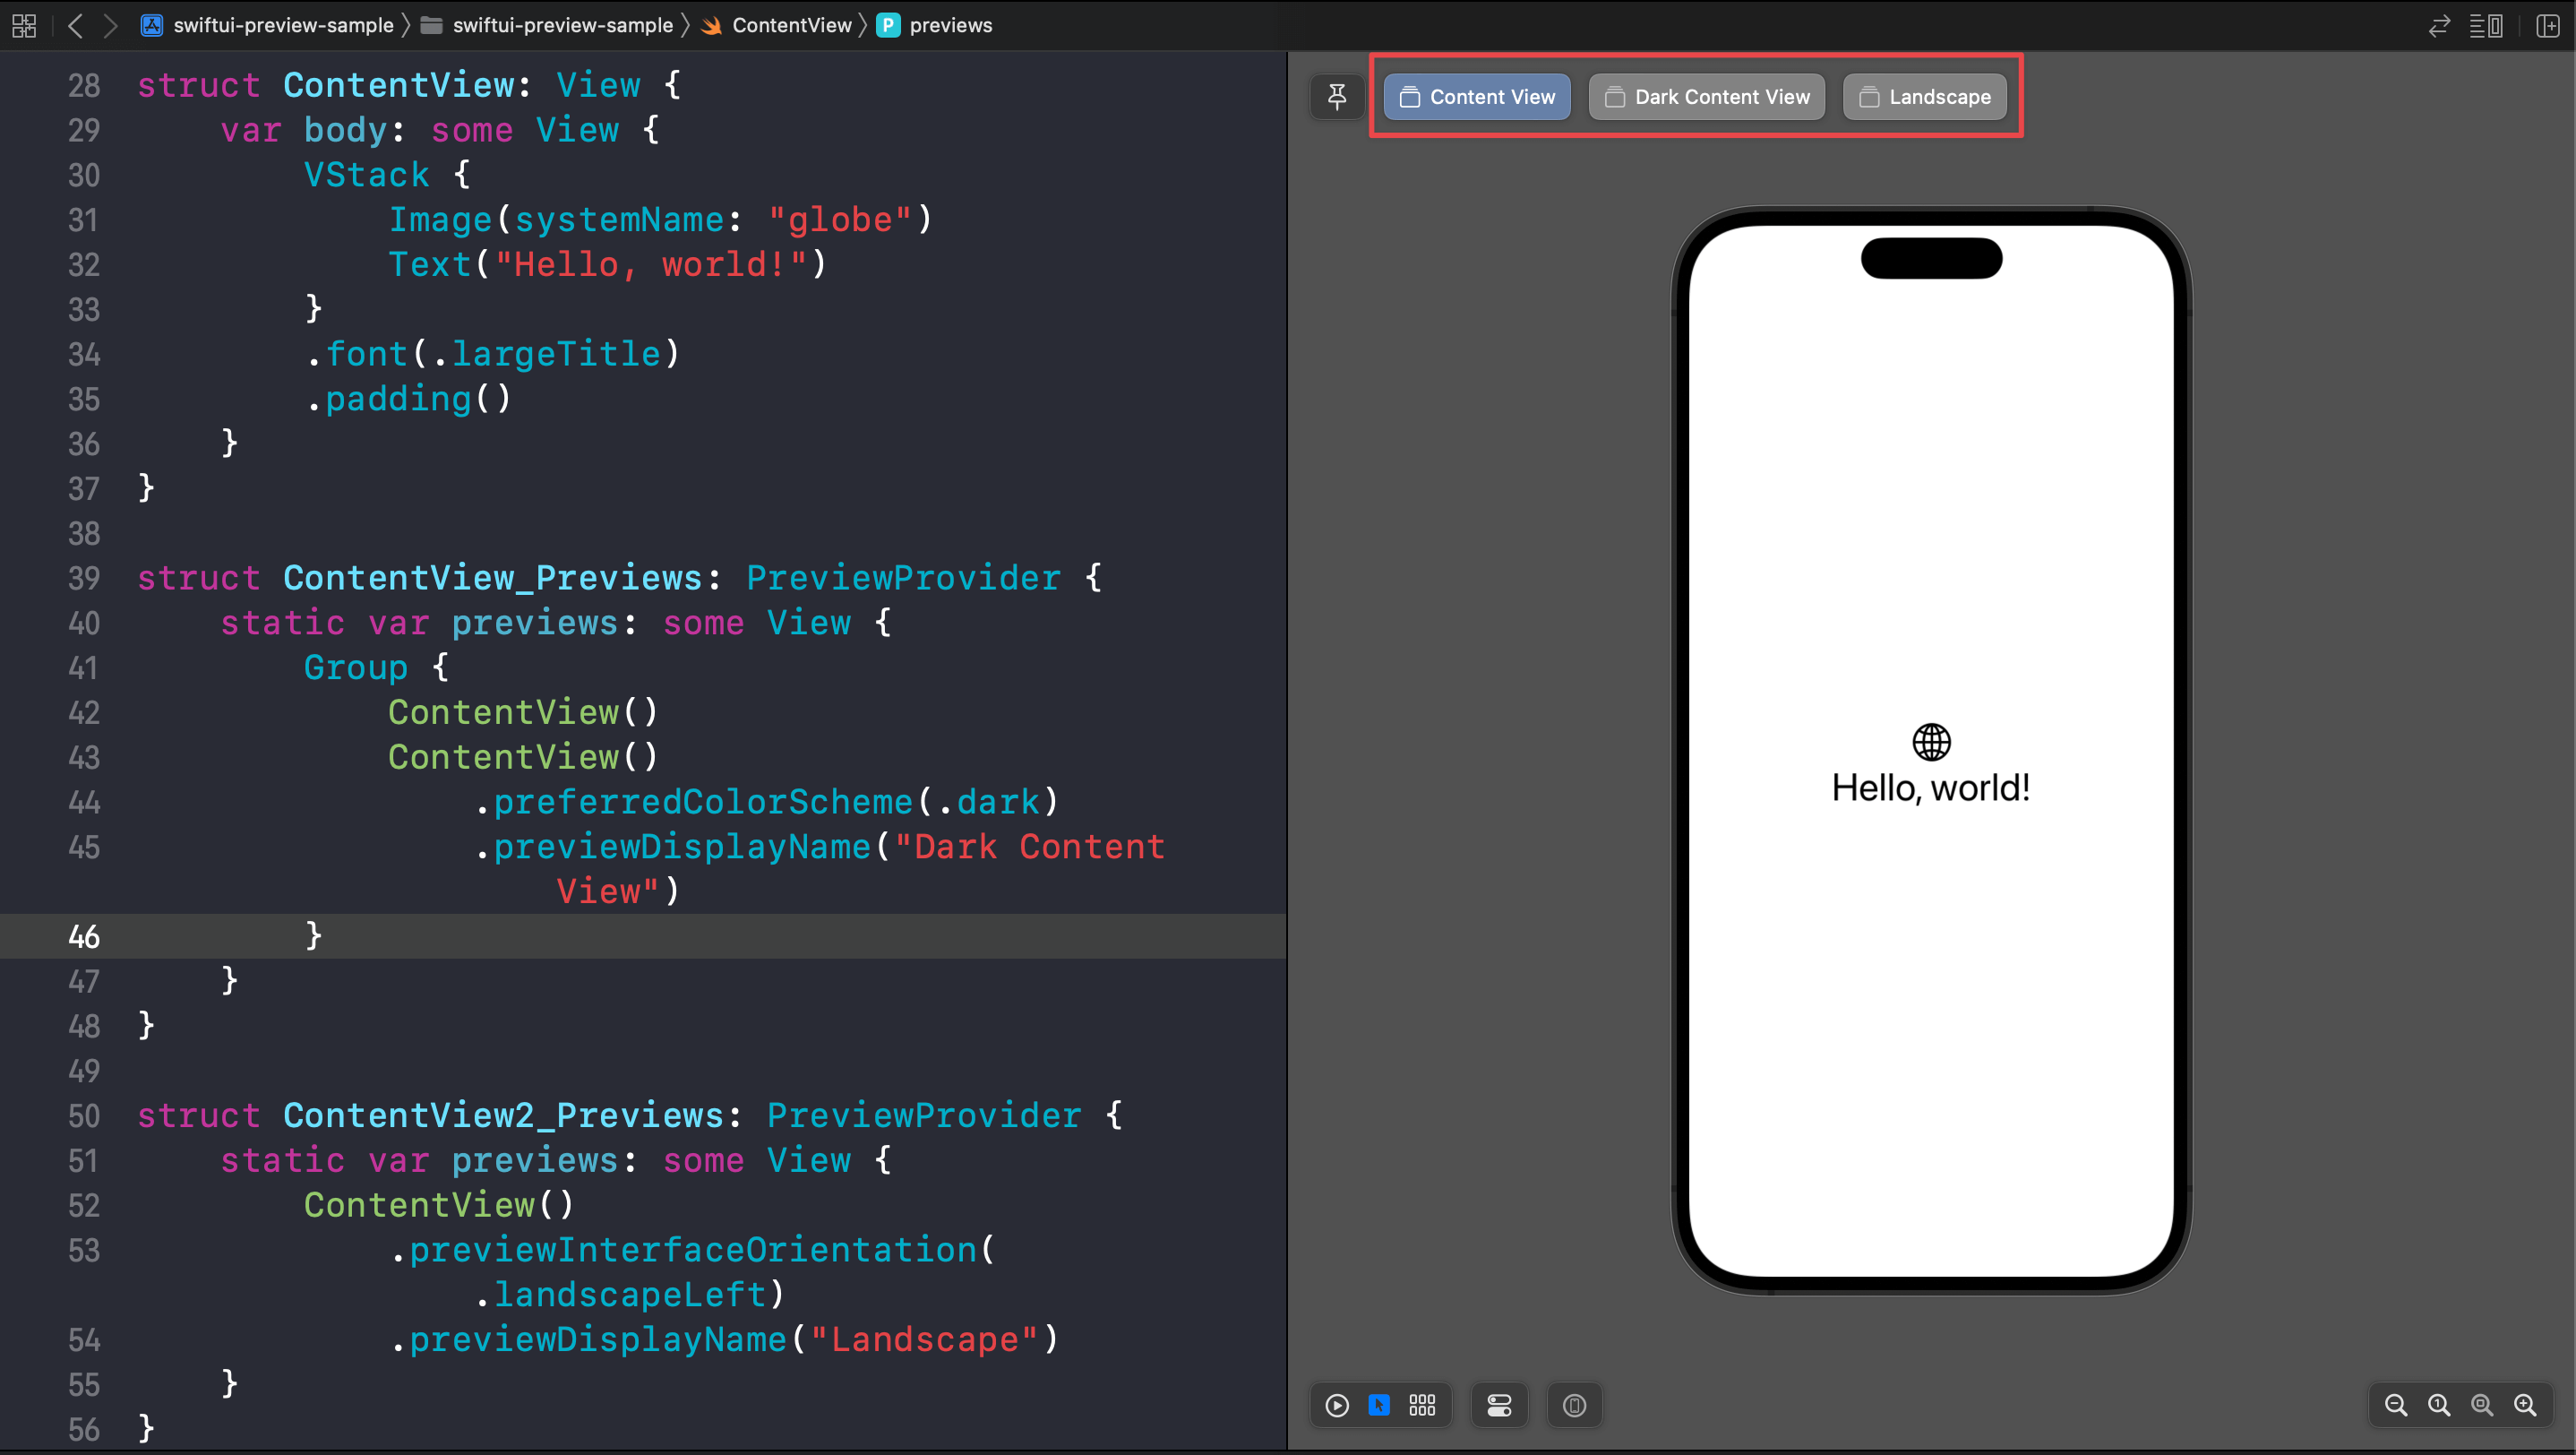
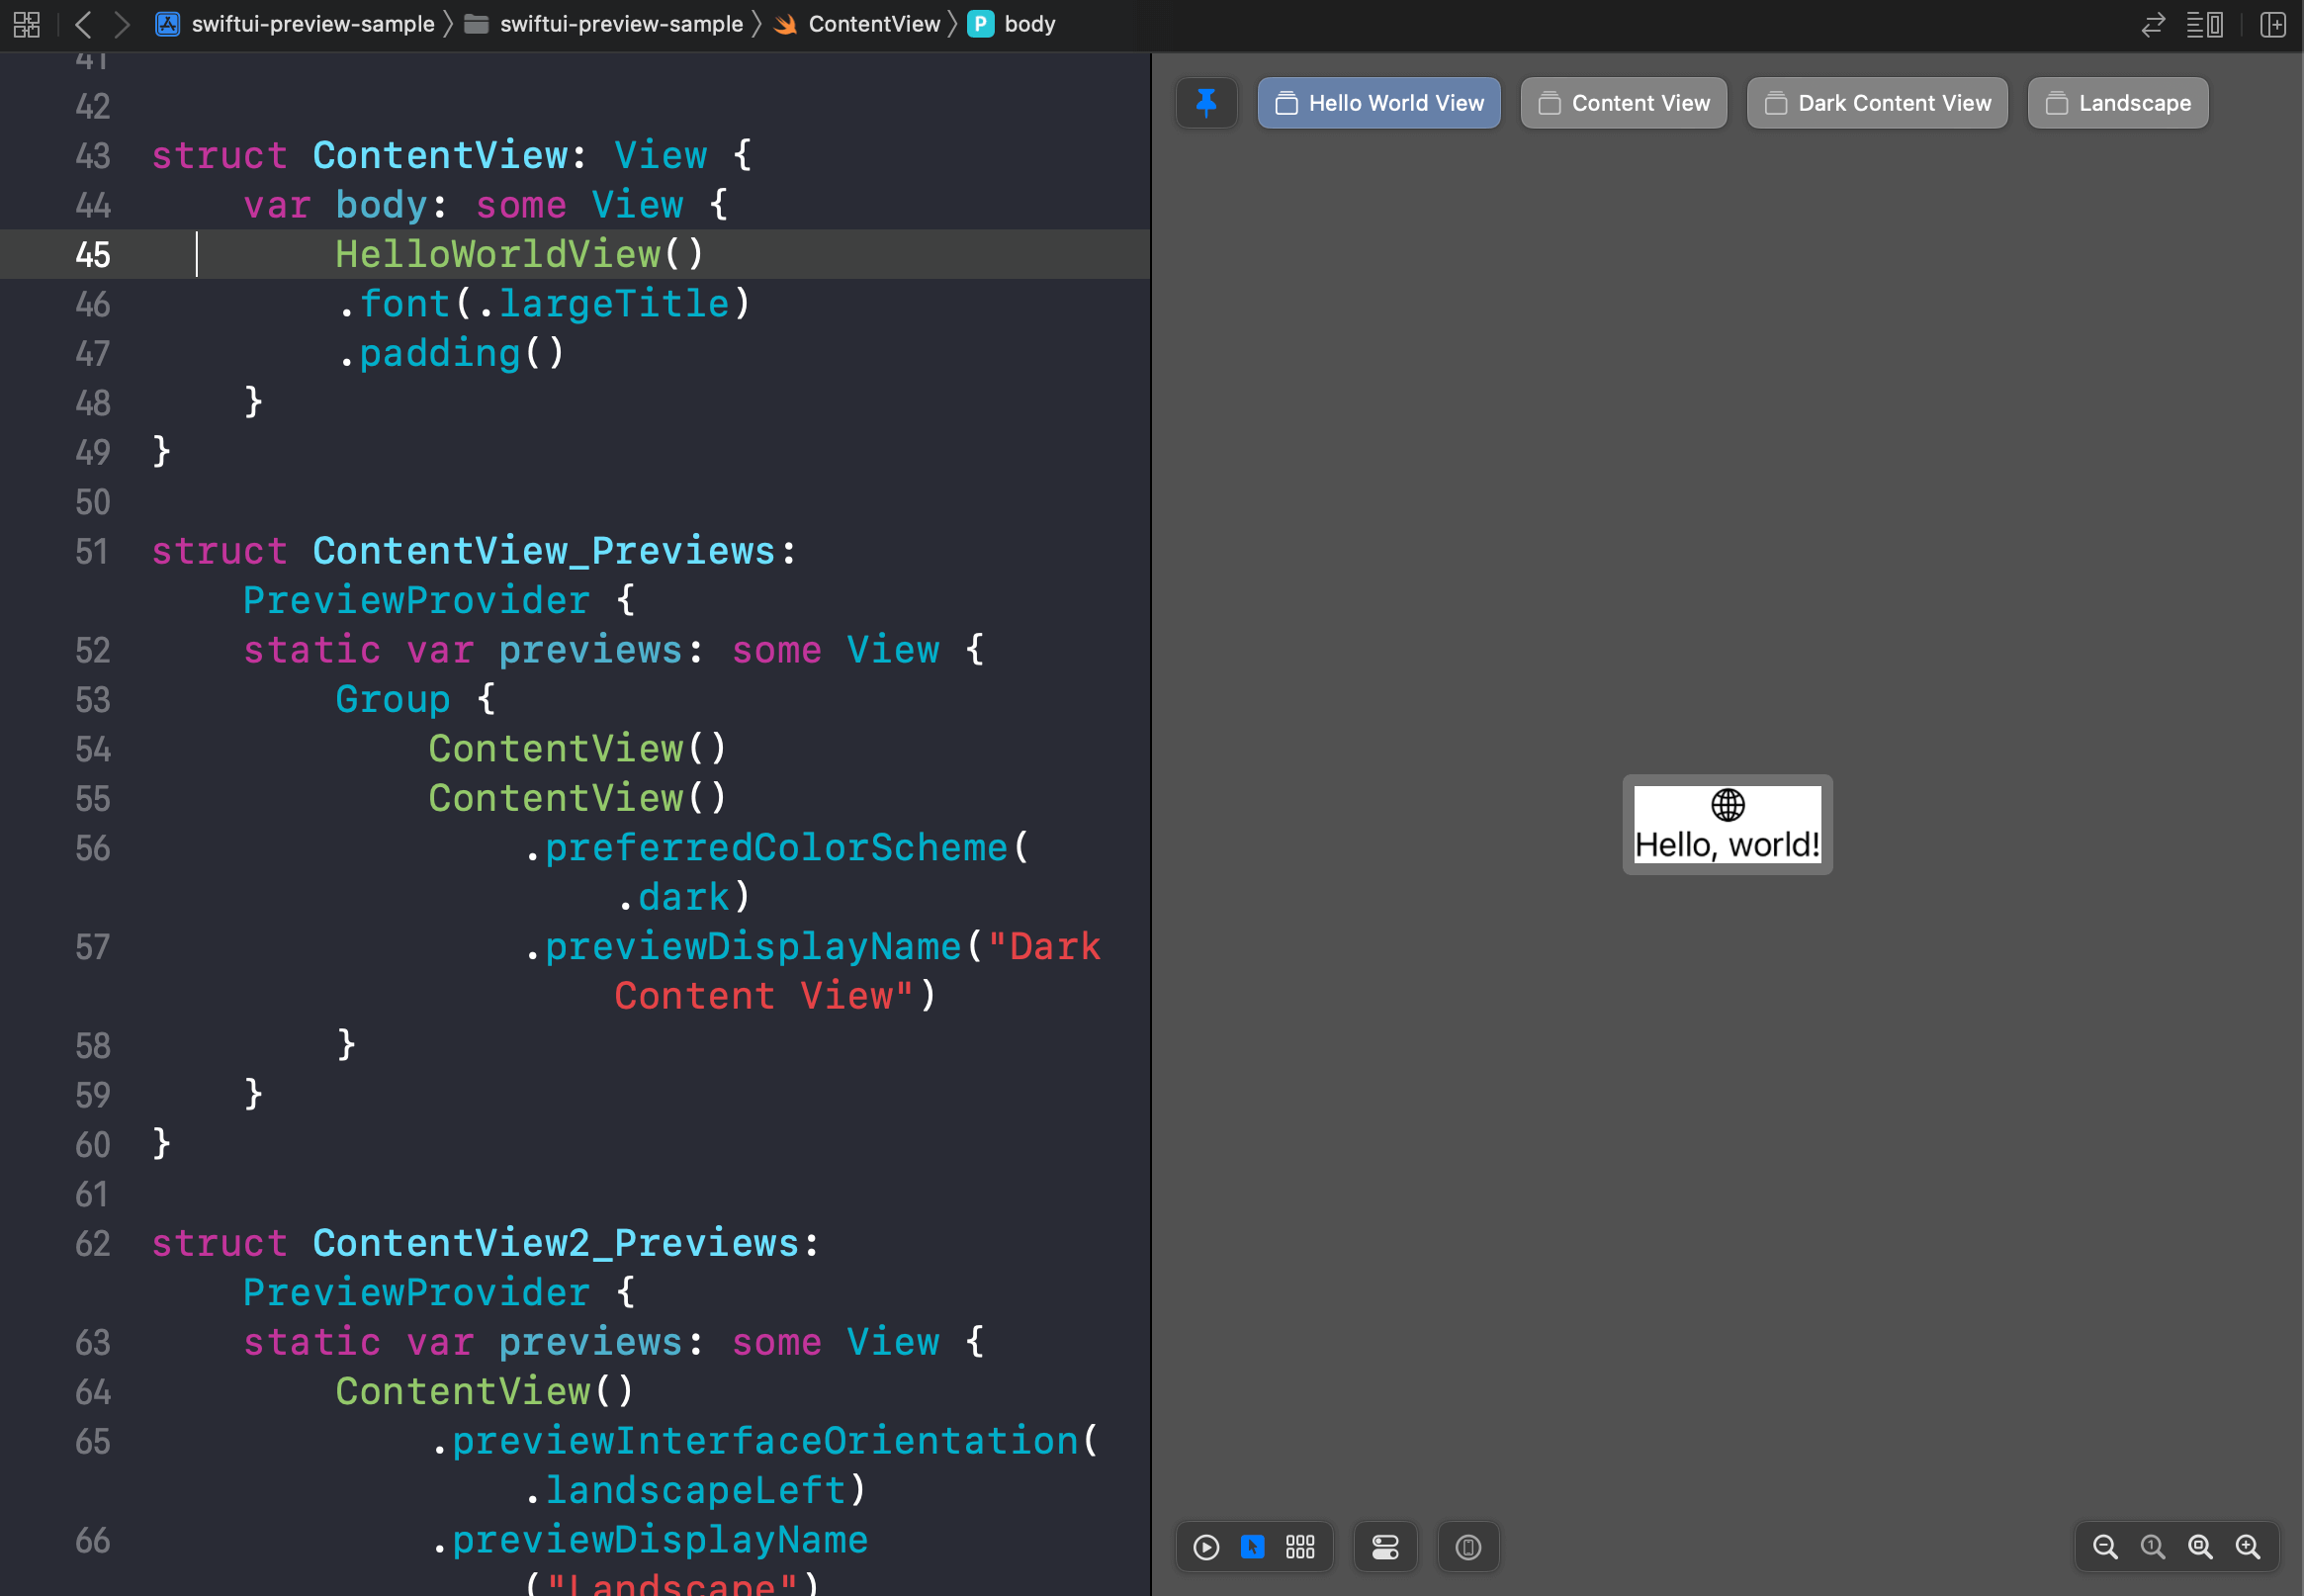
Multiple Previews
As mentioned earlier, Xcode automatically discovers preview providers in your project and generates previews for any providers currently open in the source editor.
That means you can have multiple previews in one file.
This can happen if you have multiple views inside the previews property or have multiple PreviewProvider.
Each preview will sit inside its own tab. You can switch between each of them by clicking on the tab at the top of Canvas.
Pin
If you want a preview to always show regardless of the source file currently open, you can pin it.
You can pin a view by selecting Pin control on the top left of the Canvas.

In this example, I pin a HelloWorldView.
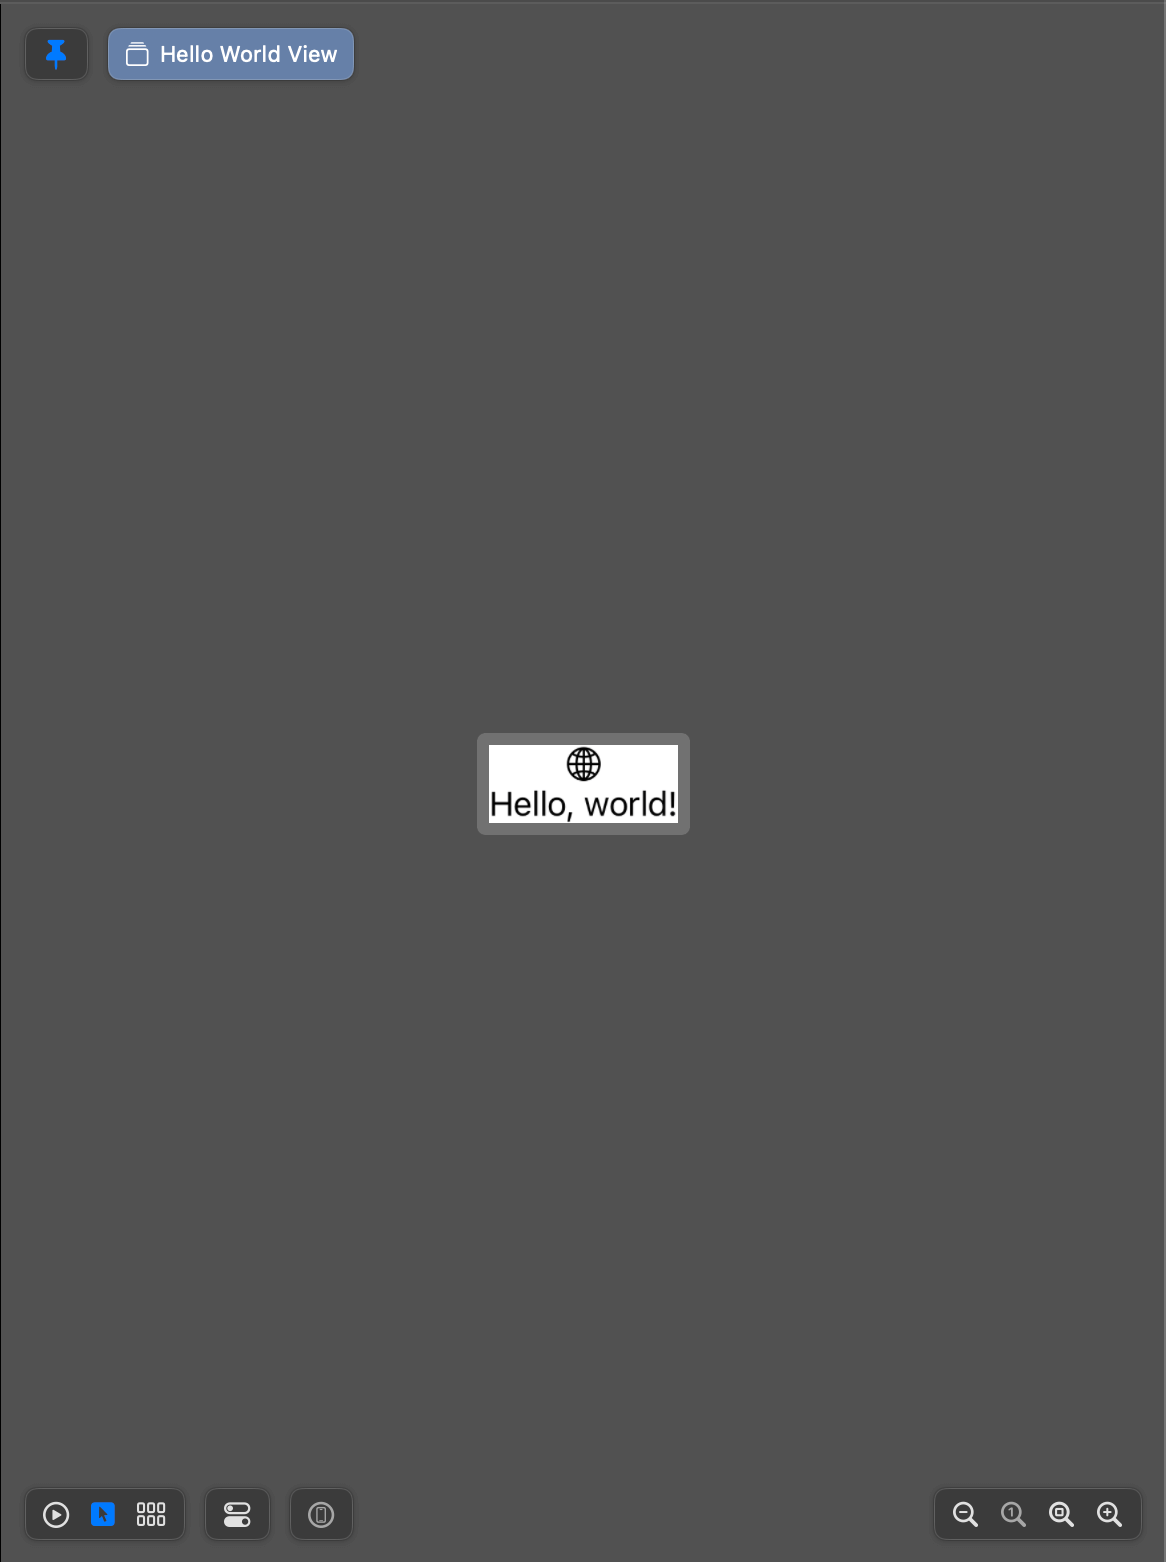
Even I'm on the ContentView.swift, I can see "Hello World View" on my previews.
Read more article about Xcode, Xcode Previews, or see all available topic
Enjoy the read?
If you enjoy this article, you can subscribe to the weekly newsletter.
Every Friday, you'll get a quick recap of all articles and tips posted on this site. No strings attached. Unsubscribe anytime.
Feel free to follow me on Twitter and ask your questions related to this post. Thanks for reading and see you next time.
If you enjoy my writing, please check out my Patreon https://www.patreon.com/sarunw and become my supporter. Sharing the article is also greatly appreciated.
Become a patron Buy me a coffee Tweet ShareRemove all limitations on variables in result builders
Swift 5.8, we have more flexibility in declaring local variables inside a result builder.
How to check if code is in DEBUG or RELEASE build in Swift
Learn how to compile code only on a specific build configuration.