4 Xcode shortcuts to boost your productivity for SwiftUI
Table of Contents
Leaning tips and tricks about the tool will help you down the road. Today, I will show you 4 Xcode shortcuts that I find helpful when dealing with SwiftUI.
Leaning tips and tricks about the tool will help you down the road. Today, I will show you 4 Xcode shortcuts that I find helpful when dealing with SwiftUI.
Refresh Canvas
SwiftUI Preview is an excellent tool for creating and updating a view, but if you type code too fast, Xcode might stop updating the preview, and you will see the dialog to resume the live preview.
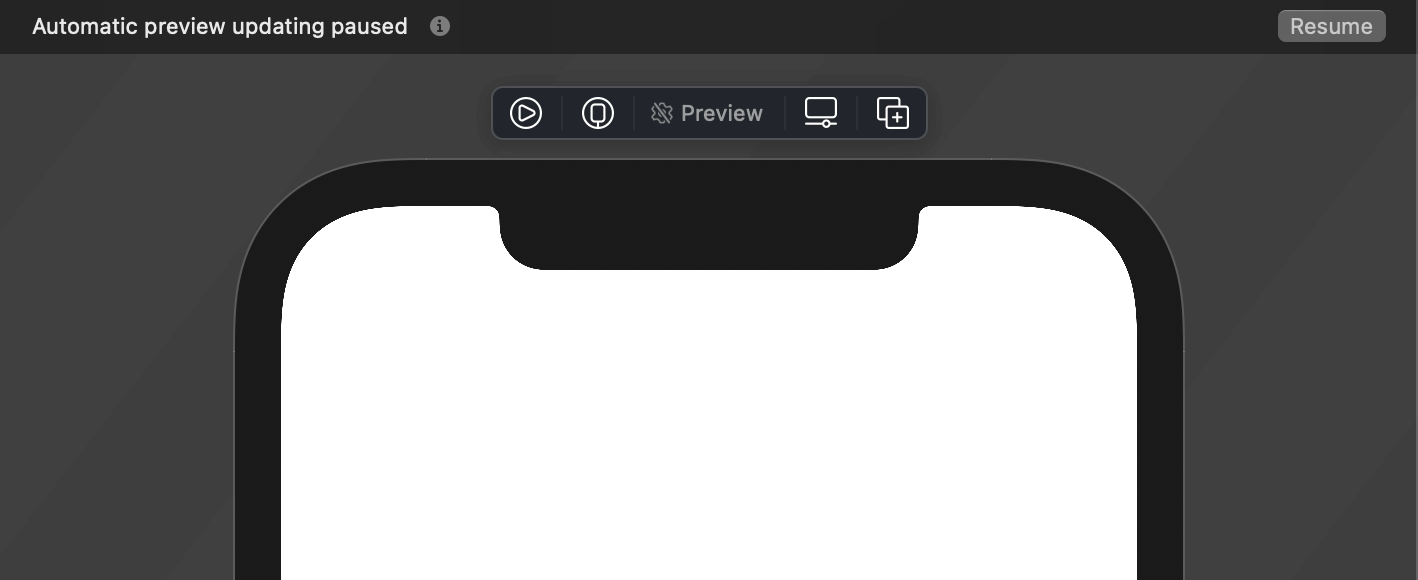
Reach to that Resume button all day might be annoying. But there is a shortcut for that.
To resume automatic preview update, you use this shortcut.
⌘ - command + ⌥ - option + p or
Editor menu > Canvas > Refresh Canvas
This will refresh your preview and start the automatic update again.
You can easily support sarunw.com by checking out this sponsor.
Offline Transcription: Fast, privacy-focus way to transcribe audio, video, and podcast files. No data leaves your Mac.
Re-Indent
By nature, SwiftUI is likely to contain many indentations. Each view and each modifier mean another level of indentation. Writing a complex view might leave unaligned indents in your code. You can format that with the re-indent command.
To do that, you use the following shortcut.
⌃ – control + i or
Editor menu > Structure > Re-Indent
Re-indent only applies to the line your cursor is focusing, so you might need to select all the code (⌘ - command + a) before using re-indent command.
Move line up / Move line down
In UIKit, I rarely use this shortcut. But in SwiftUI, moving lines of code up and down can help you in two areas.
Rearrange view modifiers
The order of view modifier is very important in SwiftUI. Changing the order means changing in behaviors and appearance.
The following code will add a padding around the text view, then add background color to both the text view and padding.
Text("SwiftUI")
    .padding()
    .background(Color.yellow)
While the following will only add a background color to the text view.
Text("SwiftUI")
    .background(Color.yellow)
    .padding()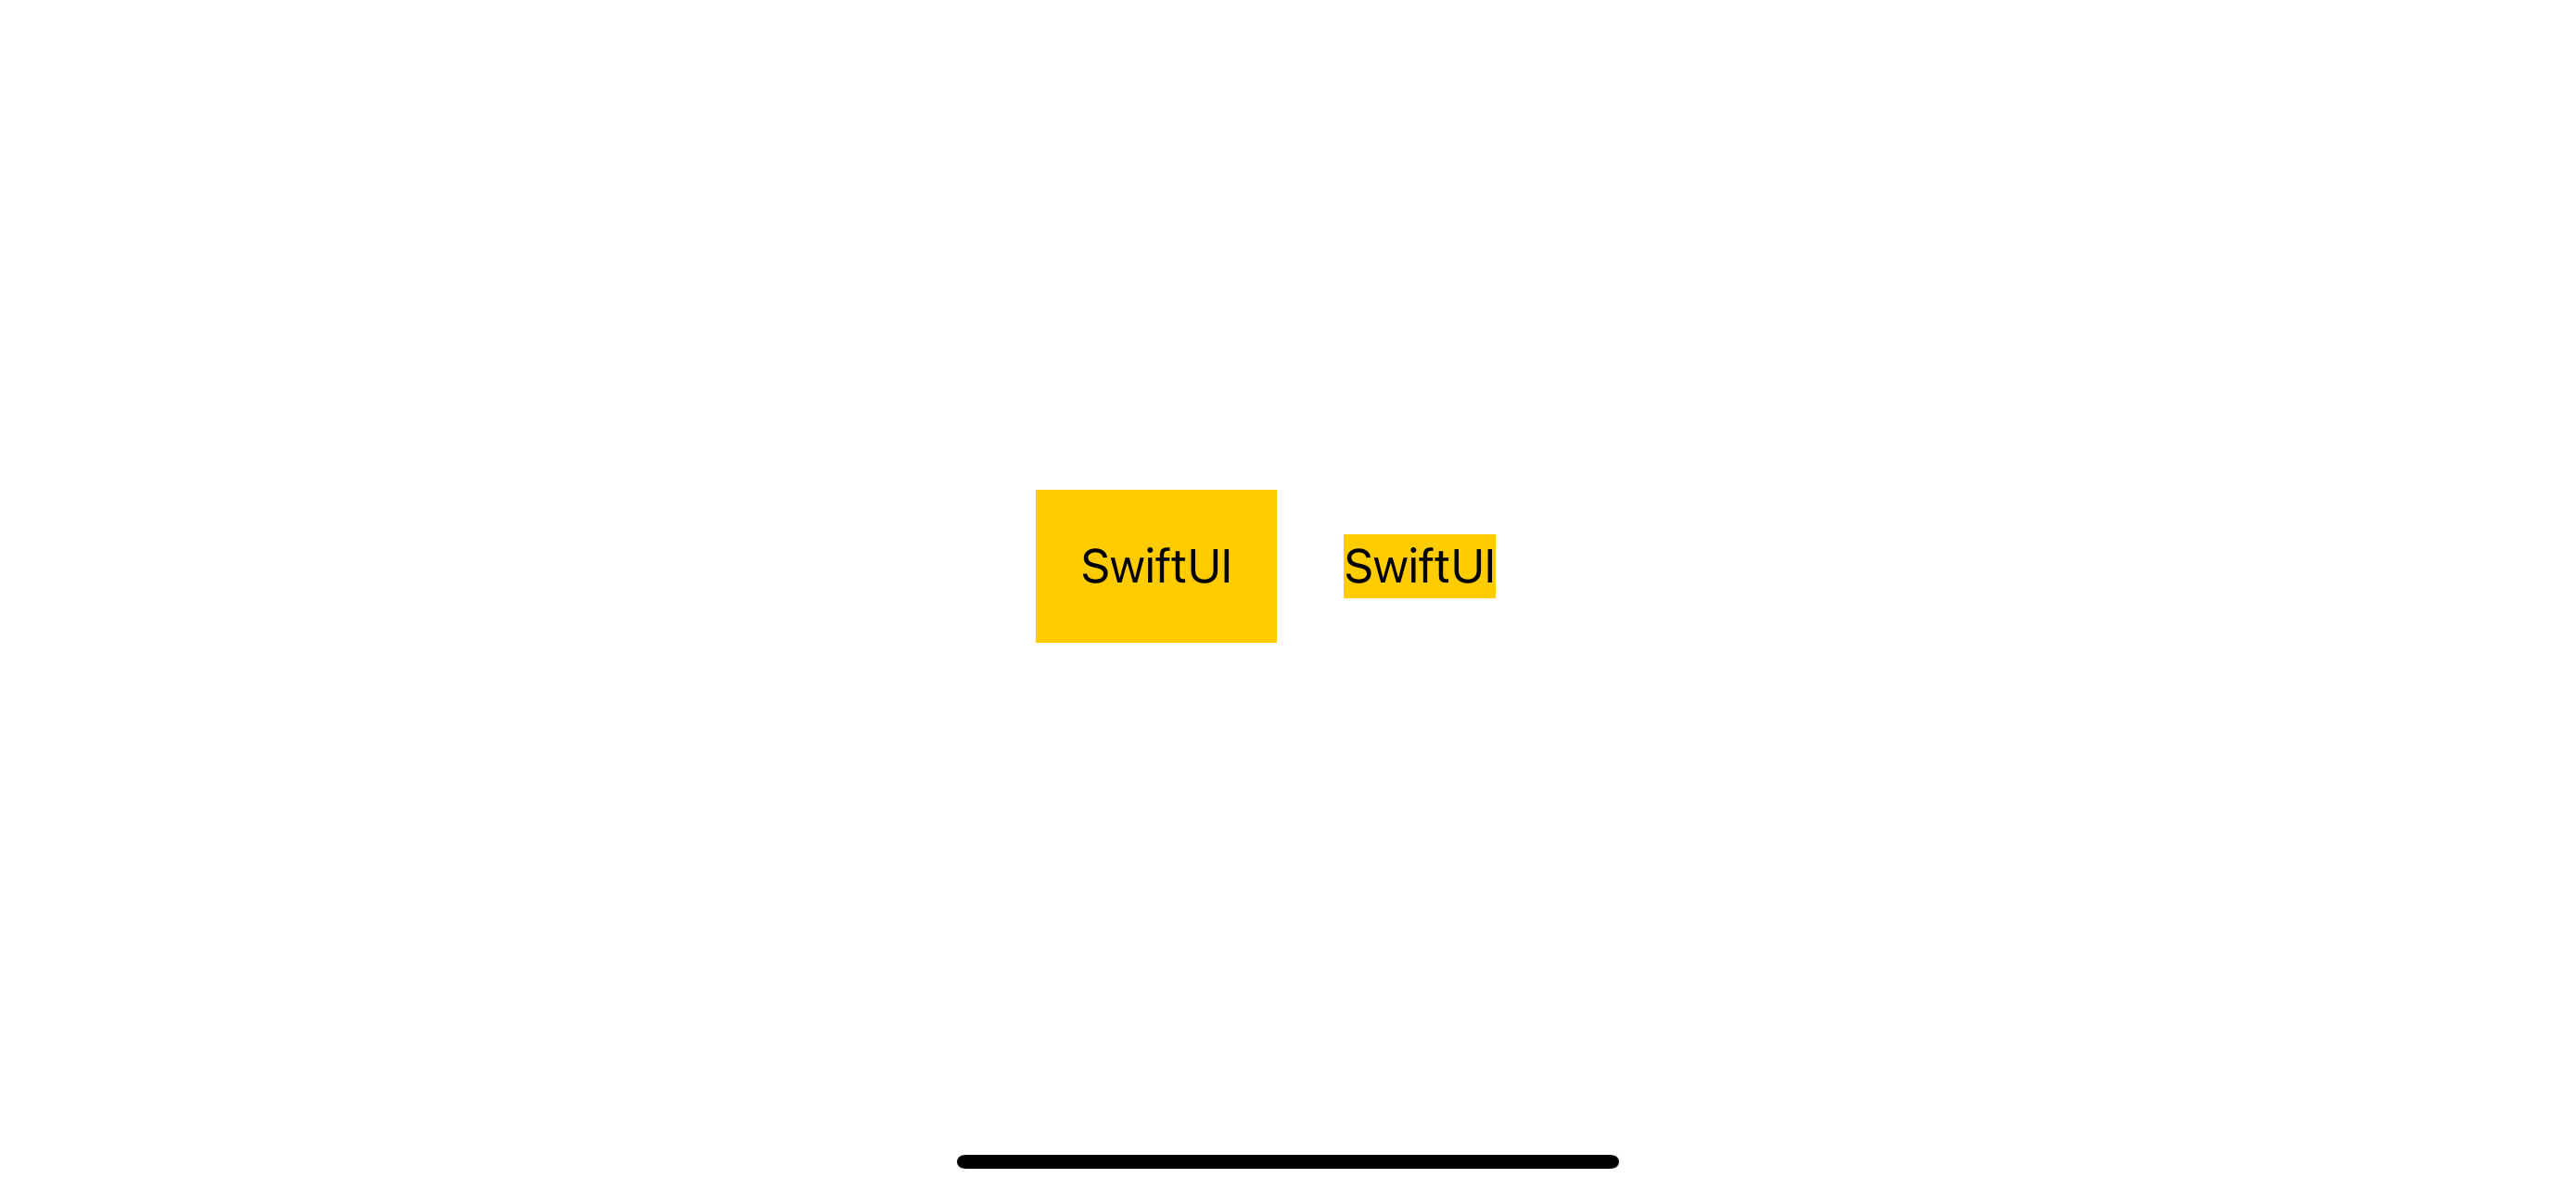
When working with SwiftUI, you will find yourself copying and pasting the view modifier around to get the result you want. Xcode has two commands to move code up and down, which might save you time copying and pasting if you use multiple modifiers.
To move line of code up:
⌘ - command + ⌥ - option + [ or
Editor menu > Structure > Move Line Up
To move line of code down:
⌘ - command + ⌥ - option + ] or
Editor menu > Structure > Move Line Down
These commands will move a focusing line of code up and down.
![command + option + [ or ] to move a line of code up and down.](/images/swiftui-shortcut-move-up-down-modifier.gif)
Rearrange views
View modifier is not the only thing we move. The view itself is another thing that we regularly move around when working in SwiftUI. It is very easy to compose views in SwiftUI. Most of the time, you will rearrange your view using VStack or HStack, and that's mean changing view position means moving your view's code up and down in a stack view.
We can also move a chunk of codes by highlighting all the code you want and then using the Move line up / Move line down command.
To move multiple lines of code up, you highlight the code and then use the following shortcut.
⌘ - command + ⌥ - option + [ or
Editor menu > Structure > Move Line Up
To move multiple lines of code down:
⌘ - command + ⌥ - option + ] or
Editor menu > Structure > Move Line Down
Highlight the code and press command + option + [ or ] to move multiple lines of code up and down.
You can easily support sarunw.com by checking out this sponsor.
Offline Transcription: Fast, privacy-focus way to transcribe audio, video, and podcast files. No data leaves your Mac.
Show/Hide SwiftUI Preview
SwiftUI Preview is good, but it takes too much space. Apart from working with a view, you usually want it close.
To toggle SwiftUI Preview, you use this shortcut:
⌘ - command + ⌥ - option + ⏎ Return or
Editor menu > Canvas

Read more article about SwiftUI, Xcode, Development, Shortcut, or see all available topic
Enjoy the read?
If you enjoy this article, you can subscribe to the weekly newsletter.
Every Friday, you'll get a quick recap of all articles and tips posted on this site. No strings attached. Unsubscribe anytime.
Feel free to follow me on Twitter and ask your questions related to this post. Thanks for reading and see you next time.
If you enjoy my writing, please check out my Patreon https://www.patreon.com/sarunw and become my supporter. Sharing the article is also greatly appreciated.
Become a patron Buy me a coffee Tweet ShareHow to set a screen's background color in SwiftUI
Setting background color in SwiftUI is not as straightforward as UIKit. Let's learn how to do it.
What is a Property Wrapper in Swift
As the name implies, a property wrapper is a new type that wraps a property to add additional logic. Let's see what it capable of and the benefit it provided.