How to use AttributedString in UIKit
Table of Contents
You might not know we can use AttributedString in UIKit. In this article, we will have a quick guide on how to do it.
AttributedString is a new struct for styling string introduced in iOS 15.
It lets us declare a string with associated attributes easily and more structurally.
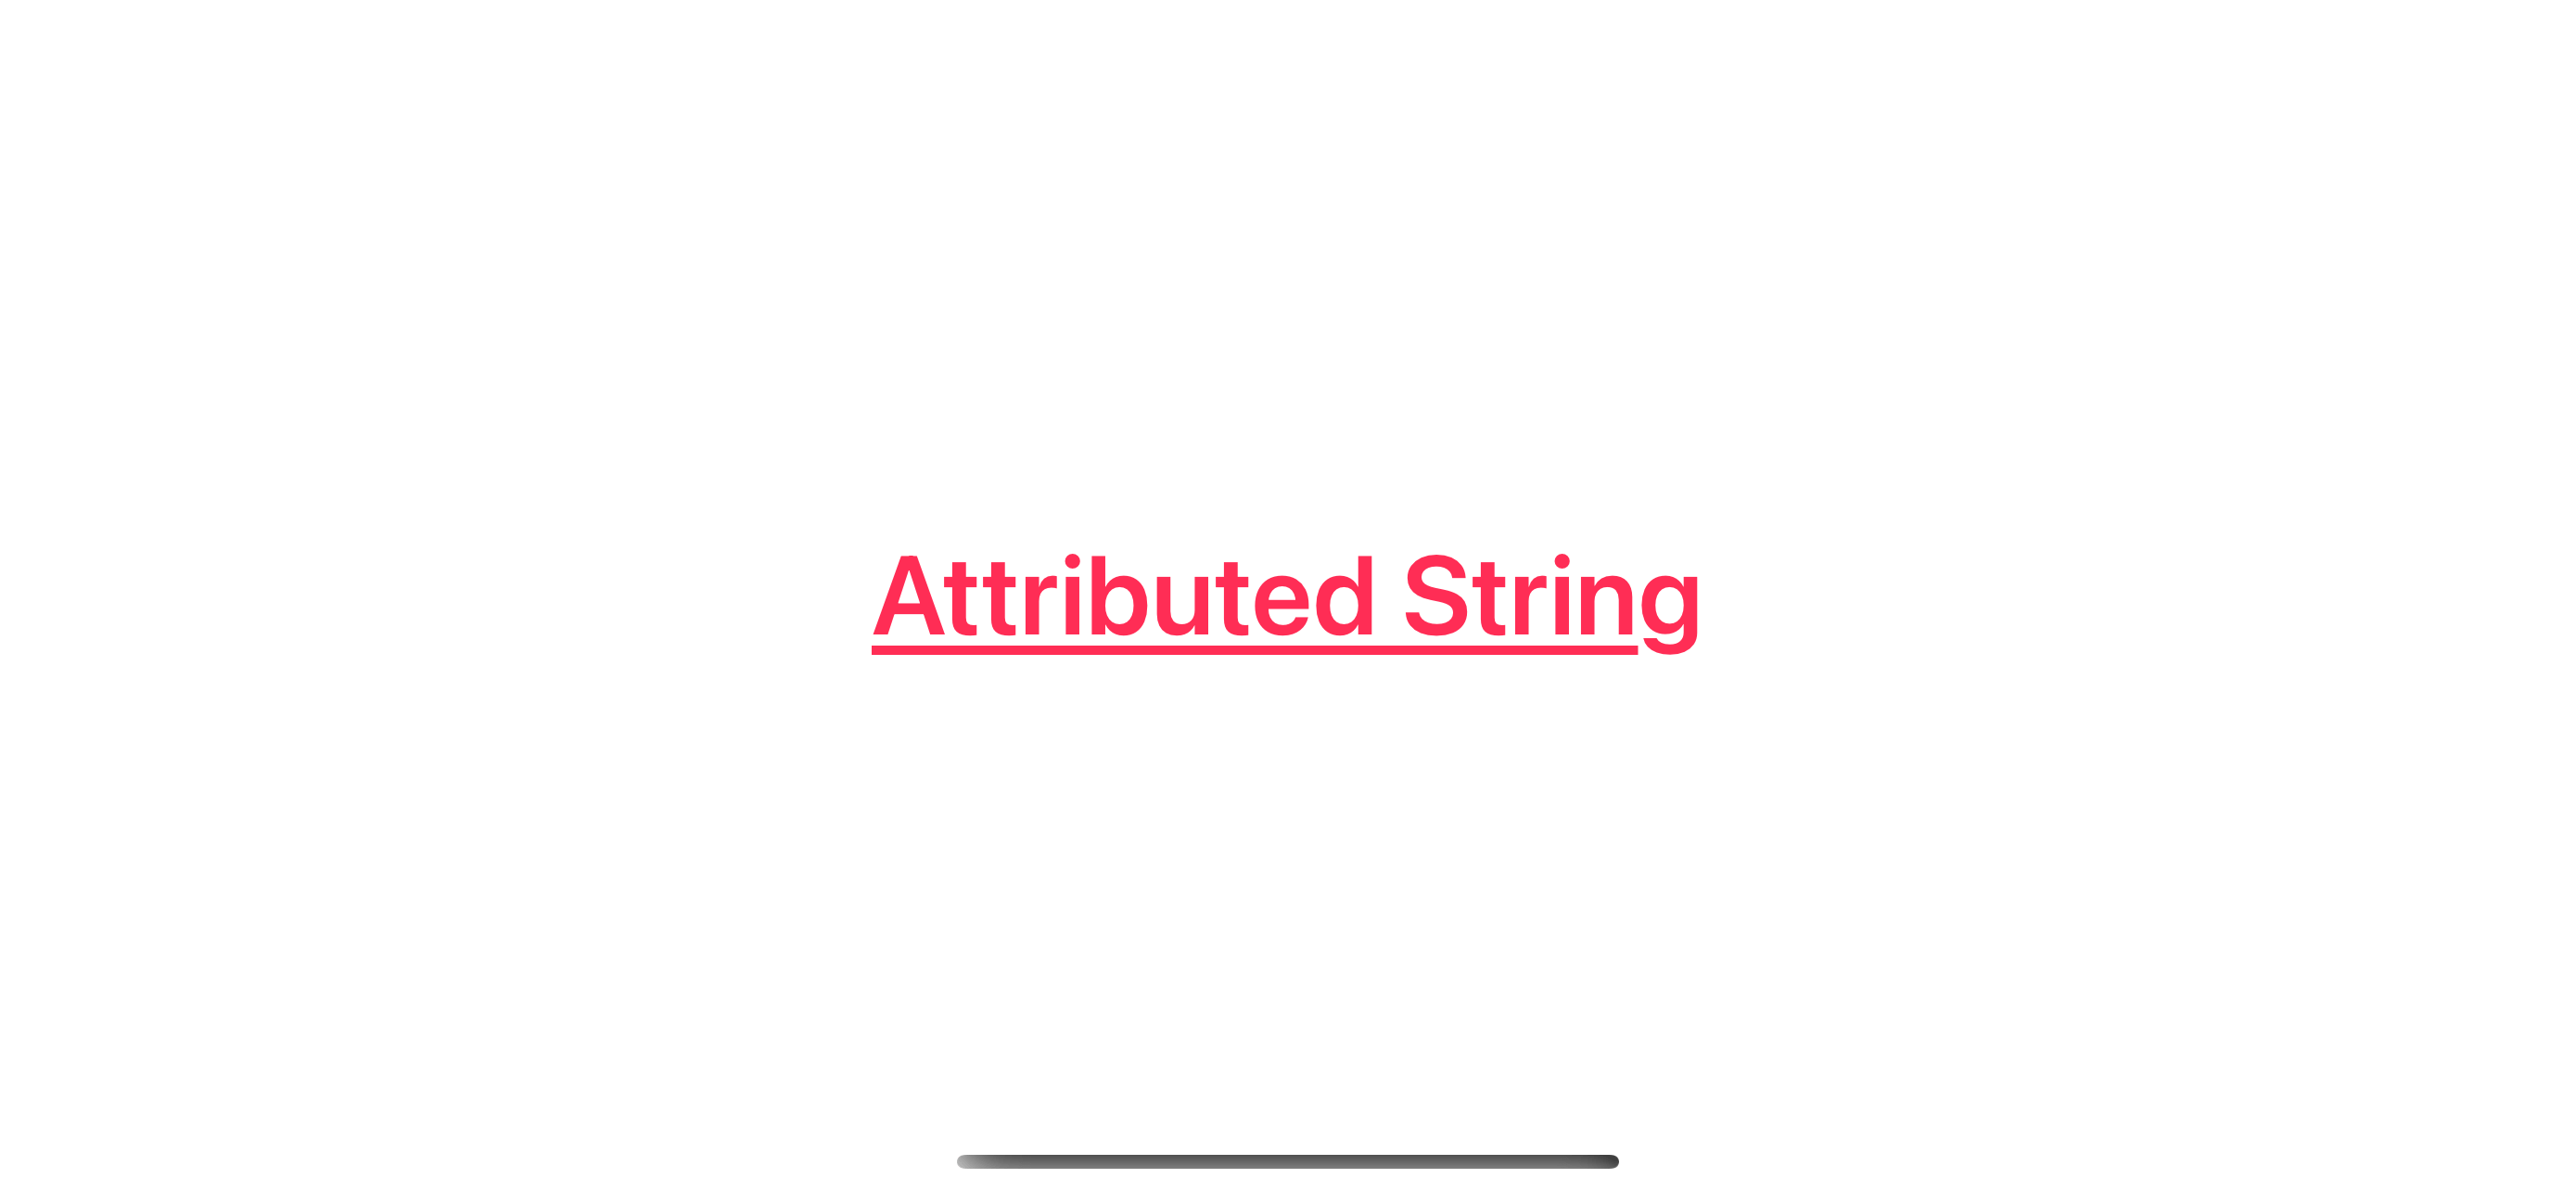
Here is an example of creating an attributed string to work with a SwiftUI text view.
let string = "Attributed String"
var attributedString = AttributedString(string)
// 1
attributedString.foregroundColor = .pink
// 2
attributedString.font = .boldSystemFont(ofSize: 24)
// 3
attributedString.underlineStyle = .single

Text(attributedString)
1 Set font color.
2 Set font.
3 Set underline style.
As you can see, it is just a matter of creat a string and customizing its property.

You can easily support sarunw.com by checking out this sponsor.

Screenshot Studio: Create App Store screenshots in seconds not minutes.
How to use AttributedString in UIKit
SwiftUI has a dedicated view for presenting text, Text, and it has a dedicated initializer that accept AttributedString.
Text.init(_ attributedContent: AttributedString)For UIKit, it isn't that easy.
UIKit is an old framework with many ways to set strings based on UI components.
I classified it into two groups.
- A view that accepts
AttributedString. - A view that accepts
NSAttributedString.
A view that accepts AttributedString
Apple adds support for AttributedString in some new APIs, such as UIButton.Configuration.
We can use AttributedString directly when using these new APIs.
var configuration = UIButton.Configuration.filled()
configuration.attributedTitle = AttributedString("Title")
A view that accepts NSAttributedString
There are only a few UIKit APIs that support AttributedString. So, most of the time, you must rely on the old NSAttributedString.
Luckily we can easily convert AttributedString to NSAttributedString.
To convert AttributedString to NSAttributedString, we use a new initializer of NSAttributedString. This initializer accepts AttributedString as an argument.
convenience init(_ attrStr: AttributedString)This initializer acts as a bridge that allows us to use the new AttributedString with old UIKit APIs.
In this example, we convert AttributedString to NSAttributedString and assign it to UILabel.
let string = "Attributed String"
var attributedString = AttributedString(string)
attributedString.font = .boldSystemFont(ofSize: 40)
attributedString.foregroundColor = .systemPink
attributedString.underlineStyle = NSUnderlineStyle.single

let label = UILabel()
label.attributedText = NSAttributedString(attributedString)
Read more article about Foundation, AttributedString, UIKit, String, or see all available topic
Enjoy the read?
If you enjoy this article, you can subscribe to the weekly newsletter.
Every Friday, you'll get a quick recap of all articles and tips posted on this site. No strings attached. Unsubscribe anytime.
Feel free to follow me on Twitter and ask your questions related to this post. Thanks for reading and see you next time.
If you enjoy my writing, please check out my Patreon https://www.patreon.com/sarunw and become my supporter. Sharing the article is also greatly appreciated.
Become a patron Buy me a coffee Tweet ShareHow to set ContentInsets on SwiftUI List
In iOS 15, SwiftUI can indirectly set content inset using the safeAreaInset modifier. Let's learn how to do it.
How to make Empty Space Tappable in SwiftUI
If you have ever added a tap gesture to a VStack or HStack, you might notice that space between content in a stack isn't tappable. Learn the reason and how to mitigate the problem.