How to make Large size ProgressView in SwiftUI
Table of Contents
ProgressView is a view that shows that a task is in progress.
You can think of it as a loading indicator.
In UIKit, we have UIActivityIndicatorView which is a UIKit quivalent to ProgressView.
UIActivityIndicatorView has two styles which dictate its size.
- Medium
- Large
UIActivityIndicatorView(style: .medium)
UIActivityIndicatorView(style: .large)
In iOS 16, we can also set the size of a ProgressView, but it isn't straightforward as we do in UIKit.
How to change ProgressView size in SwiftUI
To change the size of a ProgressView, you have to use controlSize(_:) modifier.
We have four sizes to choose from, but ProgressView only supported three of them.
- mini
- small
- regular
- large
Apply the controlSize modifier and specify the size that you want.
ProgressView()
    .controlSize(.mini)
ProgressView()
    .controlSize(.small)
ProgressView()
    .controlSize(.regular)
ProgressView()
    .controlSize(.large)
Here is the result.
- The default size, regular, is equivalent to
ActivityIndicator(style: .medium). - The large size is equivalent to
ActivityIndicator(style: .large). - And we can also make it smaller than that with mini and small sizes.
You can easily support sarunw.com by checking out this sponsor.
AI Paraphrase:Are you tired of staring at your screen, struggling to rephrase sentences, or trying to find the perfect words for your text?
Before iOS 16
Control a ProgressView size with controlSize(_:) only works in iOS 16.
So, to change the size for iOS 15 and prior, you need to rely on the scaleEffect modifier, which can scale the view up and down based on the passing scale factor.
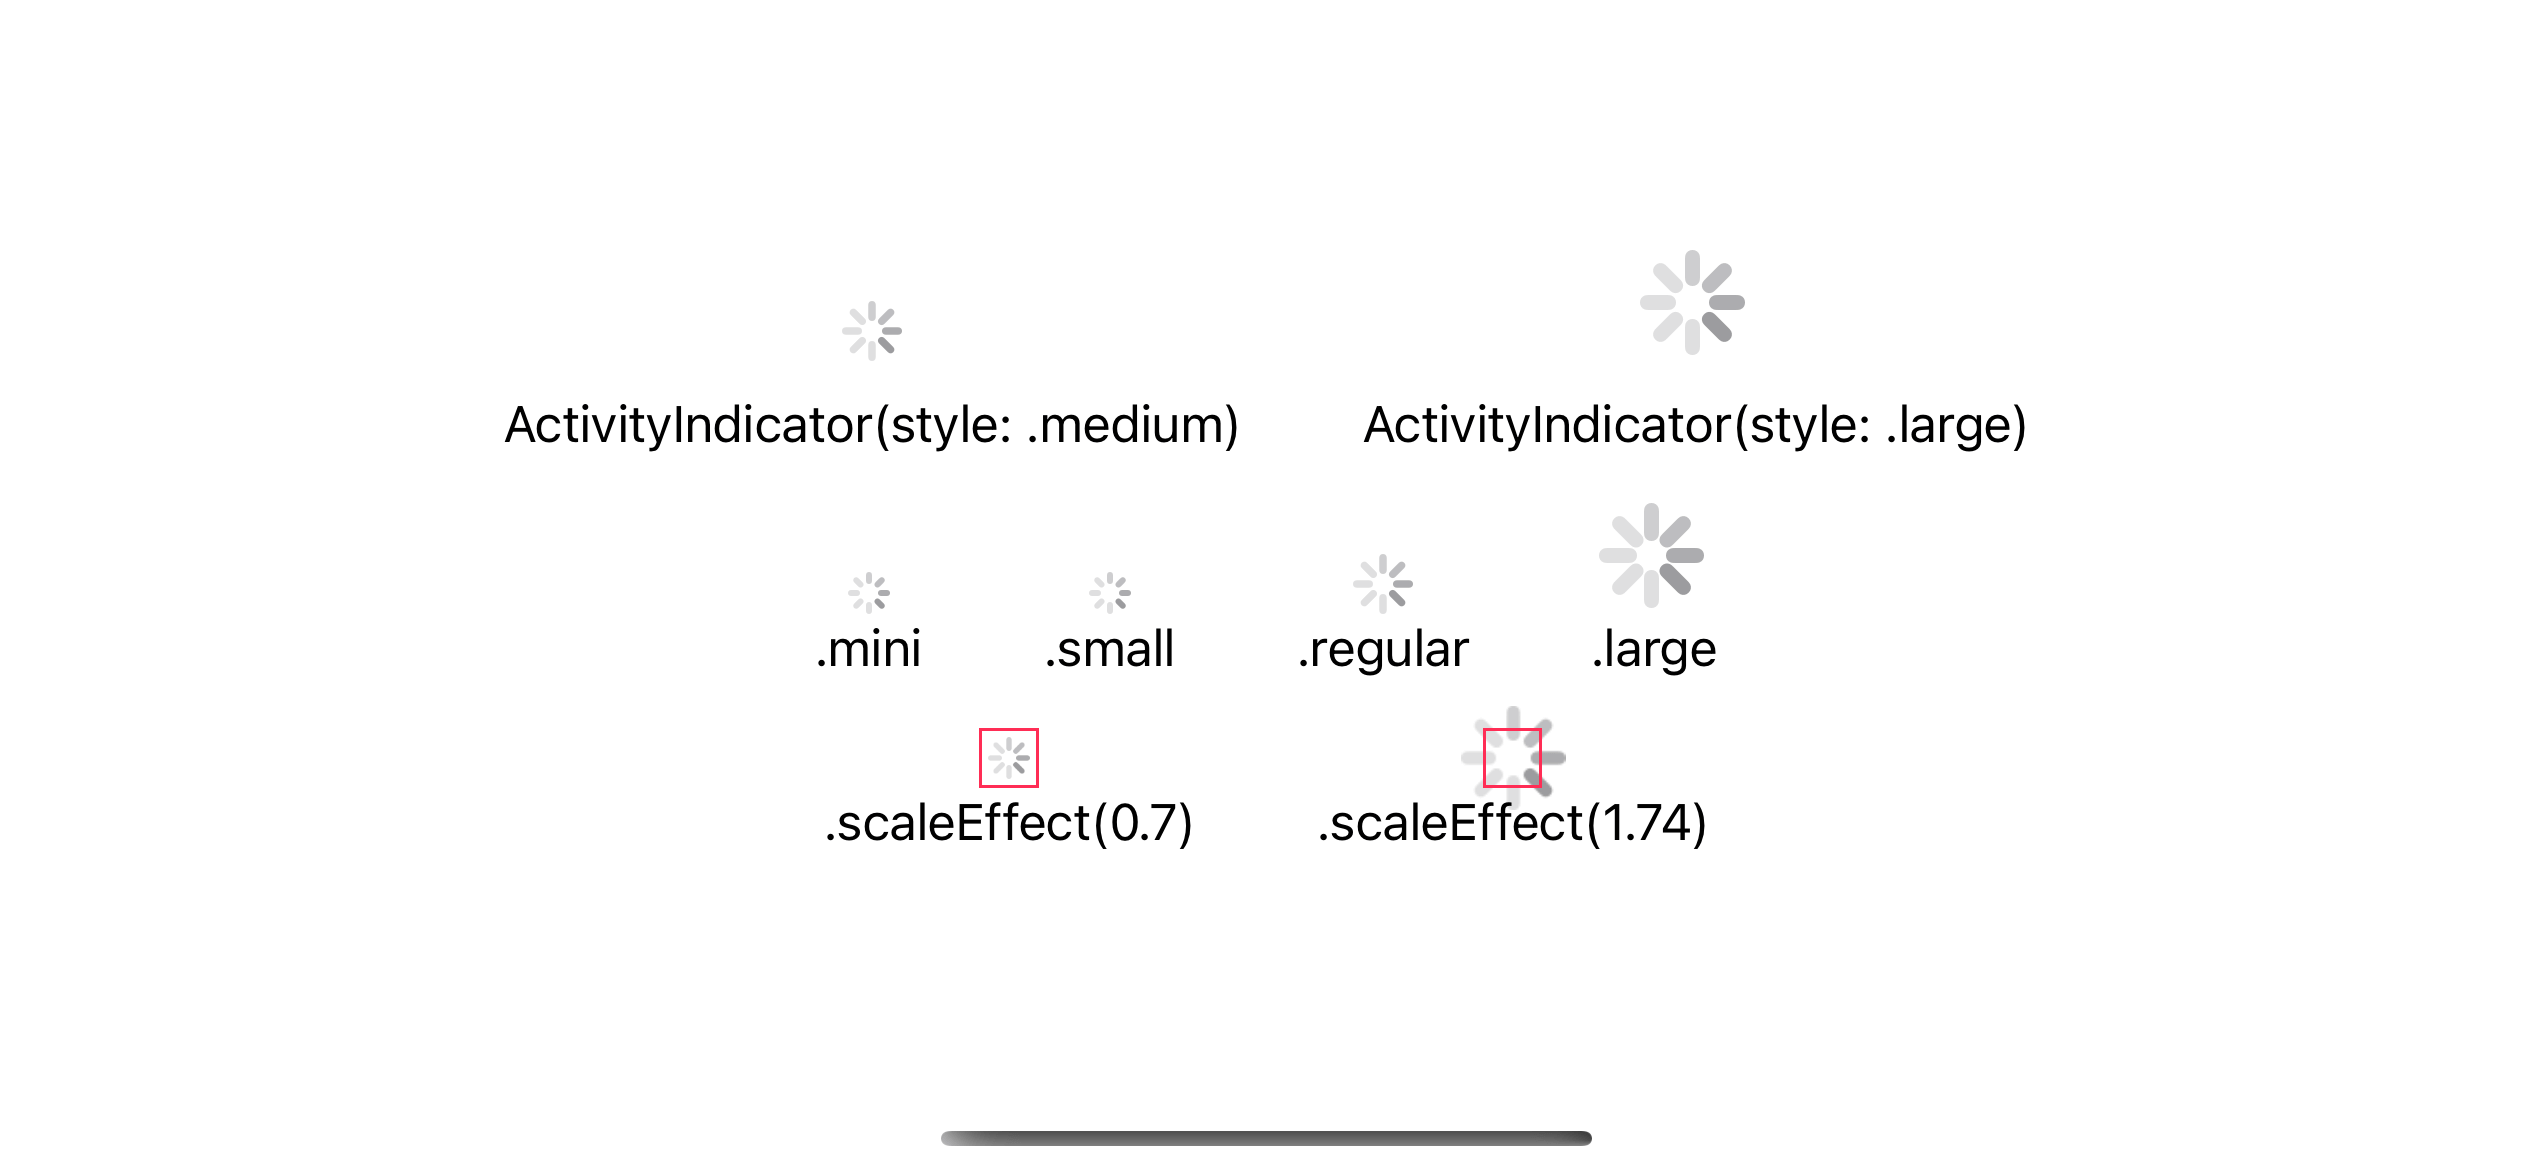
Here is an example where we try to replicate small and large sizes using .scaleEffect.
ProgressView()
    .scaleEffect(0.7)
ProgressView()
    .scaleEffect(1.74)
.scaleEffect can replicate the size, but there are some downsides.
- The view becomes blurry when scaled up.
- The frame stays the same (indicated by the pink border in the below example). So, you might need to adjust your view layout manually.
- Since it is just scaled up and down from the original size, the final result doesn't match the standard component.
All of these points are subtle enough, so I think you can get away with this trick.
Read more article about SwiftUI, ProgressView, iOS 16, or see all available topic
Enjoy the read?
If you enjoy this article, you can subscribe to the weekly newsletter.
Every Friday, you'll get a quick recap of all articles and tips posted on this site. No strings attached. Unsubscribe anytime.
Feel free to follow me on Twitter and ask your questions related to this post. Thanks for reading and see you next time.
If you enjoy my writing, please check out my Patreon https://www.patreon.com/sarunw and become my supporter. Sharing the article is also greatly appreciated.
Become a patron Buy me a coffee Tweet ShareHow to use SFSafariViewController in SwiftUI
In this article, I will teach you what I think is the proper way to present SFSafariViewController in a SwiftUI app.
Detecting if SwiftUI app is in Xcode Previews
Learn how to detect whether an app is running in Xcode Previews.