Responsive design with UIStackView
Table of Contents
UIStackView is my go-to view when I try to layout views in the Auto layout. The good thing about UIStackView is it is effortless to make a responsive design out of it. Today we are going to learn how to use UIStackView that adapts to size change.
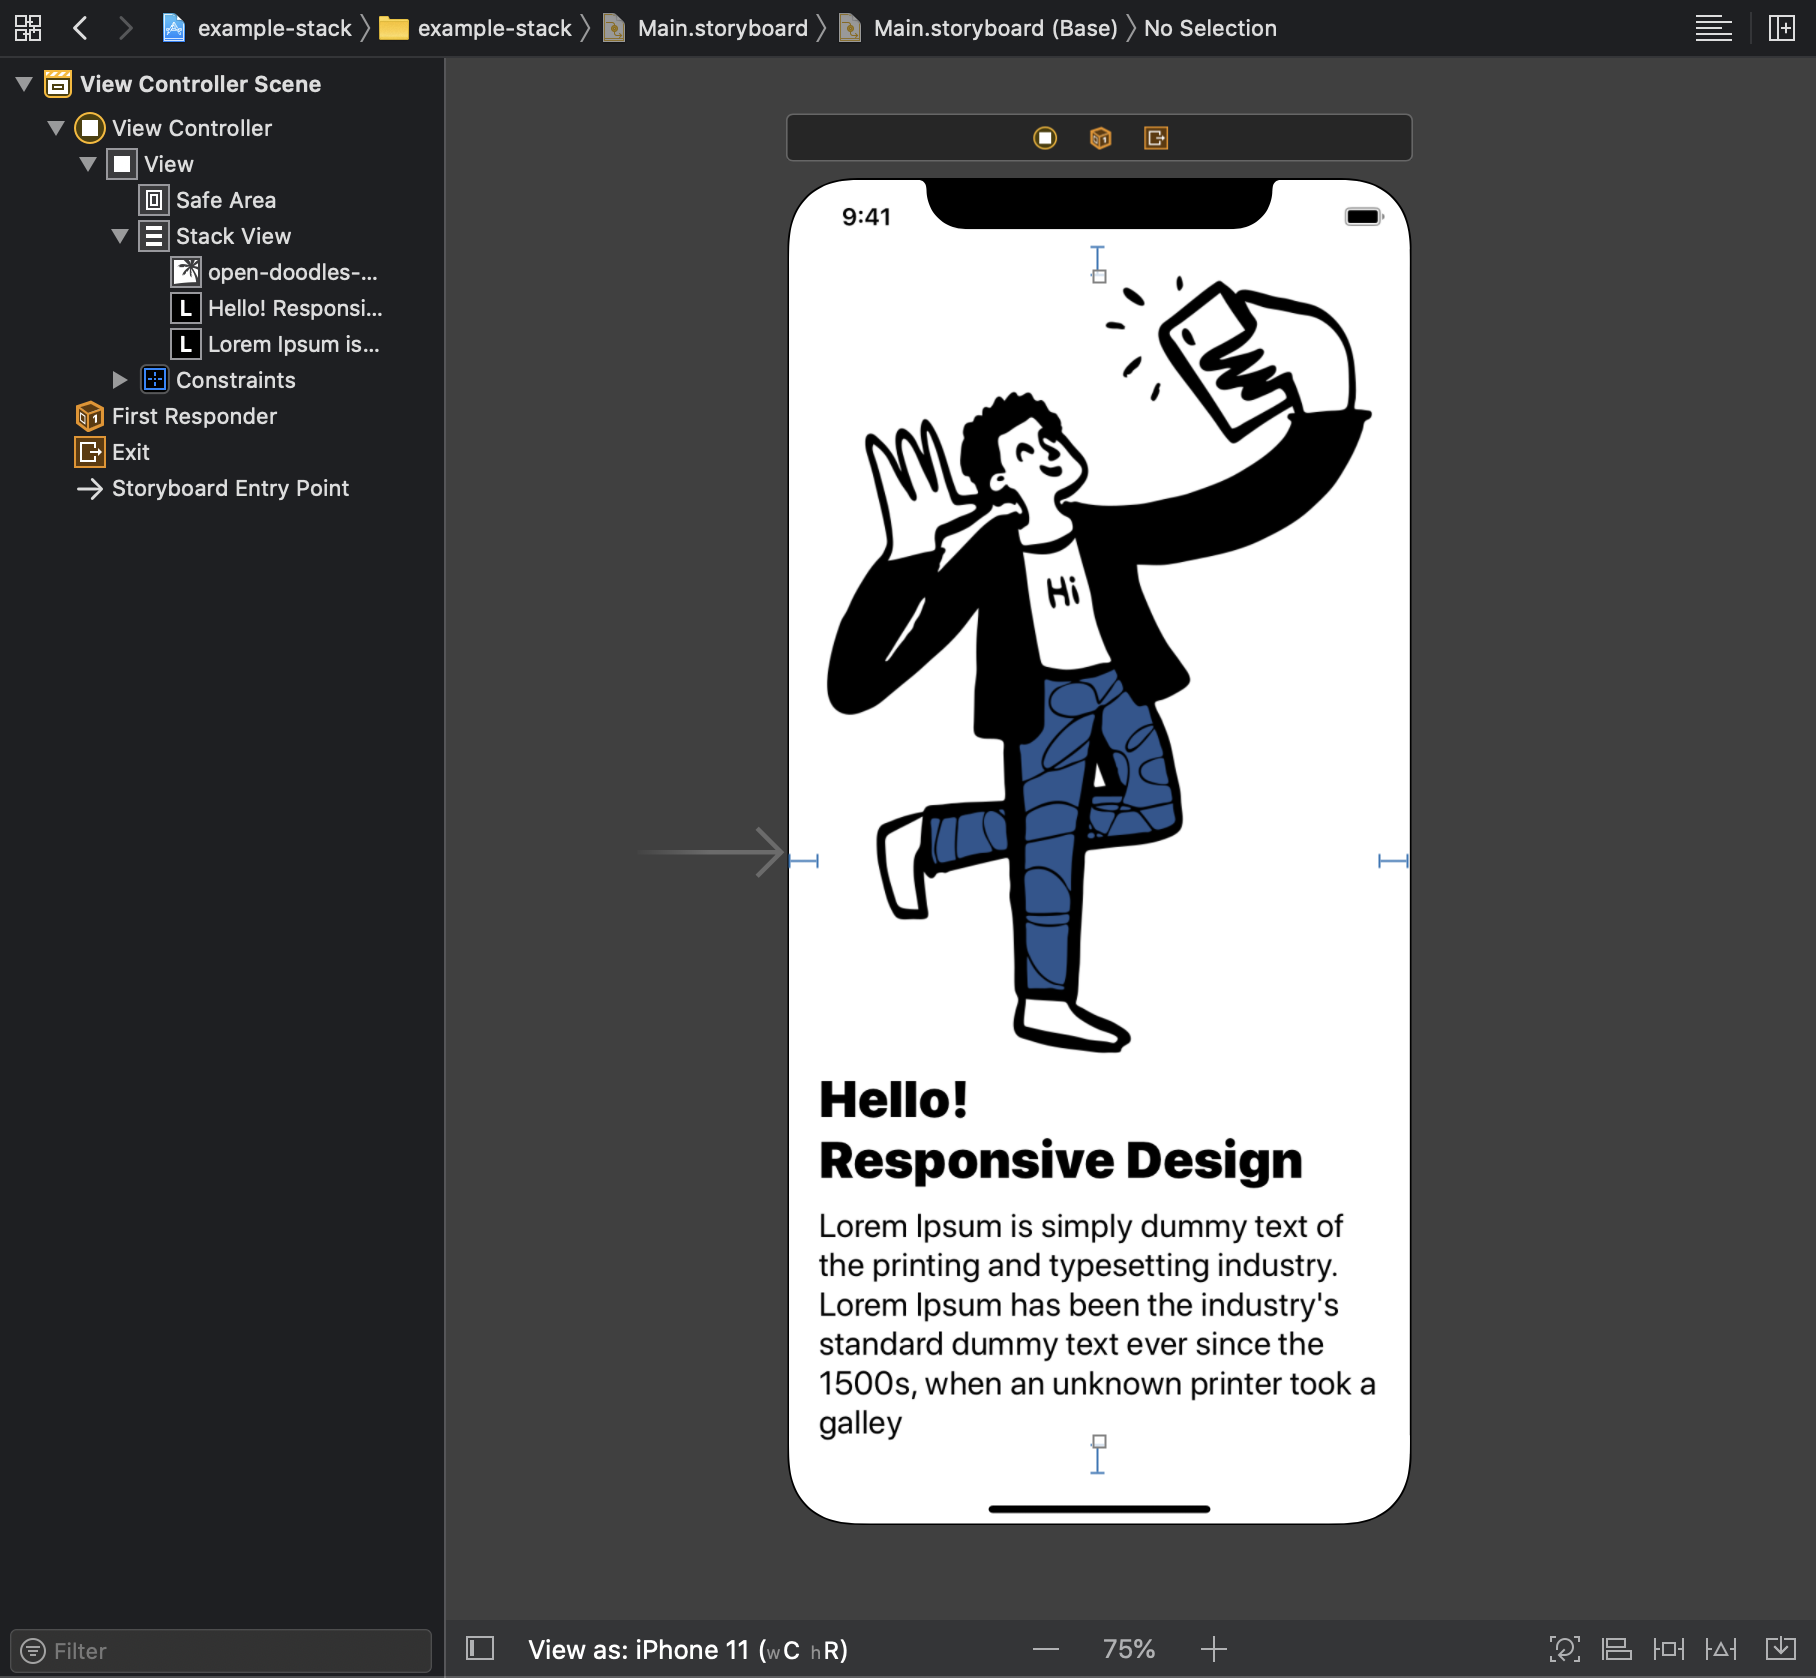
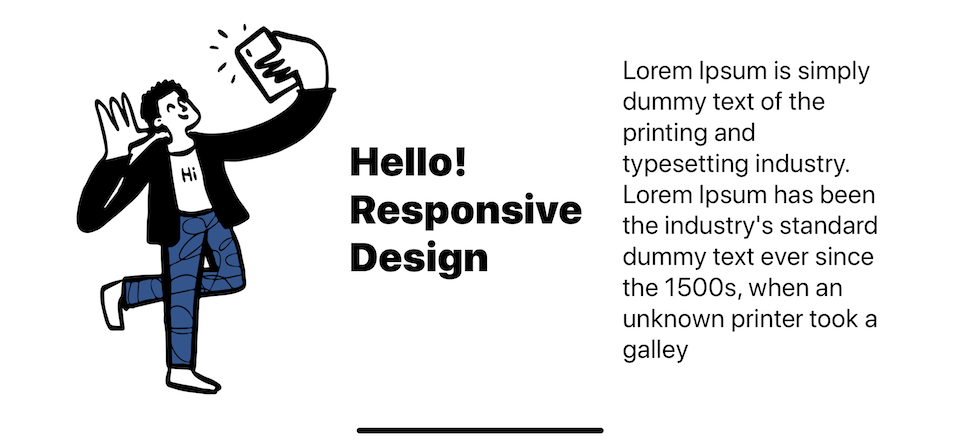
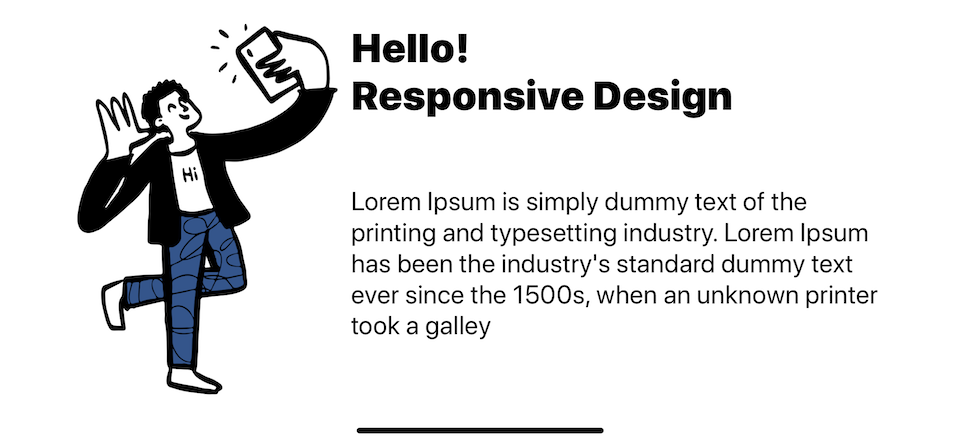
Let's start with a simple layout of a single vertical UIStackView with three elements (UIImageView and two UILabel).
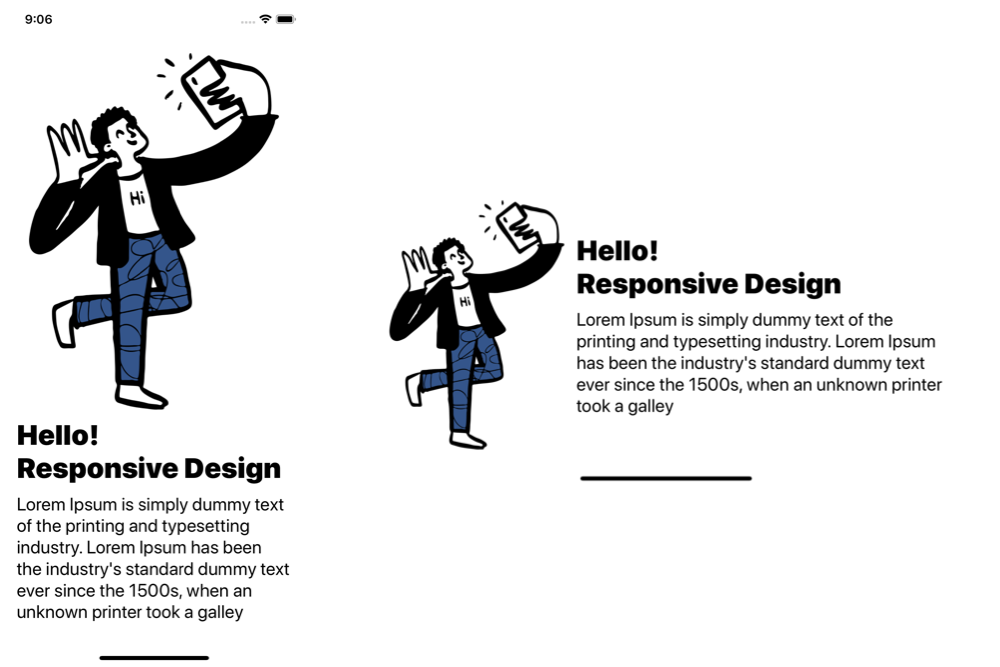
If you rotate right now, this is what you get.
Horizontal axis for landscape
What we want to do is changing our axis of the stack view to horizontal for landscape. The concept of portrait and landscape is obsolete in iOS 8 and replace with a concept of Size classes where the width and height are categorized into two classes, regular and compact. So, when we want to make an adjustment for landscape, what we really want is to make an adjustment for compact height.
Apple makes this adjustment very easy when using the storyboard. To do this:
- Open storyboard and select a stack view that you want to make a modification.
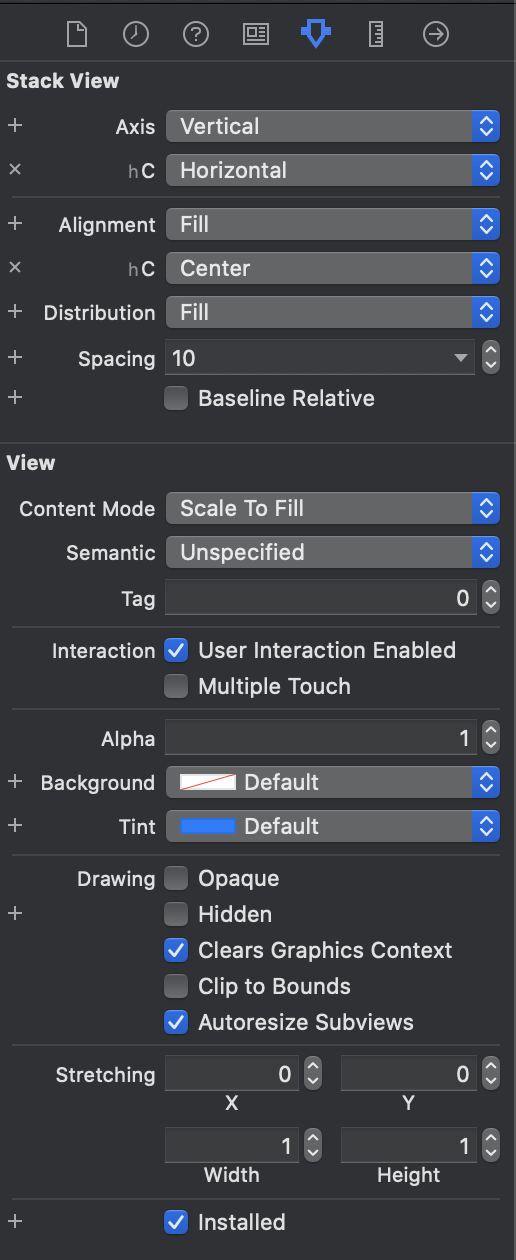
- In Attributes Inspector, click plus icon (+) on the left of Axis attribute.
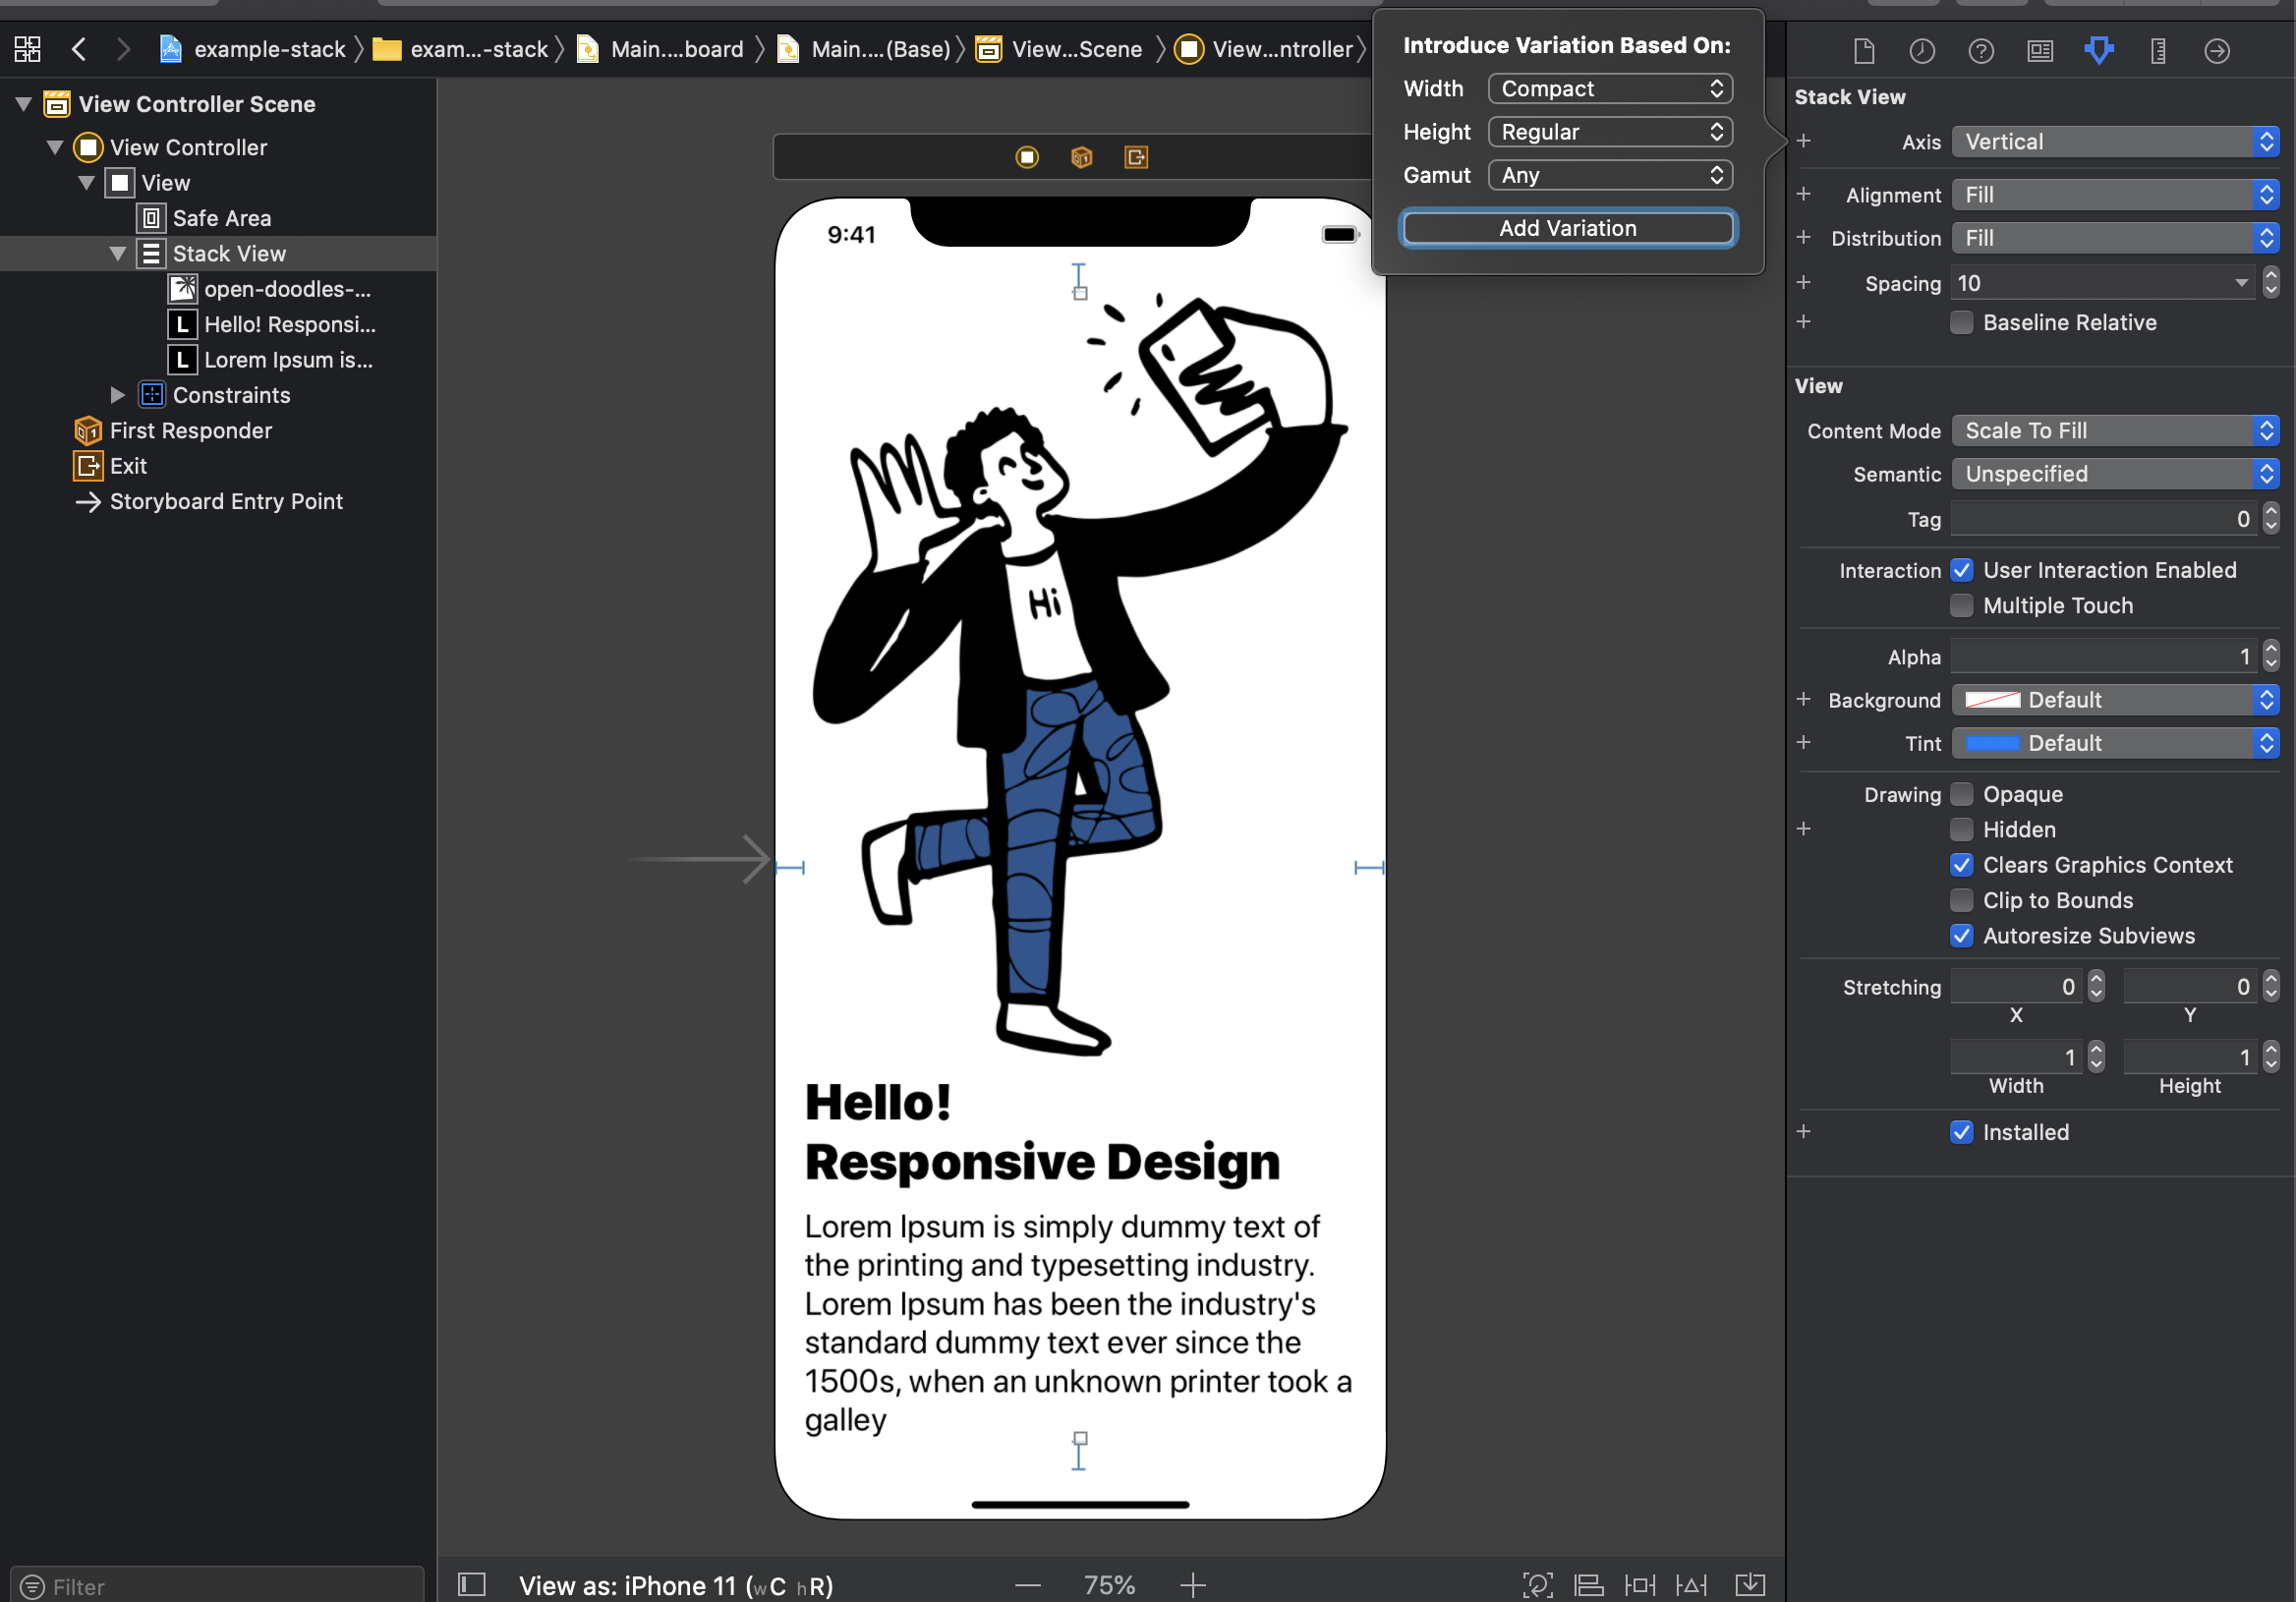
- Since we want to modify axis for compact height, we would set Width and Gamut to
Anyand Height tocompact.
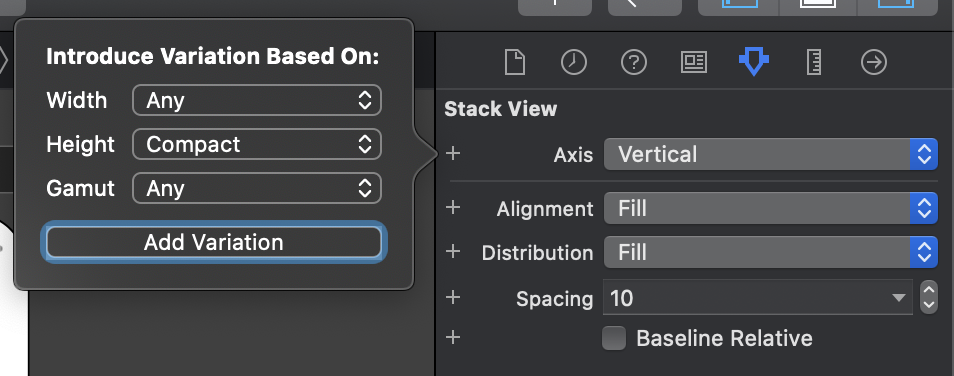
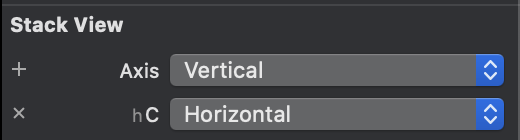
- Click Add Variation and you will see a new row with
hClabel (height Compact). - Edit this new row to Horizontal.
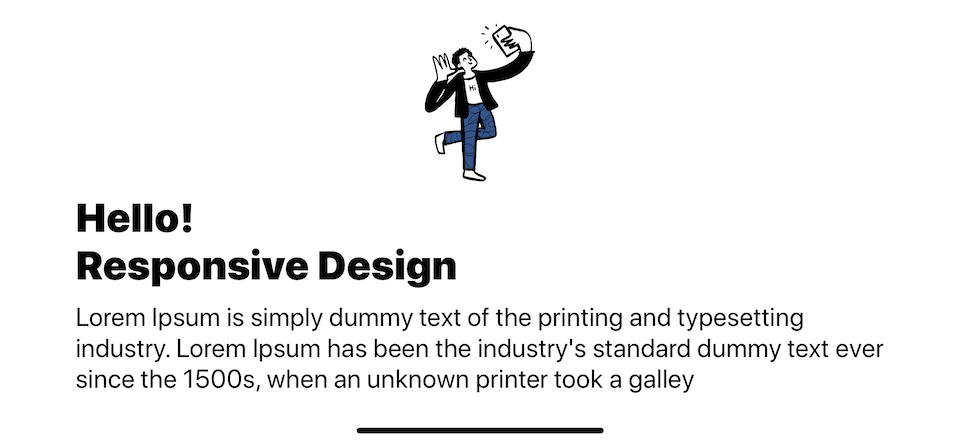
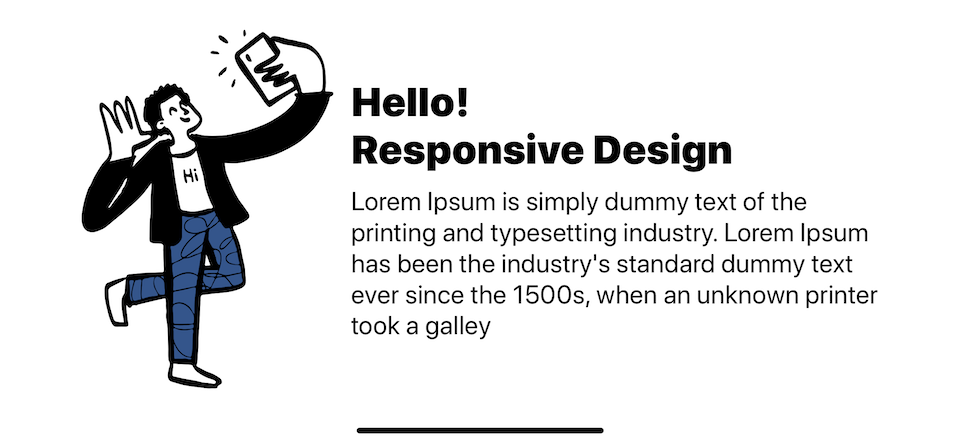
That's all you need to do to make the stack view axis horizontal in the landscape. Run the app, and this is what you get.
You can easily support sarunw.com by checking out this sponsor.
AI Grammar: Correct grammar, spell check, check punctuation, and parphrase.
Two stack view
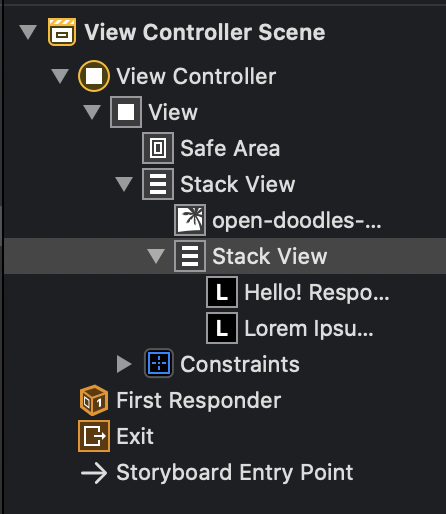
We are halfway done at this point. The rest is just a small modification on the label's part. Right now, everything shares the same stack view, but we want two labels to align vertically regardless of size classes. So, we will create another stack view to hold these two labels.
Here is the result.
The outer stack view becomes horizontal on a landscape, and the inner stack view maintains the same vertical axis.

Alignment
The only thing left to make a landscape layout look perfect is an alignment. Right now, the labels spacing are too large. That's because our stack view alignment is fill. To fix this, we will change alignment to center for compact height.
What we need to do is repeats all the steps that we did, but this time do it on Alignment attribute.
- Open storyboard and select a stack view that you want to make a modification.
- In Attributes Inspector, click plus icon (+) on the left of Alignment attribute.
- Set Width and Gamut to
Anyand Height tocompact. - Click Add Variation, and you will see a new row with
hClabel (height Compact). - Edit this new row to
Center.

Here is the result.
And here is a layout. The outer stack view is now center align in compact height trait.

Conclusion
Adding variation based on size and gamut isn't available just for a stack view. This is a storyboard feature that you can use on any UIKit views. You can easily figure the support attributes by looking at the plus (+) sign on the left of attributes.
Attributes Inspector of UIStackView.
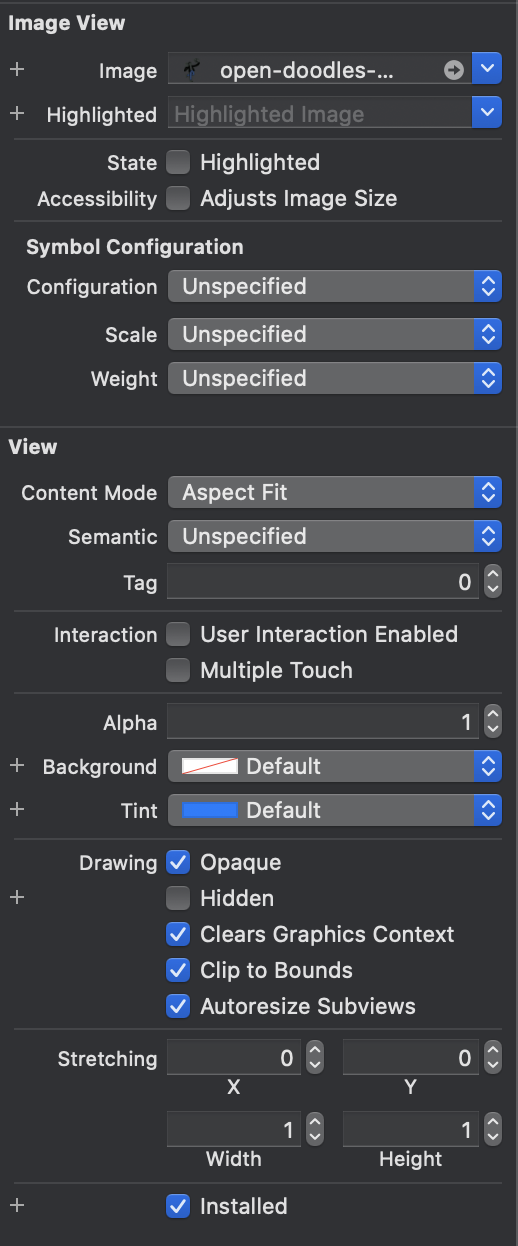
Attributes Inspector of UIImageView.
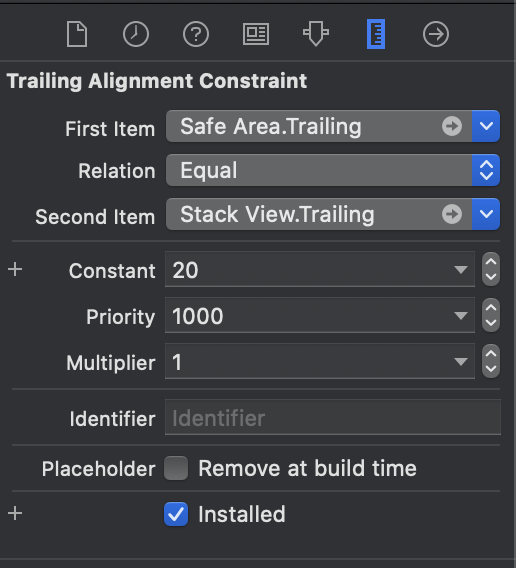
You can even change NSLayoutConstraint attribute based on these traits.
That's all you need to do to make your layout adaptive.
You can easily support sarunw.com by checking out this sponsor.
AI Grammar: Correct grammar, spell check, check punctuation, and parphrase.
Related Resources
Read more article about UIKit, Responsive, UIStackView, Auto Layout, or see all available topic
Enjoy the read?
If you enjoy this article, you can subscribe to the weekly newsletter.
Every Friday, you'll get a quick recap of all articles and tips posted on this site. No strings attached. Unsubscribe anytime.
Feel free to follow me on Twitter and ask your questions related to this post. Thanks for reading and see you next time.
If you enjoy my writing, please check out my Patreon https://www.patreon.com/sarunw and become my supporter. Sharing the article is also greatly appreciated.
Become a patron Buy me a coffee Tweet ShareMatch a view's shadow to the Sketch shadow
Learn how to set shadow spread and blur from a Sketch design.