How to Run code in Release build in Xcode
Table of Contents
When you run your app in Xcode, it will build with the Debug build configuration.
In this article, you will learn how to run it on the Release build configuration, which is the one Xcode used for the App Store.
What is the difference between Debug and Release configurations
When you create a new Xcode project, Xcode will create two build configurations for you.
- Debug configuration. Xcode uses this when you developing your app.
- Release configuration. Xcode uses this when releasing the app to the App Store.
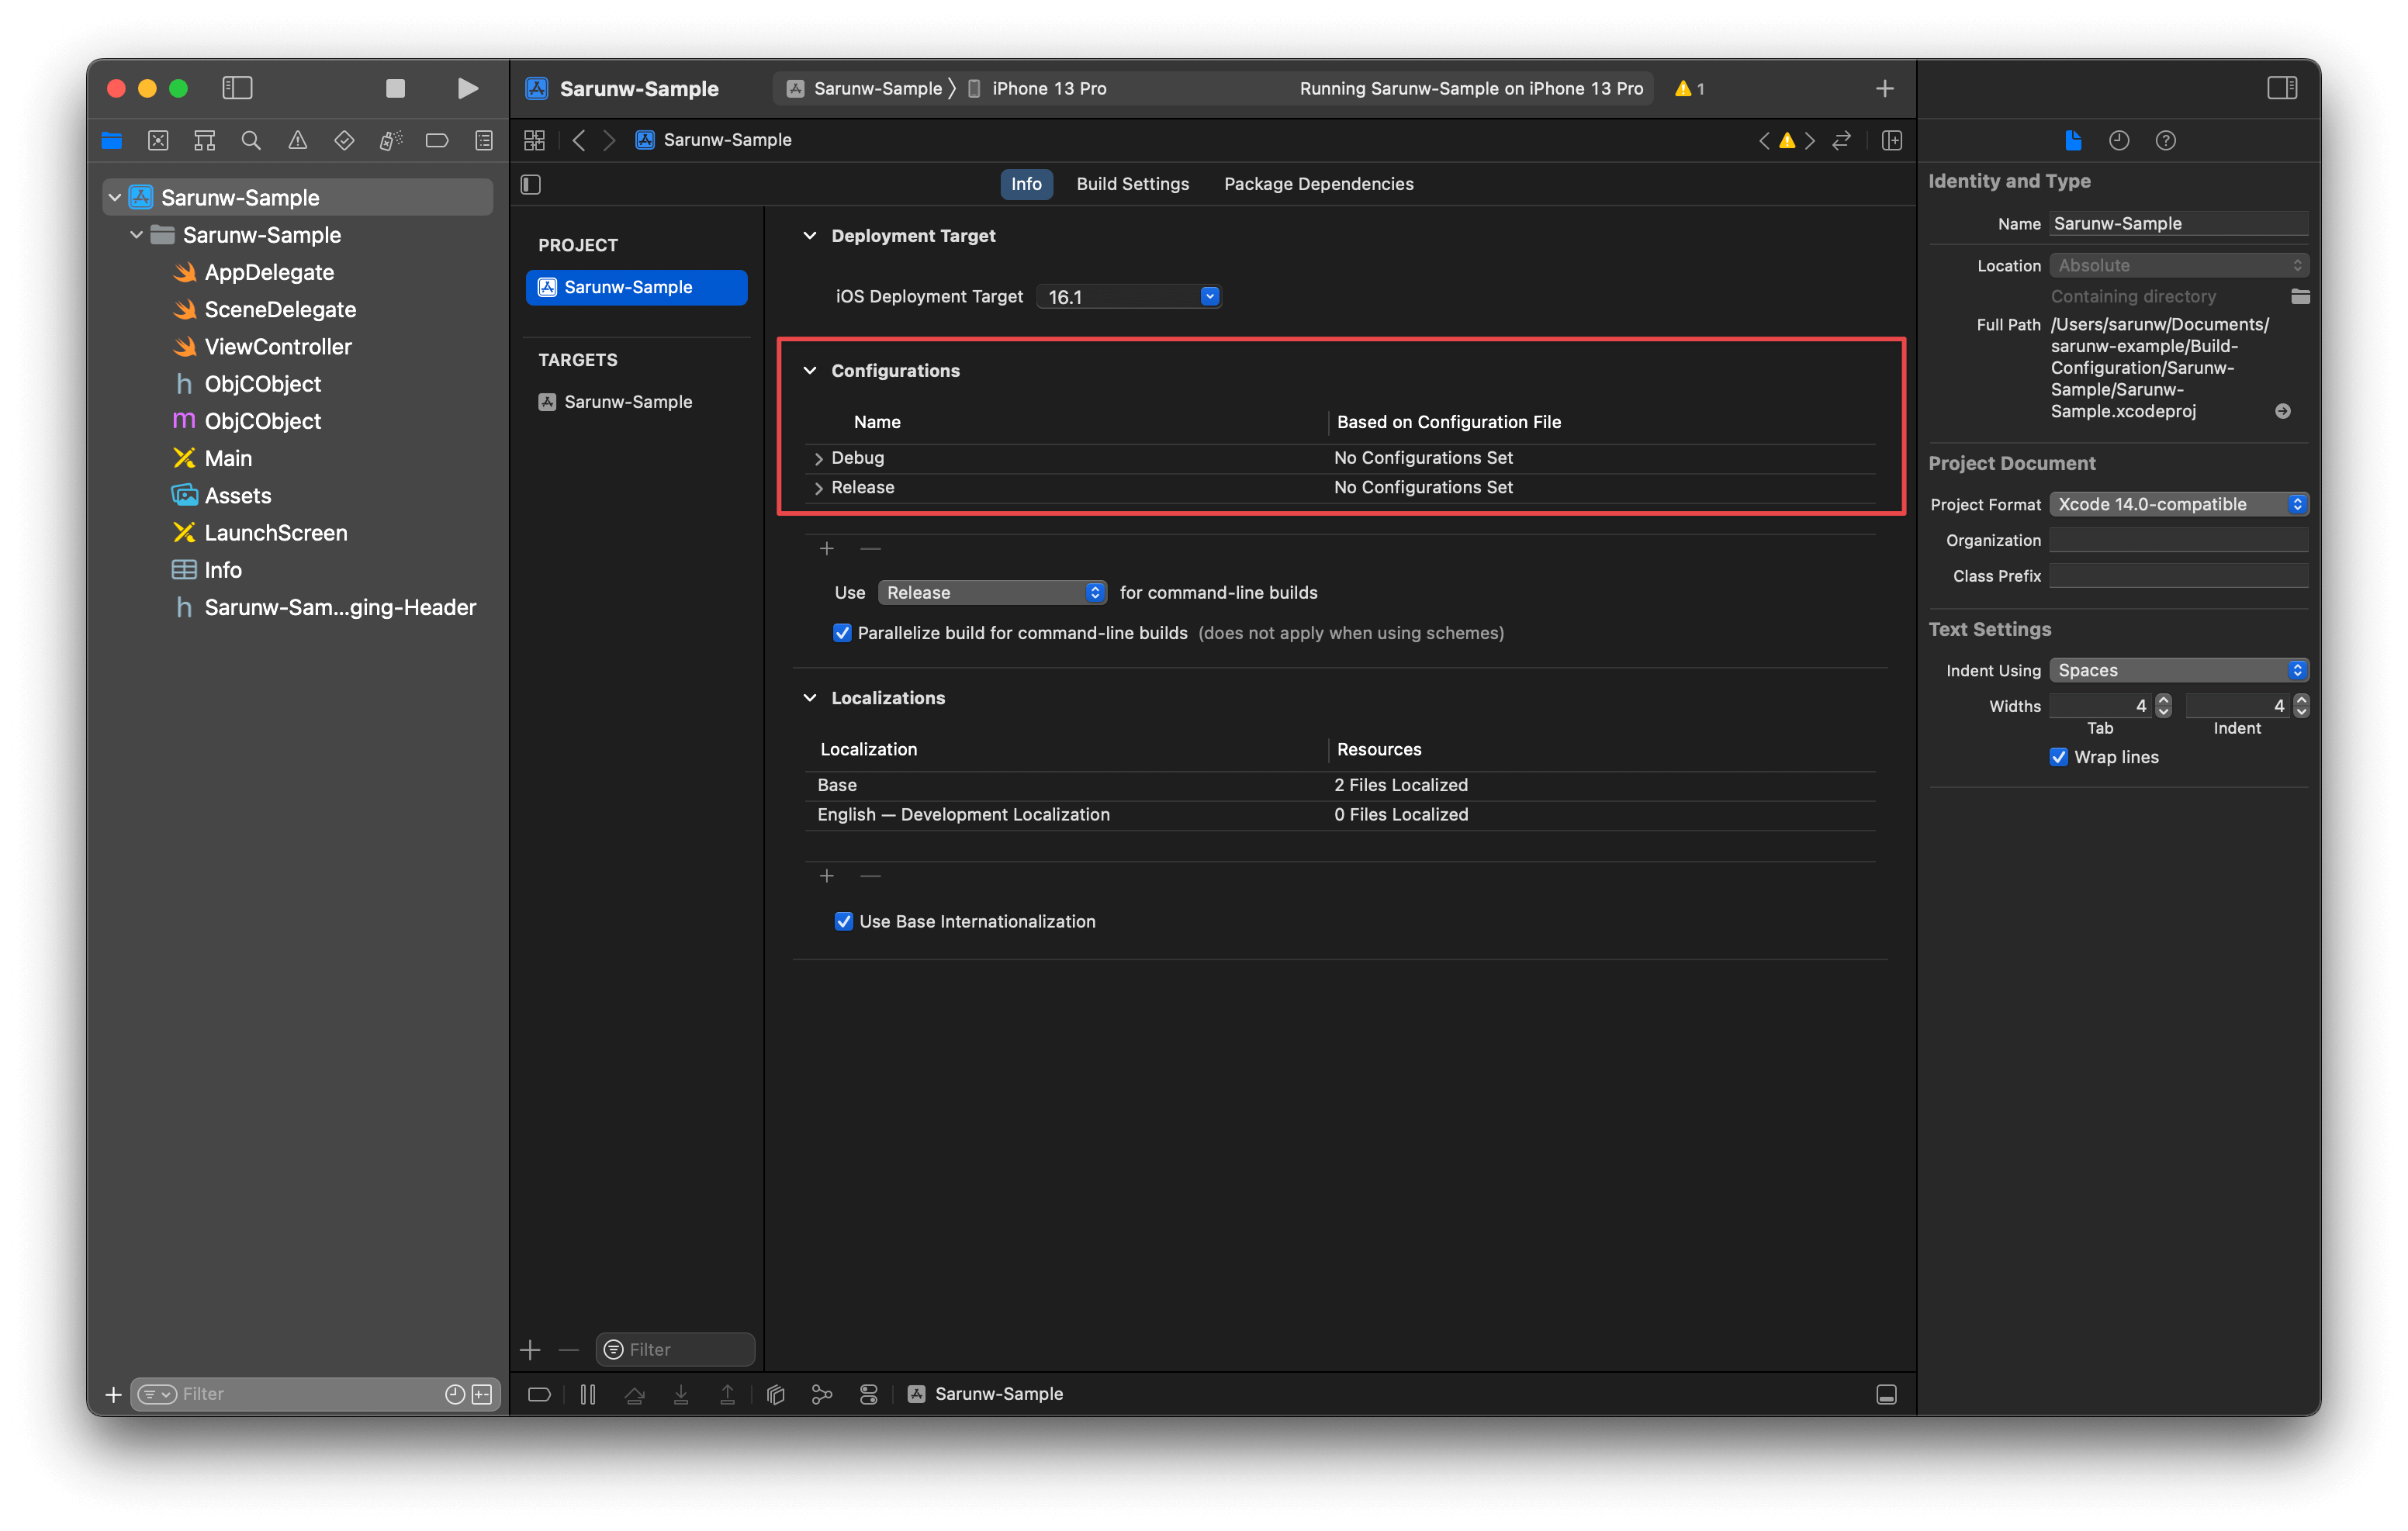
The main difference between the two is for the release configuration, Xcode will apply a lot of optimization to make the code run faster and smaller in size to make it ready for production.
You can easily support sarunw.com by checking out this sponsor.
Screenshot Studio: Create App Store screenshots in seconds not minutes.
Why do I need to test my code on the Release configuration
Theoretically, optimization in the release mode shouldn't affect or change the app behavior, but in reality, there is a chance that the optimization would cause a behavior change.
If you got a weird bug that you can't reproduce in your development setting, running your app against the release configuration might help you.
You can easily support sarunw.com by checking out this sponsor.
Screenshot Studio: Create App Store screenshots in seconds not minutes.
How to Run code in Release build in Xcode
To run code in the Release build configuration in Xcode, you need to edit the Run scheme.
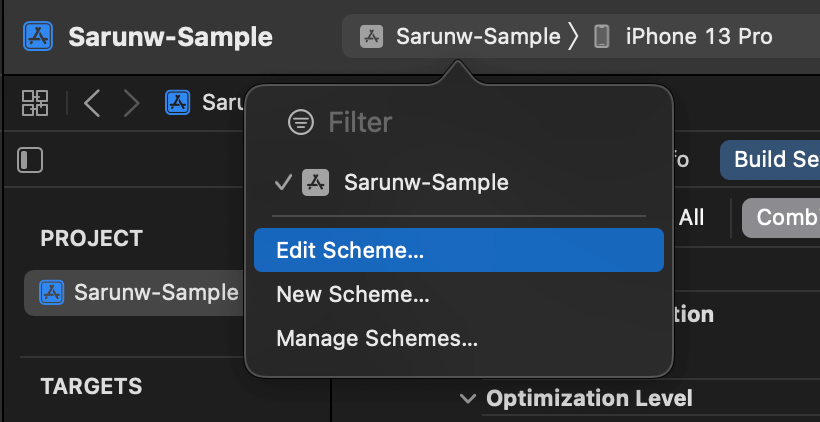
You can enter Edit Scheme window in either of these three ways.
- Click on the current scheme at the top of the Xcode Toolbar. Then, select the "Edit Scheme" menu.
-
Select menu Product > Scheme > Edit Scheme....
-
Use shortcut: ⌘ - command + ⇧ - shift + ,.
You will see the Edit Scheme popup window.
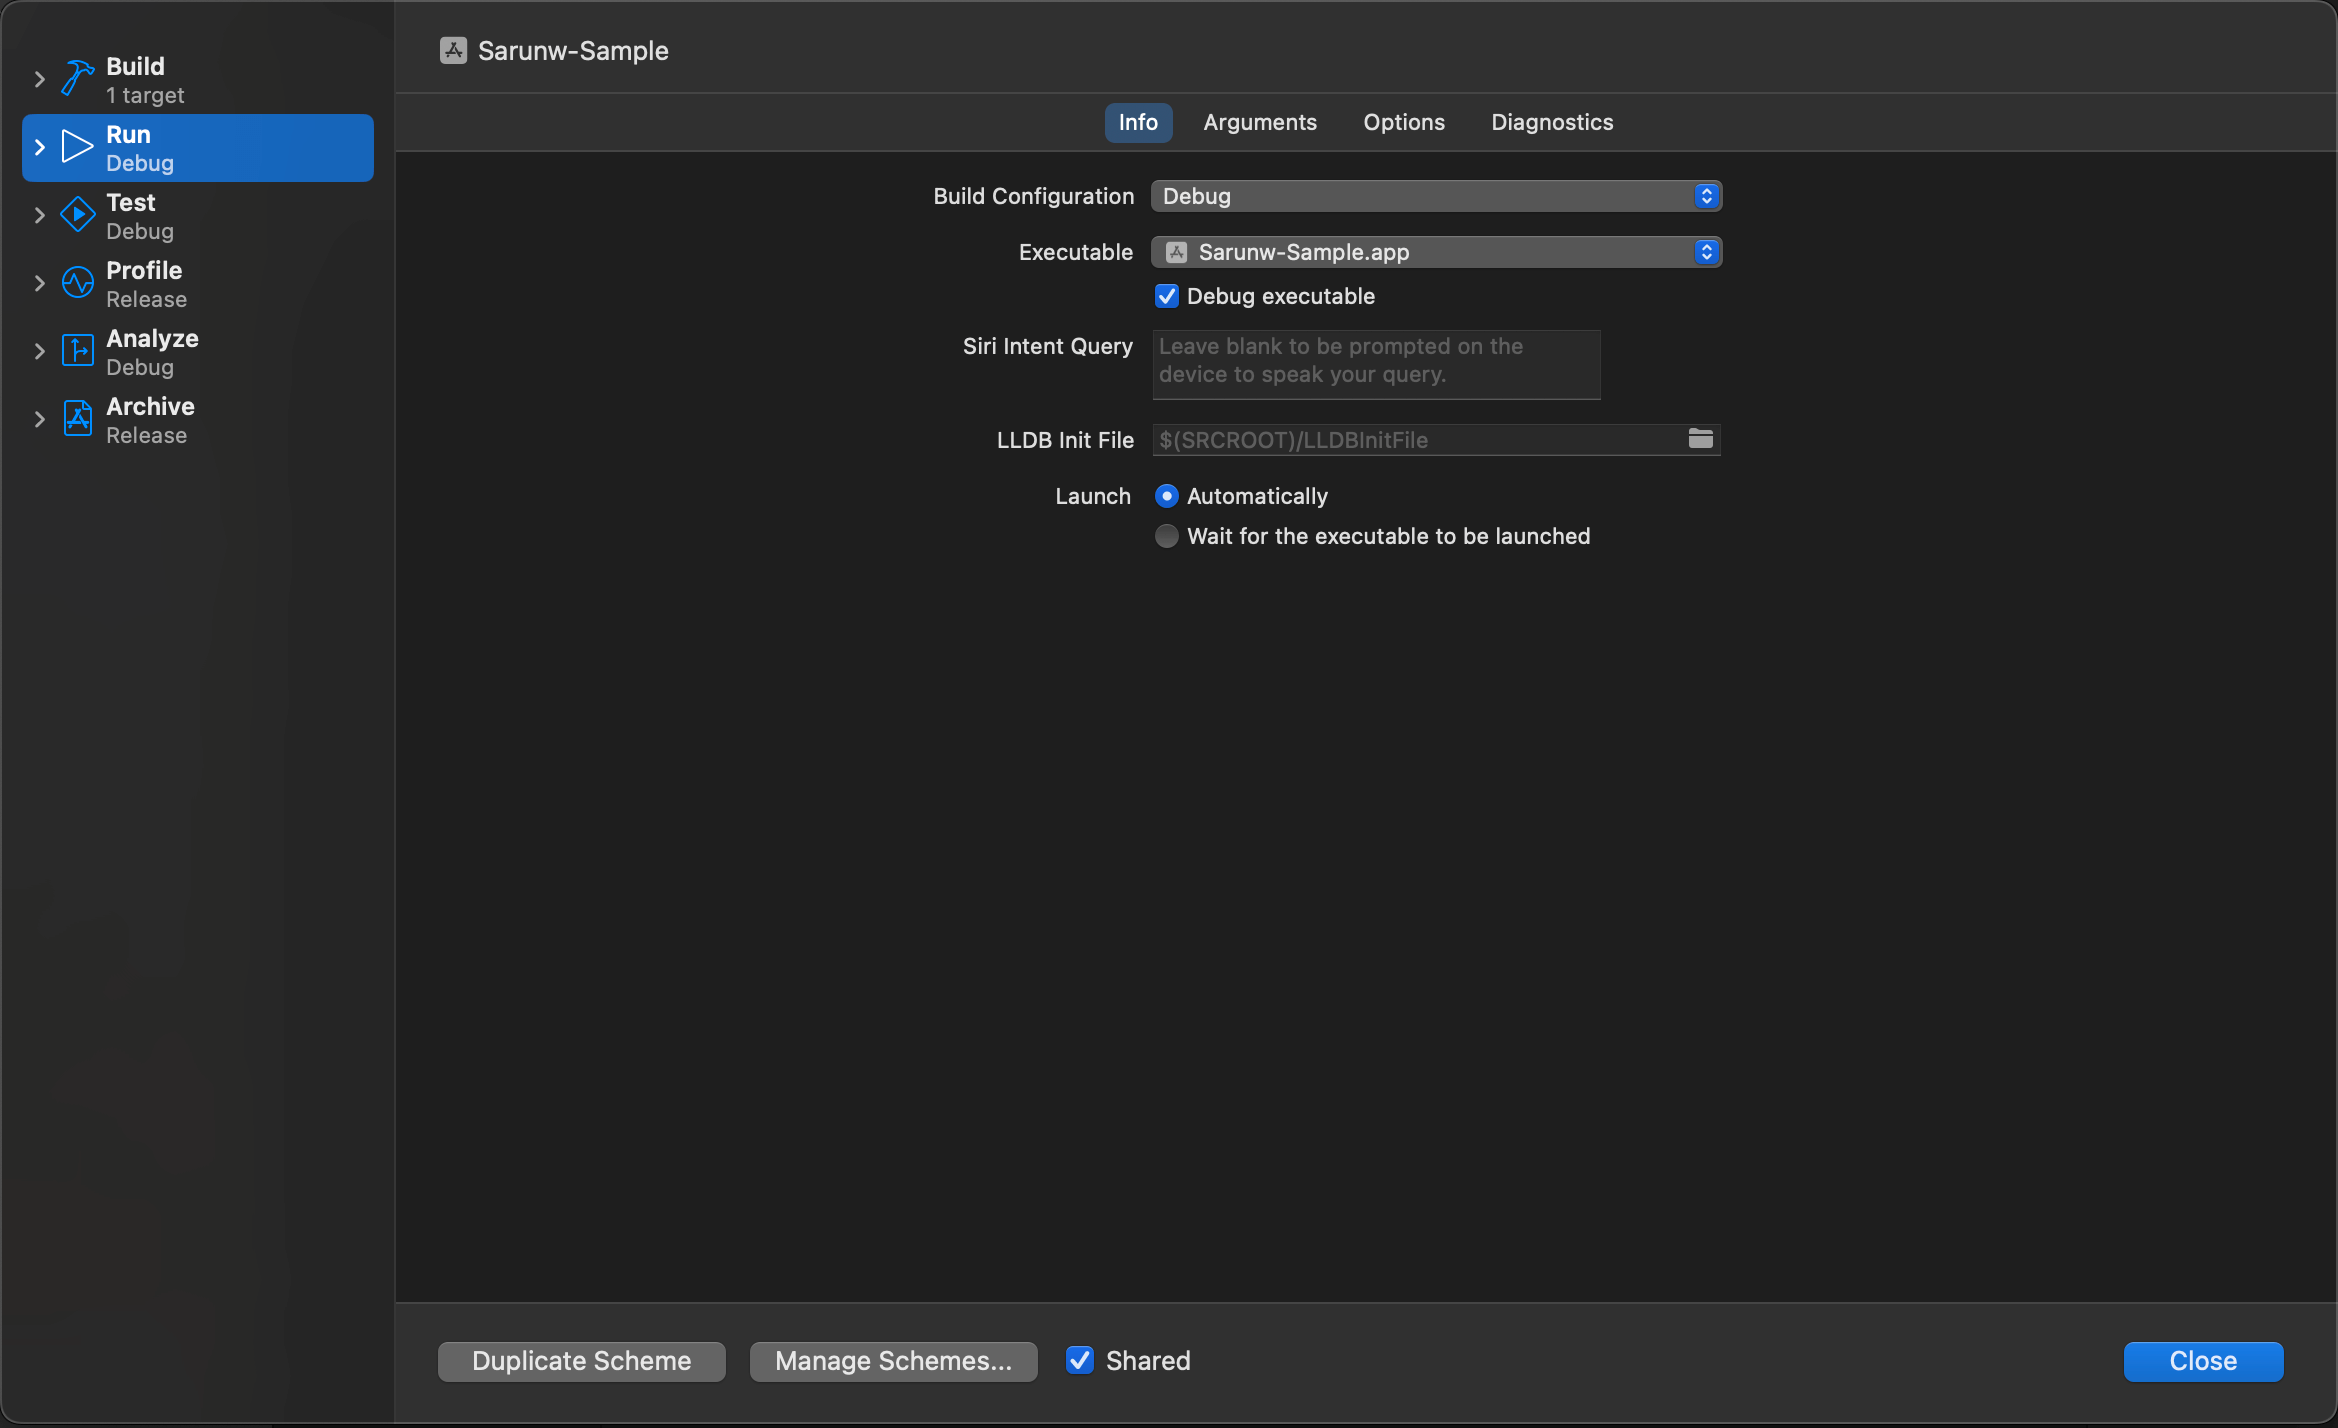
To run code in the Release build configuration:
- Select the Run action on the left panel.
- Select Info tab.
- Change Build Configuration value to Release.
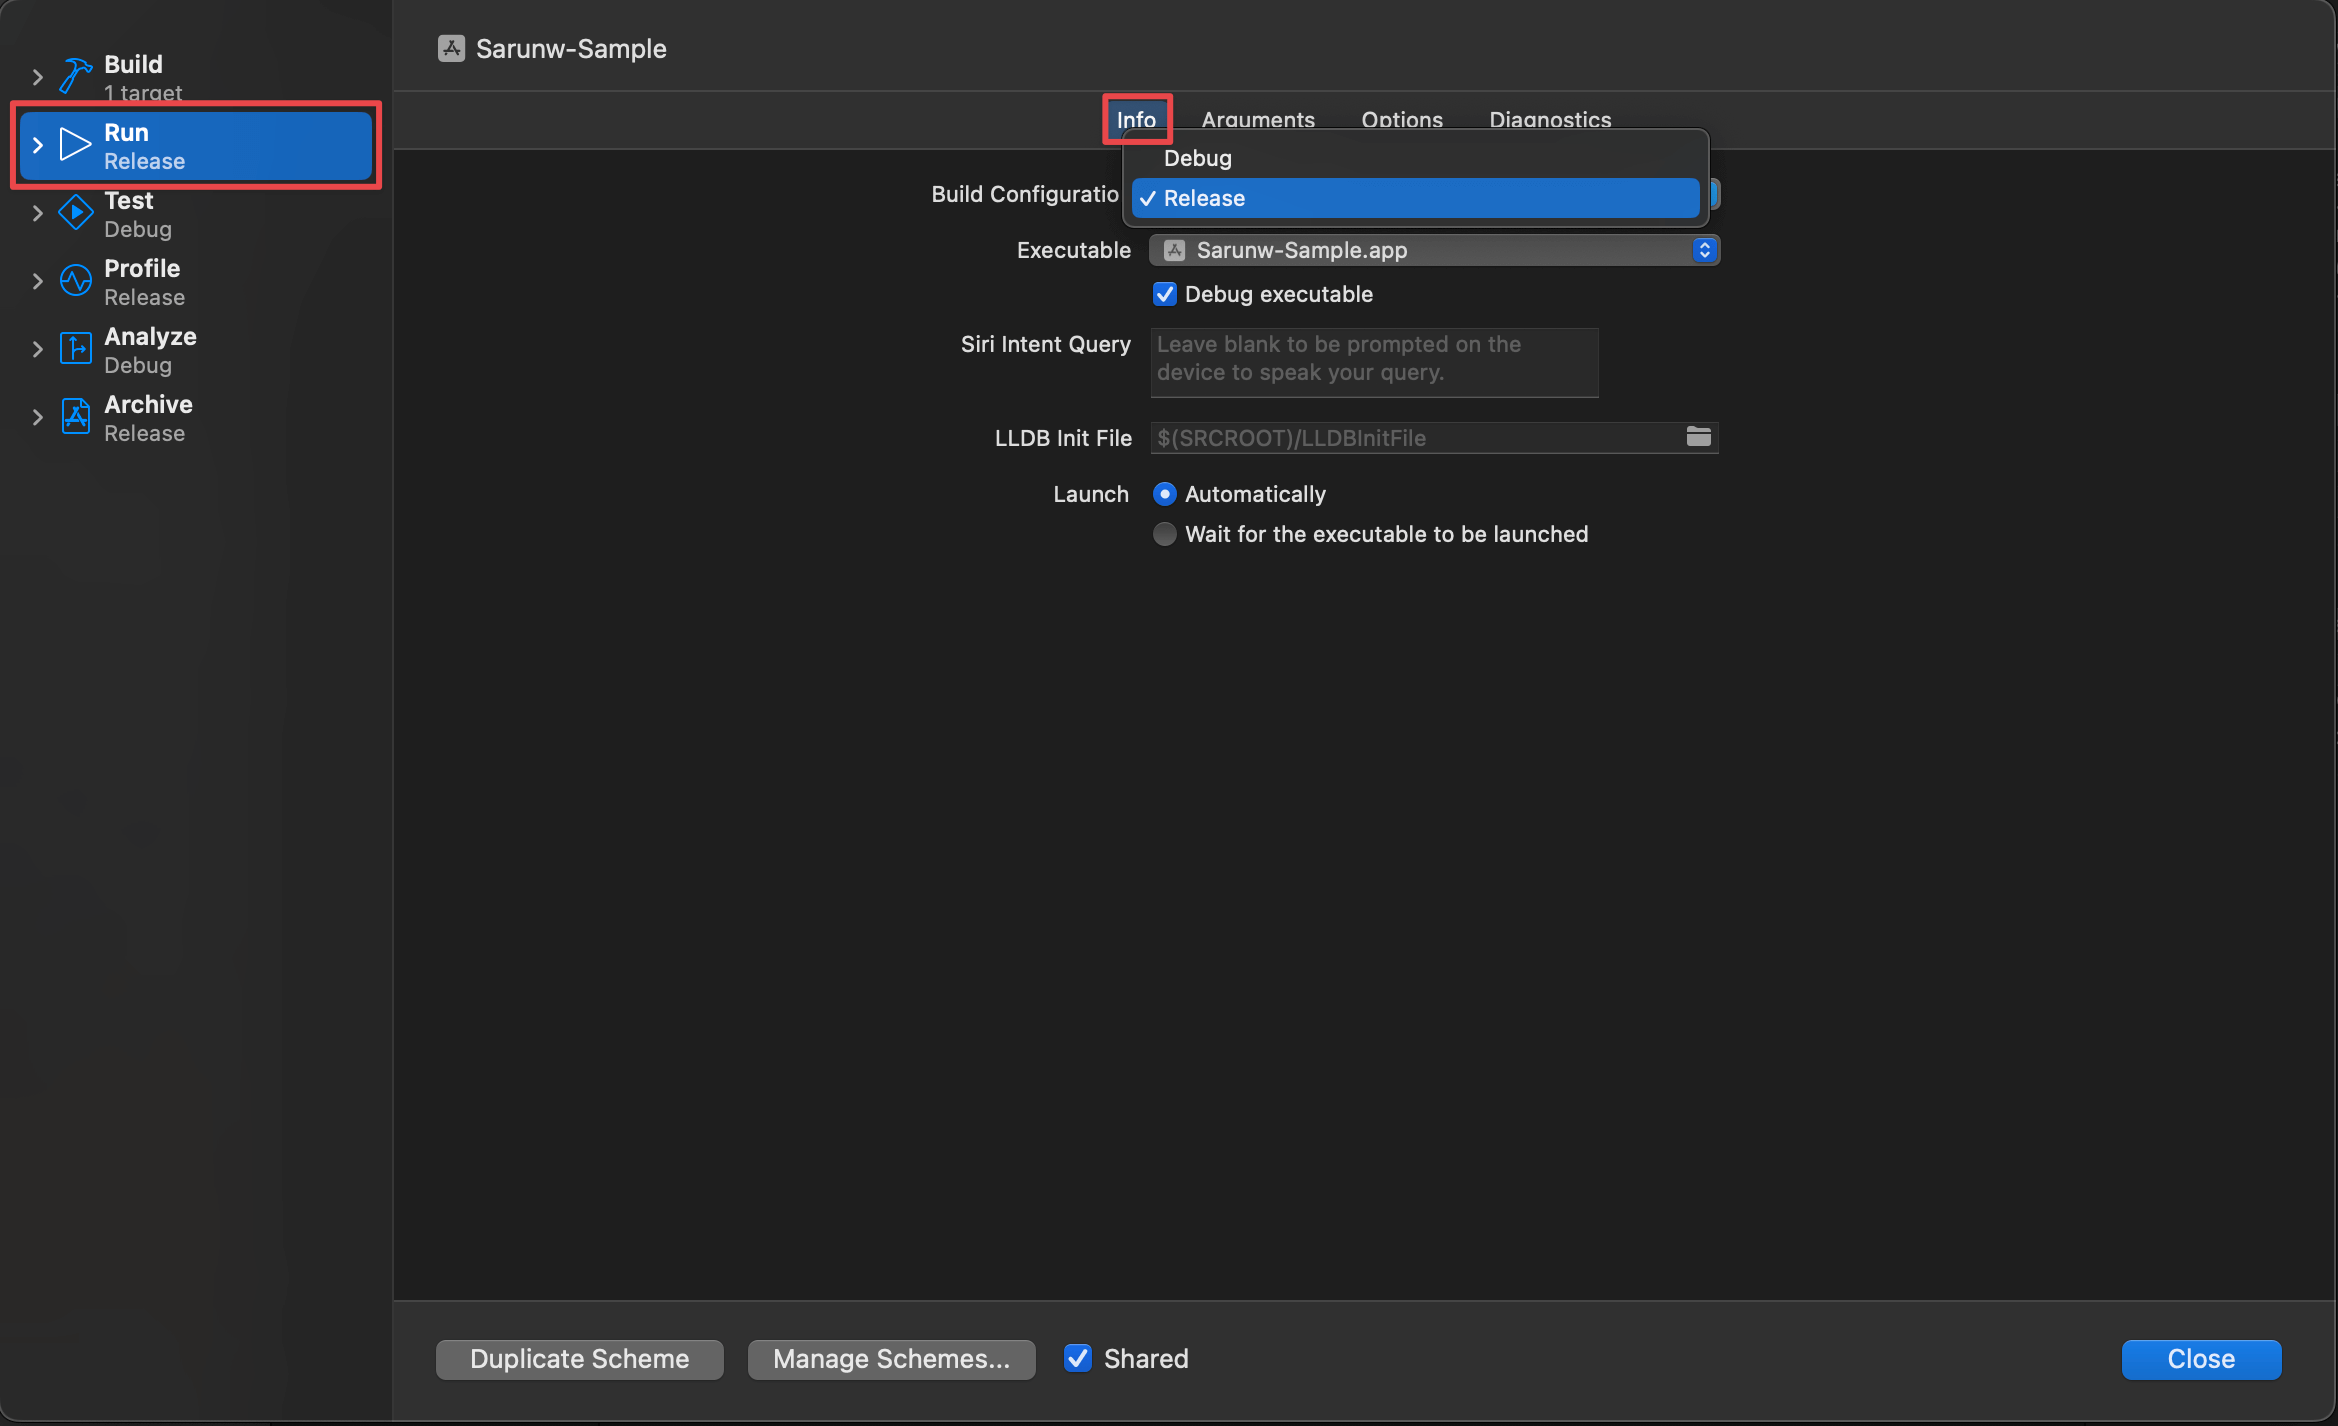
This will configure the Run action to use the Release build configuration.
After this change, your run action (Product > Run) will build with the release configuration.
Read more article about Xcode, Development, or see all available topic
Enjoy the read?
If you enjoy this article, you can subscribe to the weekly newsletter.
Every Friday, you'll get a quick recap of all articles and tips posted on this site. No strings attached. Unsubscribe anytime.
Feel free to follow me on Twitter and ask your questions related to this post. Thanks for reading and see you next time.
If you enjoy my writing, please check out my Patreon https://www.patreon.com/sarunw and become my supporter. Sharing the article is also greatly appreciated.
Become a patron Buy me a coffee Tweet ShareHow to Hide Navigation Bar on Scroll in UIKit
Since iOS 8, we can easily hide a navigation bar when users scroll. Let's learn why and how to do it.
How to change Command + Click behavior in Xcode
Command + click is my go-to shortcut when coding. Let's learn how to modify its behavior.