4 Xcode shortcuts to get back your screen space
Table of Contents
Working on Xcode without an external monitor is my nightmare. The screen resource is already limited on the MacBook. And many parts of Xcode try to take a portion of this valuable resource.
Here is an example of an Xcode project on a Macbook.
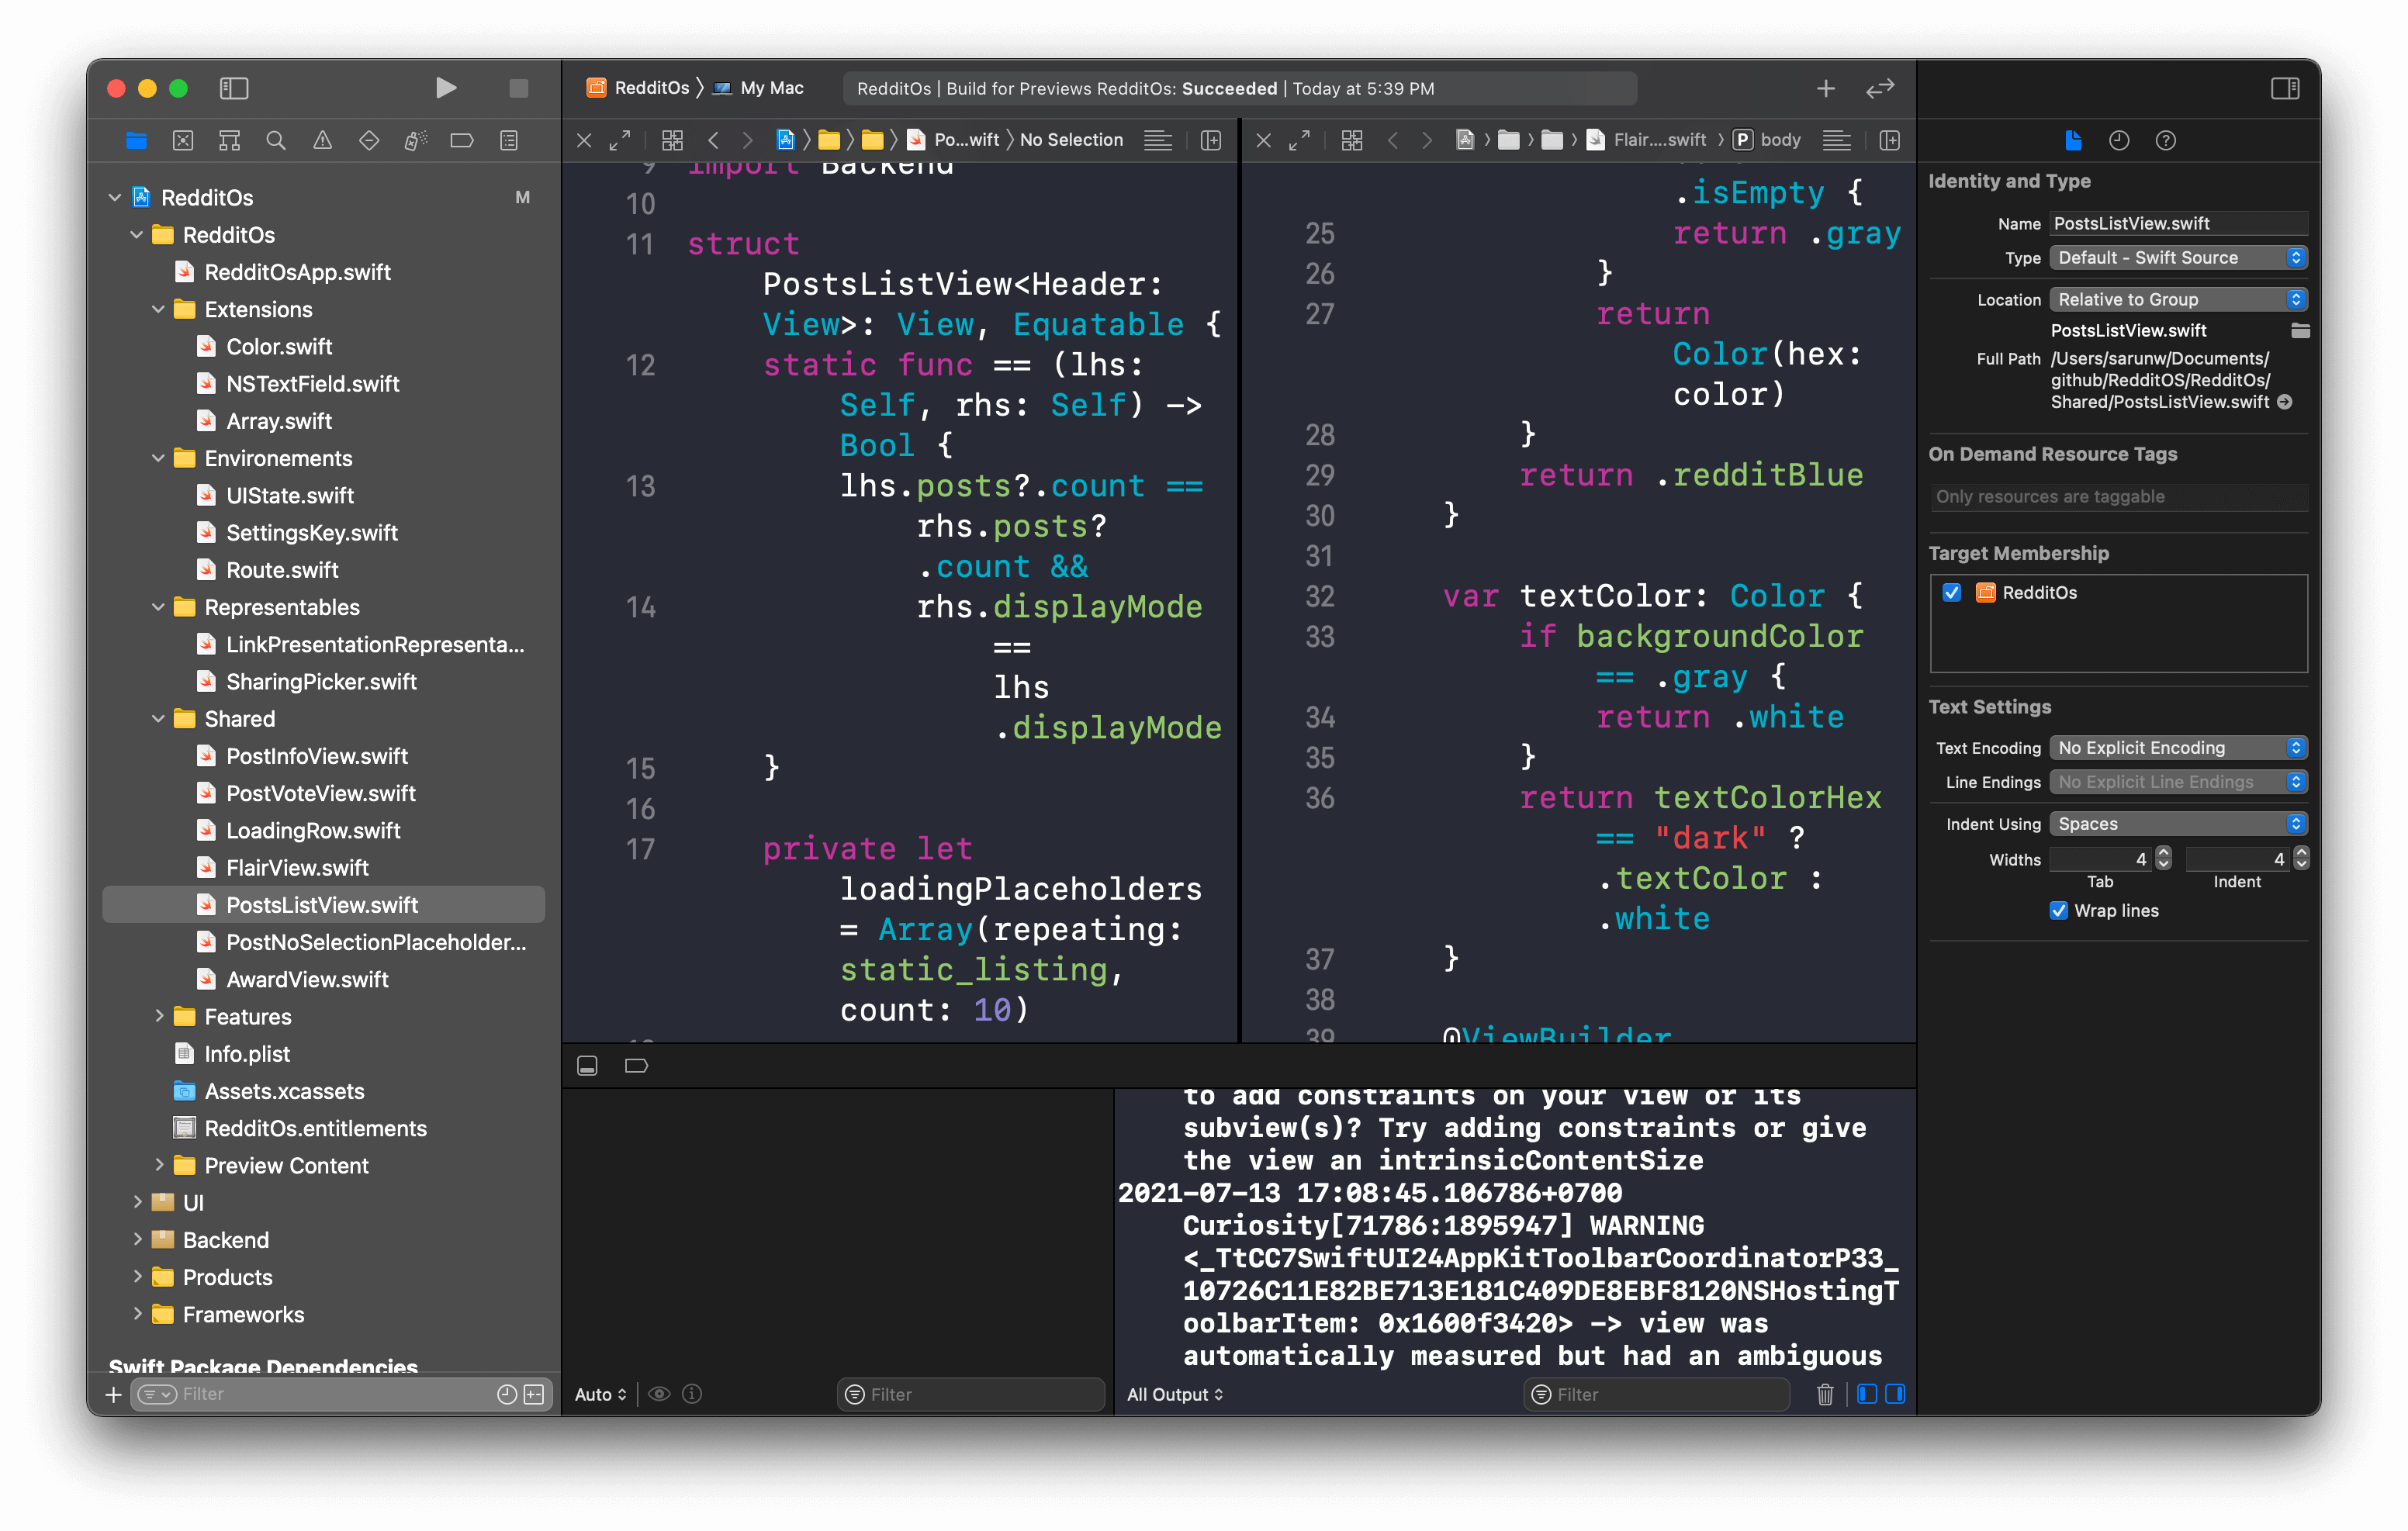
In this article, I will share the four Xcode shortcuts I use to control a different part of the Xcode, so you can choose to show/hide when needed.
Debug Area
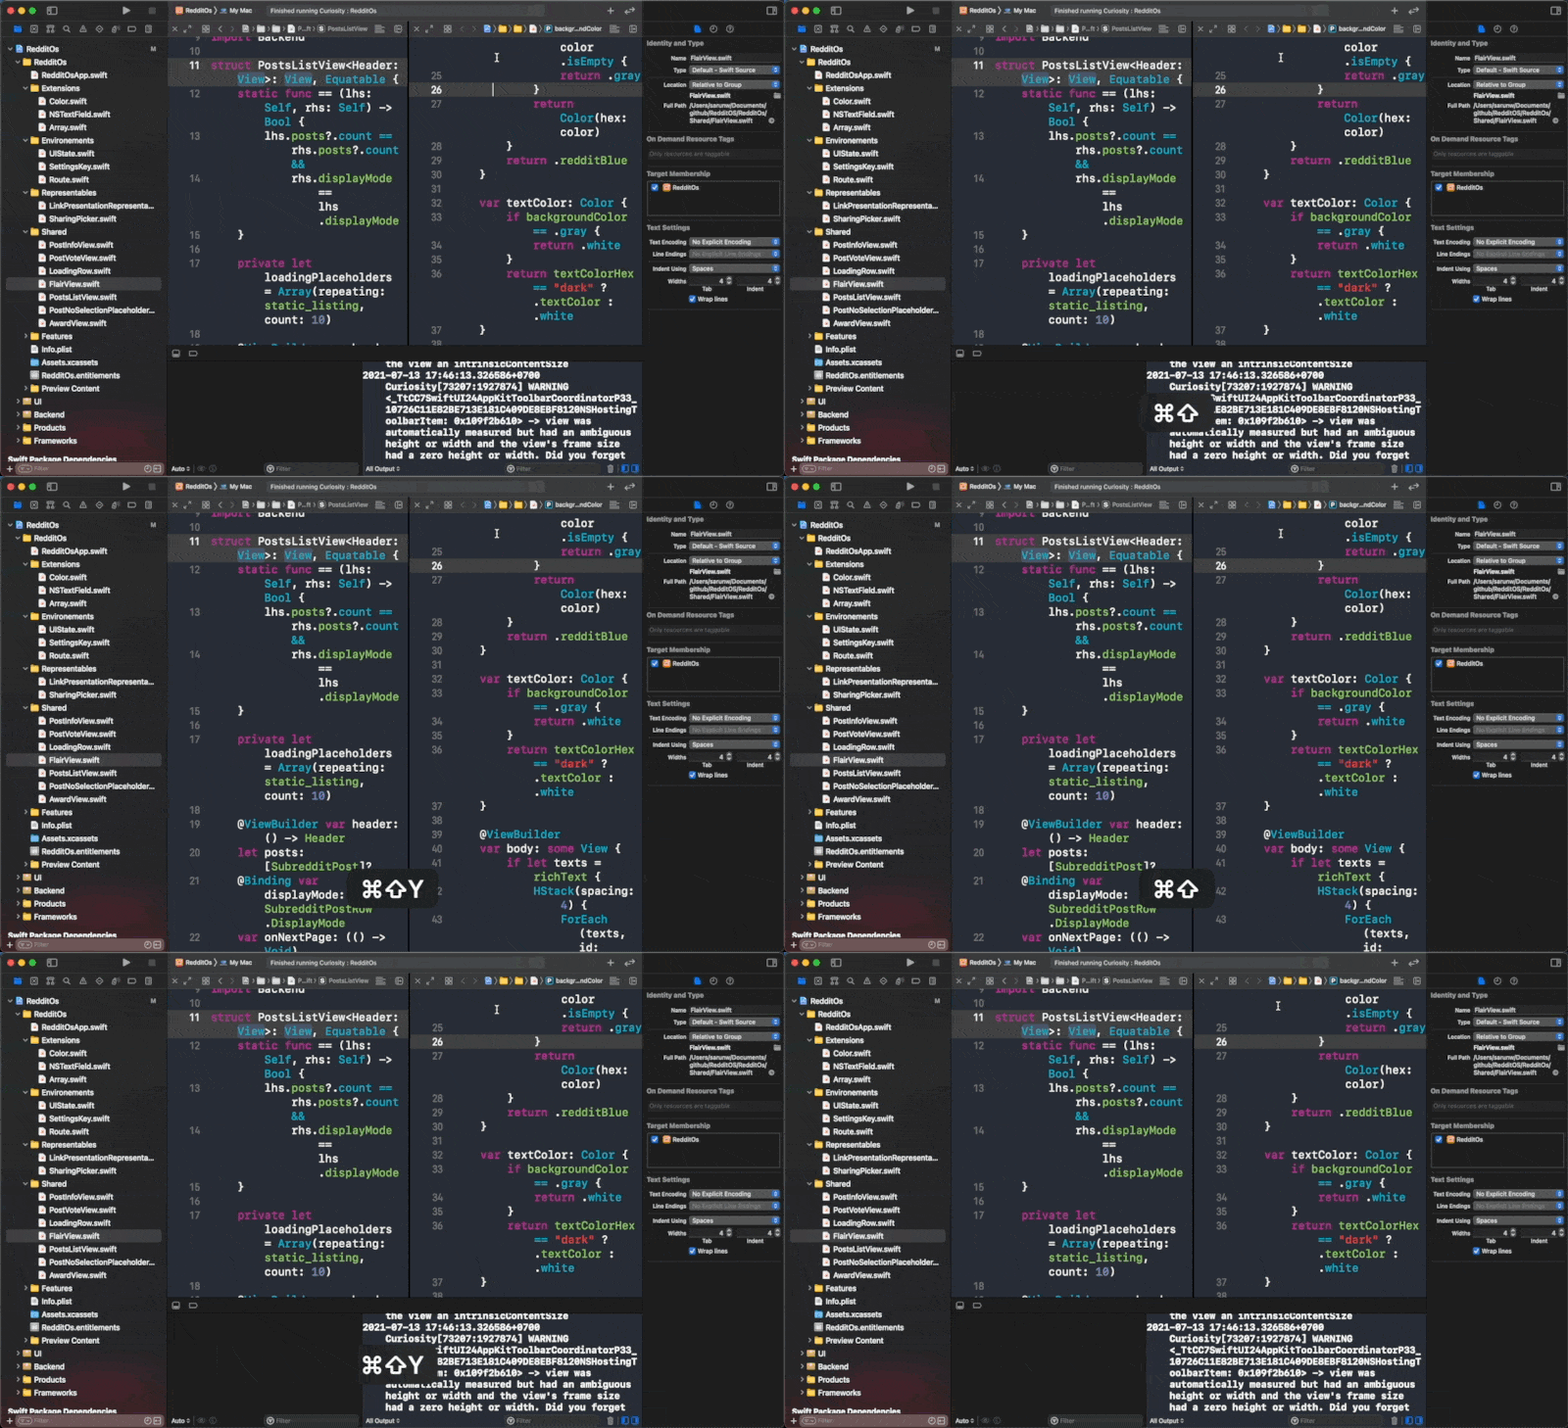
By default, Xcode will show the debug area when output is generated, which is helpful in debugging. But you don't need this when coding, so you might need to close it as soon as you finished debugging.
To show/hide this debug area, we use this shortcut.
⌘ - command + ⇧ - shift + Y or
View menu > Debug Area > Show/Hide Debug Area
You can easily support sarunw.com by checking out this sponsor.

AI Grammar: Correct grammar, spell check, check punctuation, and parphrase.
Navigator Area
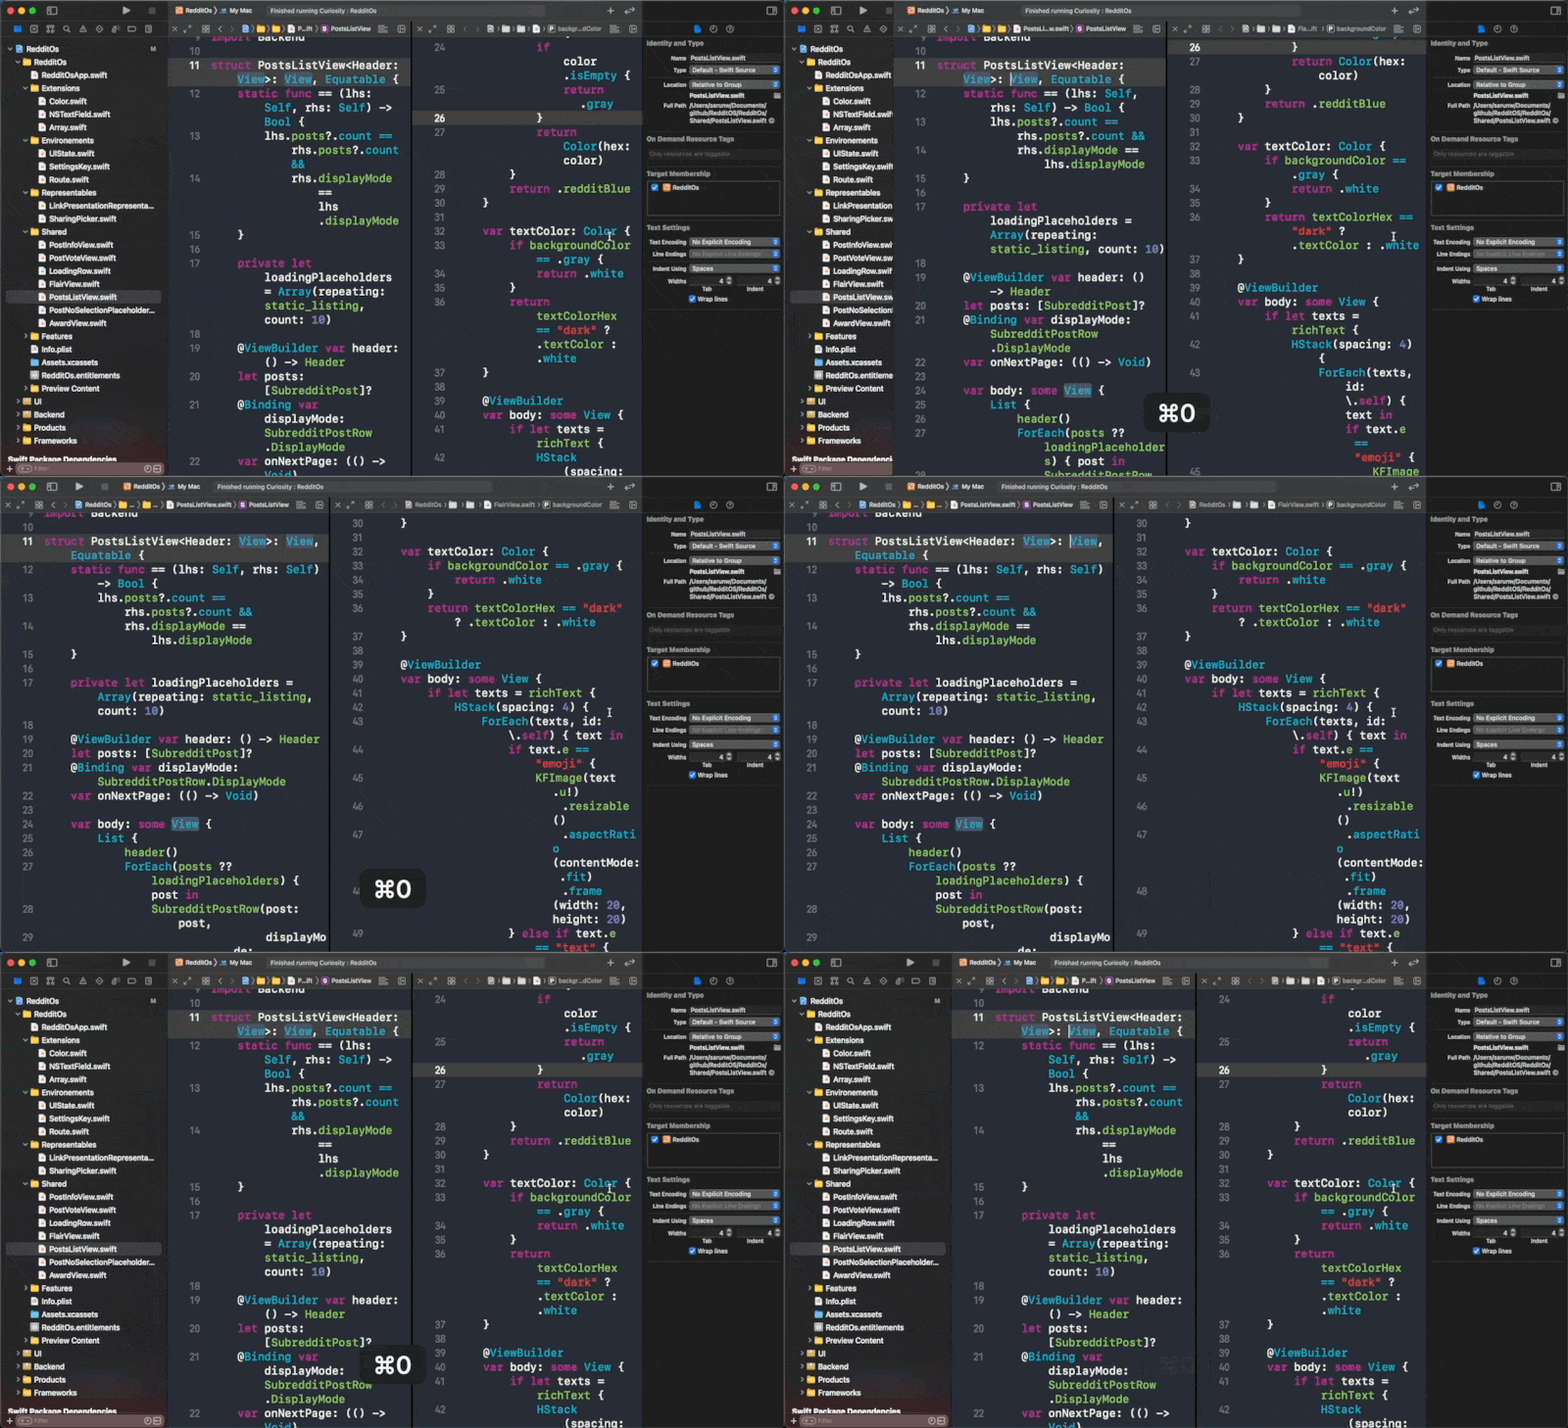
I use this only when I add a new file and manage project structure from time to time. So, most of the time, I close this pane.
To show/hide navigator area, we use this shortcut.
⌘ - command + 0 or
View menu > Navigators > Show/Hide Navigator
Inspector Area
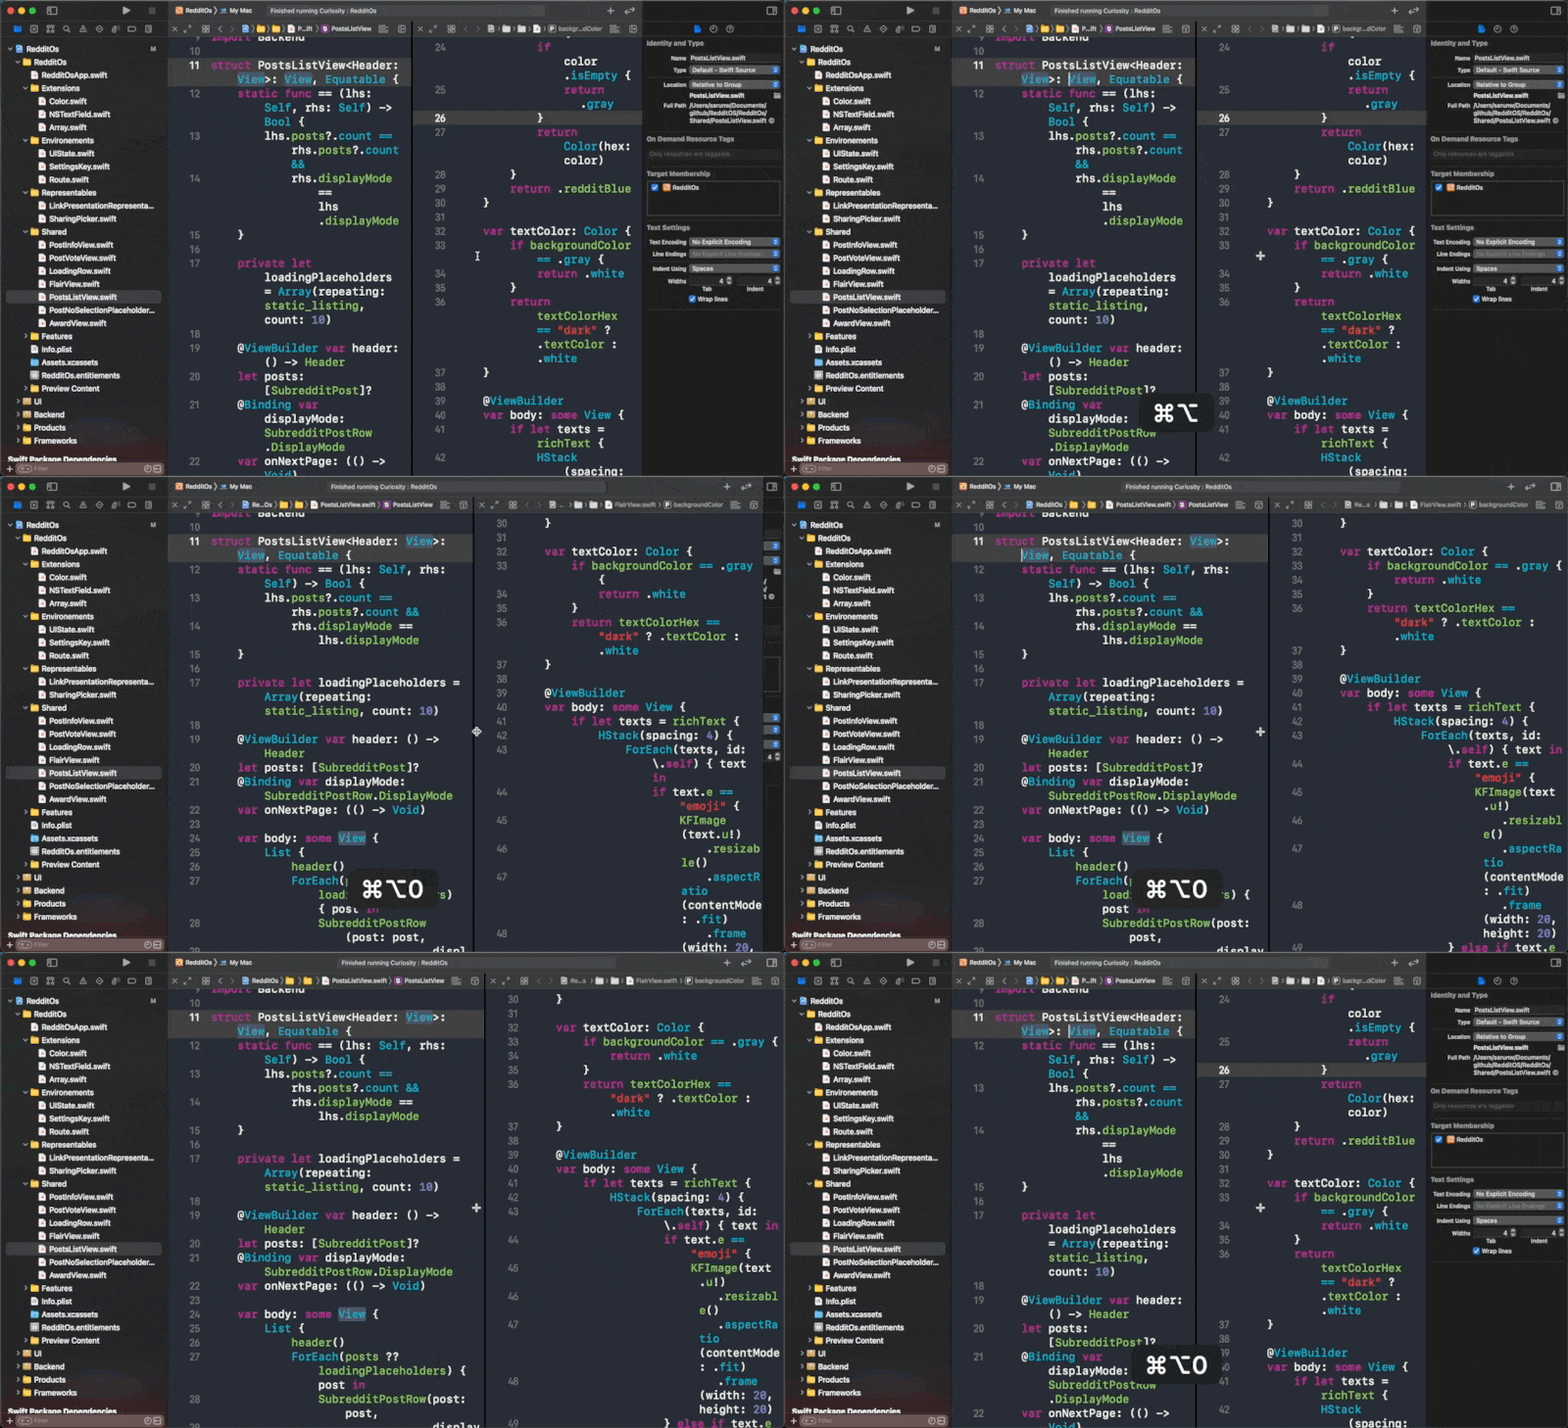
I use this a lot back when I use Storyboard, but I rarely use it anymore.
To show/hide inspector area, we use this shortcut.
⌘ - command + ⌥ - option + 0 or
View menu > Inspectors > Show/Hide Inspector
Focus Editor
I usually have two editors sitting side by side, but sometimes I need more space on one editor. You can make an editor take up the entire editor area with Focus.
To expand an editor to occupy the whole editor area, put the cursor on the editor you want to expand, then use the following shortcut.
⌘ - command + ⌃ – control + ⇧ - shift + ⏎ Return or
View menu > Editor > Focus/Hide Focus
This will expand the current editing editor to the entire area.
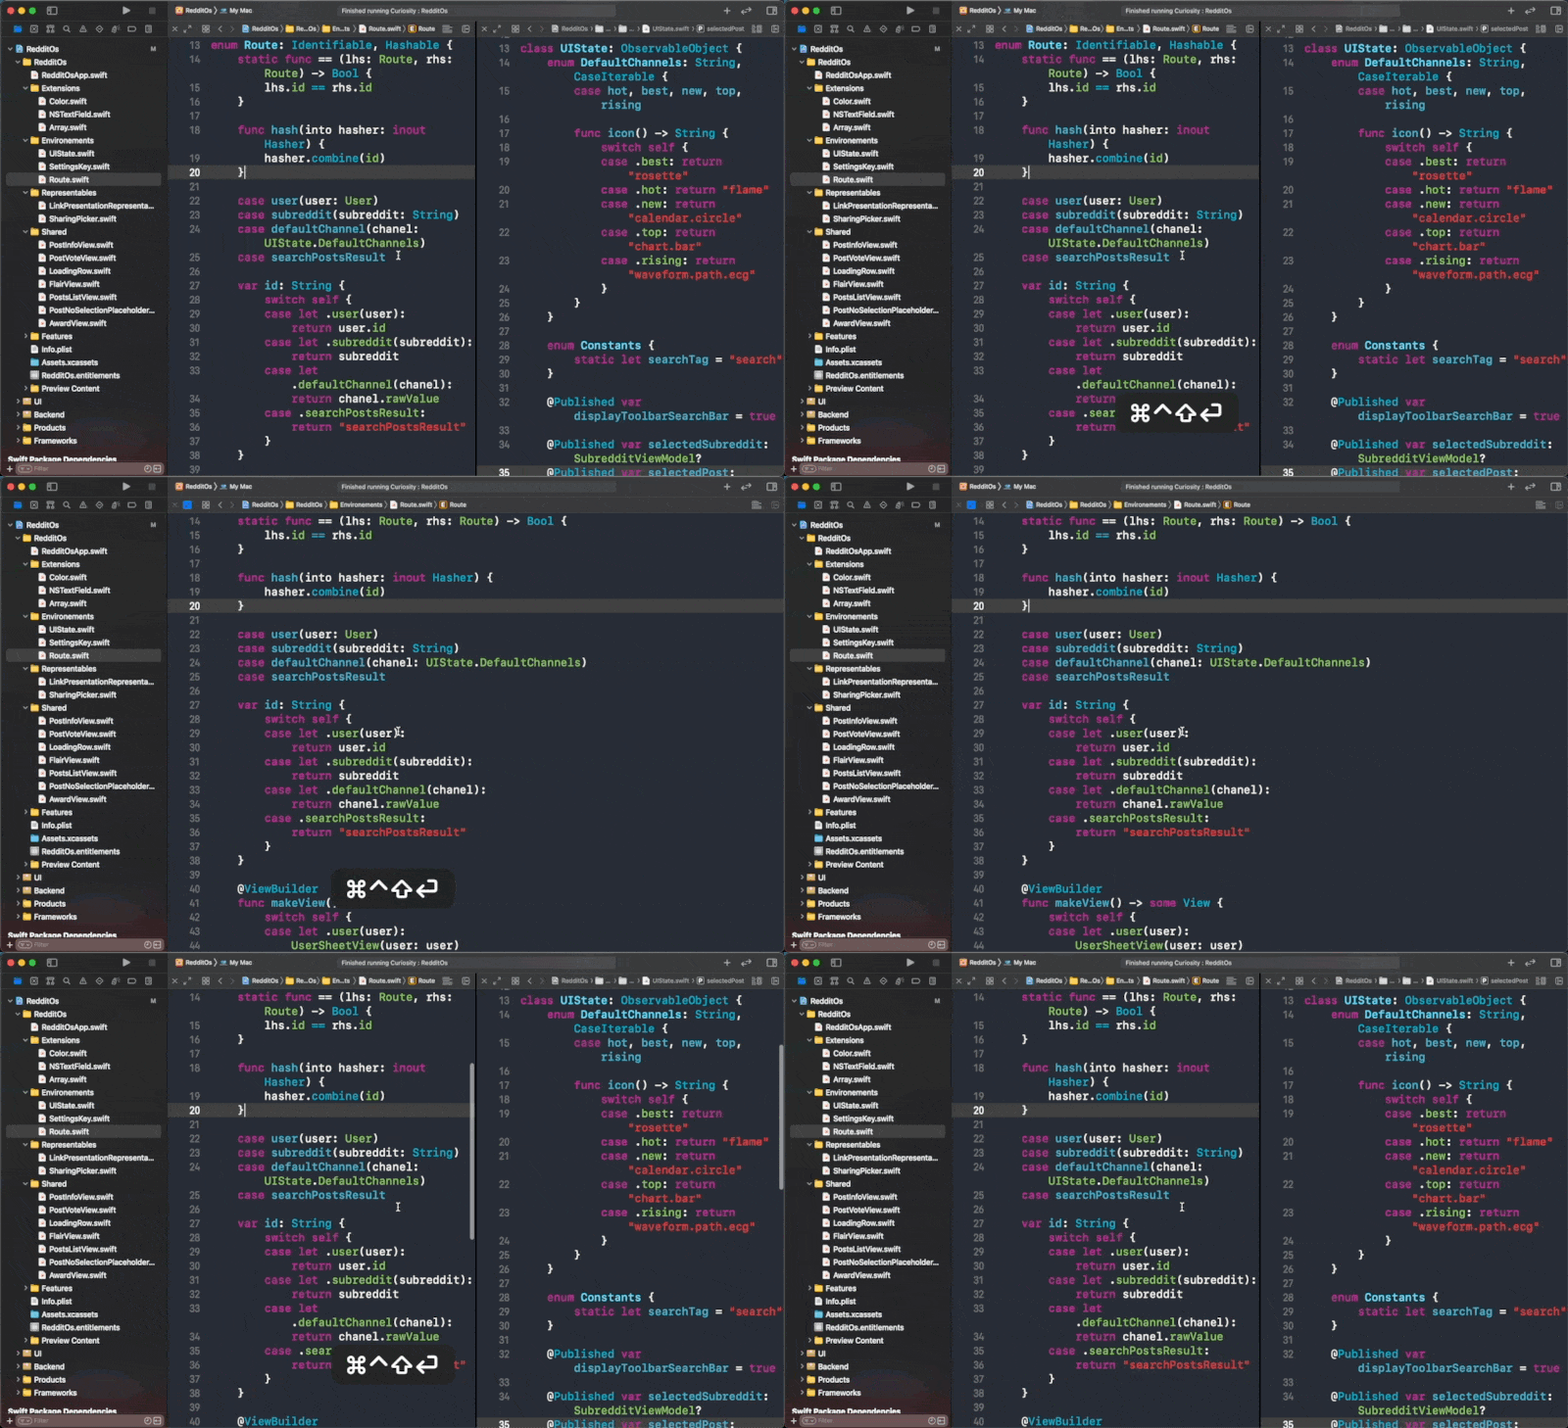
To leave the focus mode, just hit the shortcut again.
Move Focus to Next Editor
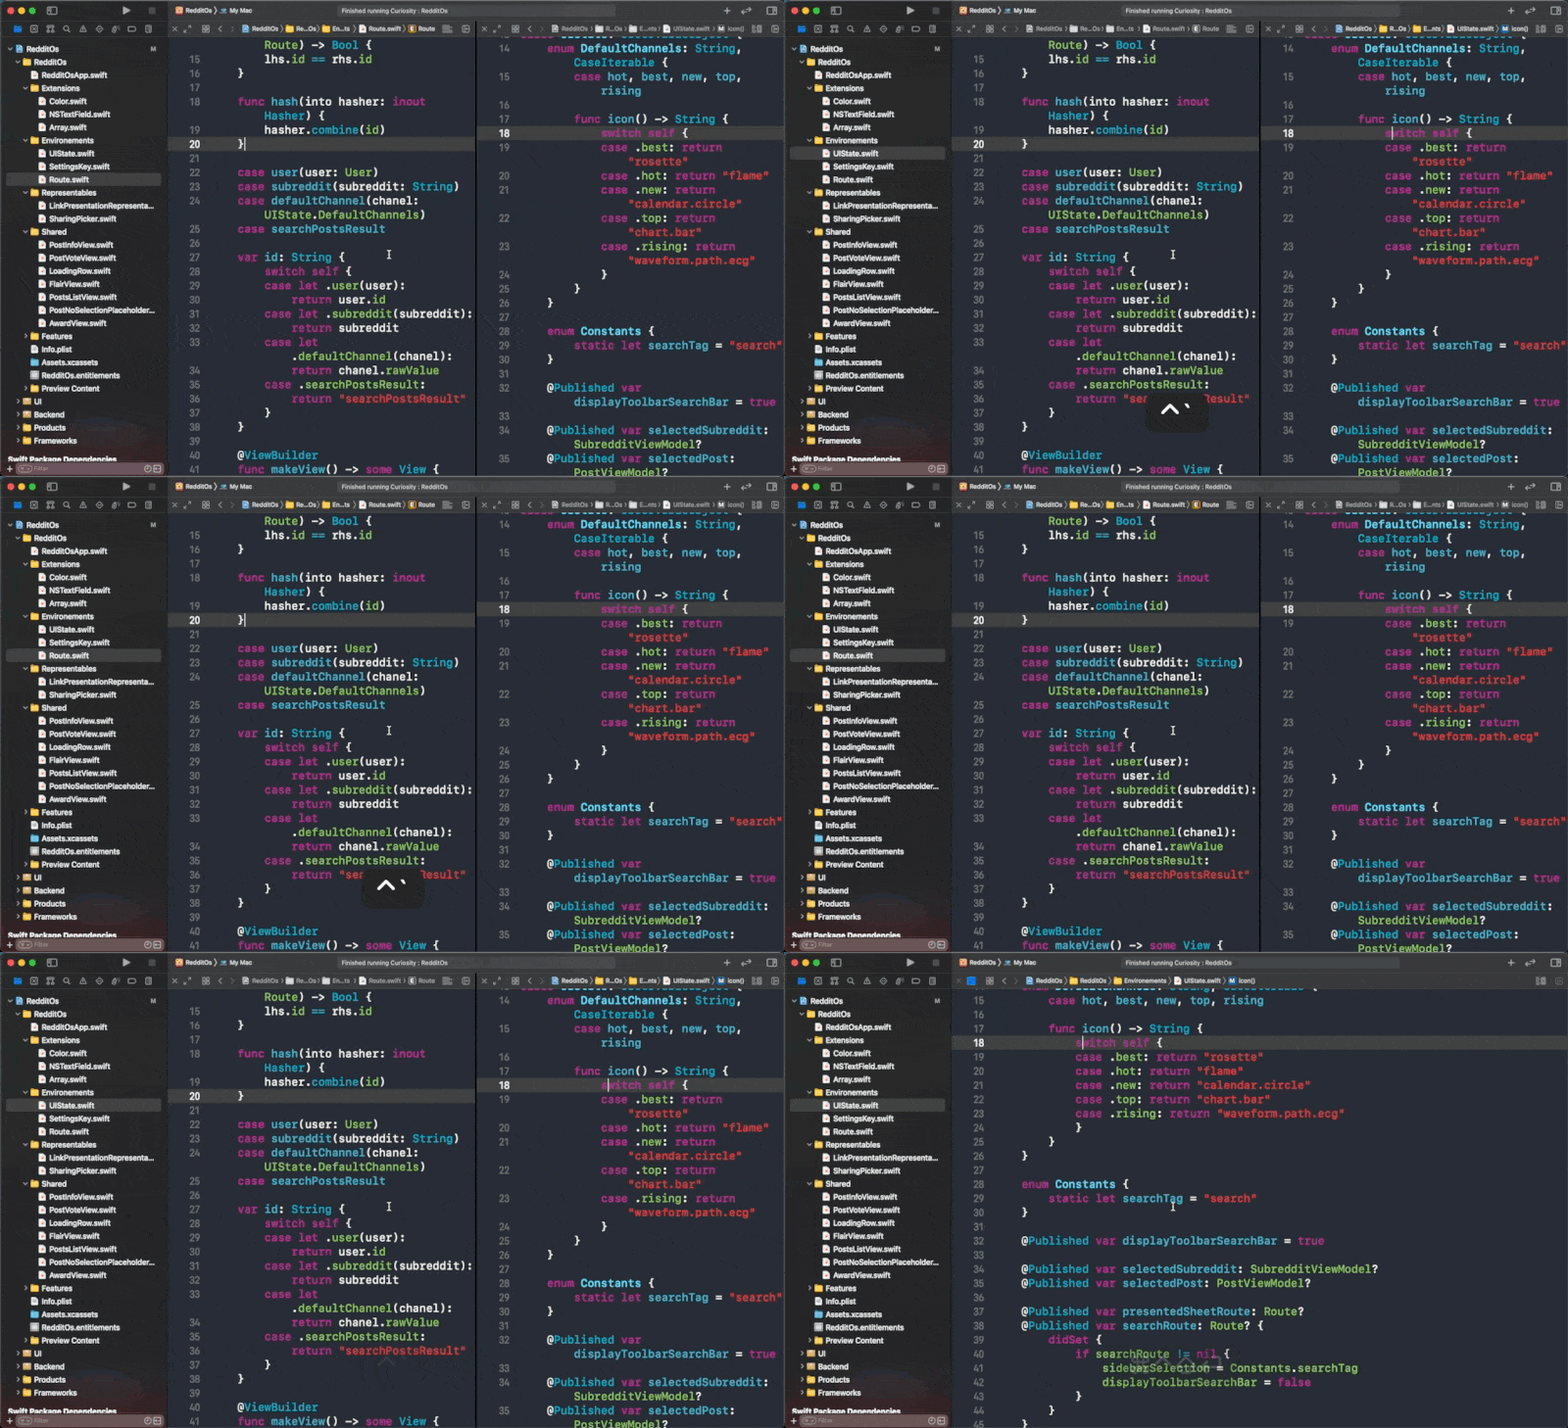
To make the focus even more useful, here is a shortcut to move the cursor to the next editor.
⌃ – control + ` or
Navigate menu > Editor > Move Focus to Next Editor
Using this with the Focus Editor Area shortcut will make you focus on the left or right editor without leaving your keyboard.
You can easily support sarunw.com by checking out this sponsor.

AI Grammar: Correct grammar, spell check, check punctuation, and parphrase.
Conclusion
You will make better use of your limited screen space with these shortcuts. I find these shortcuts really helpful when I don't have an external monitor nearby.
Read more article about Xcode, Development, Shortcut, or see all available topic
Enjoy the read?
If you enjoy this article, you can subscribe to the weekly newsletter.
Every Friday, you'll get a quick recap of all articles and tips posted on this site. No strings attached. Unsubscribe anytime.
Feel free to follow me on Twitter and ask your questions related to this post. Thanks for reading and see you next time.
If you enjoy my writing, please check out my Patreon https://www.patreon.com/sarunw and become my supporter. Sharing the article is also greatly appreciated.
Become a patron Buy me a coffee Tweet ShareFlutter: How much time do you save, and at what cost
The idea that you can use one codebase for multiple platforms and cut development time by half is tempting, but what do you trade for this time saved?
Always show search bar in a navigation bar in SwiftUI
In UISearchController, we can set search bar hiding behavior with hidesSearchBarWhenScrolling property. But how to control this behavior isn't obvious in SwiftUI. Learn how to control search bar hiding behavior in SwiftUI.