SwiftUI Checkbox
Table of Contents
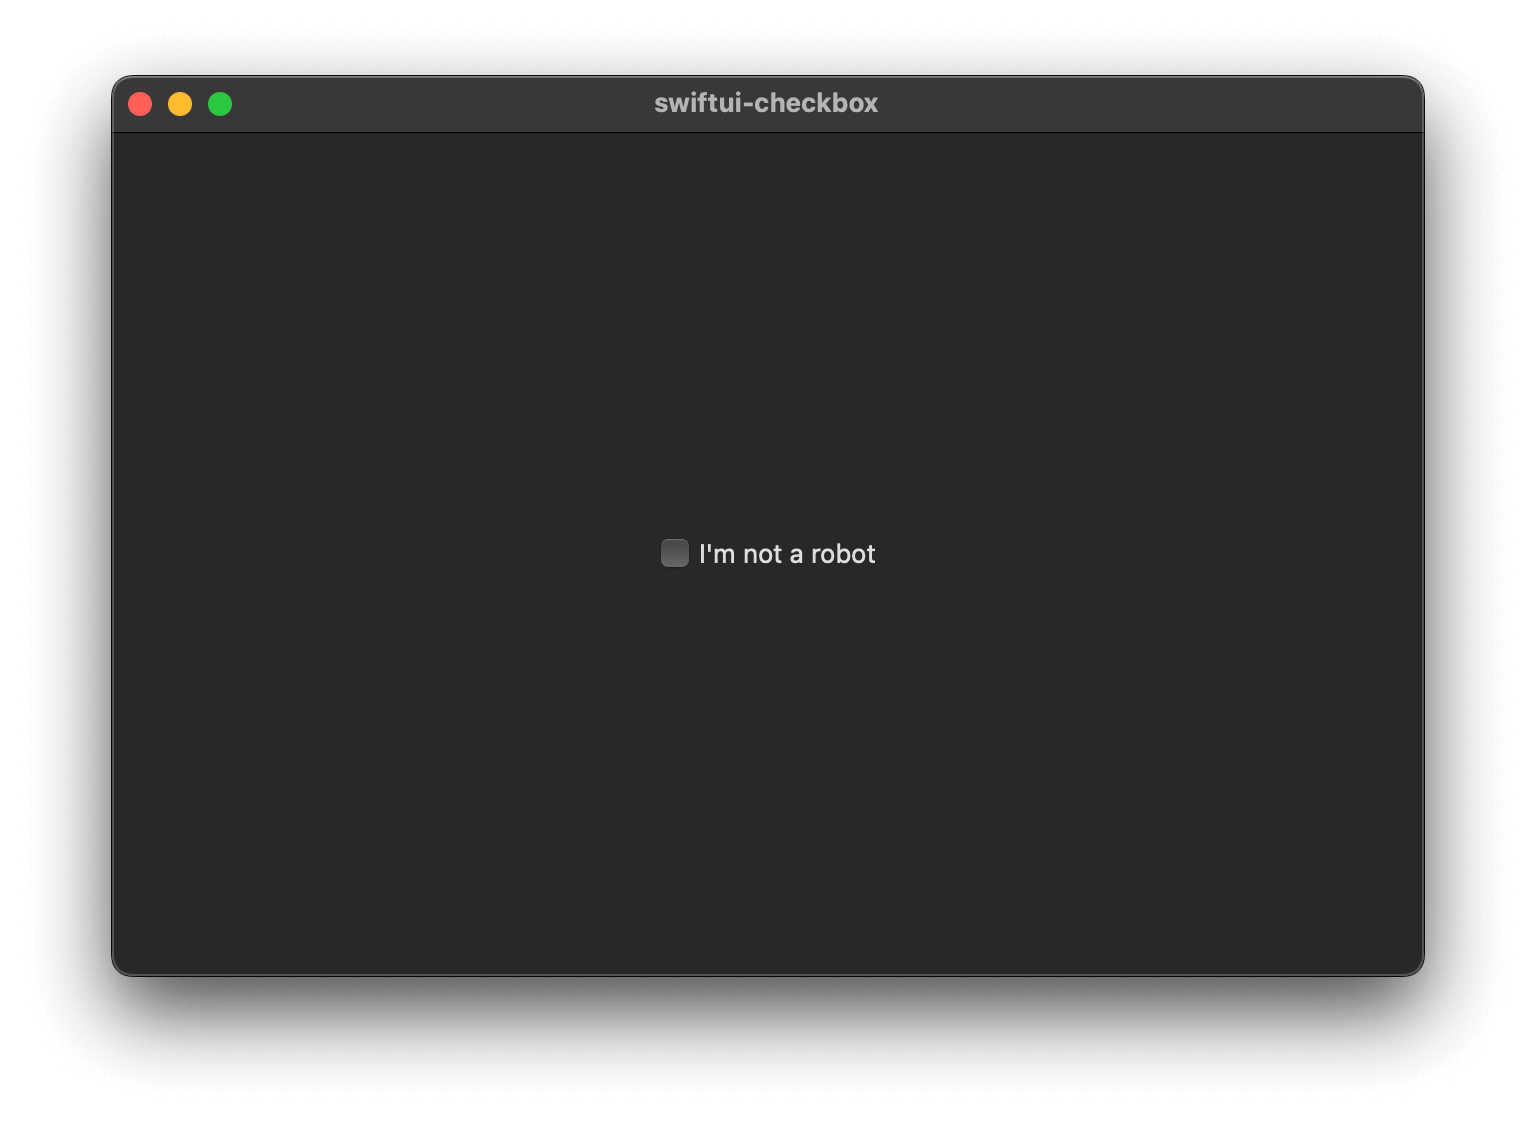
Checkbox in SwiftUI is just one style of a Toggle view.
You can have a checkbox by applying the CheckboxToggleStyle on a Toggle view, .toggleStyle(.checkbox).
struct ContentView: View {
    @State private var isOn = false

    var body: some View {
        Toggle(isOn: $isOn) {
            Text("I'm not a robot")
        }
        .toggleStyle(.checkbox)
    }
}
Too bad this only works on macOS. If you try to run this code on iOS, you will get the following error.

You can easily support sarunw.com by checking out this sponsor.

Translate your app In 1 click: Simplifies app localization and helps you reach more users.
SwiftUI Checkbox on iOS
Even though we don't have a checkbox style in iOS, recreating it isn't hard with the help of ToggleStyle.
In this article, we will learn how to create a simple checkbox toggle style for iOS.
We will create a new iOSCheckboxToggleStyle, a checkbox toggle style for iOS.
Here is the implementation detail.
struct iOSCheckboxToggleStyle: ToggleStyle {
    func makeBody(configuration: Configuration) -> some View {
        // 1
        Button(action: {
            // 2
            configuration.isOn.toggle()
        }, label: {
            HStack {
                // 3
                Image(systemName: configuration.isOn ? "checkmark.square" : "square")
                configuration.label
            }
        })
    }
}
1 We use a button as a body of our new style.
2 When the button is tapped, we toggle the isOn configuration variable, configuration.isOn.toggle().
3 We use an SF Symbol image to represent the selected and unselected state of the checkbox.
This is how we use the new style we just created.
Toggle(isOn: $isOn) {
    Text("I'm not a robot")
}
.toggleStyle(iOSCheckboxToggleStyle())
This is the result.

Read more article about SwiftUI, ToggleStyle, or see all available topic
Enjoy the read?
If you enjoy this article, you can subscribe to the weekly newsletter.
Every Friday, you'll get a quick recap of all articles and tips posted on this site. No strings attached. Unsubscribe anytime.
Feel free to follow me on Twitter and ask your questions related to this post. Thanks for reading and see you next time.
If you enjoy my writing, please check out my Patreon https://www.patreon.com/sarunw and become my supporter. Sharing the article is also greatly appreciated.
Become a patron Buy me a coffee Tweet ShareAdding and Removing Swift Package dependencies in Xcode
Since Xcode 11, we can easily integrate Swift Package dependencies into our project. Let's learn how to do it.