How to make a Horizontal List in SwiftUI
Table of Contents
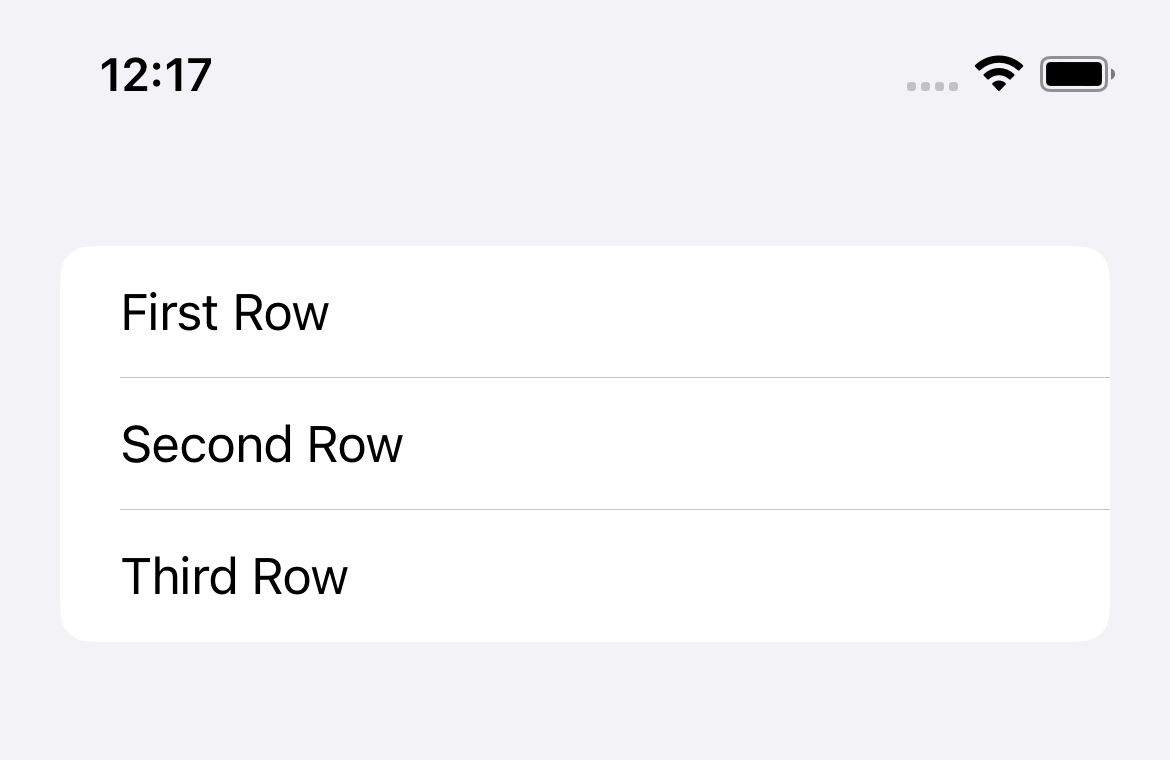
SwiftUI List view is a container that presents rows of data arranged in a single column (Vertically).
There is no option to present Horizontal List in SwiftUI at the moment of writing this (iOS 16).
List {
    Text("First Row")
    Text("Second Row")
    Text("Third Row")
}
A list will present each view in a row from top to bottom.
How to make a Horizontal List in SwiftUI
SwiftUI List doesn't support rendering and scrolling in a horizontal axis, but you achieve that with ScrollView and LazyHStack.
You can create a horizontal list using ScrollView and LazyHStack.
struct ContentView: View {
    var body: some View {
        // 1
        ScrollView(.horizontal) {
            // 2
            LazyHStack {
                Text("First Row")
                Text("Second Row")
                Text("Third Row")
            }
        }
    }
}
1 First, you create a scroll view and specify an axis that you want to scroll. In this case it is horizontal axis, ScrollView(.horizontal).
2 Then you add a LazyHStack as the content of that scroll view. LazyHStack will lazily create each view when needed.
The combination of ScrollView(.horizontal) and LazyHStack can replicate what List view does.
But ScrollView can't provide a style to match what a List view provides. You will get a plain scrollable text view like the following.

You can easily support sarunw.com by checking out this sponsor.
Offline Transcription: Fast, privacy-focus way to transcribe audio, video, and podcast files. No data leaves your Mac.
How to style a Horizontal List
Luckily, adding a style in SwiftUI view is easy. We can replicate a list style using a combination of modifiers.
In the following example, I make each column a round rectangle shape to replicate the inset grounded style we usually have in a List view.
struct ContentView: View {
    var body: some View {
        ScrollView(.horizontal) {
            LazyHStack {
                // 1
                Text("First Row")
                    .padding()
                    .background(.white)
                    .cornerRadius(8)
                Text("Second Row")
                    .padding()
                    .background(.white)
                    .cornerRadius(8)
                Text("Third Row")
                    .padding()
                    .background(.white)
                    .cornerRadius(8)
            }
            // 2
            .padding()
        }
        // 3
        .background(Color(UIColor.systemGroupedBackground))
    }
}
1 We create a round rectangle shape for each view in the LazyHStack with a combination of three modifiers, .padding(), .background(.white), and .cornerRadius(8).
2 We add insets to our scroll view content using .padding().
3 We change a scroll view background color to match what we have in the inset grouped list style.
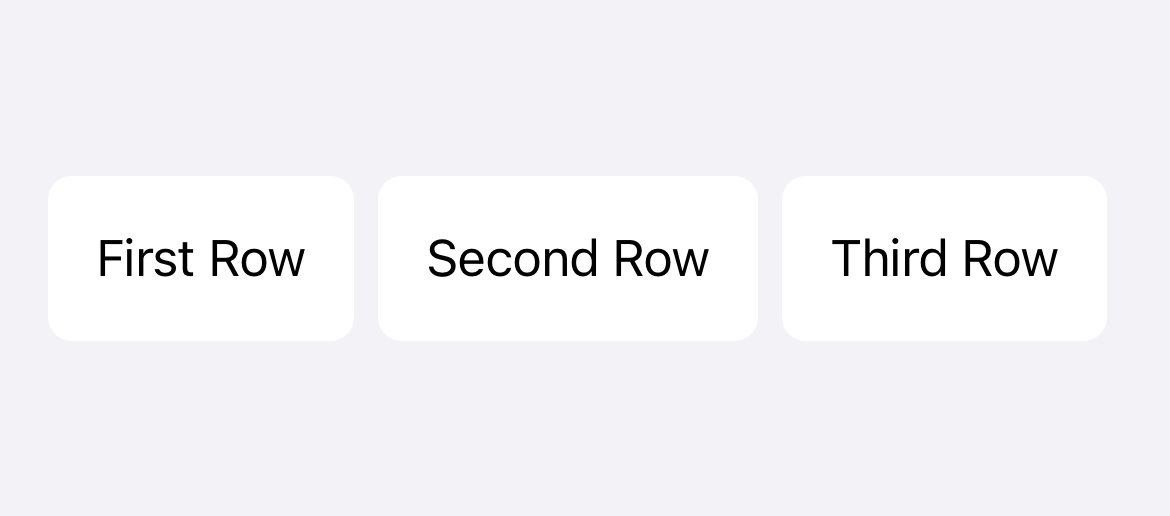
With these simple changes, we have a style that resembles the inset grouped list style.
Read more article about SwiftUI, List, ScrollView, or see all available topic
Enjoy the read?
If you enjoy this article, you can subscribe to the weekly newsletter.
Every Friday, you'll get a quick recap of all articles and tips posted on this site. No strings attached. Unsubscribe anytime.
Feel free to follow me on Twitter and ask your questions related to this post. Thanks for reading and see you next time.
If you enjoy my writing, please check out my Patreon https://www.patreon.com/sarunw and become my supporter. Sharing the article is also greatly appreciated.
Become a patron Buy me a coffee Tweet ShareHow to find a font name of a custom font in iOS
When you use a custom font in your iOS app, the font name that you use to initialize UIFont or Font isn't the file name.
How to make equal height subviews in HStack
Learn how to make all subviews in HStack have an equal height.