SwiftUI zIndex: Everything you need to know
Table of Contents
What is zIndex in SwiftUI
zIndex is a modifier that controls the display order of overlapping views in SwiftUI.
You can easily support sarunw.com by checking out this sponsor.
Offline Transcription: Fast, privacy-focus way to transcribe audio, video, and podcast files. No data leaves your Mac.
SwiftUI default rendering behavior
By default, SwiftUI has rendering behavior as follows:
- SwiftUI renders views in order from top to bottom.
- The first view that gets drawn (top view) will sit at the bottom.
- The subsequent view will be drawn over the previous one.
It is easier to visualize this behavior than to describe them. Let's use ZStack as an example.
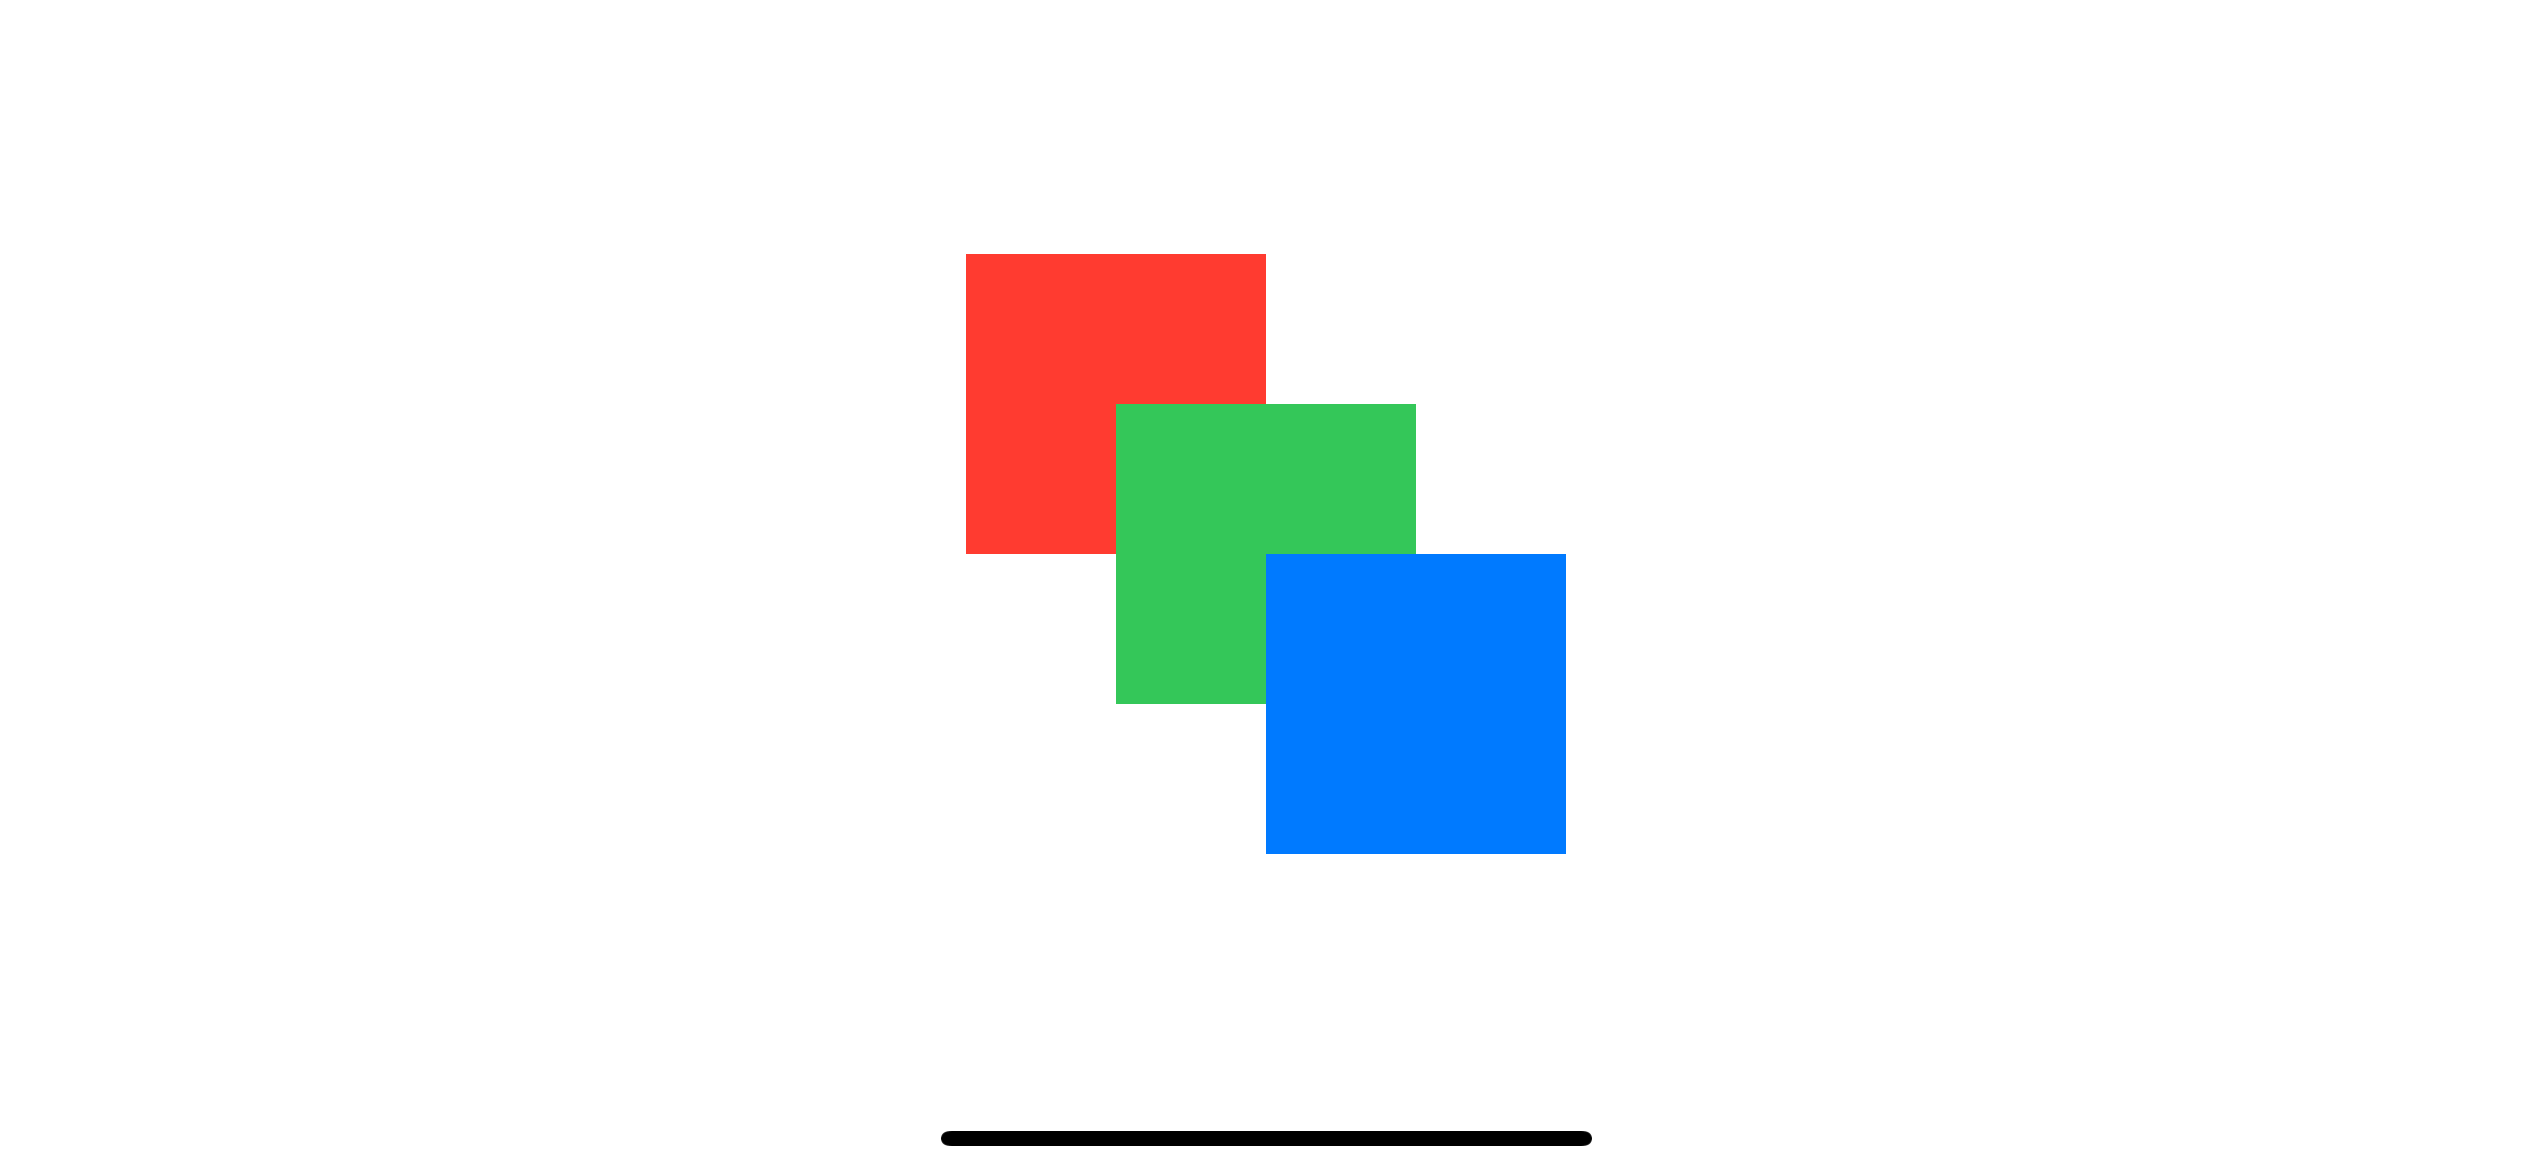
We will draw three rectangles, red, blue, and gree, in a ZStack. I offset each rectangle so you can see the overlapping.
ZStack {
    Rectangle()
            .fill(Color.red)
            .frame(width: 100, height: 100)
            .offset(x: -50, y: -50)
    Rectangle()
            .fill(Color.green)
            .frame(width: 100, height: 100)
    Rectangle()
            .fill(Color.blue)
            .frame(width: 100, height: 100)
            .offset(x: 50, y: 50)
}- SwiftUI render view from top to bottom. In this example, red, green, the blue.
- The red rectangle is the first to render. So, it sits at the bottom.
- Then it draws green rectangle draw on top of the red one. And blue over the previous two.
Here is the result:
How to use zIndex
You can use zIndex to control the display order of overlapping view without changing the view order.
We control display order by specifying value to zIndex(_ value: Double) where higher value will always draw over the lower one.
I will use the previous ZStack example and control the display order with zIndex.
SwiftUI zIndex in ZStack
We can control the display order by specifying zIndex to each view in a container view (ZStack).
In this example, we will reverse the display order using zIndex.
ZStack {
Rectangle()
.fill(Color.red)
.frame(width: 100, height: 100)
.offset(x: -50, y: -50)
.zIndex(3)
Rectangle()
.fill(Color.green)
.frame(width: 100, height: 100)
.zIndex(2)
Rectangle()
.fill(Color.blue)
.frame(width: 100, height: 100)
.offset(x: 50, y: 50)
.zIndex(1)
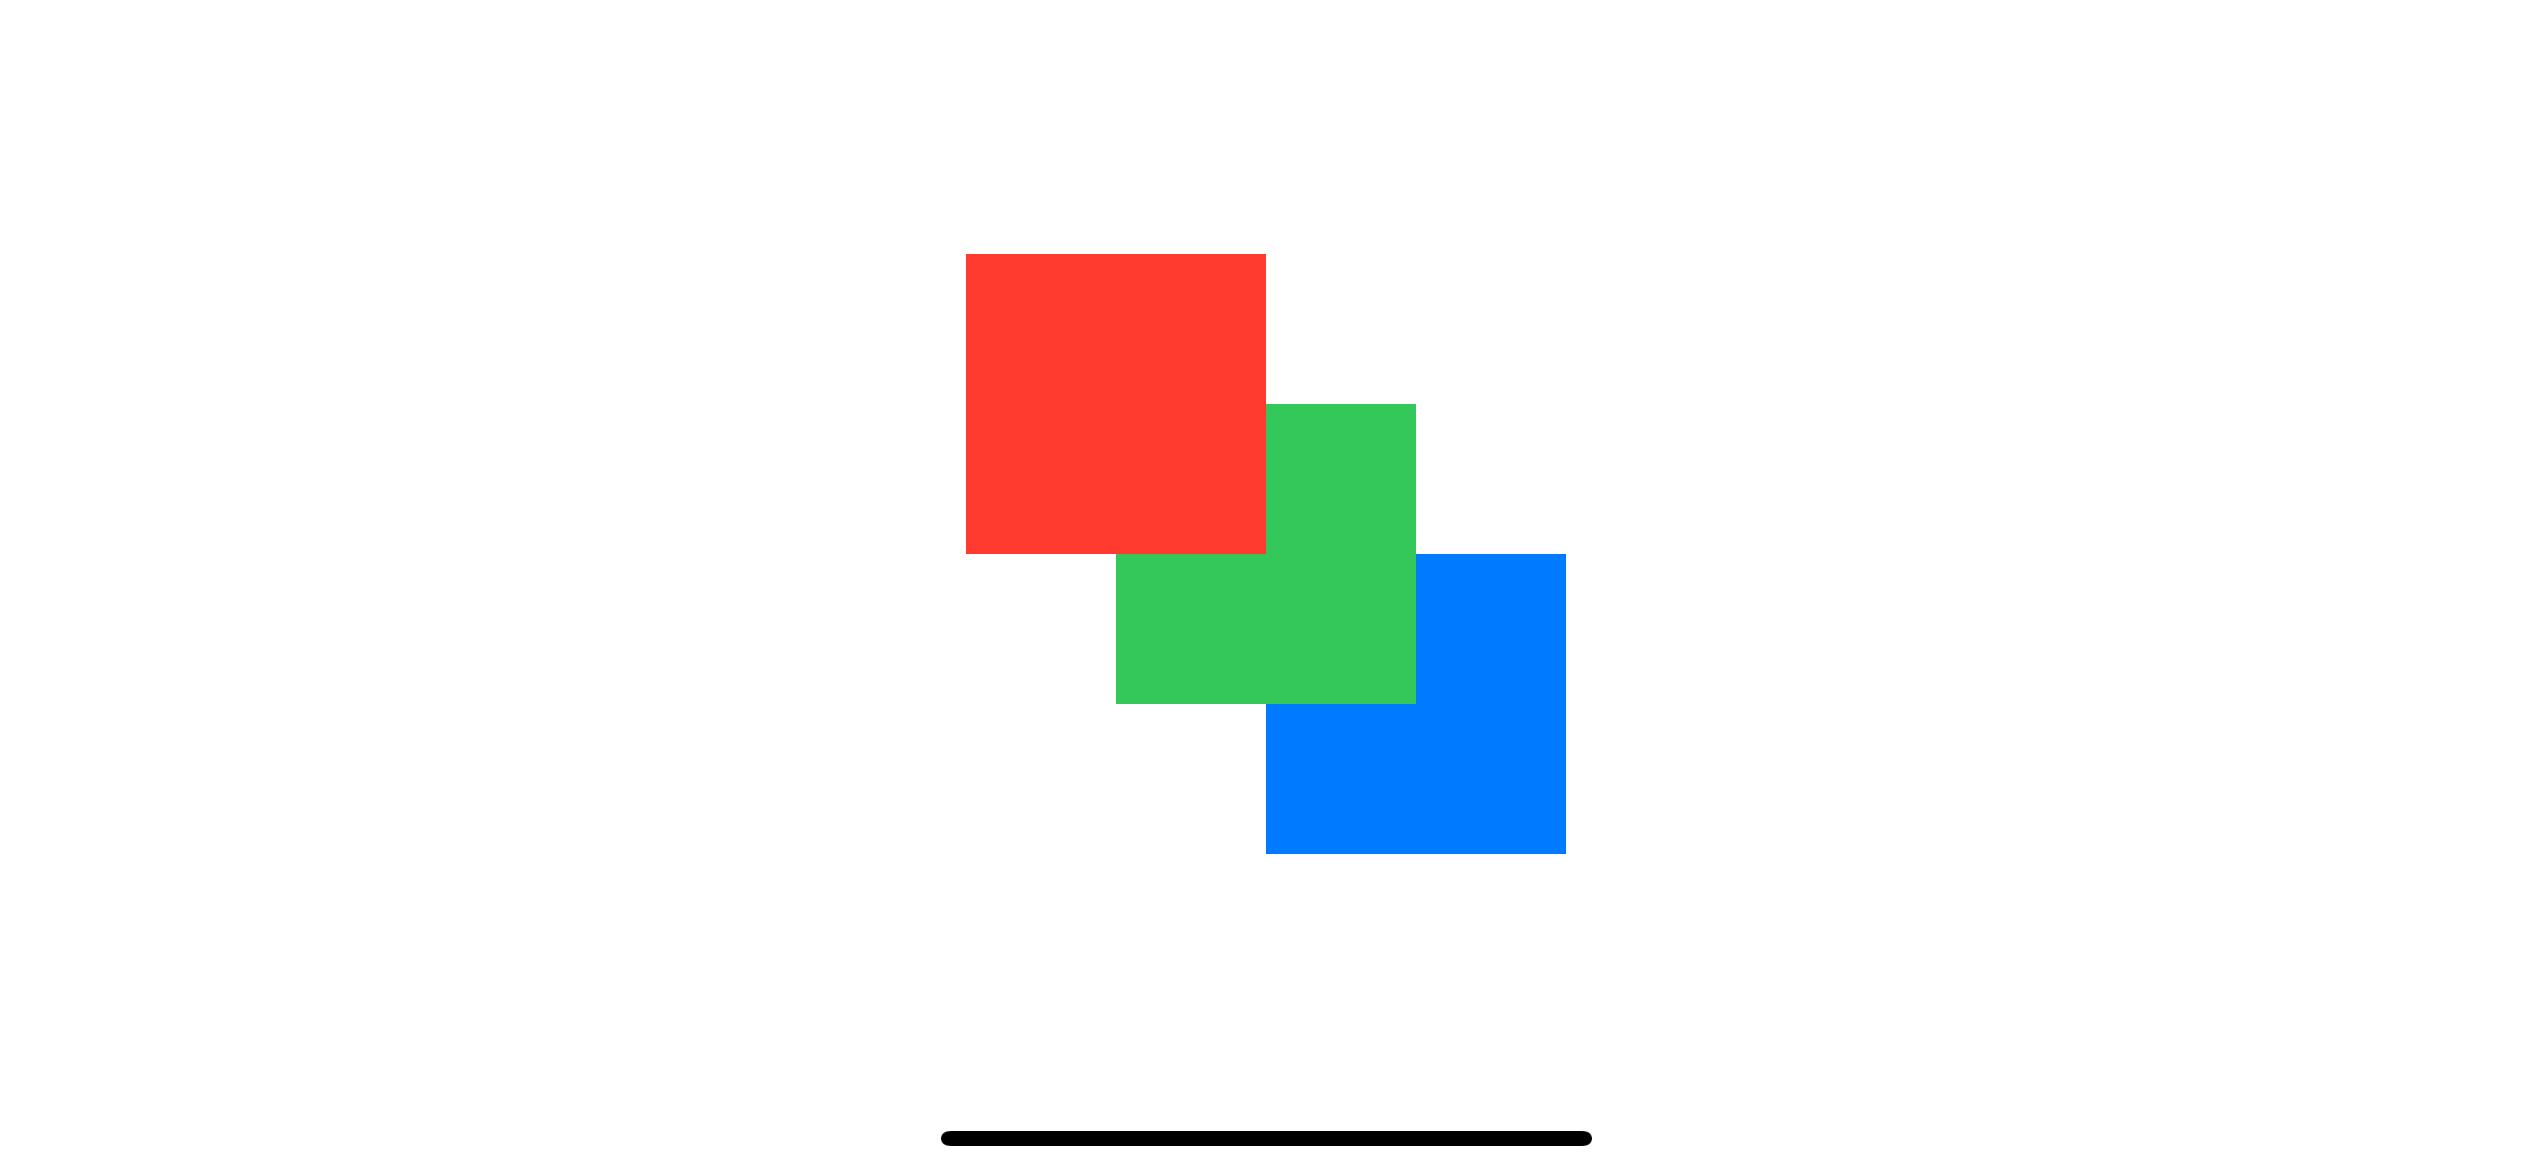
}We put the red rectangle on top by specifying the largest z-index value (3) and put the blue rectangle at the bottom by specifying the lowest value (1).
As you can see, we can control the display order of overlapping view without changing the view order.
SwiftUI zIndex in HStack
zIndex isn't limited to just ZStack. We can use it to control the display of any views in a container.
Here is an example of using zIndex to control the display order of views inside HStack.
VStack {
// 1
HStack {
Rectangle()
.fill(Color.red)
.frame(width: 100, height: 100)
.offset(x: 50)
Rectangle()
.fill(Color.green)
.frame(width: 100, height: 100)
Rectangle()
.fill(Color.blue)
.frame(width: 100, height: 100)
.offset(x: -50)
}
// 2
HStack {
Rectangle()
.fill(Color.red)
.frame(width: 100, height: 100)
.offset(x: 50)
.zIndex(3)
Rectangle()
.fill(Color.green)
.frame(width: 100, height: 100)
.zIndex(2)
Rectangle()
.fill(Color.blue)
.frame(width: 100, height: 100)
.offset(x: -50)
.zIndex(1)
}
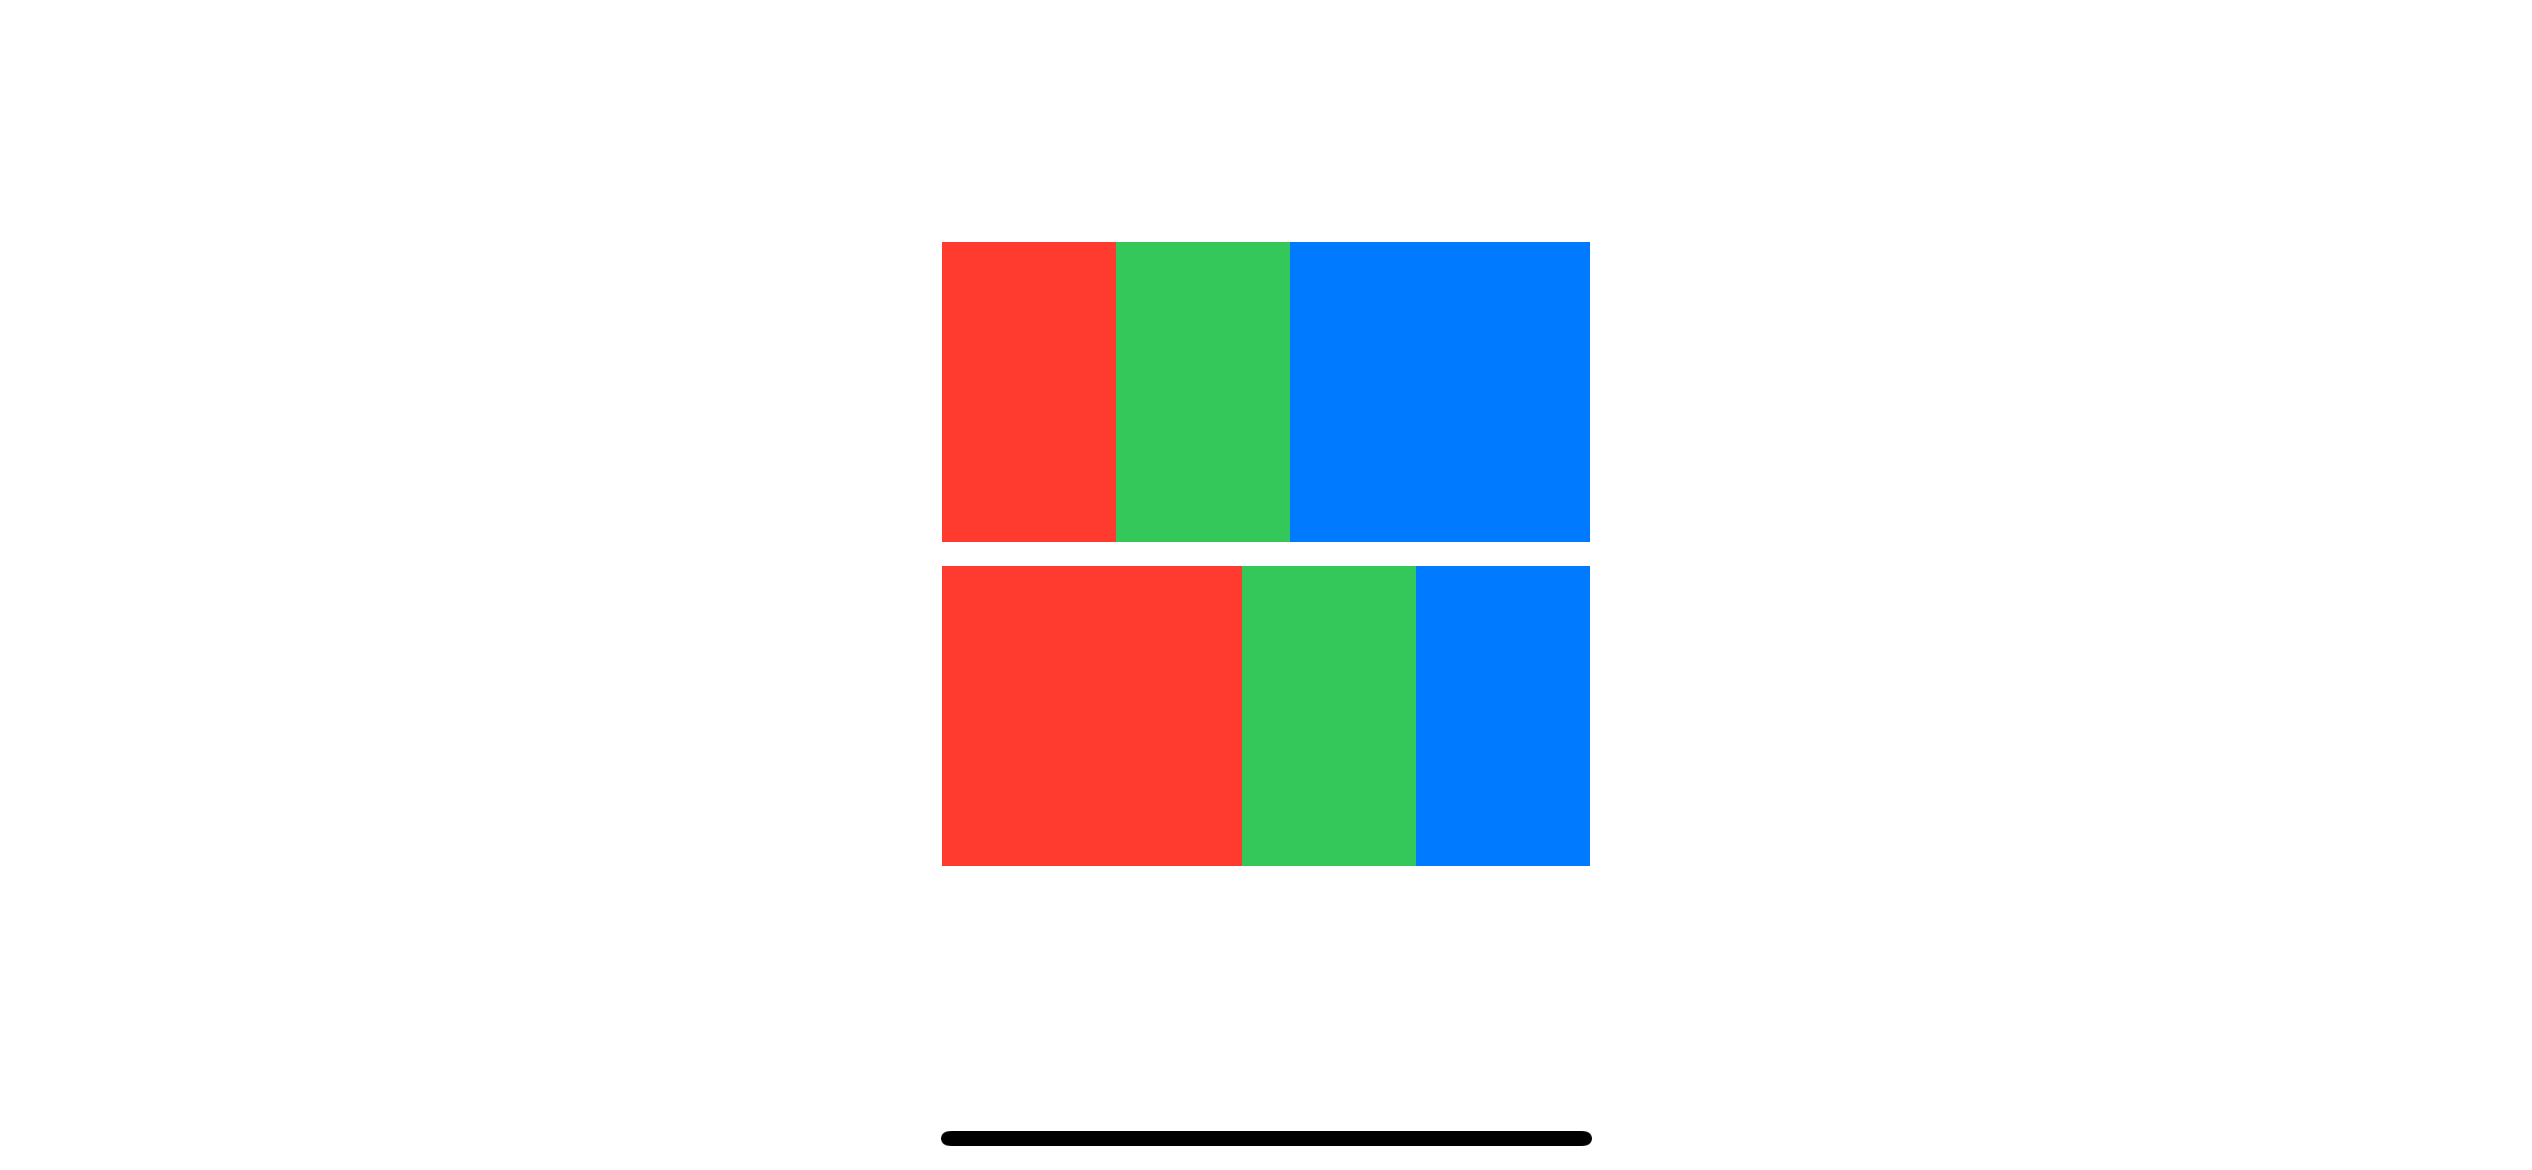
}1 The default displaying order is the same as we seen in ZStack example. The red rectangle sits at the bottom.
2 We reverse the order the same way we did with ZStack.
SwiftUI zIndex in VStack
Here is another example in VStack.
HStack {
    VStack {
        Rectangle()
            .fill(Color.red)
            .frame(width: 100, height: 100)
            .offset(y: 50)
        Rectangle()
            .fill(Color.green)
            .frame(width: 100, height: 100)
        Rectangle()
            .fill(Color.blue)
            .frame(width: 100, height: 100)
            .offset(y: -50)
    }
    VStack {
        Rectangle()
            .fill(Color.red)
            .frame(width: 100, height: 100)
            .offset(y: 50)
            // 1
            .zIndex(100)
        Rectangle()
            .fill(Color.green)
            .frame(width: 100, height: 100)
            // 2
        Rectangle()
            .fill(Color.blue)
            .frame(width: 100, height: 100)
            .offset(y: -50)
            // 3
            .zIndex(-100)
    }
}
1 zIndex can be any double value.
2 We don't specify zIndex for the green rectangle in this case. This default to a value of zero.
3 Z-index value can be negative. We specify a negative value for the blue rectangle, which is less than the value of the green one.

You can easily support sarunw.com by checking out this sponsor.
Offline Transcription: Fast, privacy-focus way to transcribe audio, video, and podcast files. No data leaves your Mac.
Caveat
One important thing you need to be aware of when using zIndex is the z-index value only affects the display order within the same container view.
In this example, we wrap each rectangle in its own ZStack.
ZStack {
    ZStack {
        Rectangle()
            .fill(Color.red)
            .frame(width: 100, height: 100)
            .offset(x: -50, y: -50)
            .zIndex(3)
    }
    ZStack {
        Rectangle()
            .fill(Color.green)
            .frame(width: 100, height: 100)
            .zIndex(2)
    }
    ZStack {
        Rectangle()
            .fill(Color.blue)
            .frame(width: 100, height: 100)
            .offset(x: 50, y: 50)
            .zIndex(1)
    }
}
The zIndex value will only affect the display order in that particular container view. Since all rectangles are in different ZStack, those zIndex mean nothing in this case.

If you want to control the display order in this case, you need to apply zIndex to ZStack.
ZStack {
    ZStack {
        Rectangle()
            .fill(Color.red)
            .frame(width: 100, height: 100)
            .offset(x: -50, y: -50)
    }
    .zIndex(3)
    ZStack {
        Rectangle()
            .fill(Color.green)
            .frame(width: 100, height: 100)
    }
    .zIndex(2)
    ZStack {
        Rectangle()
            .fill(Color.blue)
            .frame(width: 100, height: 100)
            .offset(x: 50, y: 50)
    }
    .zIndex(1)
}
Read more article about SwiftUI or see all available topic
Enjoy the read?
If you enjoy this article, you can subscribe to the weekly newsletter.
Every Friday, you'll get a quick recap of all articles and tips posted on this site. No strings attached. Unsubscribe anytime.
Feel free to follow me on Twitter and ask your questions related to this post. Thanks for reading and see you next time.
If you enjoy my writing, please check out my Patreon https://www.patreon.com/sarunw and become my supporter. Sharing the article is also greatly appreciated.
Become a patron Buy me a coffee Tweet ShareHow to Show/hide whitespace characters in Xcode
Learn how to make whitespace characters visible in the Xcode editor and why we need them.
How to get index and value from for loop in Swift
Swift has many ways to retrieve an index of an array, but it might not be obvious. Let's learn how to do it.