How to use custom fonts with SwiftUI
Table of Contents
Fonts are no different than other assets like images. You can add and use a custom one in an iOS app.
The process is not hard, but it requires a few extra steps to make it work. Let's learn how to do it.
To use custom fonts with SwiftUI, you need to do the following steps.
Find a custom font to use in your app
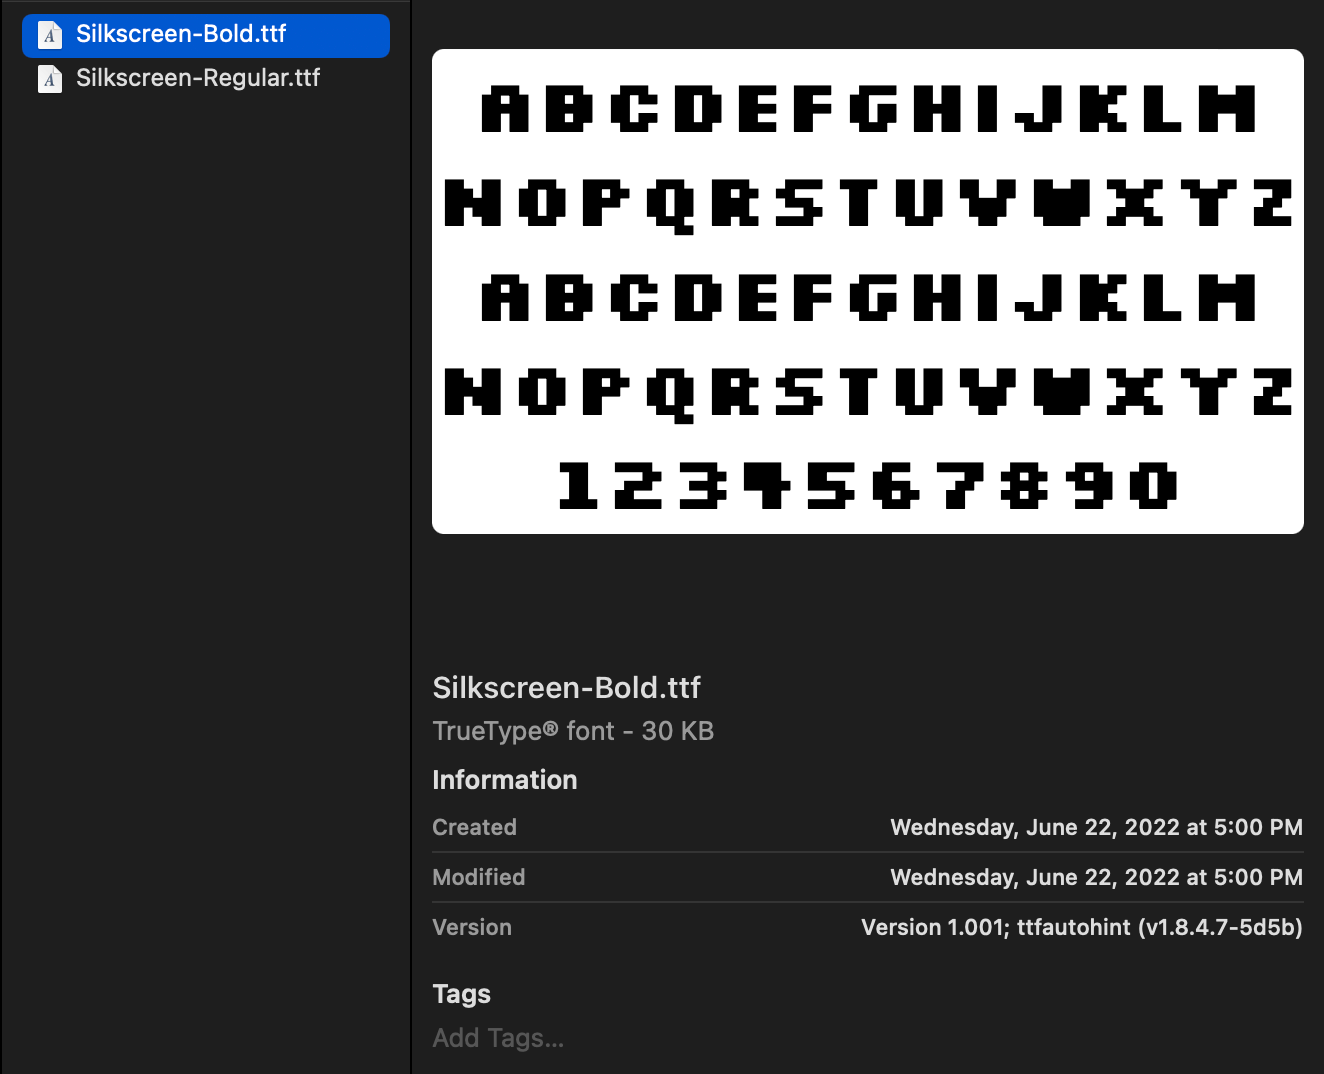
To add a custom font, we need a font file. I will use Silkscreen font in this article.
Fonts are generally very expensive, and a license is also complicated. There are usually different licenses for desktop, printing, and mobile. Make sure you read them carefully and pick the right one that suits your need.
My go-to resource is Google Fonts. You can find many beautiful free licensed font families there.
Here are the two Silkscreen font styles I downloaded.
You can easily support sarunw.com by checking out this sponsor.
Translate your app In 1 click: Simplifies app localization and helps you reach more users.
Adding a custom font to your app
There are two steps to adding a custom font to your iOS app.
Add the font file to your Xcode project
You can add custom fonts into an Xcode the same way you did with other assets. Nothing complicated in this first step.
- You can add them via menu by selecting File menu > Add Files to "Your Project Name..." from the menu bar, select all the fonts you need to add, then click the Add button.
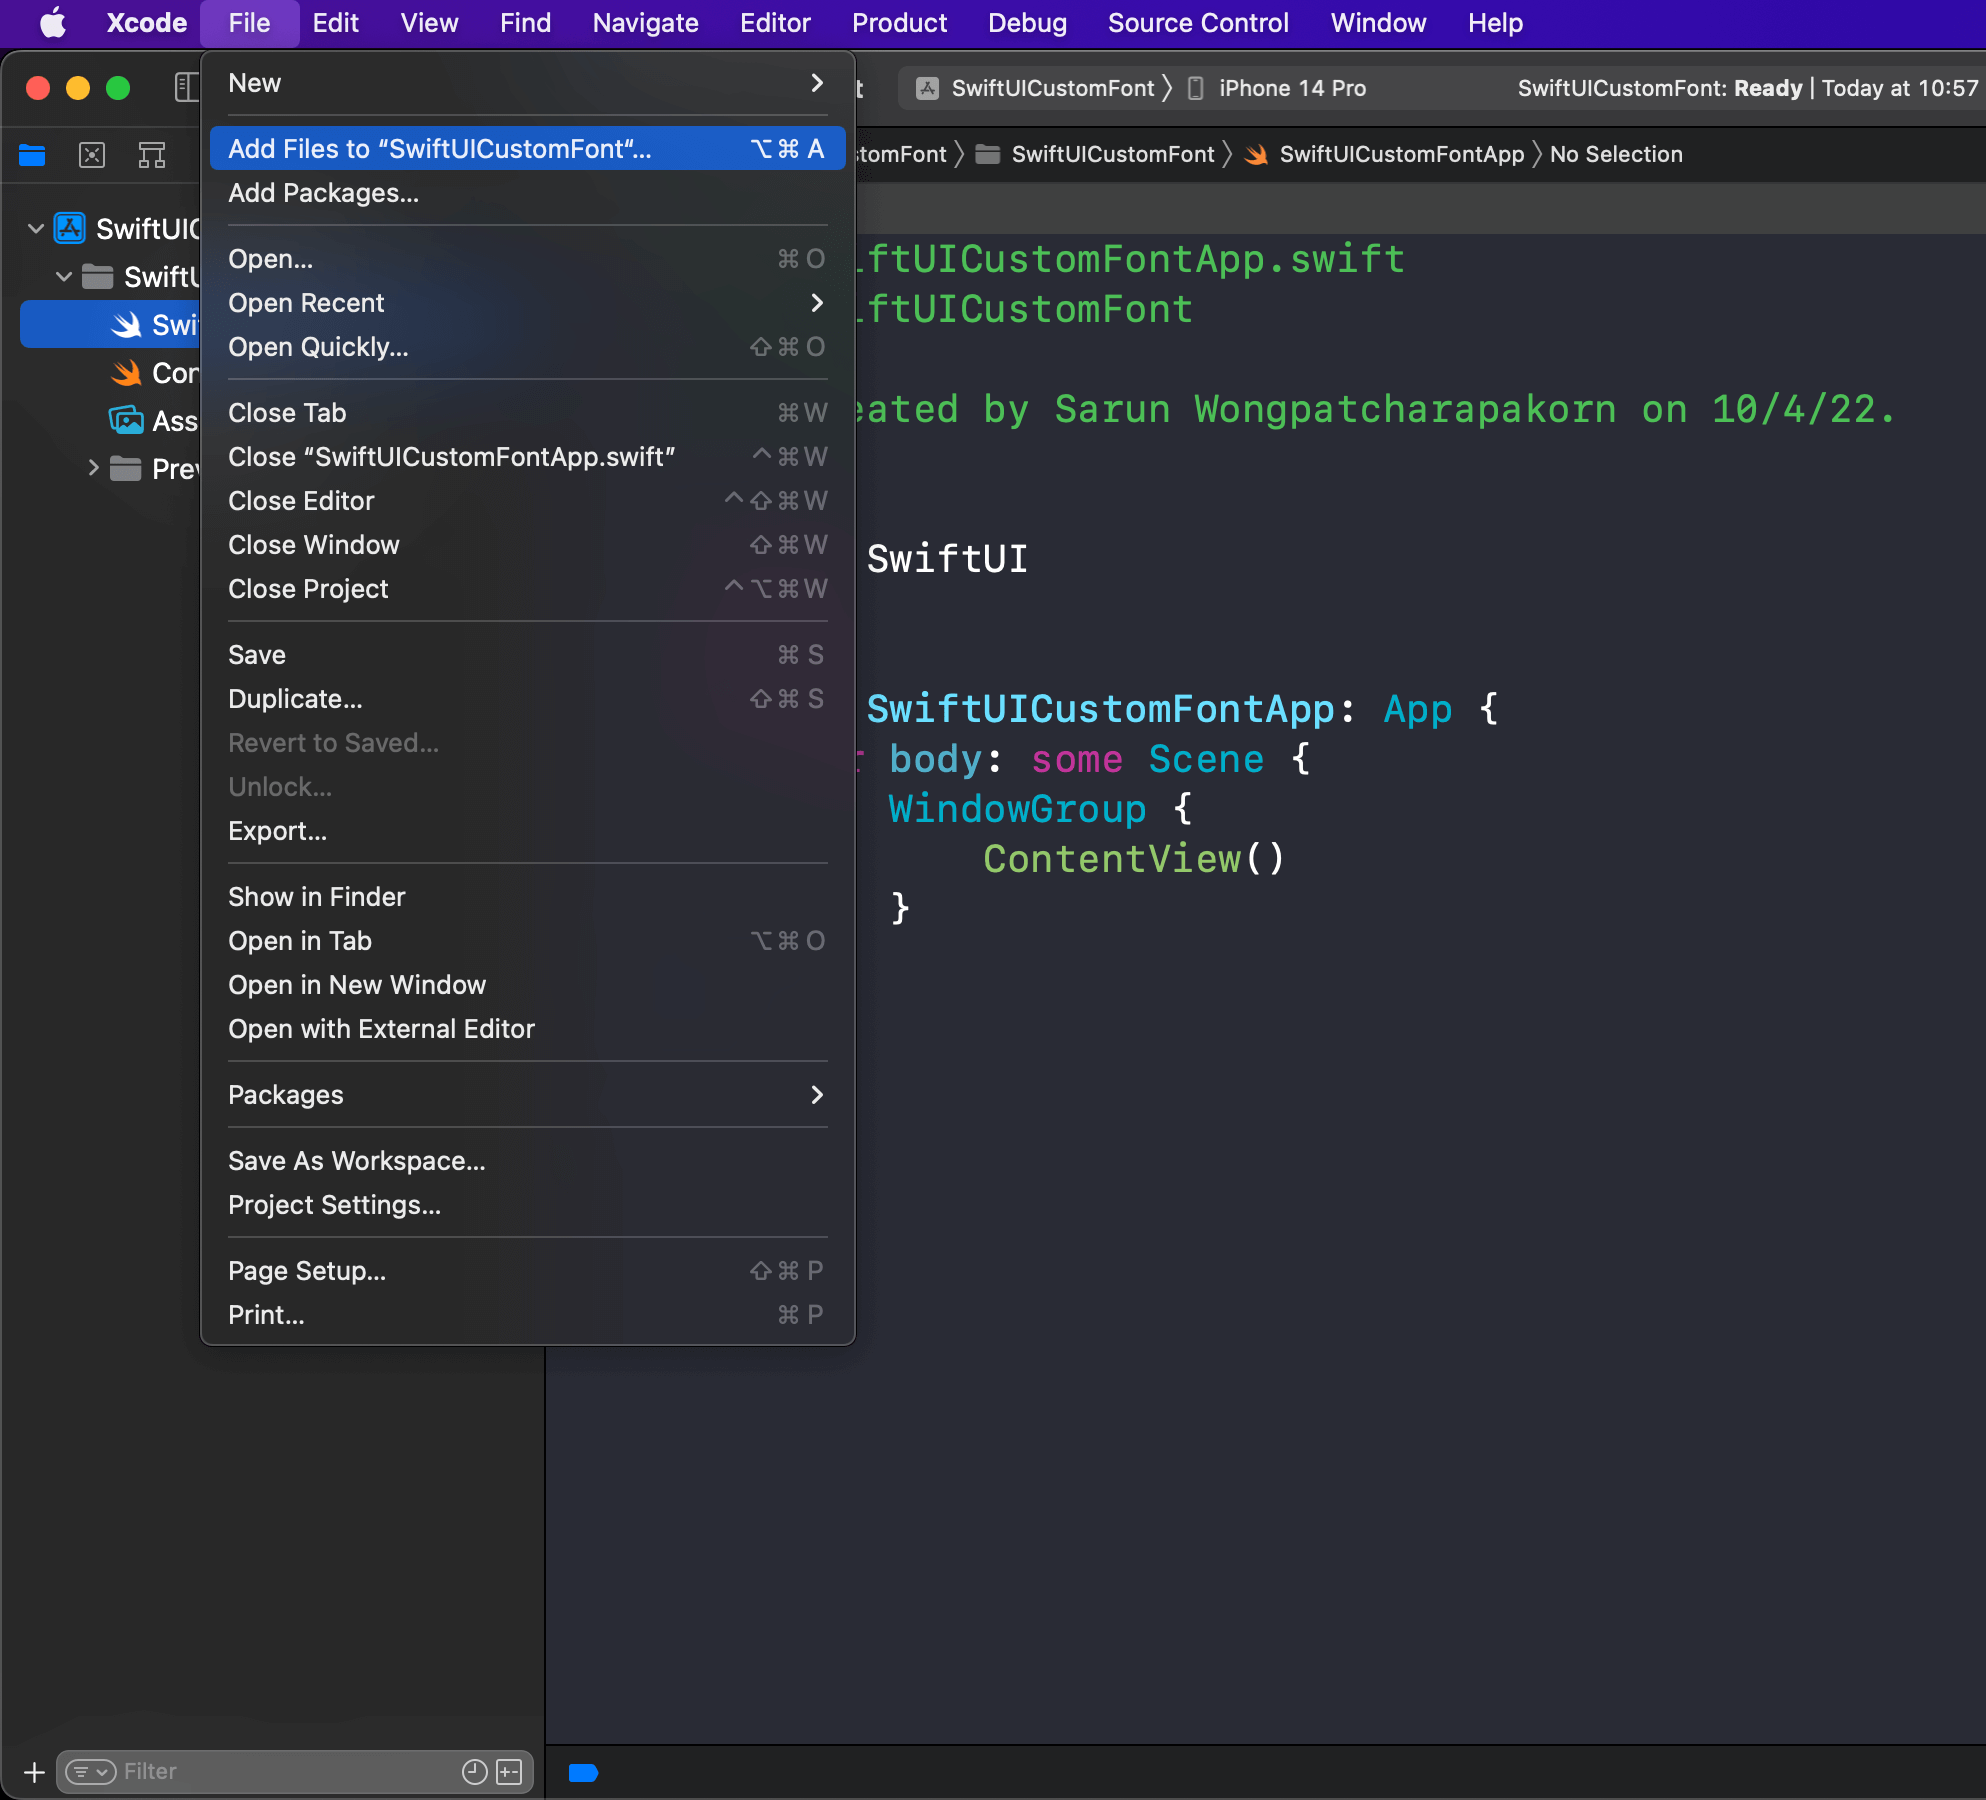
Or drag the file from Finder and drop it into your Xcode project.
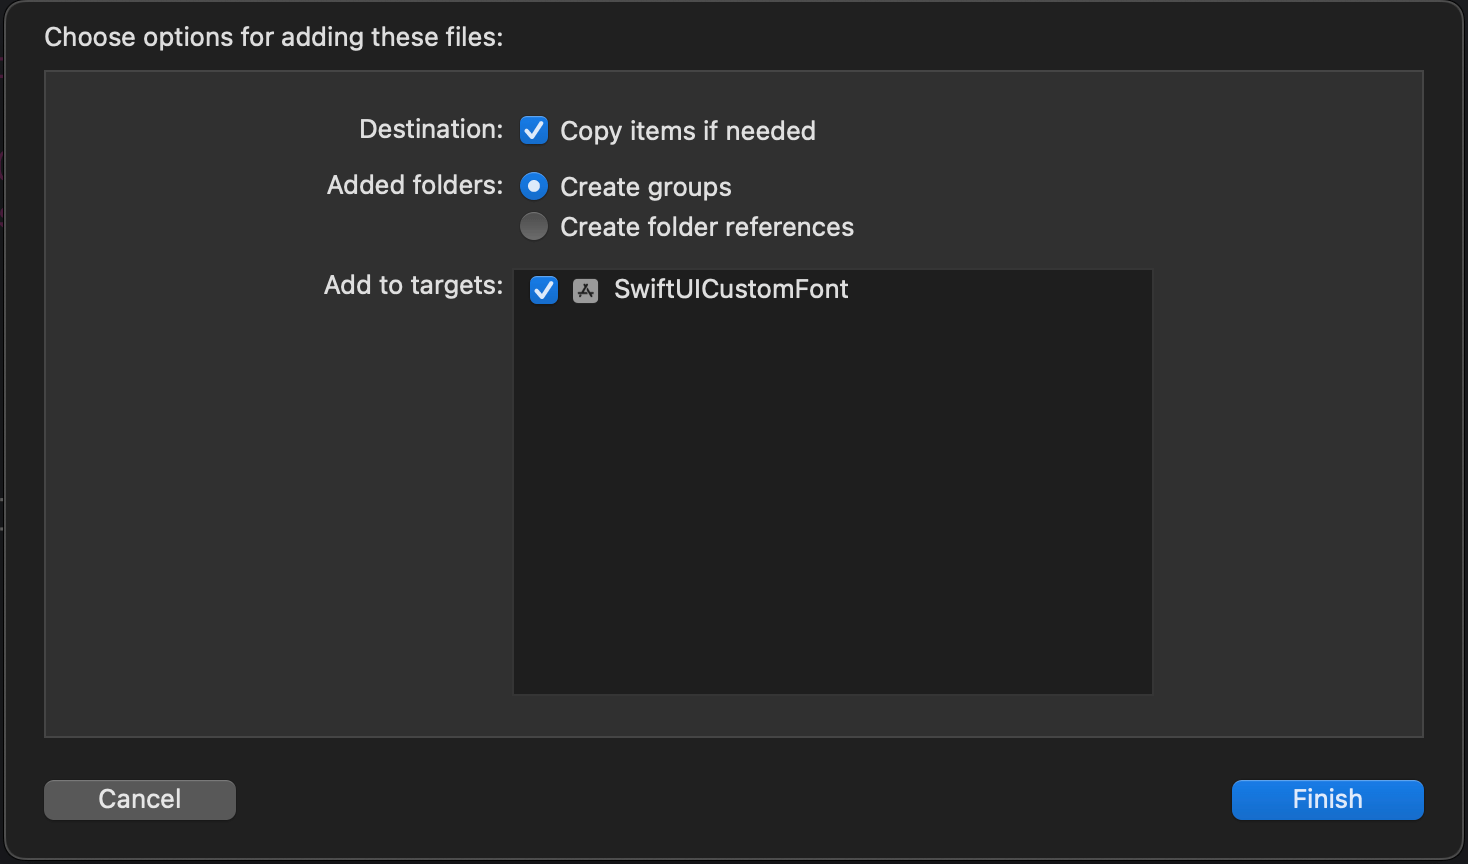
- Ensure both Copy items if needed and Add to targets are checked.
Register your font file with iOS
After you add a custom font to the project, you need to introduce them to iOS.
To do this:
- Navigate to Info.plist.
- After opening your Info.plist, add the key "Fonts provided by application".
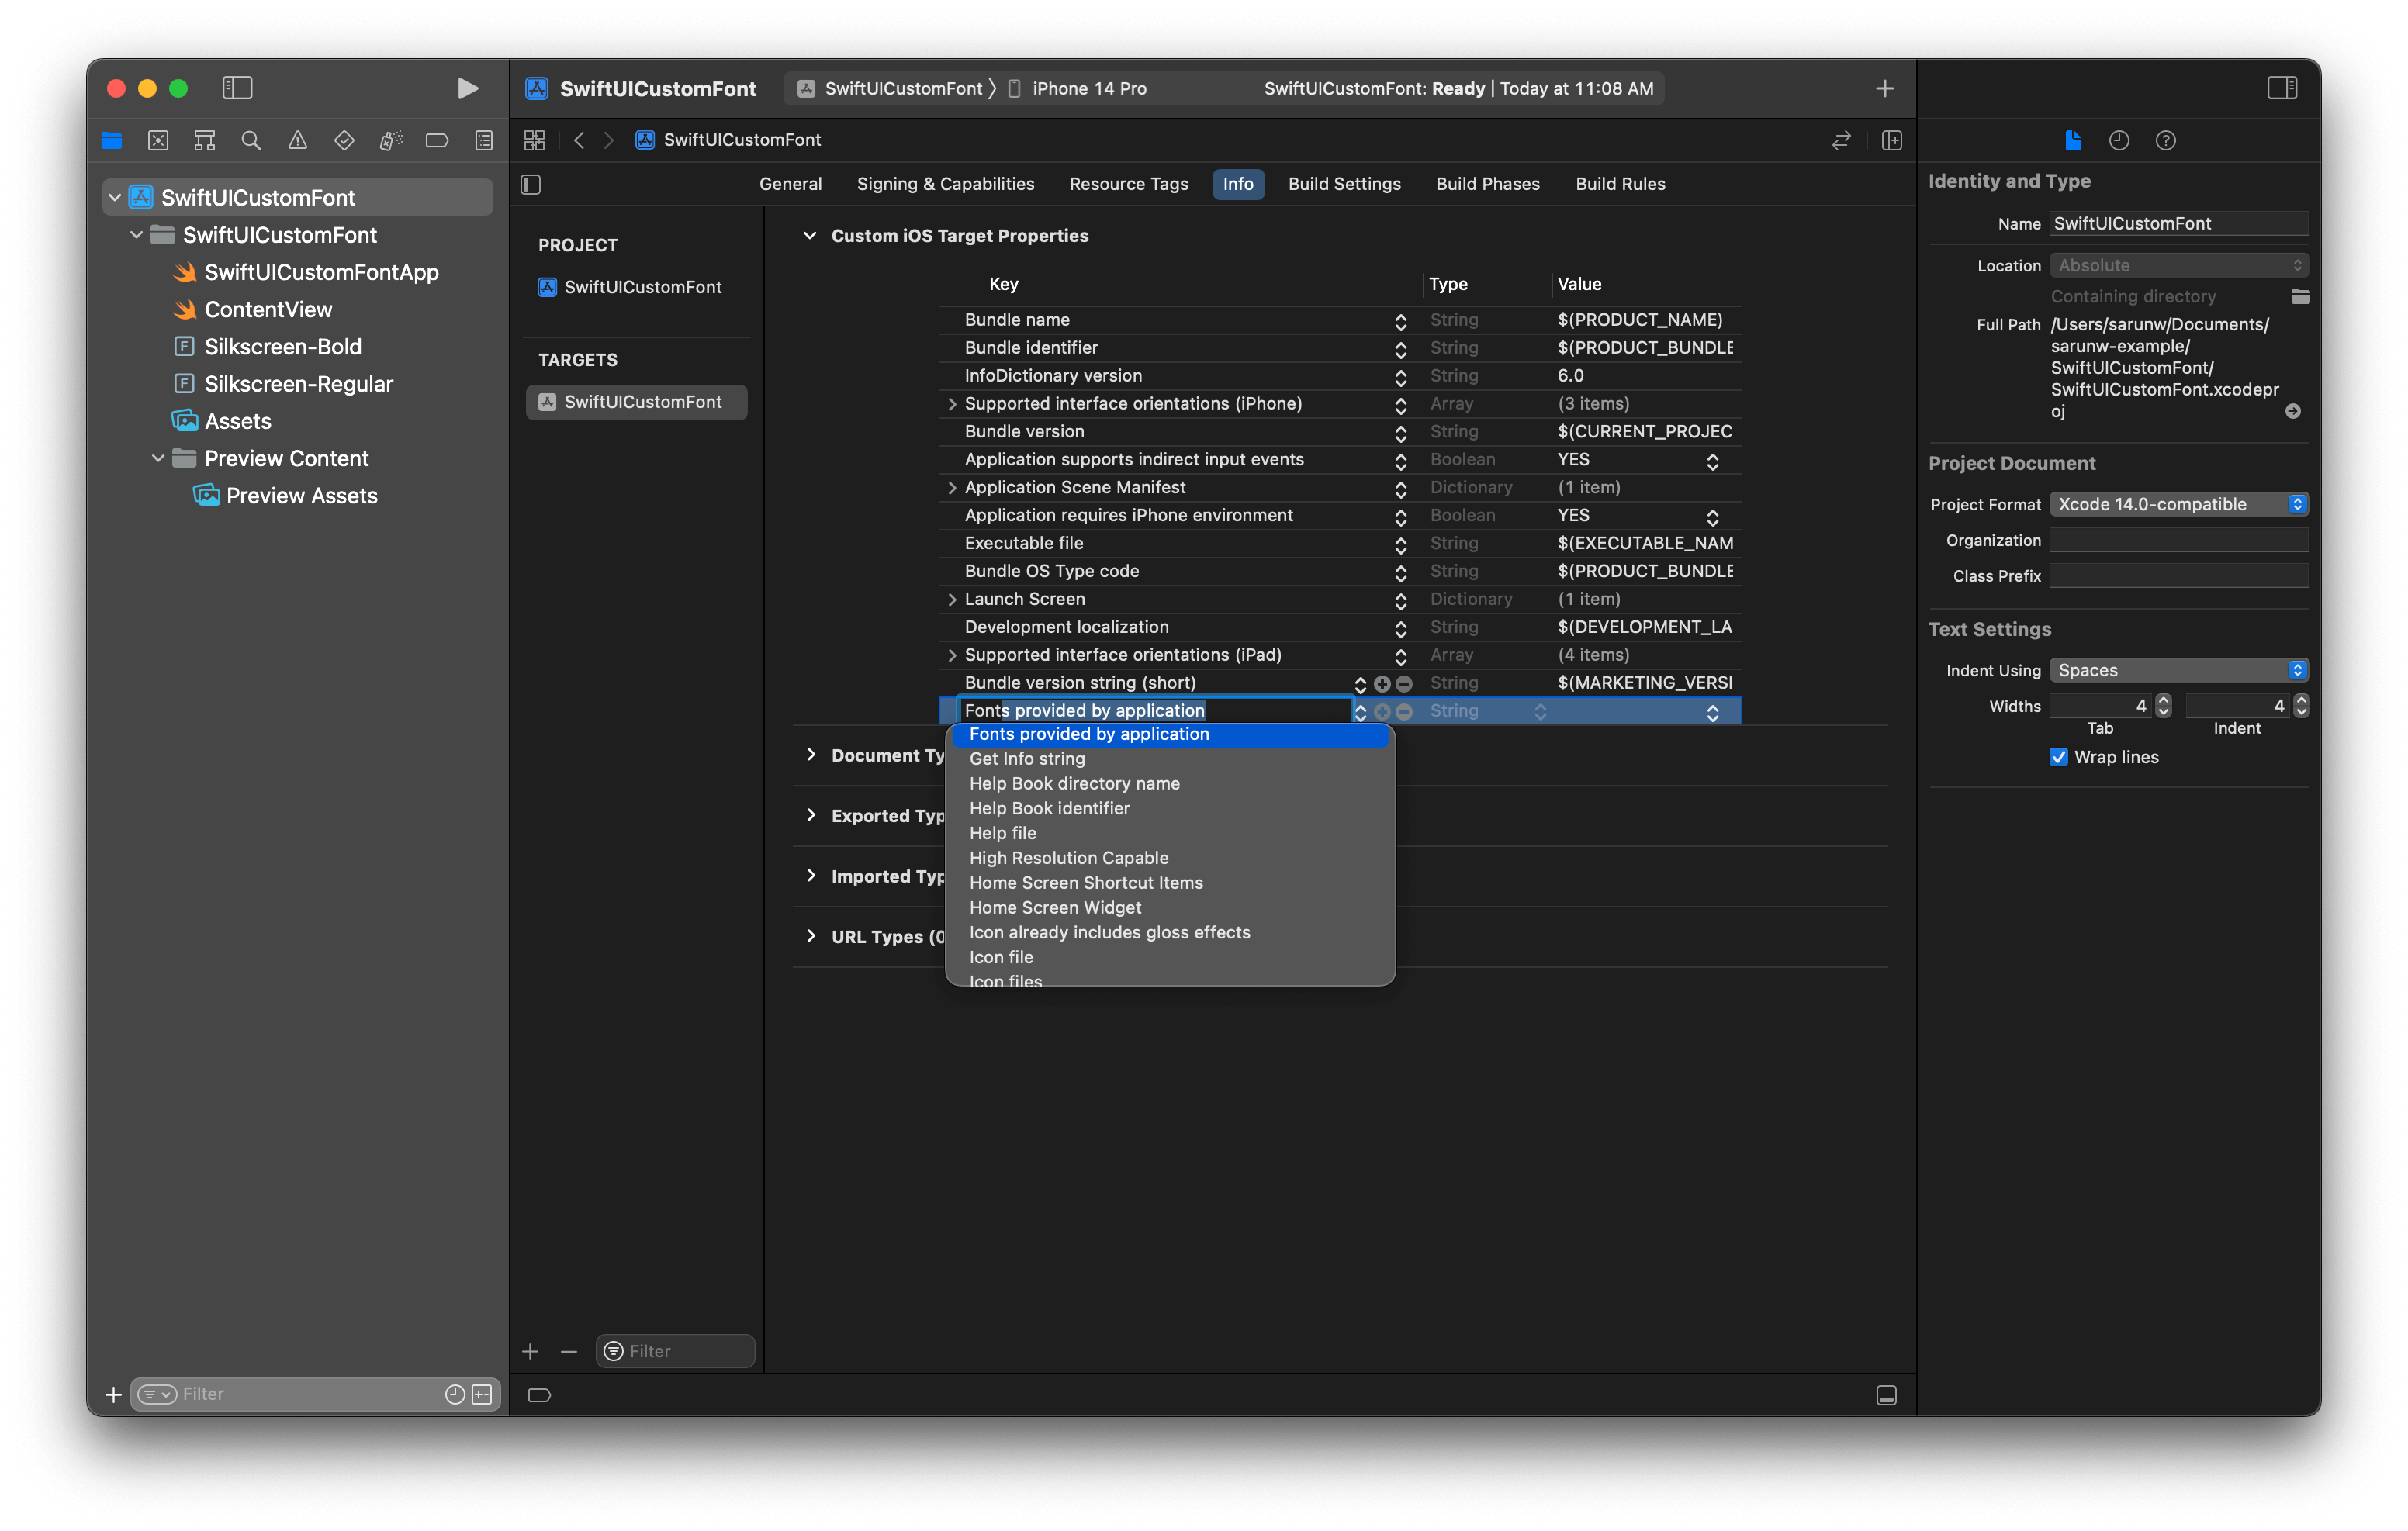
- Add the name of all the fonts as items of the array. Be sure to include the file extension as part of the name.

You can easily support sarunw.com by checking out this sponsor.
Translate your app In 1 click: Simplifies app localization and helps you reach more users.
Use a custom font in SwiftUI
That's all you need to do to add a custom font to your SwiftUI app.
To use a custom font in SwiftUI, we initialize Font with custom(_:size:) static method.
Then we use it in a place where Font is expected. In this example, I use a custom font on a Text view.
VStack {
    Text("Hello, world!")
        .font(.custom("Silkscreen-Regular", size: 46))
    Text("Hello, world!")
        .font(.custom("Silkscreen-Bold", size: 46))
}
Read more article about SwiftUI, Font, or see all available topic
Enjoy the read?
If you enjoy this article, you can subscribe to the weekly newsletter.
Every Friday, you'll get a quick recap of all articles and tips posted on this site. No strings attached. Unsubscribe anytime.
Feel free to follow me on Twitter and ask your questions related to this post. Thanks for reading and see you next time.
If you enjoy my writing, please check out my Patreon https://www.patreon.com/sarunw and become my supporter. Sharing the article is also greatly appreciated.
Become a patron Buy me a coffee Tweet ShareWhat is the difference between List and ForEach in SwiftUI
Even though ForEach and List have similar syntax, they serve different purposes. Let's learn about their differences.
How to dismiss fullScreenCover in SwiftUI
SwiftUI has many ways to dismiss a modal view based on how you structure your view and the minimum iOS version you support.