How to add custom fonts to iOS app
Table of Contents
In iOS, you can add and use a custom font to your app and use it like other assets. The process is not hard, but it might not be straightforward as adding an image. I will show you how to add and use a custom font and highlight tips, tricks, and pitfalls along the way.
Preparing
To add a custom font, we need a font file. For this article, I will use Inter font. You can add any True Type Font (.ttf) and Open Type Font (.otf) files to an iOS app.
Fonts are generally very expensive, and a license is also complicated. There are usually different licenses for desktop, printing, and mobile. Make sure you read them carefully and pick the right one that suits your need.
My go-to resource is Google Fonts. You can find many beautiful free licensed font families there.
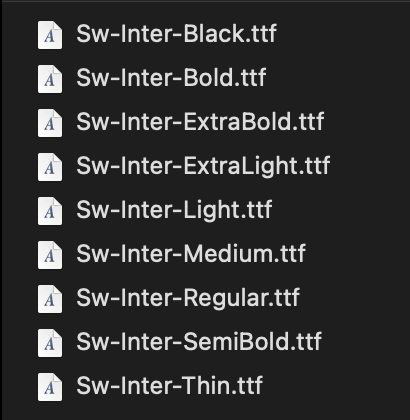
Here are all nine Inter font styles I downloaded.
You can easily support sarunw.com by checking out this sponsor.
Screenshot Studio: Create App Store screenshots in seconds not minutes.
Adding a custom font to your app
There are two steps to add a custom font to your iOS app.
- Add the Font File to Your Xcode Project.
- Register Your Font File with iOS.
Add the font file to your Xcode project
You add fonts into an Xcode the same way you did with other assets. Nothing complicated in this first step.
Select File menu > Add Files to "Your Project Name"... from the menu bar, select all the fonts you need to add, then click the Add button. Or drag the file from Finder and drop it into your Xcode project.

Make sure the font file is your app's target member by selecting the checkbox next to your app target name in the Add to targets section. The font file will not be distributed as part of your app if you fail to do so.
Register your font file with iOS
Adding a font to the project is not enough. You need to introduce them to iOS.
To do this, click on Info.plist and add the key "Fonts provided by application".
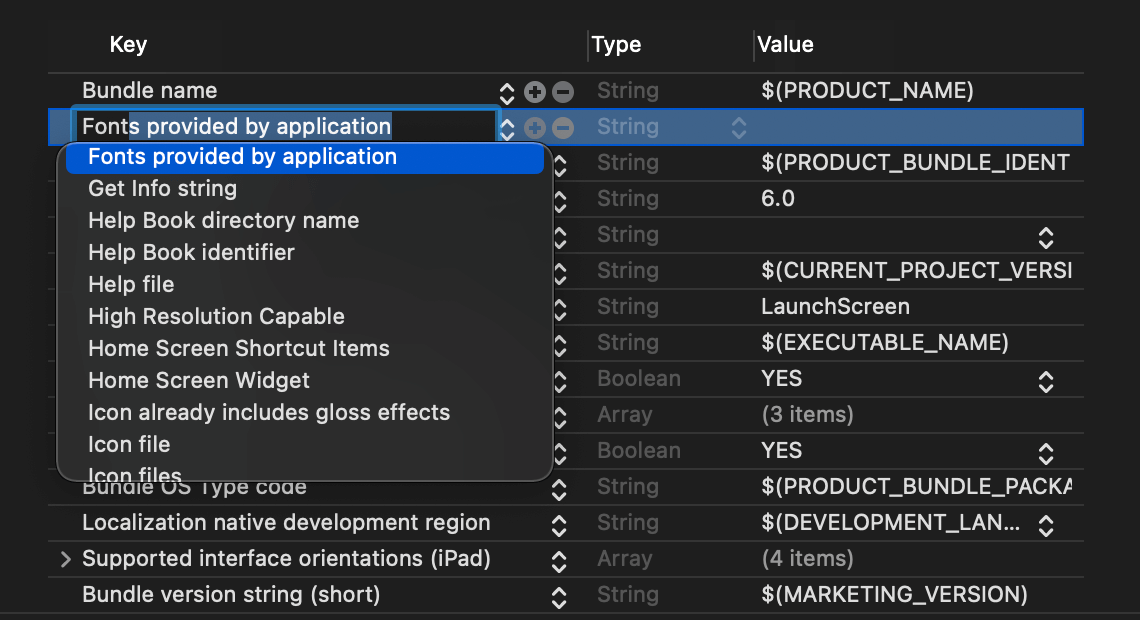
After adding the "Fonts provided by application" key, Xcode will create an array value for the key. Add the name of the font file as an item of the array. Be sure to include the file extension as part of the name.
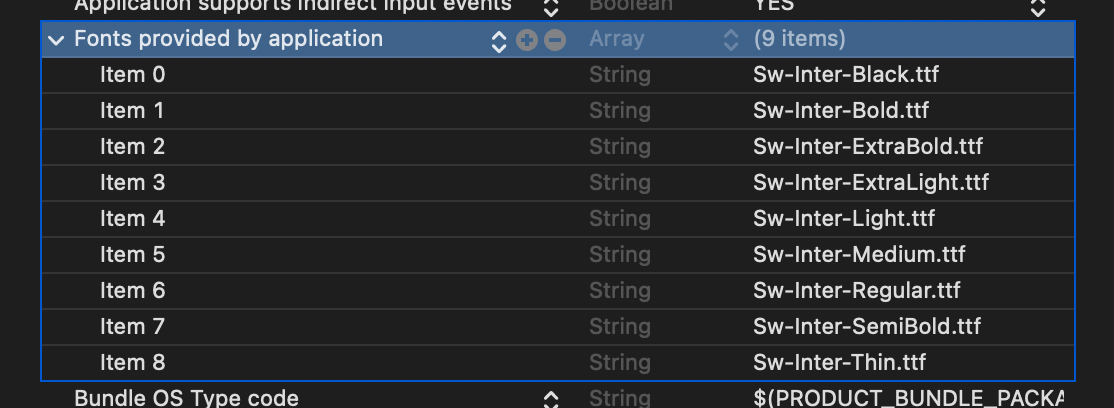
The system loads the specified fonts and makes them available for the app when that app is run. That means each font file you want to use needs to be on this list.
Using
That's all you need to do to add a custom font to your iOS app. You can start using them in your app. I will show you how to do it in Interface Builder, UIKit code, and SwiftUI code.
Use your custom font in Interface Builder
If you’re using Interface Builder, you can select your custom fonts right from the Attribute Inspector.

Use your custom font in UIKit
You can use your custom font by initializing it by name using UIFont.init(name:size:). Finding the font name to use here might be the trickiest part of this article. If you don't know how to get the name for your custom font, you can read it in the next section.
let label = UILabel()
// 1
label.font = UIFont(name: "Inter-Regular", size: 36)
label.text = "Lorem ipsum dolor sit amet."
1 Set a label font to "Inter-Regular".
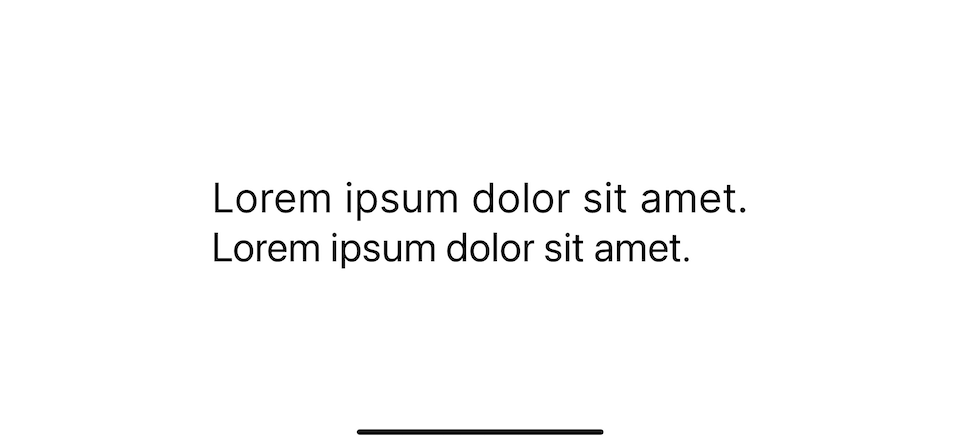
Here is an example of our custom font compared to a system font of the same size.
Use Your Custom Font in SwiftUI
Use the custom(_:size:) method to retrieve an instance of your font and apply it to a supported view with the font(_:) modifier. We are using the same name that we find from How to find the font name.
Text("Lorem ipsum dolor sit amet.").font(.custom("Inter-Regular", size: 36))You can easily support sarunw.com by checking out this sponsor.
Screenshot Studio: Create App Store screenshots in seconds not minutes.
How to find the font name
As you can see, using custom fonts in UIKit/SwiftUI need to reference our custom font by name. And it doesn't always be the same name as your font file name.
In our case, font file name is prefixed by "Sw-", but we reference them without "Sw-", label.font = UIFont(name: "Inter-Regular", size: 36).
There are two ways to find the font name.
- UIFont.familyNames.
- Font Book app.
UIFont.familyNames
We can use the UIFont.familyNames method, which returns an array of font-family names available on the system.
You can put this code anywhere you want (viewDidLoad, SceneDelegate, or AppDelegate) since it means to run just one. Once you get the font name, you can remove this code.
for family in UIFont.familyNames.sorted() {
    let names = UIFont.fontNames(forFamilyName: family)
    print("Family: \(family) Font names: \(names)")
}
This is some part of the result I get.
...
Family: Hoefler Text Font names: ["HoeflerText-Regular", "HoeflerText-Italic", "HoeflerText-Black", "HoeflerText-BlackItalic"]
Family: Inter Font names: ["Inter-Regular", "Inter-ExtraLight", "Inter-Thin", "Inter-Light", "Inter-Medium", "Inter-SemiBold", "Inter-Bold", "Inter-ExtraBold", "Inter-Black"]
Family: Kailasa Font names: ["Kailasa", "Kailasa-Bold"]
Family: Kefa Font names: ["Kefa-Regular"]
Family: Khmer Sangam MN Font names: ["KhmerSangamMN"]
Family: Kohinoor Bangla Font names: ["KohinoorBangla-Regular", "KohinoorBangla-Light", "KohinoorBangla-Semibold"]
...
I added a total of nine styles, and the names are as follows.
Family: Inter Font names: ["Inter-Regular", "Inter-ExtraLight", "Inter-Thin", "Inter-Light", "Inter-Medium", "Inter-SemiBold", "Inter-Bold", "Inter-ExtraBold", "Inter-Black"]This solution works to get font names and verify whether they get registered to the system, but it requires some setup and clean-up, which is quite overkilled. I prefer to use Font Book app, which is far simple, in my opinion
Font Book app
To find the name of a font using the Font Book app, you need to do the following.
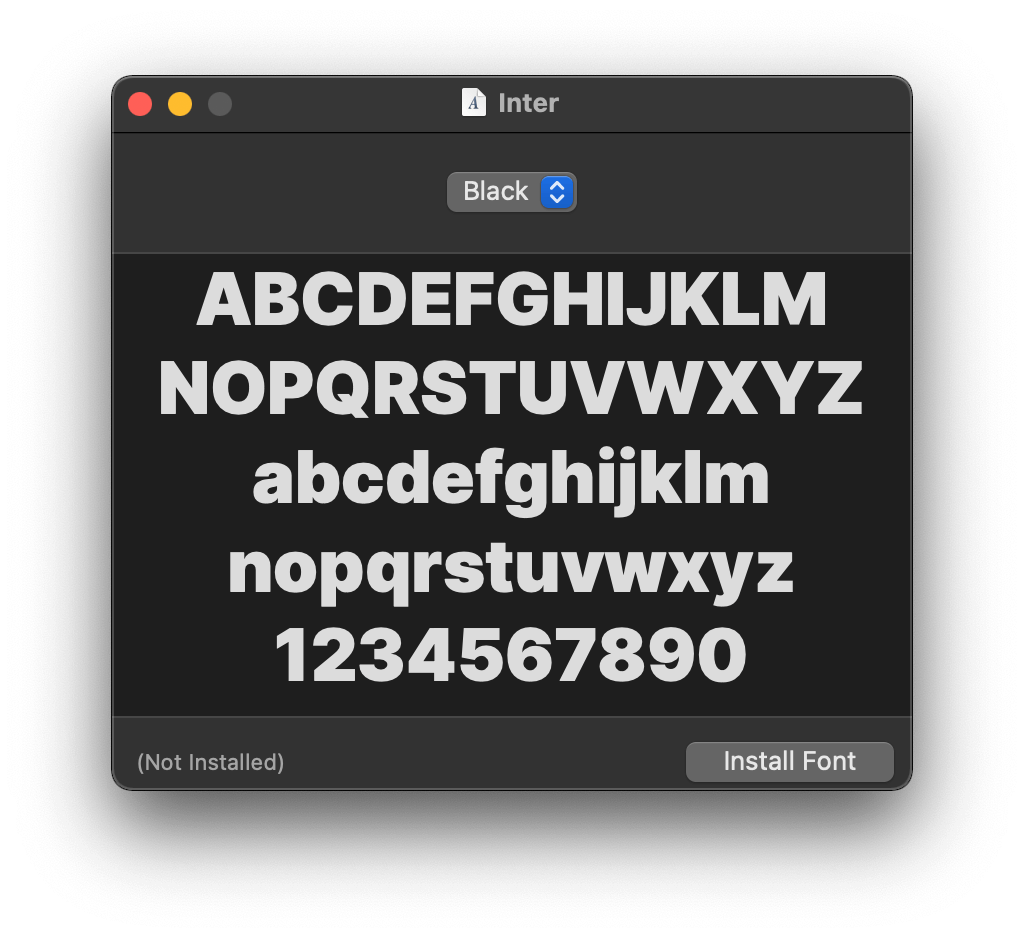
- Install custom font in your machine by double-clicking on the font file, which should open an installation dialog like this. Then click Install Font.
![]()
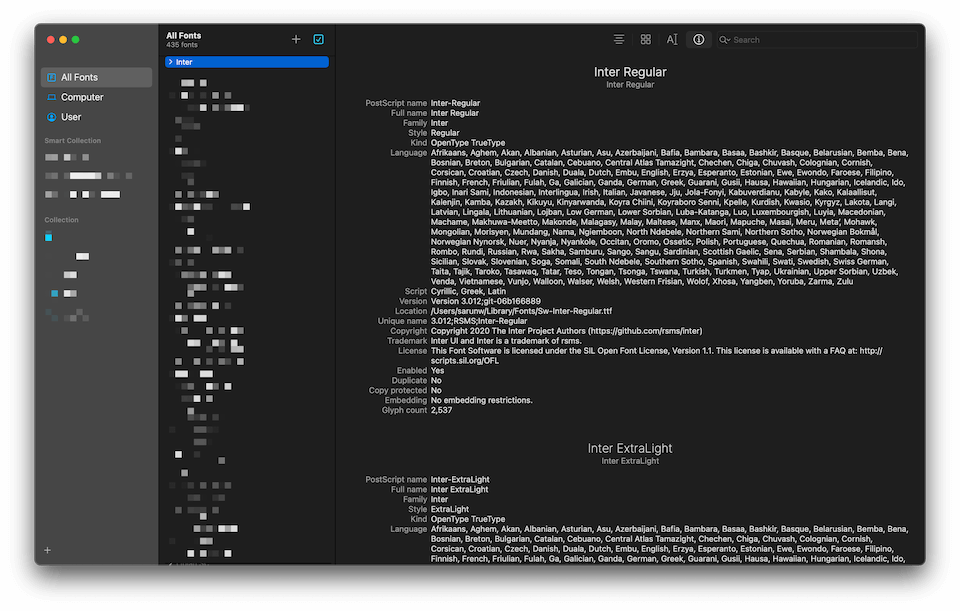
- Open the Font Book app and click on your custom font family. In this case, it is Inter.
![]()
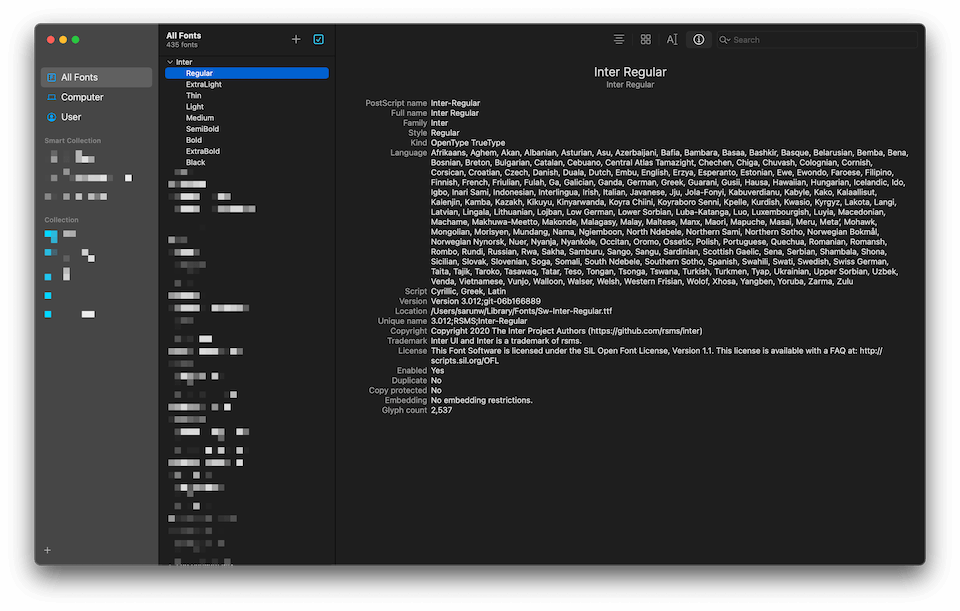
- Click the arrow to expand all styles under that font family.
![]()
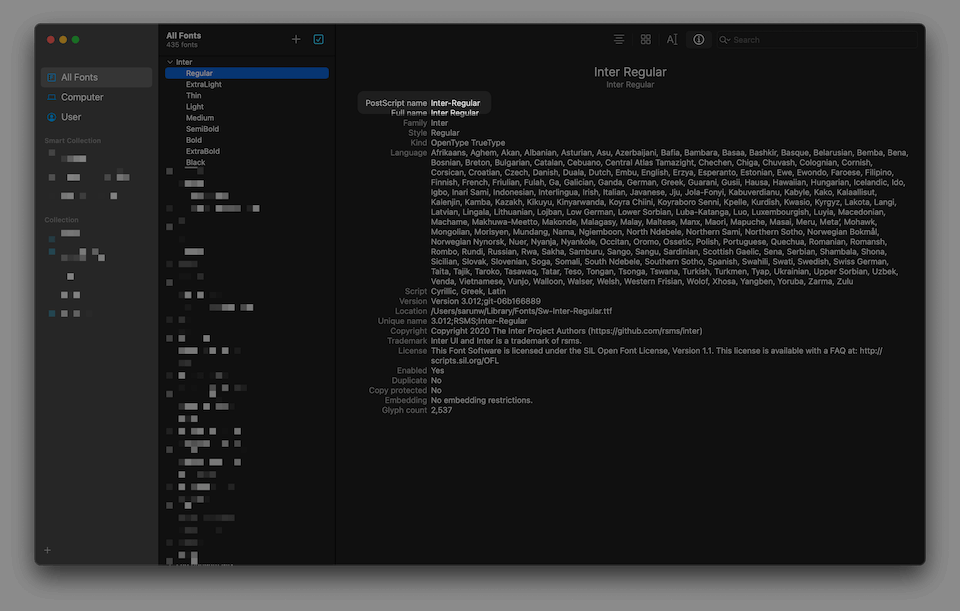
- Click on any style you want to know the name. Font name that iOS use is the one in the PostScript name.
![]()
Tweet on how to find font name
Read more article about Development, Font, or see all available topic
Enjoy the read?
If you enjoy this article, you can subscribe to the weekly newsletter.
Every Friday, you'll get a quick recap of all articles and tips posted on this site. No strings attached. Unsubscribe anytime.
Feel free to follow me on Twitter and ask your questions related to this post. Thanks for reading and see you next time.
If you enjoy my writing, please check out my Patreon https://www.patreon.com/sarunw and become my supporter. Sharing the article is also greatly appreciated.
Become a patron Buy me a coffee Tweet ShareHow to remove extra padding when converting HTML to NSAttributedString
When you convert HTML string to NSAttributedString, sometimes, you will get an extra unwanted bottom padding. Learn what is causing this and how to mitigate the problem.
How to simulate location in Xcode and Simulator
Both Xcode and Simulator can simulate location, but they serve different purposes. The Simulator provided a quick and easy way to simulate location and movement. On the other hand, Xcode offers more customization. Let's learn the differences so you can pick the right tool for your needs.