How to style SwiftUI text Font
Table of Contents
Text is a view that displays one or more lines of text in SwiftUI.
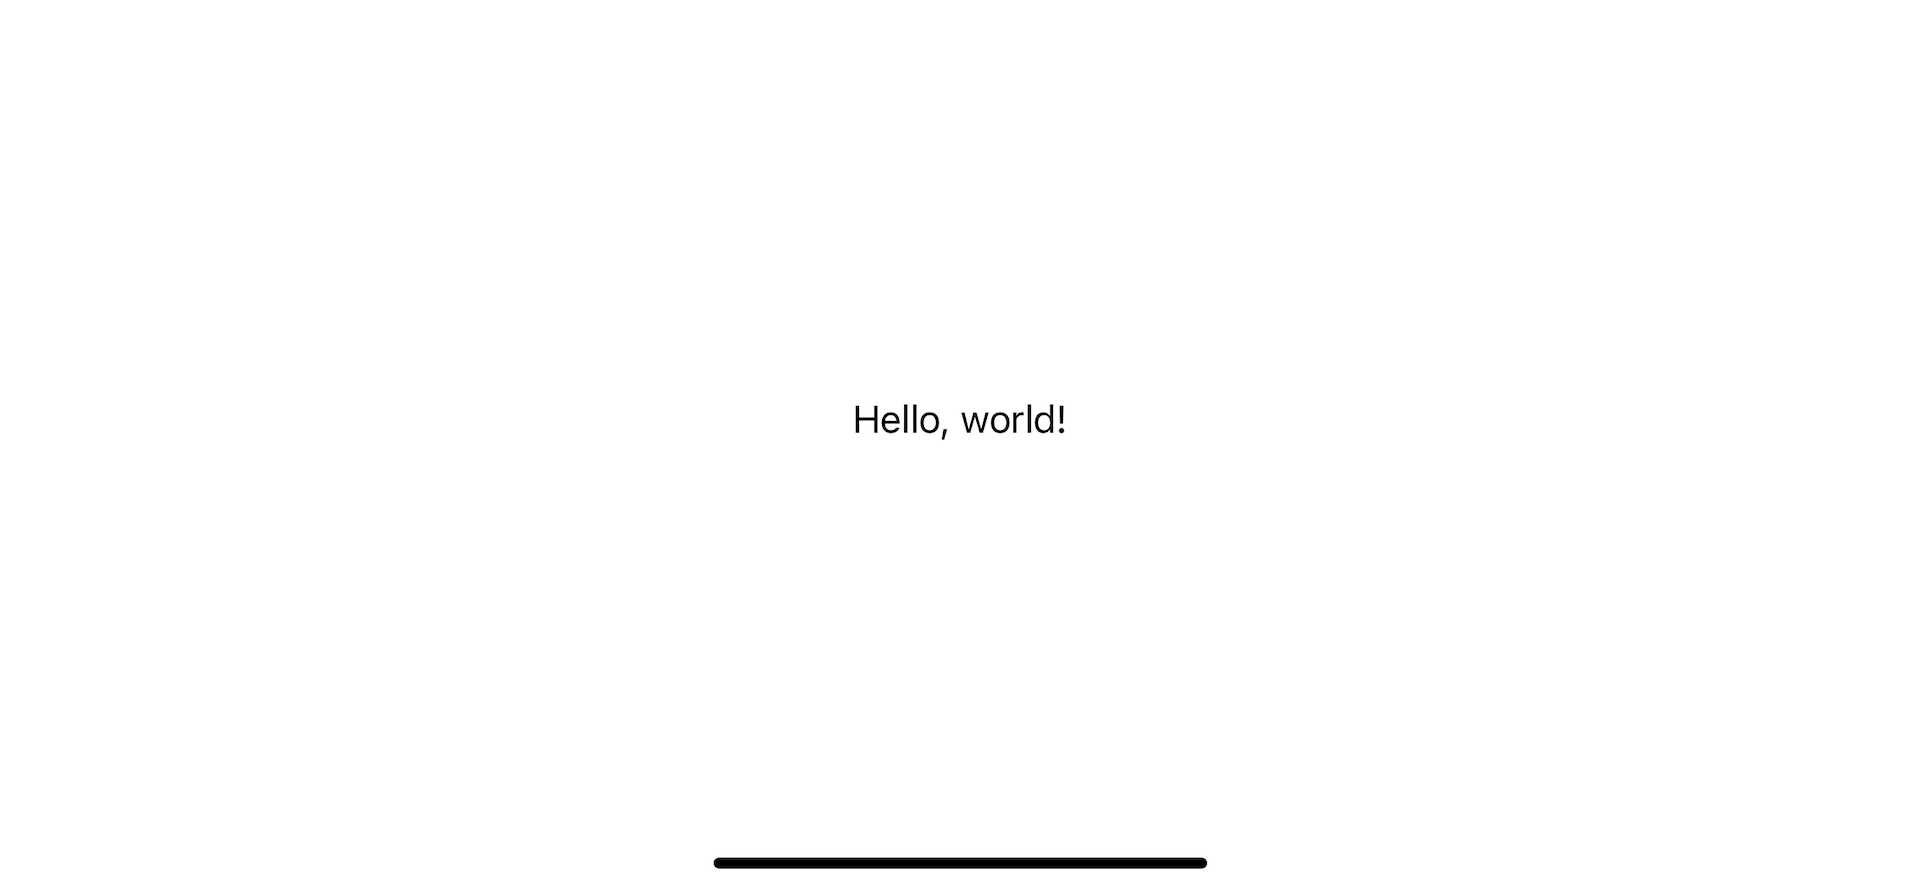
By default a text view draws a string using a system font with the body text style.
Text("Hello, world!")
We can override this default font with a custom one. We can set a custom font for a text view using font(_:) modifier.
Let's explore different ways to customize a text in SwiftUI.
What is Text Style and how to change it
Text style is a way to expresses a font in terms of its function.
For example, if you want to set a font for a headline text of your view, you can set it to Headline text style without specifying the font size. Apple does the hard work to define the perfect size for each text style.
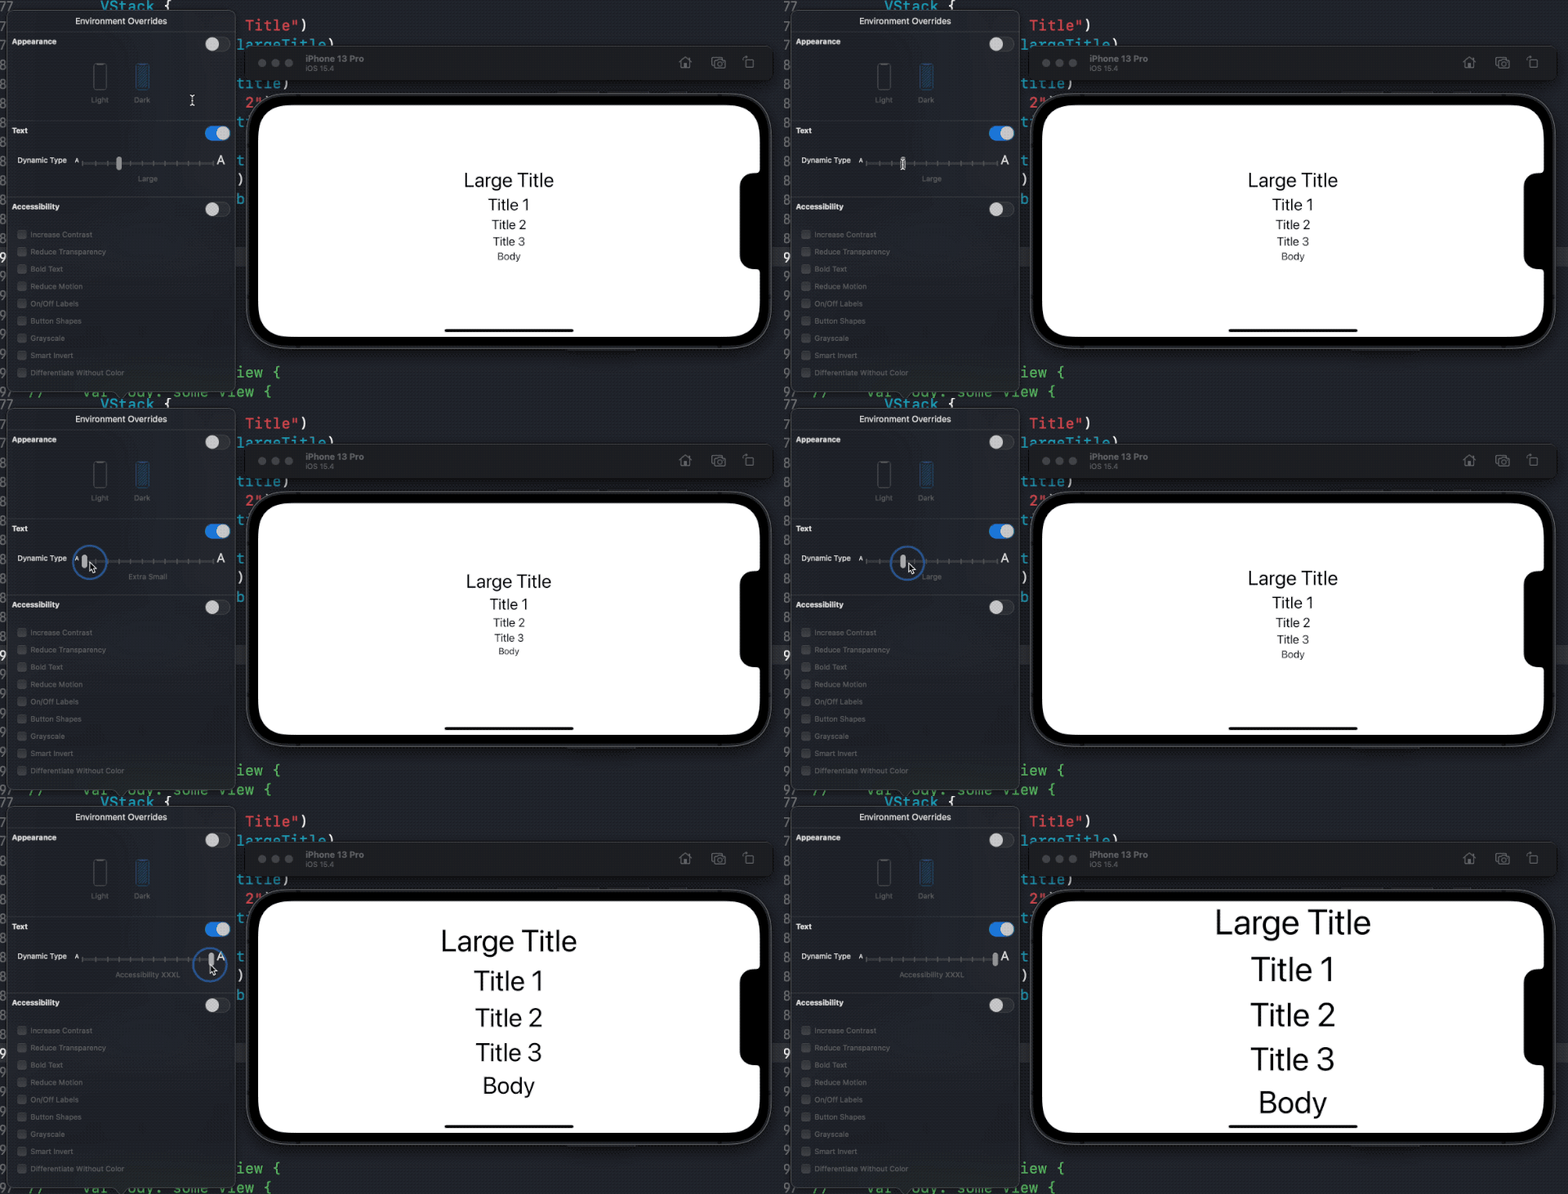
Adopting text style lets you take advantage of Dynamic Type where your text automatically adjusts size, tracking, and leading based on user preference.
Apple has 11 text styles at the moment: Large Title, Title 1, Title 2, Title 3, Headline, Body, Callout, Subhead, Footnote, Caption 1, and Caption 2.
All text styles are declared as a Font's static property, e.g. static let largeTitle: Font. So you can easily set text style like this:
Text("Hello, world!")
    .font(.largeTitle)
Here is an example of how text style adapts its size based on user text size preference.

You can easily support sarunw.com by checking out this sponsor.

Screenshot Studio: Create App Store screenshots in seconds not minutes.
How to change SwiftUI font Size
If the text style size doesn't match what your need, you can set a font size by specified when you initialize a font.
Set font size for a system font.
Text("Hello, world!")
    .font(.system(size: 36))
Set font size for a custom font.
Text("Hello, world!")
    .font(.custom(
        "AmericanTypewriter",
        fixedSize: 36))
Note that once you decide to set your font size, you opt out of the benefits of text style we talked about in the last section.
How to change SwiftUI font Design
We have four font designs to choose from.
- default
- monospaced
- rounded
- serif
We can set it at a time when we create a font.
If you want to customize the font design of a text style, you can set it like this:
Text("Hello, world!")
    .font(.system(.largeTitle, design: .rounded))
If you initialize a fixed-size font, you can set the font design like this:
Text("Hello, world!")
    .font(.system(size: 34, design: .rounded))
Most custom fonts don't have all four styles, so we don't have the same method signature as the system font. To set a font design for a custom font, we manually specify the name of that font design.
Text("Hello, world!")
    .font(.custom(
        "FontName",
        fixedSize: 34))
Text("Hello, world!")
    .font(.custom(
        "FontNameRound",
        fixedSize: 34))
Text("Hello, world!")
    .font(.custom(
        "FontNameMono",
        fixedSize: 34))
How to change SwiftUI font Weight
There are many ways to set font-weight. You can do it through both Font and Text instance methods.
Set font-weight with weight(_:) modifier
Set font-weight via weight(_:) modifier. This is a Font instance method, so we use this on a font, not text.
Text("Hello, world!")
    .font(.largeTitle)
Text("Hello, world!")
    .font(
        .largeTitle
        .weight(.bold)
    )
Text("Hello, world!")
    .font(
        .system(
            .largeTitle,
            design: .rounded
        )
        .weight(.light)
    )
Text("Hello, world!")
    .font(
        .system(size: 34)
        .weight(.heavy)
    )
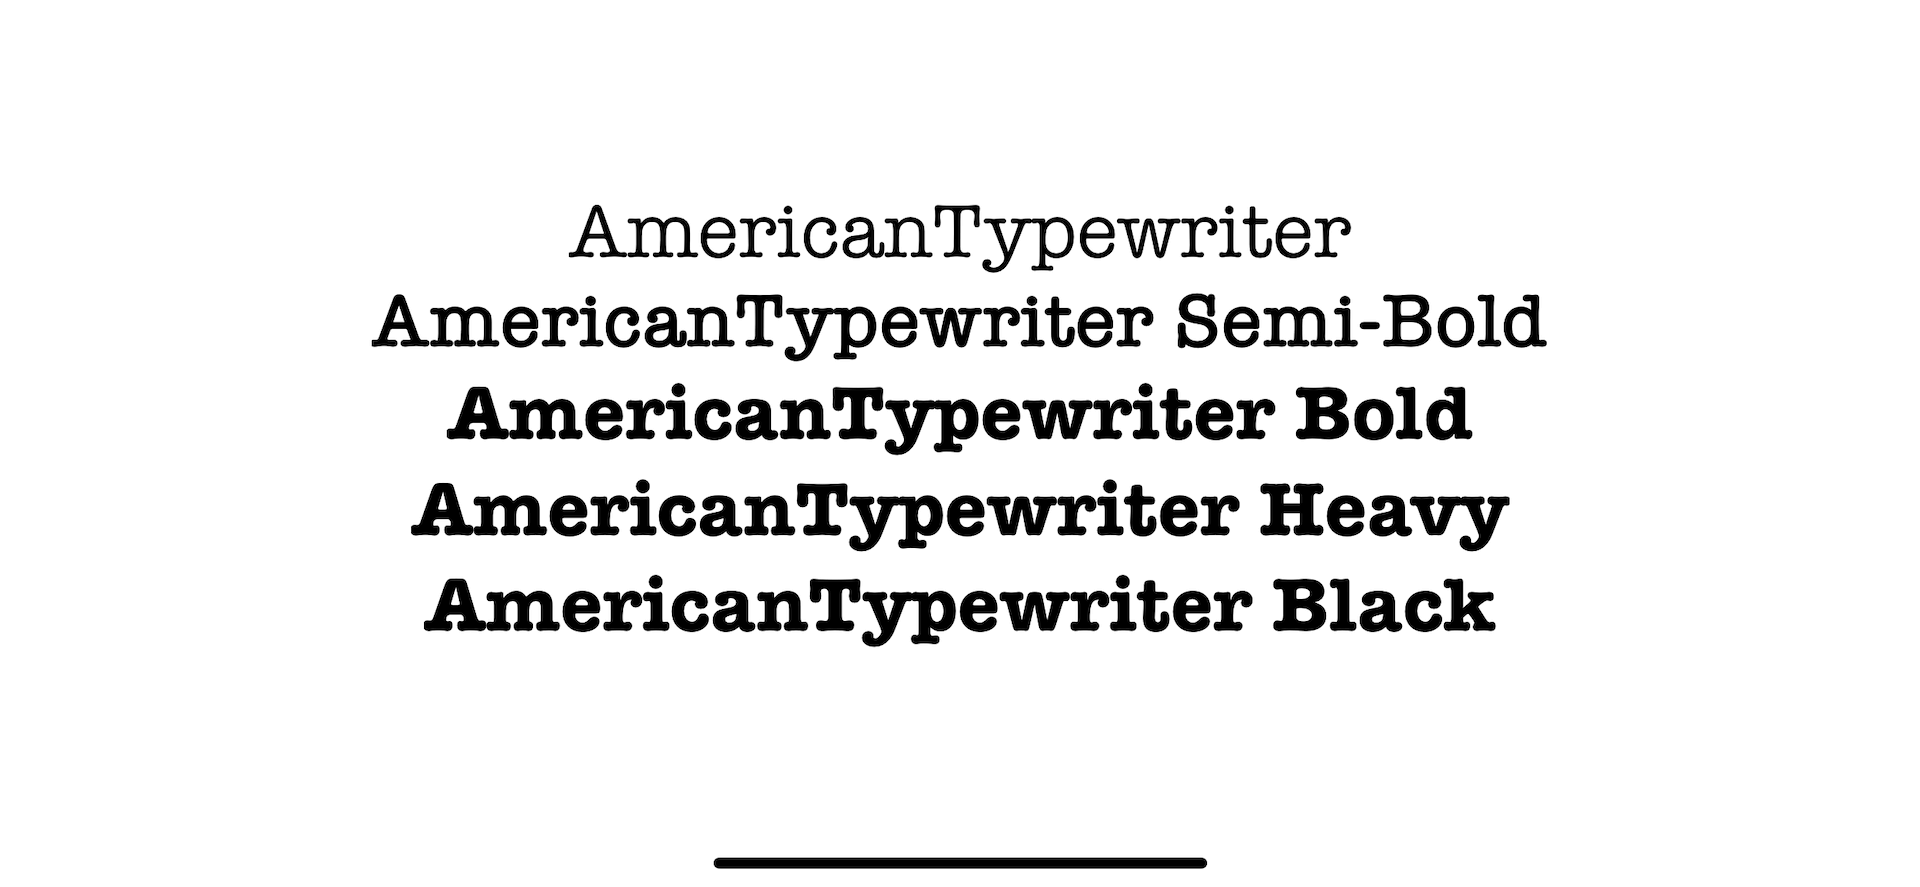
You can also use .weight on a custom font, but not all weights may not be available under that font. The closest weight will use as a fallback if specified can't be fulfilled.
Text("AmericanTypewriter")
    .font(
        .custom(
        "AmericanTypewriter",
        fixedSize: 34)
    )
Text("AmericanTypewriter Semi-Bold")
    .font(
        .custom(
        "AmericanTypewriter",
        fixedSize: 34)
        .weight(.semibold)
    )
Text("AmericanTypewriter Bold")
    .font(
        .custom(
        "AmericanTypewriter",
        fixedSize: 34)
        .weight(.bold)
    )
Text("AmericanTypewriter Heavy")
    .font(
        .custom(
        "AmericanTypewriter",
        fixedSize: 34)
        .weight(.heavy)
    )
Text("AmericanTypewriter Black")
    .font(
        .custom(
        "AmericanTypewriter",
        fixedSize: 34)
        .weight(.black)
    )
Set font-weight with font initializer
You can set this when you initialize a custom system font.
Text("Hello, world!")
    .font(
        .system(size: 34, weight: .bold)
    )
Set font-weight with fontWeight(_:) modifier
Text view also has a way to modify font-weight. You can set it with fontWeight(_:) modifier.
Since it is a Text instance method, we use this on a text, not a font.
Text("Hello, world!")
    .font(
        .system(size: 34)
    )
    .fontWeight(.bold)
Set font-weight with bold() modifier
Font and Text view also has another method to apply a bold font weight to the text, bold().
Text("Hello, world!")
    .font(
        .system(size: 34)
    )
    .bold()
Text("Hello, world!")
    .font(
        .system(size: 34)
        .bold()
    )
You can easily support sarunw.com by checking out this sponsor.

Screenshot Studio: Create App Store screenshots in seconds not minutes.
How to change SwiftUI font Color
We can set text color via a Text view modifier, foregroundColor(_:).
Text("Hello, world!")
    .font(
        .largeTitle
        .weight(.bold)
    )
    .foregroundColor(.pink)
Text("Hello, world!")
    .font(
        .largeTitle
        .weight(.bold)
    )
    .foregroundColor(.orange)
Text("Hello, world!")
    .font(
        .largeTitle
        .weight(.bold)
    )
    .foregroundColor(.yellow)
Read more article about SwiftUI, Font, Text, or see all available topic
Enjoy the read?
If you enjoy this article, you can subscribe to the weekly newsletter.
Every Friday, you'll get a quick recap of all articles and tips posted on this site. No strings attached. Unsubscribe anytime.
Feel free to follow me on Twitter and ask your questions related to this post. Thanks for reading and see you next time.
If you enjoy my writing, please check out my Patreon https://www.patreon.com/sarunw and become my supporter. Sharing the article is also greatly appreciated.
Become a patron Buy me a coffee Tweet ShareHow to create SwiftUI circular progress bar
In this tutorial, we will learn how to create a circular progress bar in SwiftUI using just three SwiftUI views.
Divider in SwiftUI - Everything you need to know
SwiftUI Divider has some limitations, but you can overcome that with modifiers. Let's explore its limitation and capability.