How to use SwiftUI in Storyboard using UIHostingController subclass
Table of Contents
There are two ways to use SwiftUI as UIViewController in Storyboard for a UIKit project.
- Use
UIHostingControllerwithIBSegueAction. - Create a subclass of
UIHostingController.
We already cover the first approach in How to use SwiftUI as UIViewController in Storyboard. In this article, we will cover the second one.
Why do we need to subclass UIHostingController
Using SwiftUI view with UIHostingController with IBSegueAction is working when you have a segue action that presents a UIHostingController, e.g., push to navigation stack or present a modal.
But there are some situations where that is not possible, such as
- Using
UIHostingControlleras an Initial view controller. - Using
UIHostingControlleras a Root view of a navigation controller. - Using
UIHostingControlleras one of the View controllers in a Tab bar controller.
In these situations, you need to create a custom UIHostingController subclass.
You can easily support sarunw.com by checking out this sponsor.
Screenshot Studio: Create App Store screenshots in seconds not minutes.
How to create a custom UIHostingController subclass
It requires three steps to create a custom UIHostingController subclass.
- Create a
UIHostingControllersubclass. - Specify a SwiftUI view as a content view of the
UIHostingControllersubclass. - Use a custom class in the Storyboard.
Create a UIHostingController subclass
These are normal steps you normally do to create any subclass.
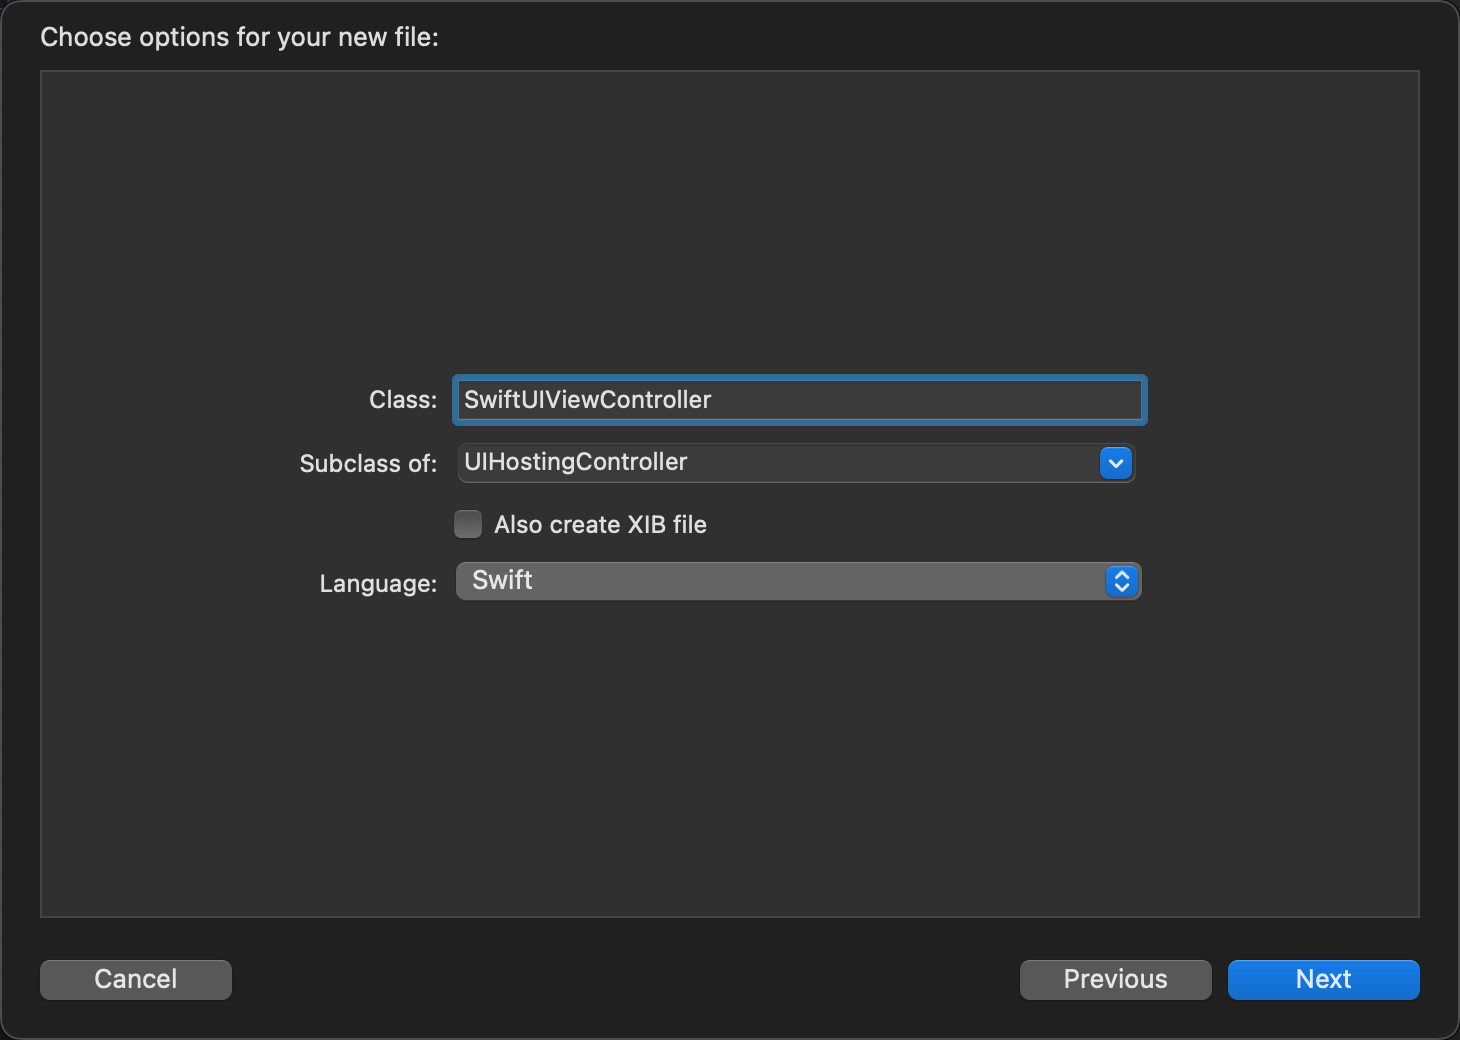
- Create a new "Cocoa Touch Class".
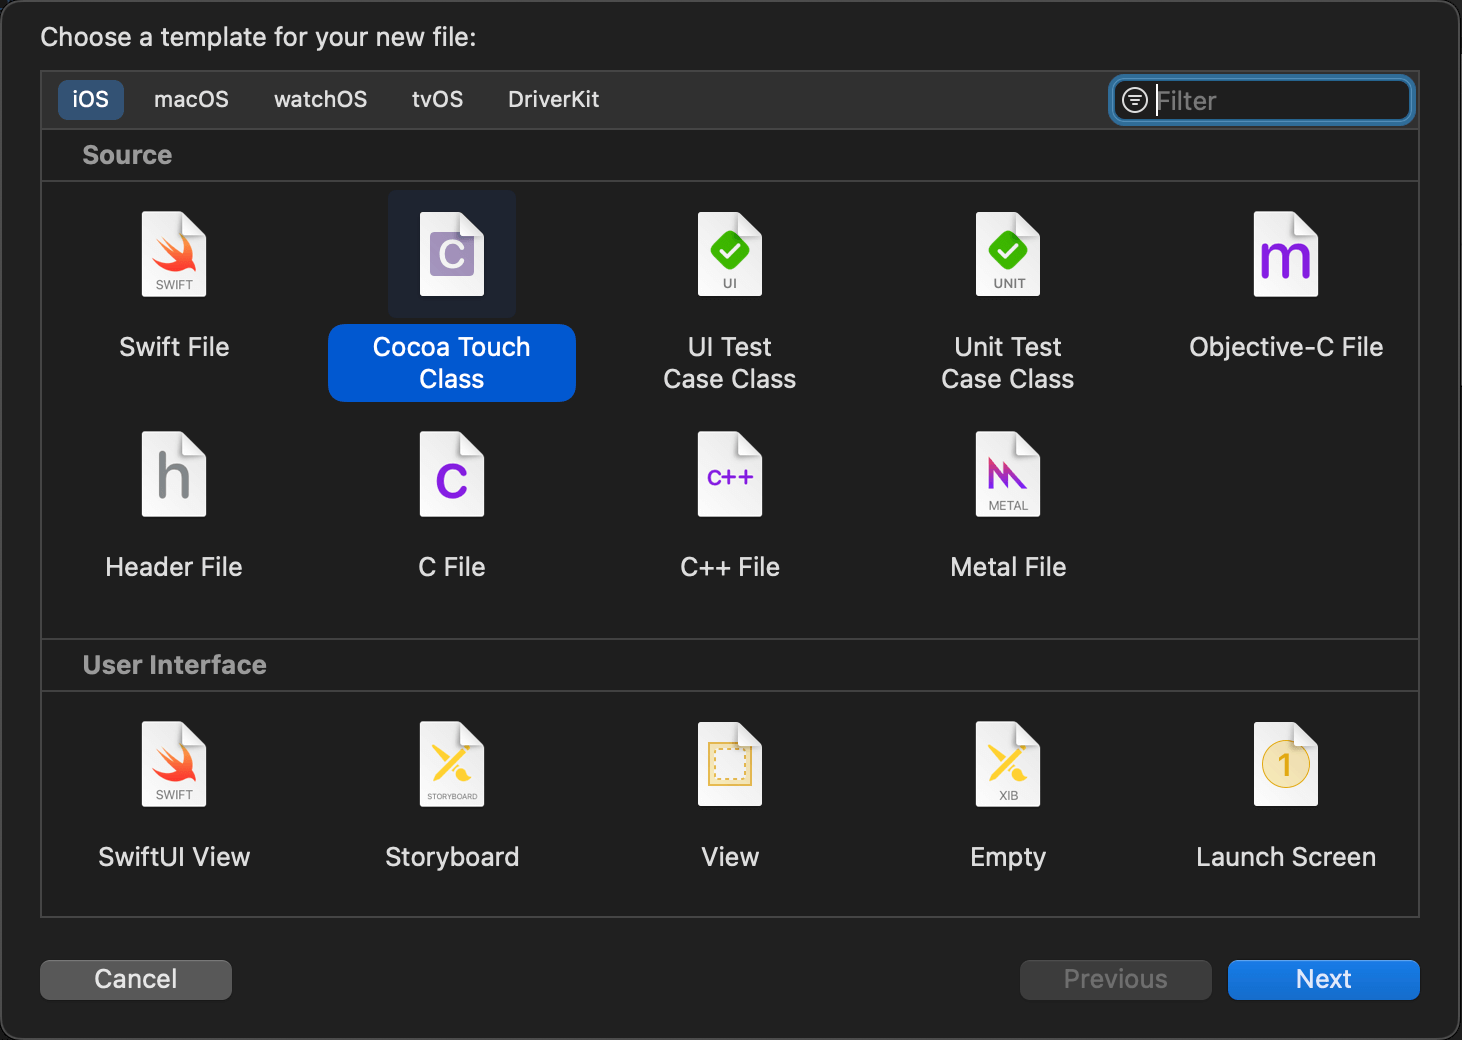
- Make it a subclass of
UIHostingControllerand name it whatever you want.
Specify a SwiftUI view as a content view of the UIHostingController subclass
You need to do two things to make the new UIHostingController present a SwiftUI view.
- Set a hosting controller's generic content type to the SwiftUI view you want to present.
- Implement the
init(coder:)initializer to return the specified SwiftUI view.
import UIKit
import SwiftUI

class SwiftUIViewController: UIHostingController<SwiftUIView> {

    required init?(coder aDecoder: NSCoder) {
        super.init(coder: aDecoder, rootView: SwiftUIView())
    }
}
- We specify our SwiftUI view as a hosting controller's content type,
UIHostingController<SwiftUIView>.
class UIHostingController<Content> : UIViewController where Content : View { }- We return the specified view from
init?(coder aDecoder: NSCoder).
required init?(coder aDecoder: NSCoder) {
    super.init(coder: aDecoder, rootView: SwiftUIView())
}
Use a custom class in the Storyboard
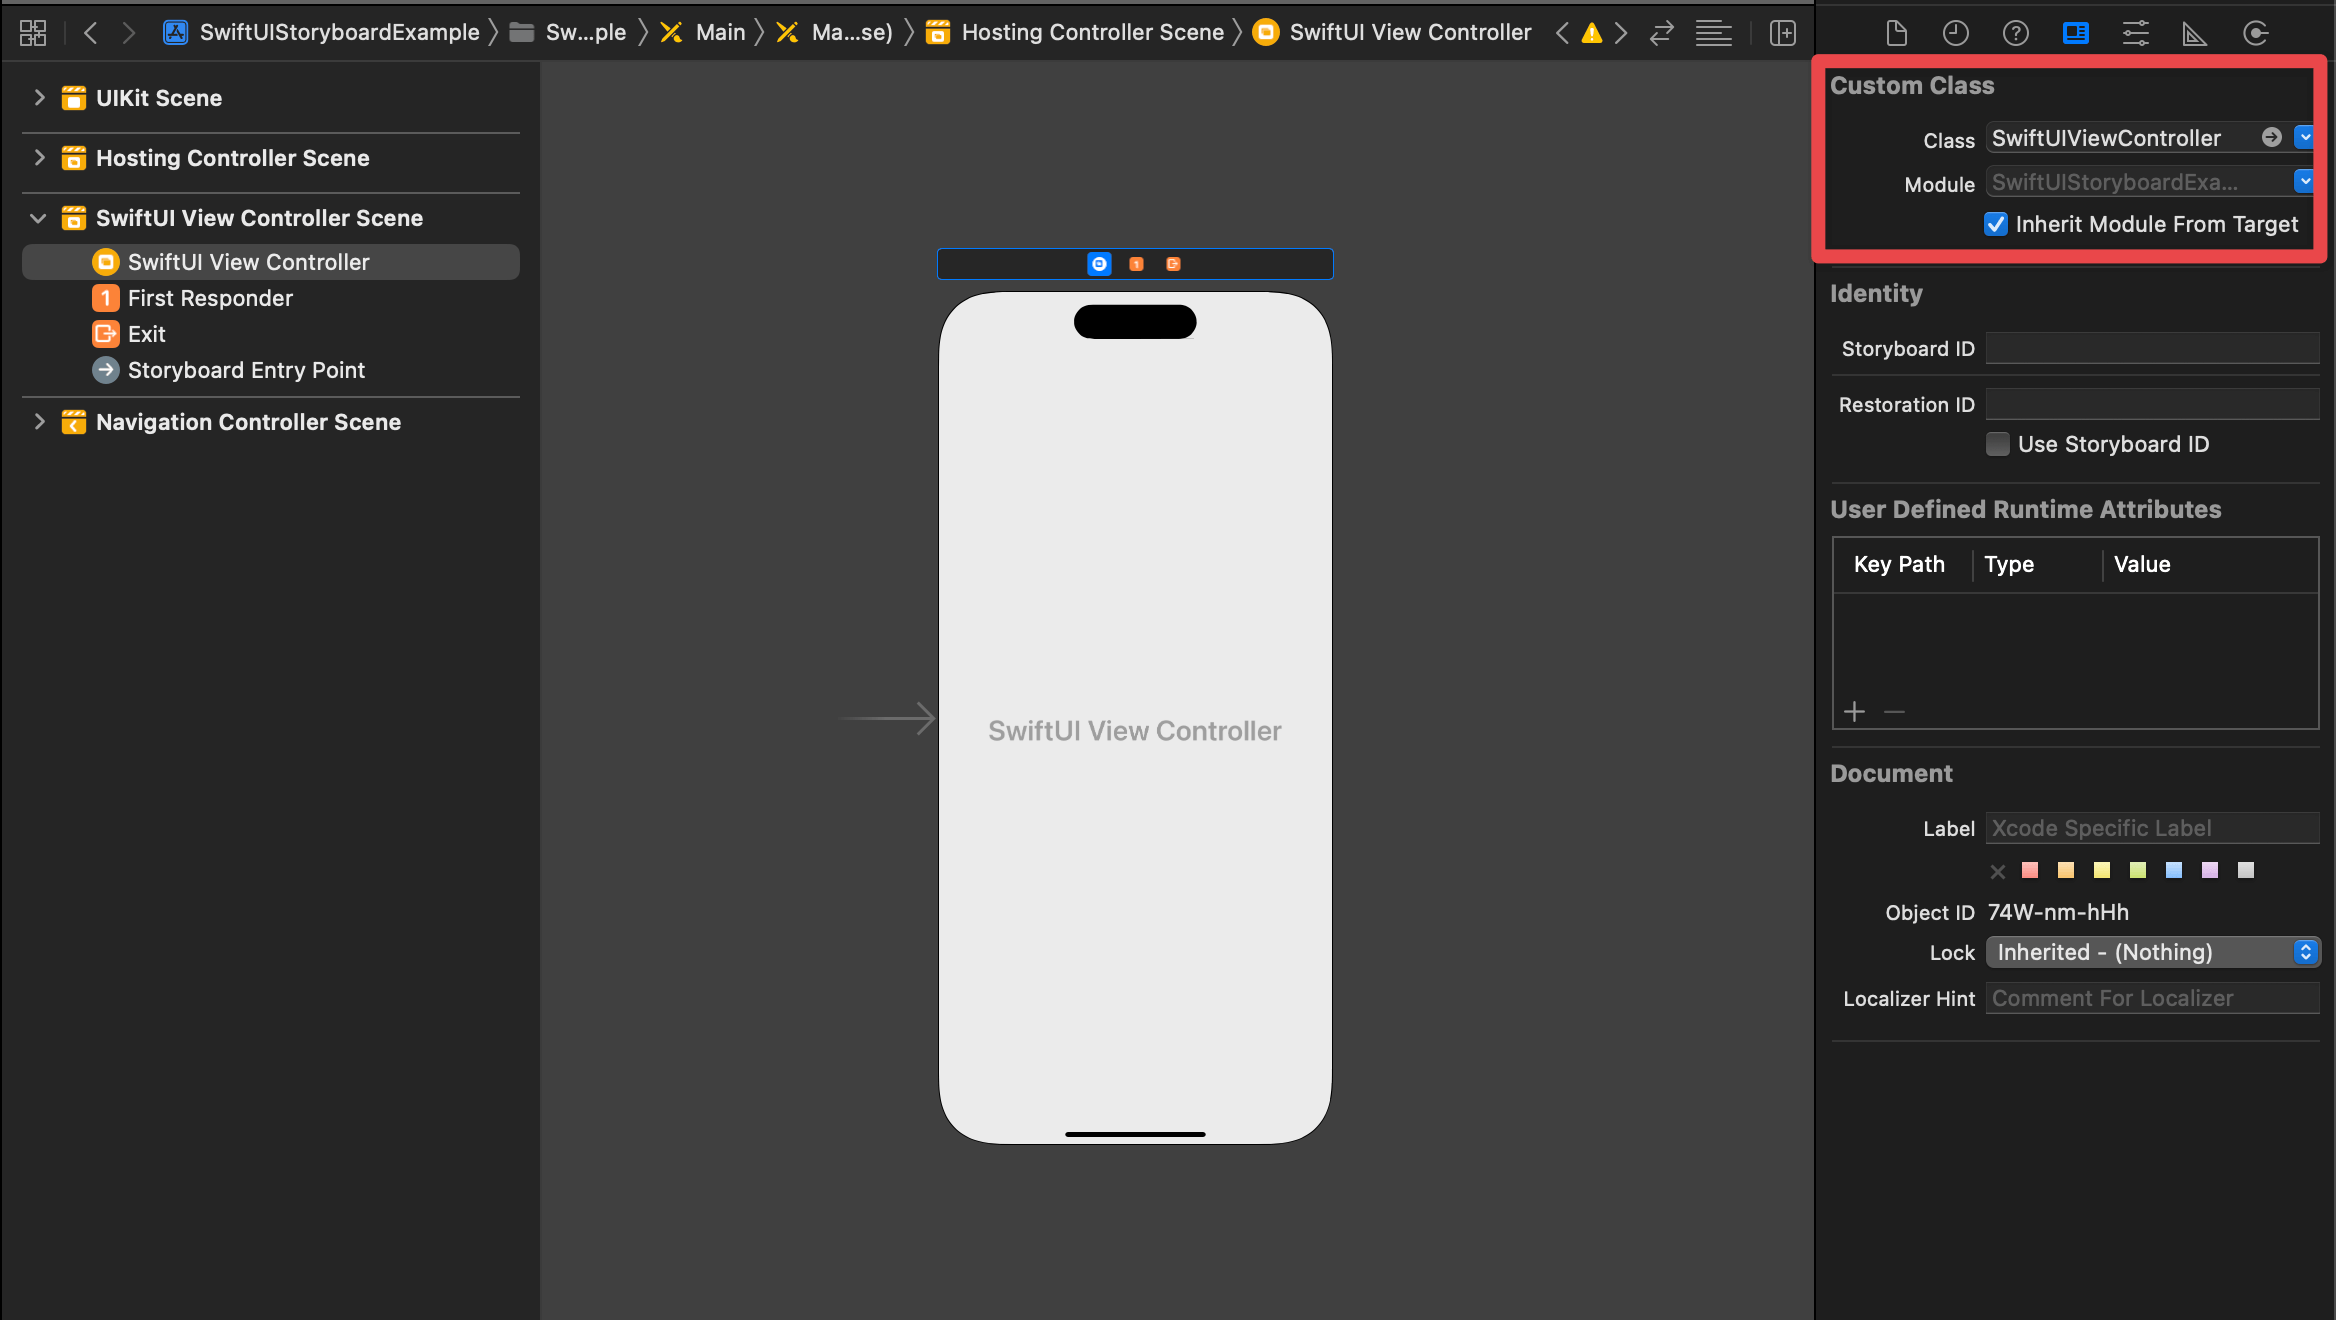
The last step is to use the newly created subclass in the Storyboard.
- Open the Storyboard and select the
UIHostingController. - In the Identity Inspector, put a subclass name in the Class field. In this case,
SwiftUIViewController.
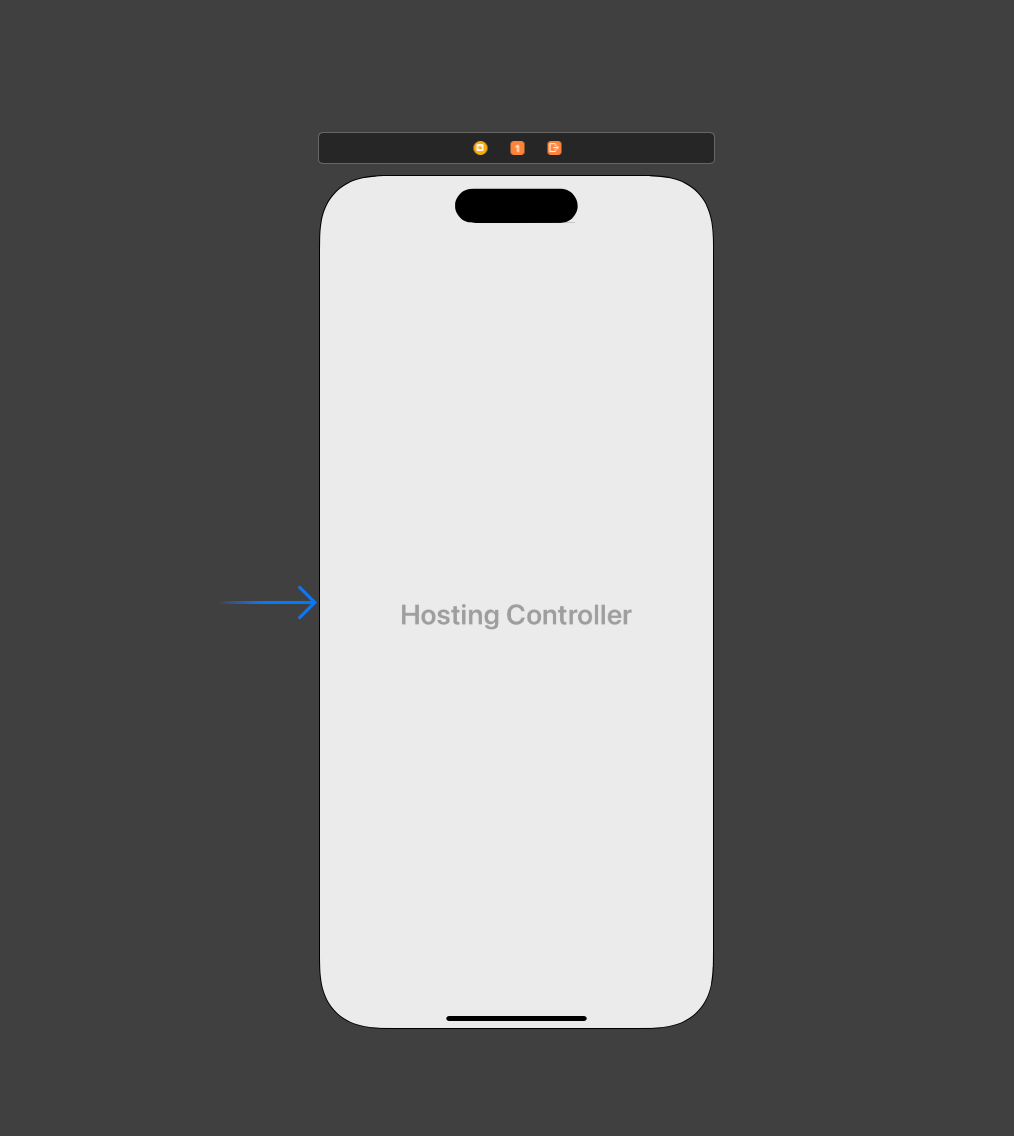
Here is the result.

Read more article about SwiftUI, UIKit, Storyboard, or see all available topic
Enjoy the read?
If you enjoy this article, you can subscribe to the weekly newsletter.
Every Friday, you'll get a quick recap of all articles and tips posted on this site. No strings attached. Unsubscribe anytime.
Feel free to follow me on Twitter and ask your questions related to this post. Thanks for reading and see you next time.
If you enjoy my writing, please check out my Patreon https://www.patreon.com/sarunw and become my supporter. Sharing the article is also greatly appreciated.
Become a patron Buy me a coffee Tweet ShareHow to use SwiftUI as UIViewController in Storyboard
Learn how to use SwiftUI view as a UIViewController in a UIKit project that uses a Storyboard.
Custom Back button Action in SwiftUI
Learn how to have custom logic for a navigation view back button.