Using SwiftUI in UIKit as UIViewController
Table of Contents
The good thing about SwiftUI is you can gradually adopt it. We can use SwiftUI view in UIKit by turning it to UIViewController.
In this article, I will show you how to integrate SwiftUI view as a UIViewController.
How to use SwiftUI View as UIViewController
To use SwiftUI view as a UIViewController, we need help from UIHostingController.
UIHostingController is a view controller that wrap a SwiftUI view so it can be used in the UIKit project.
To wrap a SwiftUI view inside a UIHostingController, we specify it in the initializer. This specified view will used as the root view for the hosting view controller.
I create a simple SwiftUI view as an example.
struct SwiftUIView: View {
    var body: some View {
        Text("Hello, SwiftUI!")
            .font(.title)
            .buttonStyle(.borderedProminent)
    }
}
I can use it in UIKit like this.
import SwiftUI

let vc = UIHostingController(rootView: SwiftUIView())
You can easily support sarunw.com by checking out this sponsor.
Localization Buddy: Easiest way to localize and update App Store metadata.
Bridging between SwiftUI view and UIViewController
UIHostingController does a good job bridging between SwiftUI and UIKit. You can use any SwiftUI feature, and it will seamlessly translate into the UIKit world.
As an example, I will create a SwiftUI view and push it to a UINavigationController.
struct SwiftUIView: View {
    // 1
    @Environment(\.dismiss) private var dismiss

    var body: some View {
        VStack {
            Text("Hello, SwiftUI!")
                .font(.title)
                .buttonStyle(.borderedProminent)
            Button("Dismiss") {
                // 2
                dismiss()
            }
        }
        // 3
        .navigationTitle("SwiftUI")
    }
}
1 I add @Environment(\.dismiss) to pop our view out of a navigation stack when users tap the dismiss button 2.
3 I also set a navigation title using .navigationTitle("SwiftUI") modifier.
Then, we push our SwiftUI view when the button is tapped.
@IBAction func didTapButton(_ sender: Any) {
let vc = UIHostingController(rootView: SwiftUIView())
navigationController?.pushViewController(vc, animated: true)
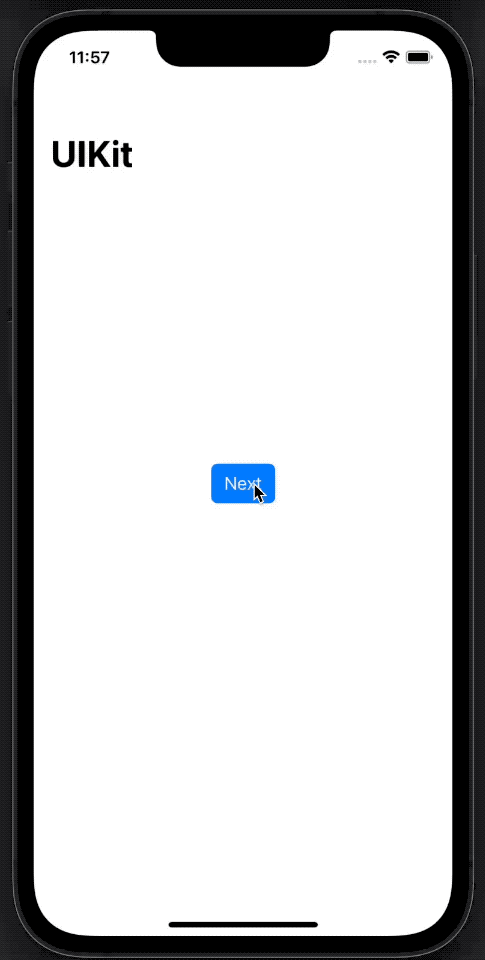
}Here is the result. As you will see
- We can pop the SwiftUI view out of
UINavigationControllerusing SwiftUI dismissal action,@Environment(\.dismiss). - The navigation title set with the
.navigationTitlemodifier also takes effect in UIKit.
Read more article about SwiftUI, UIKit, or see all available topic
Enjoy the read?
If you enjoy this article, you can subscribe to the weekly newsletter.
Every Friday, you'll get a quick recap of all articles and tips posted on this site. No strings attached. Unsubscribe anytime.
Feel free to follow me on Twitter and ask your questions related to this post. Thanks for reading and see you next time.
If you enjoy my writing, please check out my Patreon https://www.patreon.com/sarunw and become my supporter. Sharing the article is also greatly appreciated.
Become a patron Buy me a coffee Tweet ShareEnable and Disable SwiftUI List rows reordering on a specific row
The onMove modifier enables item reordering on every row. Let's learn how to disable this on particular rows.
How to Save and Read Array in UserDefaults in Swift
Learn how to store an array in UserDefaults.