Using SwiftUI in UIKit as UIView
Table of Contents
It is not straightforward, but you can use a SwiftUI view as a UIView in a UIKit project.
Let's learn how to do it.
You can easily support sarunw.com by checking out this sponsor.
AI Grammar: Correct grammar, spell check, check punctuation, and parphrase.
How to use SwiftUI View as UIView
We can use SwiftUI view as UIViewController by wrapping it in UIHostingController.
Unfortunately, we don't have an equivalent UIHostingView or any class that we can wrap SwiftUI view into a UIView. So, we need to do a little bit of work.
To use SwiftUI view as a UIView, we need to do two things.
- Wrap it in
UIHostingController. This will turn it into aUIViewController. - Then, add this view controller as a child view controller in a target view controller.
Turn SwiftUI View into UIViewController
To use SwiftUI view as a UIView, we need to turn it into a UIViewController.
We can do that by wrapping it inside a UIHostingController.
I create a simple SwiftUI view as an example.
struct SwiftUIView: View {
var body: some View {
ZStack {
Color.pink
Button("Hello, SwiftUI!") {
}
.font(.title)
.buttonStyle(.borderedProminent)
.padding()
}
}
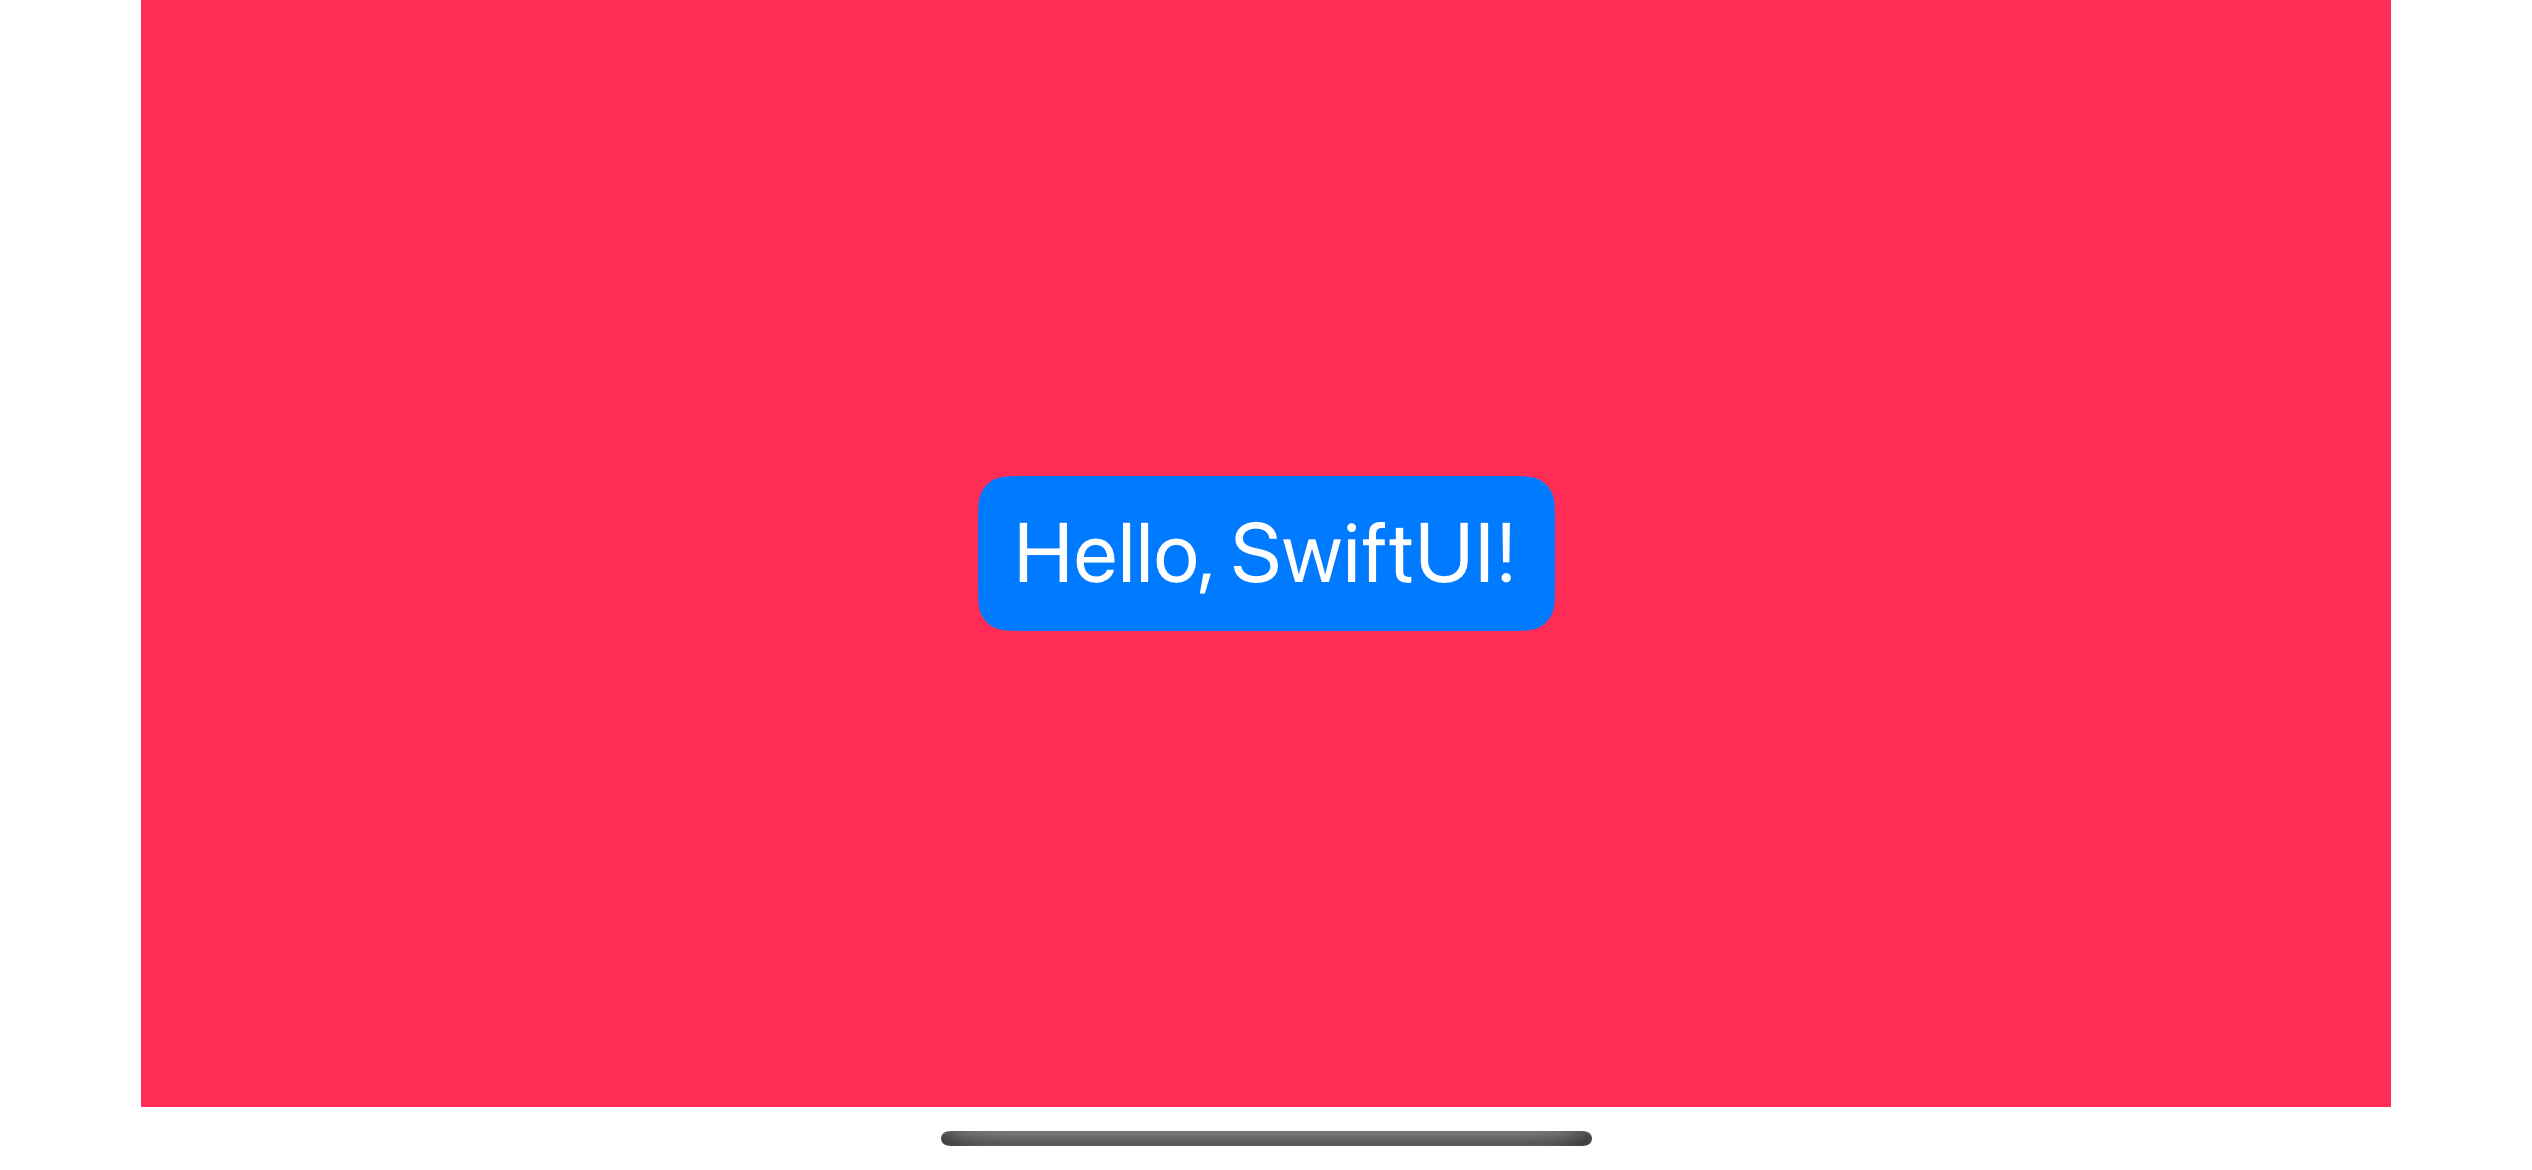
}Here is how we turn a SwiftUI view into a view controller.
import SwiftUI

let vc = UIHostingController(rootView: SwiftUIView())
This is how it looks as a UIViewController.
Add View Controller as a Child View Controller
In UIKit, we can embed a view from one view controller to another by adding it as a child view controller.
This method can add UIHostingController's root view into another view controller. This is the way we can use SwiftUI view as a UIView.
You must perform the following steps to add a child view controller.
- Call the
addChild(_:)method on a destination view controller. - Add the
UIHostingController's view to the destination view hierarchy. - Add constraints to set the size and position of the
UIHostingController's view. - Call the
didMove(toParent:)method on theUIHostingController.
This is how I add SwiftUIView as a UIView and put it at the center of the destination view controller.
override func viewDidLoad() {
    super.viewDidLoad()

    // 1
    let vc = UIHostingController(rootView: SwiftUIView())
    let swiftuiView = vc.view!
    swiftuiView.translatesAutoresizingMaskIntoConstraints = false

    // 2
    // Add the view controller to the destination view controller.
    addChild(vc)
    view.addSubview(swiftuiView)

    // 3
    // Create and activate the constraints for the swiftui's view.
    NSLayoutConstraint.activate([
        swiftuiView.centerXAnchor.constraint(equalTo: view.centerXAnchor),
        swiftuiView.centerYAnchor.constraint(equalTo: view.centerYAnchor),
    ])

    // 4
    // Notify the child view controller that the move is complete.
    vc.didMove(toParent: self)
}
1 I create a UIHostingController and extract a root view (SwiftUIView) for later processing.
2 We add UIHostingController to the destination view controller with addChild(vc), then add the root view to the view hierarchy.
3 Add auto layout constraints. We position it to the center of the parent view.
4 Call didMove(toParent:) on UIHostingController to notify it that the transition is complete.
Here is the result.

Read more article about SwiftUI, UIKit, or see all available topic
Enjoy the read?
If you enjoy this article, you can subscribe to the weekly newsletter.
Every Friday, you'll get a quick recap of all articles and tips posted on this site. No strings attached. Unsubscribe anytime.
Feel free to follow me on Twitter and ask your questions related to this post. Thanks for reading and see you next time.
If you enjoy my writing, please check out my Patreon https://www.patreon.com/sarunw and become my supporter. Sharing the article is also greatly appreciated.
Become a patron Buy me a coffee Tweet ShareWhat is Swift Guard Case
The guard-case is a syntax to allow us to precondition check for one specific enum case.