Tuist scaffold: How to use the Tuist template to create a new module for an ongoing project
Table of Contents
Part 3 in the series "Tuist templates and how to use them". In the third part, we will discuss another way to use a template, tuist scaffold.
Both init and scaffold use template as a way to generate files. In the last post, we learn how to use tuist init to bootstrap a new project. There are some restrictions and behavior for the init command. Scaffold, on the other hand, has no such restrictions. This is the key behavior difference between the two. The reason that tuist scaffold doesn't have any restriction is that it is designed to be a way to bootstrap new components or features over an established project and architecture. Tuist can't assume anything about your architecture, so it doesn't have any restriction over tuist scaffold.
Some scenarios where scaffolding might be useful are:
- Create a new feature that follows a given architecture: tuist scaffold viper --name MyFeature.
- Create new features: tuist scaffold feature --name Home
Tuist Scaffold
Tuist scaffold helps you bootstrap new components that are consistent with the project you are working on. As an example, I will use it to add a new feature to my example app.
The starter project
Since scaffold means to be built on top of an established project, I will use the same project in my previous post as a stater.
File structure:
Tests
  - MyAppTests.swift
Sources
  - ContentView.swift
  - MainApp.swift
Project.swift
MainApp.swift
import SwiftUI

@main
struct MainApp: App {
    var body: some Scene {
        WindowGroup {
            ContentView()
        }
    }
}
ContentView
import SwiftUI

struct ContentView: View {
    var body: some View {
        Text("Hello, world!")
            .padding()
    }
}

struct ContentView_Previews: PreviewProvider {
    static var previews: some View {
        ContentView()
    }
}
MyAppTests.swift
import XCTest
@testable import MyApp

final class MyAppTests: XCTestCase {

}
Project.swift
import ProjectDescription

let project = Project(
    name: "MyApp",
    targets: [
        Target(
            name: "MyApp",
            platform: .iOS,
            product: .app,
            bundleId: "com.sarunw.myapp",
            infoPlist: .extendingDefault(
                with: [
                    "UILaunchScreen": [:]
                ]
            ),
            sources: [
                "Sources/**"
            ]
        ),
        Target(
            name: "MyAppTests",
            platform: .iOS,
            product: .unitTests,
            bundleId: "com.sarunw.myappTests",
            infoPlist: .default,
            sources: [
                "Tests/**"
            ],
            dependencies: [
                .target(name: "MyApp")
            ]
        )
    ]
)
These files will generate a simple SwiftUI project with two targets, the main app, and the test target.
The final project
We will create a new template that helps to bootstrap a new feature. Here is how our project structure looks like:
- Each feature will have its own directory under Features directory, e.g., Features/Home.
- Source code of the feature located at Features/feature_name/Sources.
- Each feature will have its own test target under Features/feature_name/Tests.
- Each feature will pack as a framework and become a dependency of the main app.
Let's start by creating a template for this.
You can easily support sarunw.com by checking out this sponsor.
Offline Transcription: Fast, privacy-focus way to transcribe audio, video, and podcast files. No data leaves your Mac.
Create a template
Create a new template under Tuist/templates. I named my template feature.
We start with a manifest file.
feature.swift
import ProjectDescription

let nameAttribute: Template.Attribute = .required("name")

let template = Template(
    description: "A template for a new feature",
    attributes: [
        nameAttribute // 1
    ],
    files: [
        .file(path: "Features/\(nameAttribute)/Sources/\(nameAttribute)Kit.swift", templatePath: "KitSource.stencil"), // 2
        .file(path: "Features/\(nameAttribute)/Tests/\(nameAttribute)KitTests.swift", templatePath: "KitTests.stencil") // 3
    ]
)
<1> Our template accepts the name parameter, which represents the name of the feature.
<2> We use the name argument to build a destination path for sources.
<3> We use the name argument to build a destination path for the test target.
We create two stencil files as a template for a new feature.
KitSource.stencil
import Foundation

public final class {{ name }}Kit {
    public static func hello() {
        print("Hello, from your Kit framework")
    }
}
We add a suffix to our feature, so the Home feature would get a new class HomeKit.
KitTests.stencil
import Foundation
import XCTest

final class {{ name }}KitTests: XCTestCase {
    func test_example() {
        XCTAssertEqual("{{ name }}Kit", "{{ name }}Kit")
    }
}
We also add a new template for our test target.
Here is how our project structure look like:
Tests
  - MyAppTests.swift
Sources
  - ContentView.swift
  - MainApp.swift
Project.swift
Tuist
  - Templates
    - feature
      - feature.swift
      - KitSource.stencil
      - KitTests.stencil
Using tuist scaffold command
We got our template file ready. Try running tuist scaffold list, and you will see the newly created template.
tuist scaffold listName Description
─────── ────────────────
default Default template
swiftui Default template
feature A template for a new featureAfter defining the template, we can use it with the scaffold command:
tuist scaffold name_of_template --name NameGo to the project root directory and run the following command to generate the project.
tuist scaffold feature --name Home
// Template sarunw was successfully generatedThis is the final result file structure.
Tests
  - MyAppTests.swift
Sources
  - ContentView.swift
  - MainApp.swift
Project.swift
Tuist
  - Templates
    - feature
      - feature.swift
      - KitSource.stencil
      - KitTests.stencil
Features
  - Home
    - Sources
      - HomeKit.swift
    - Tests
      - HomeKitTests.swift
We get directories and files that represent our feature.
Generate the project with tuist generate, and you should get a working project. But our newly created feature, Home, doesn't show up anywhere in our project.
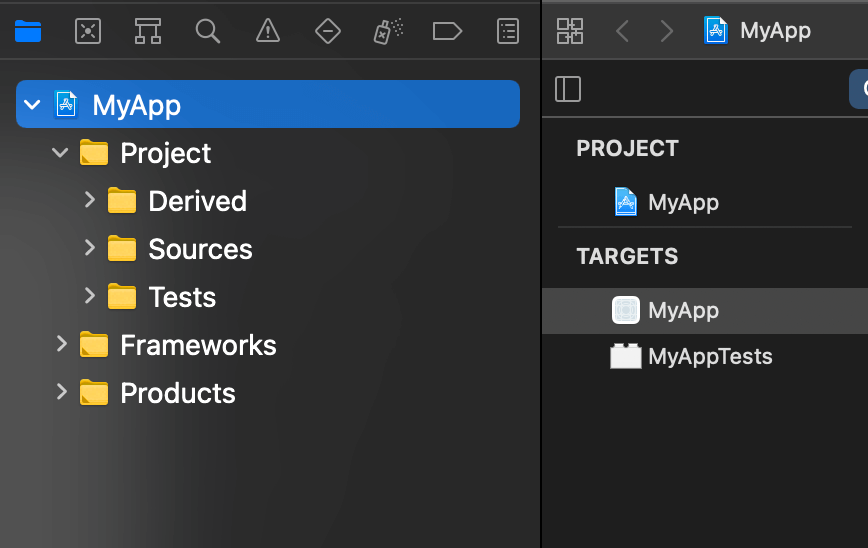
Introduce our feature to the project
As I mentioned before, Tuist is not opinionated about your templates' content and what you use them for. So it is your job to link your feature to the project. I have shown you how to add a new target in the previous post. I encourage you to check it if you are new to Tuist.
The only place we need to modify is Project.swift file.
We need to create two new targets representing our new feature—one as the framework and one for the tests.
Here is our new target for the feature.
Target(
    name: "HomeKit",
    platform: .iOS,
    product: .framework, // 1
    bundleId: "com.sarunw.Home",
    infoPlist: .default,
    sources: [
        "Features/Home/Sources/**" // 2
    ],
    resources: [],
    dependencies: []
)
<1> We set product to .framework
<2> We point to our template directory where the source files are located.
Here is our new target for the tests.
Target(
    name: "HomeKitTests",
    platform: .iOS,
    product: .unitTests, // 1
    bundleId: "com.sarunw.HomeTests",
    infoPlist: .default,
    sources: [
        "Features/Home/Tests/**" // 2
    ],
    resources: [],
    dependencies: [
        .target(name: "HomeKit") // 3
    ]
)
<1> We set product to .unitTests
<2> We point to our template directory where the source files are located.
<3> We add dependencies to our feature.
Then, we add those two targets to our project and add the framework target as a main project's dependency.
Project.swift
import ProjectDescription

let project = Project(
    name: "MyApp",
    targets: [
        Target(
            name: "MyApp",
            platform: .iOS,
            product: .app,
            bundleId: "com.sarunw.MyApp",
            infoPlist: .extendingDefault(
                with: [
                    "UILaunchScreen": [:]
                ]
            ),
            sources: [
                "Sources/**"
            ],
            dependencies: [
                .target(name: "HomeKit") // 1
            ]
        ),
        Target(
            name: "MyAppTests",
            platform: .iOS,
            product: .unitTests,
            bundleId: "com.sarunw.MyAppTests",
            infoPlist: .default,
            sources: [
                "Tests/**"
            ],
            dependencies: [
                .target(name: "MyApp")
            ]
        ),
        Target( // 2
            name: "HomeKit",
            platform: .iOS,
            product: .framework,
            bundleId: "com.sarunw.Home",
            infoPlist: .default,
            sources: [
                "Features/Home/Sources/**"
            ],
            resources: [],
            dependencies: []
        ),
        Target( // 3
            name: "HomeKitTests",
            platform: .iOS,
            product: .unitTests,
            bundleId: "com.sarunw.HomeTests",
            infoPlist: .default,
            sources: [
                "Features/Home/Tests/**"
            ],
            resources: [],
            dependencies: [
                .target(name: "HomeKit")
            ]
        )
    ]
)
<1> Add HomeKit as a dependency of our main app target, so we can use it.
<2>, <3> Add two new target to targets array of the project.
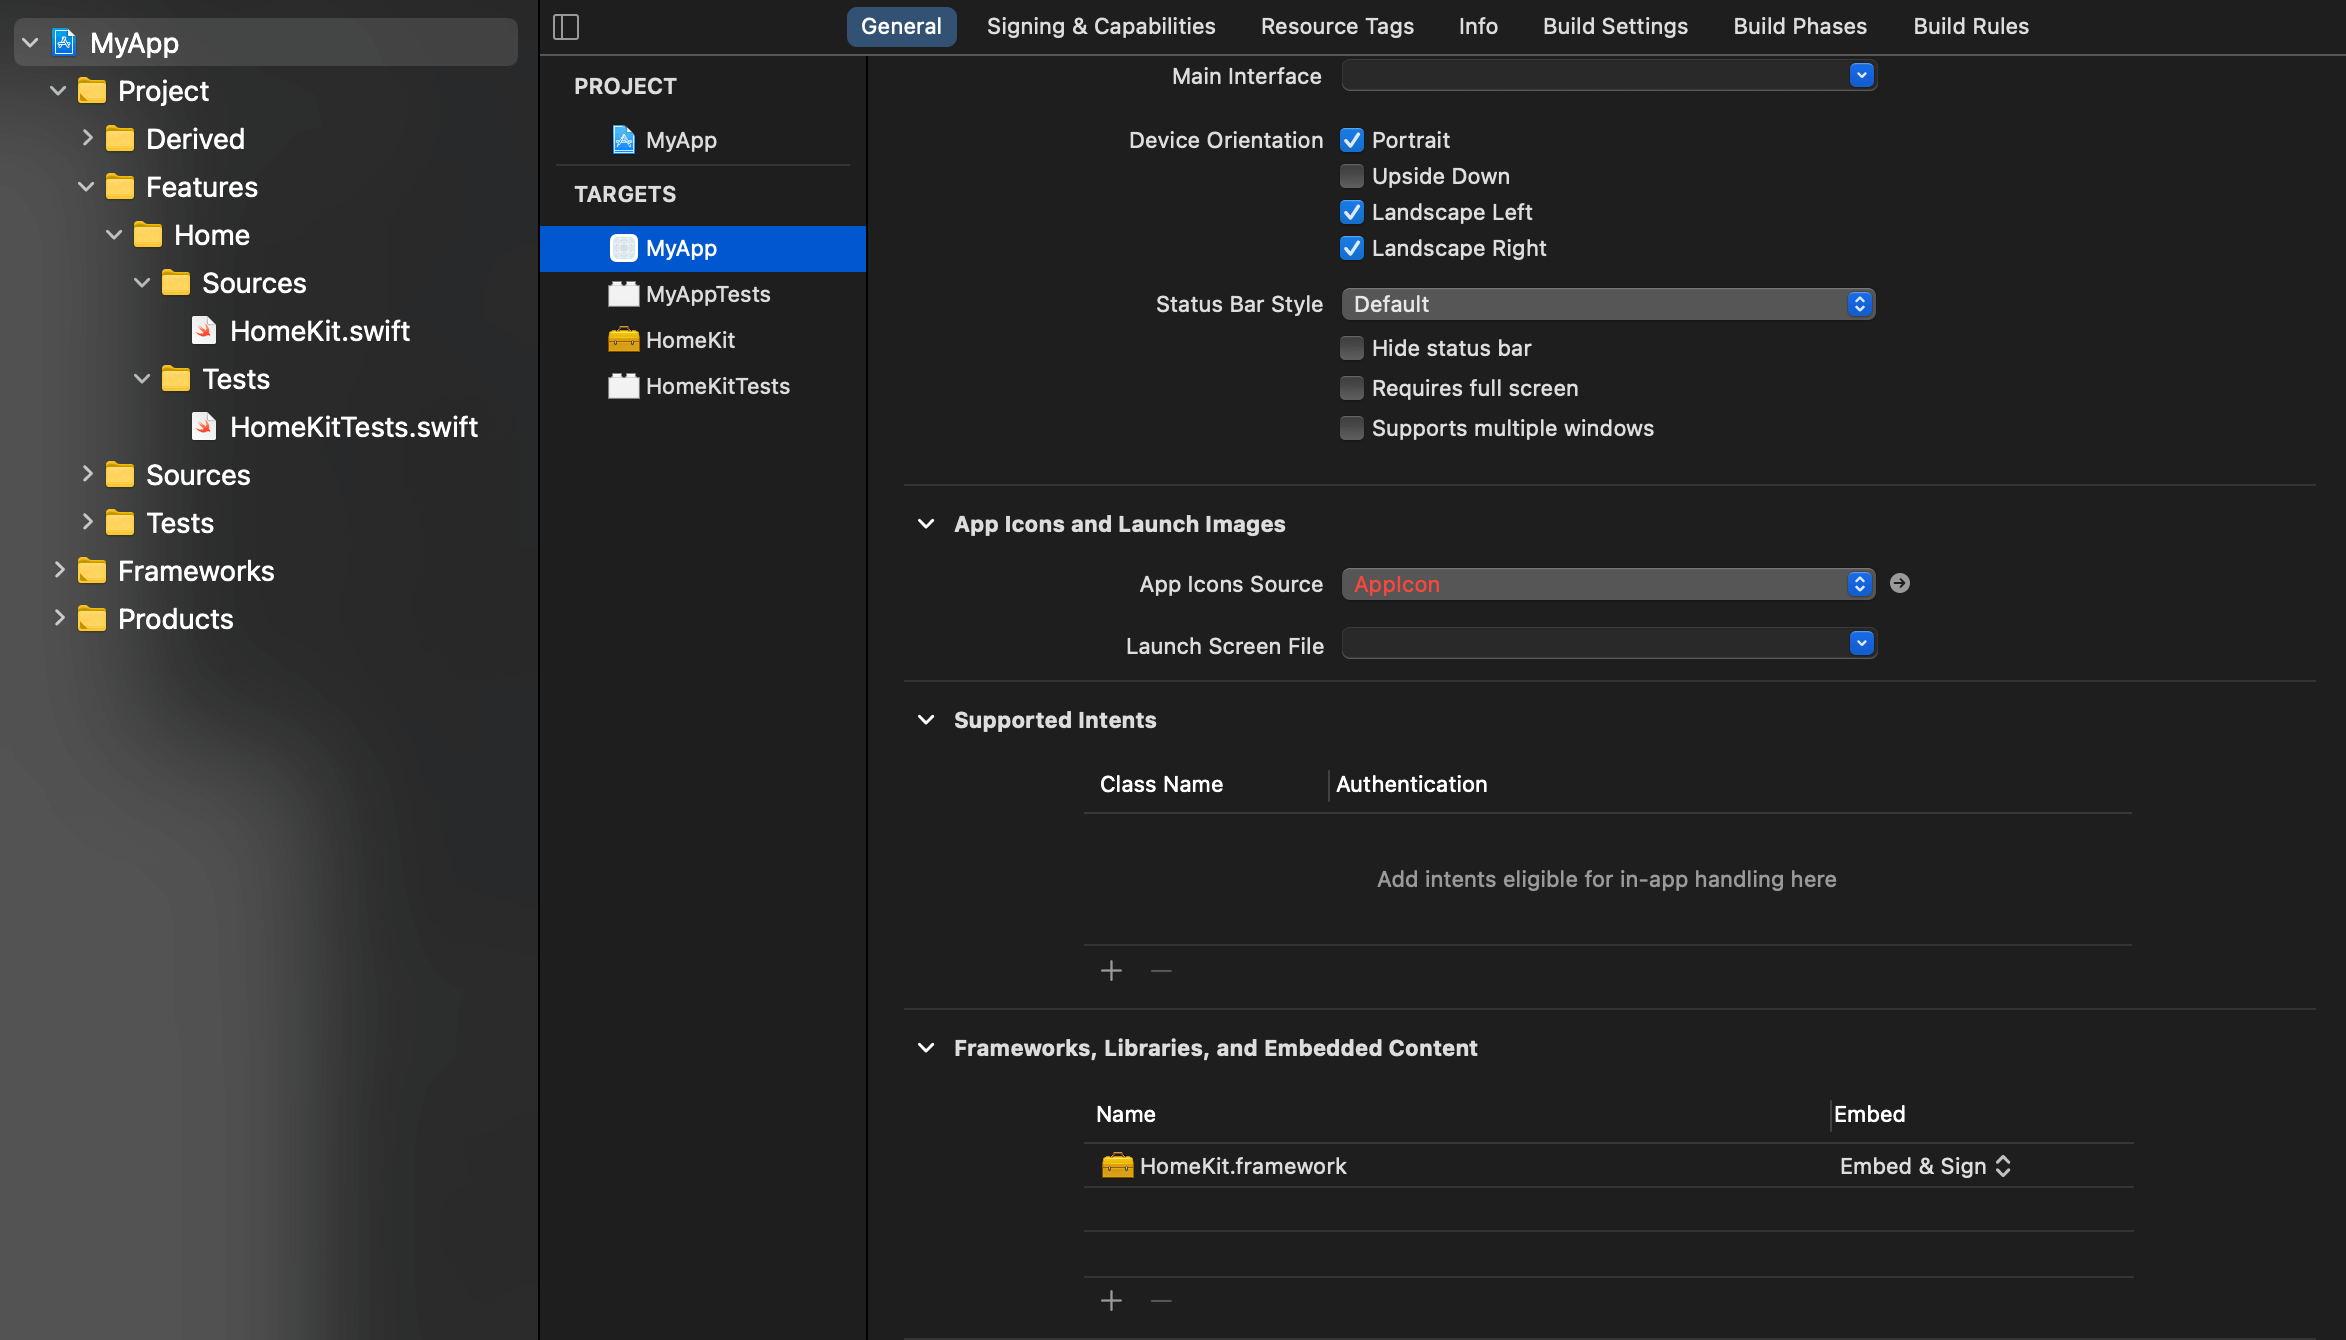
Run tuist generate again. This time everything is properly linked together.
Improvement
We use scaffold aiming to save some time when enforcing uniform file and project structure, but as you see, we still need to create some boilerplate in the Project.swift manually.
We can mitigate this by creating helpers that match your architecture. Tuist provides a place for us to have these helpers called ProjectDescriptionHelpers.
ProjectDescriptionHelpers
Project description helpers are Swift files that get compiled into a framework, ProjectDescriptionHelpers, that manifest files can import.
You can import them into your manifest file by adding an import statement at the top of the file:
// Project.swift
import ProjectDescription
import ProjectDescriptionHelpers
Tuist traverses up the directories hierarchy until it finds a Tuist directory. Then it builds the helpers module including all the files under the ProjectDescriptionHelpers directory in the Tuist directory. In the end, it will look like this.
Tests
  - MyAppTests.swift
Sources
  - ContentView.swift
  - MainApp.swift
Project.swift
Tuist
  - ProjectDescriptionHelpers
    - Project+Templates.swift
  - Templates
    - feature
      - feature.swift
      - KitSource.stencil
      - KitTests.stencil
Features
  - Home
    - Sources
      - HomeKit.swift
    - Tests
      - HomeKitTests.swift
For this demo, I will create a helper that creates a Project object with an array of dependencies as a parameter.
In the end, you will be able to populate your project with a single line of code like this:
let project = Project.app(name: "MyApp", features: ["Home"])It is quite a big extension, but it is simple than you think. I duplicate most code from our Project.swift.
Create a Swift extension (Project+Templates.swift) and put it under Tuist/ProjectDescriptionHelpers.
Project+Templates.swift
import ProjectDescription

extension Project {
    // 1
    private static func makeAppTargets(name: String, dependencies: [TargetDependency]) -> [Target] {
        return [
            Target(
                name: "\(name)",
                platform: .iOS,
                product: .app,
                bundleId: "com.sarunw.\(name)",
                infoPlist: .extendingDefault(
                    with: [
                        "UILaunchScreen": [:]
                    ]
                ),
                sources: [
                    "Sources/**"
                ],
                dependencies: dependencies // 2
            ),
            Target(
                name: "\(name)Tests",
                platform: .iOS,
                product: .unitTests,
                bundleId: "com.sarunw.\(name)Tests",
                infoPlist: .default,
                sources: [
                    "Tests/**"
                ],
                dependencies: [
                    .target(name: "\(name)")
                ]
            )
        ]
    }

    // 3
    private static func makeFeatureTargets(name: String) -> [Target] {
        let sources = Target(name: "\(name)Kit",
                             platform: .iOS,
                             product: .framework,
                             bundleId: "com.sarunw.\(name)",
                             infoPlist: .default,
                             sources: ["Features/\(name)/Sources/**"],
                             resources: [],
                             dependencies: [])
        let tests = Target(name: "\(name)KitTests",
                           platform: .iOS,
                           product: .unitTests,
                           bundleId: "com.sarunw.\(name)Tests",
                           infoPlist: .default,
                           sources: ["Features/\(name)/Tests/**"],
                           resources: [],
                           dependencies: [.target(name: "\(name)Kit")])
        return [sources, tests]
    }

    // 4
    public static func app(name: String, features: [String]) -> Project {
        let featureTargets = features.map { (feature) in // 5
            return TargetDependency.target(name: "\(feature)Kit")
        }
        var targets = makeAppTargets(name: name,
                                     dependencies: featureTargets) // 6

        targets += features.flatMap { (feature) in //7
            return makeFeatureTargets(name: feature)
        }

        return Project(name: name,
                       targets: targets) // 8
    }
}
<1> An internal method to create our main targets.
<2> We accept dependencies as a parameter here, so this method expected us to pass an array of feature targets as an argument, [.target(name:"HomeKit")].
<3> An helper method to create our feature targets.
<4> A public method that will be used in Project.swift. It accepts the name of the app and a list of feature names.
<5> Feature names will be map to an array of target ready for main app target to use, e.g., ["Home", "Cart"] -> [.target("HomeKit"), .target("CartKit")].
<6> Create main target passing feature targets as dependencies.
<7> Create two targets for each feature and flat map them together. Then add it to the same app target array.
<8> Create a Project with all the targets.
Project.swift
Then in Project.swift, we can remove most of the code and use the method we just created.
import ProjectDescription
import ProjectDescriptionHelpers // 1

let project = Project.app(name: "MyApp", features: ["Home"])
<1> We need to import ProjectDescriptionHelpers to be able to use our helpers.
Run tuist generate, and everything should work as before.
Add a new feature
Now with everything in place, we can create a new feature with minimal effort.
- Run
tuist scaffoldwith a new feature name.
tuist scaffold feature --name Cart- Edit the feature list in Project.swift with this new feature.
let project = Project.app(name: "MyApp", features: ["Home", "Cart"])You can easily support sarunw.com by checking out this sponsor.
Offline Transcription: Fast, privacy-focus way to transcribe audio, video, and podcast files. No data leaves your Mac.
Conclusion
You can see how Tuist can speed up your working process by providing tools to generate and manage the project without opinionated about your app structure. It is totally up to you to modify it to suit your need.
I am still learning and love to hear from you where you use Tuist in your process. Feel free to discuss with me on Twitter. I would love to hear your story.
Read more article about Tuist, Template, Scaffold, Xcode, Development, or see all available topic
Enjoy the read?
If you enjoy this article, you can subscribe to the weekly newsletter.
Every Friday, you'll get a quick recap of all articles and tips posted on this site. No strings attached. Unsubscribe anytime.
Feel free to follow me on Twitter and ask your questions related to this post. Thanks for reading and see you next time.
If you enjoy my writing, please check out my Patreon https://www.patreon.com/sarunw and become my supporter. Sharing the article is also greatly appreciated.
Become a patron Buy me a coffee Tweet ShareHow to fix ZStack's views disappear transition not animated in SwiftUI
Show and hide transition animation in ZStack can be glitchy. Learn how to fix it with a simple trick.
How to resize a SwiftUI Image and keep its aspect ratio
Learn how to use aspect fit and aspect fill content mode to fit your image to its bounds.