How to change UIImage color in Swift
Table of Contents
There are several ways to change a color of an image in iOS. We usually need to change the color of an icon image to fit a theme or part of our app.
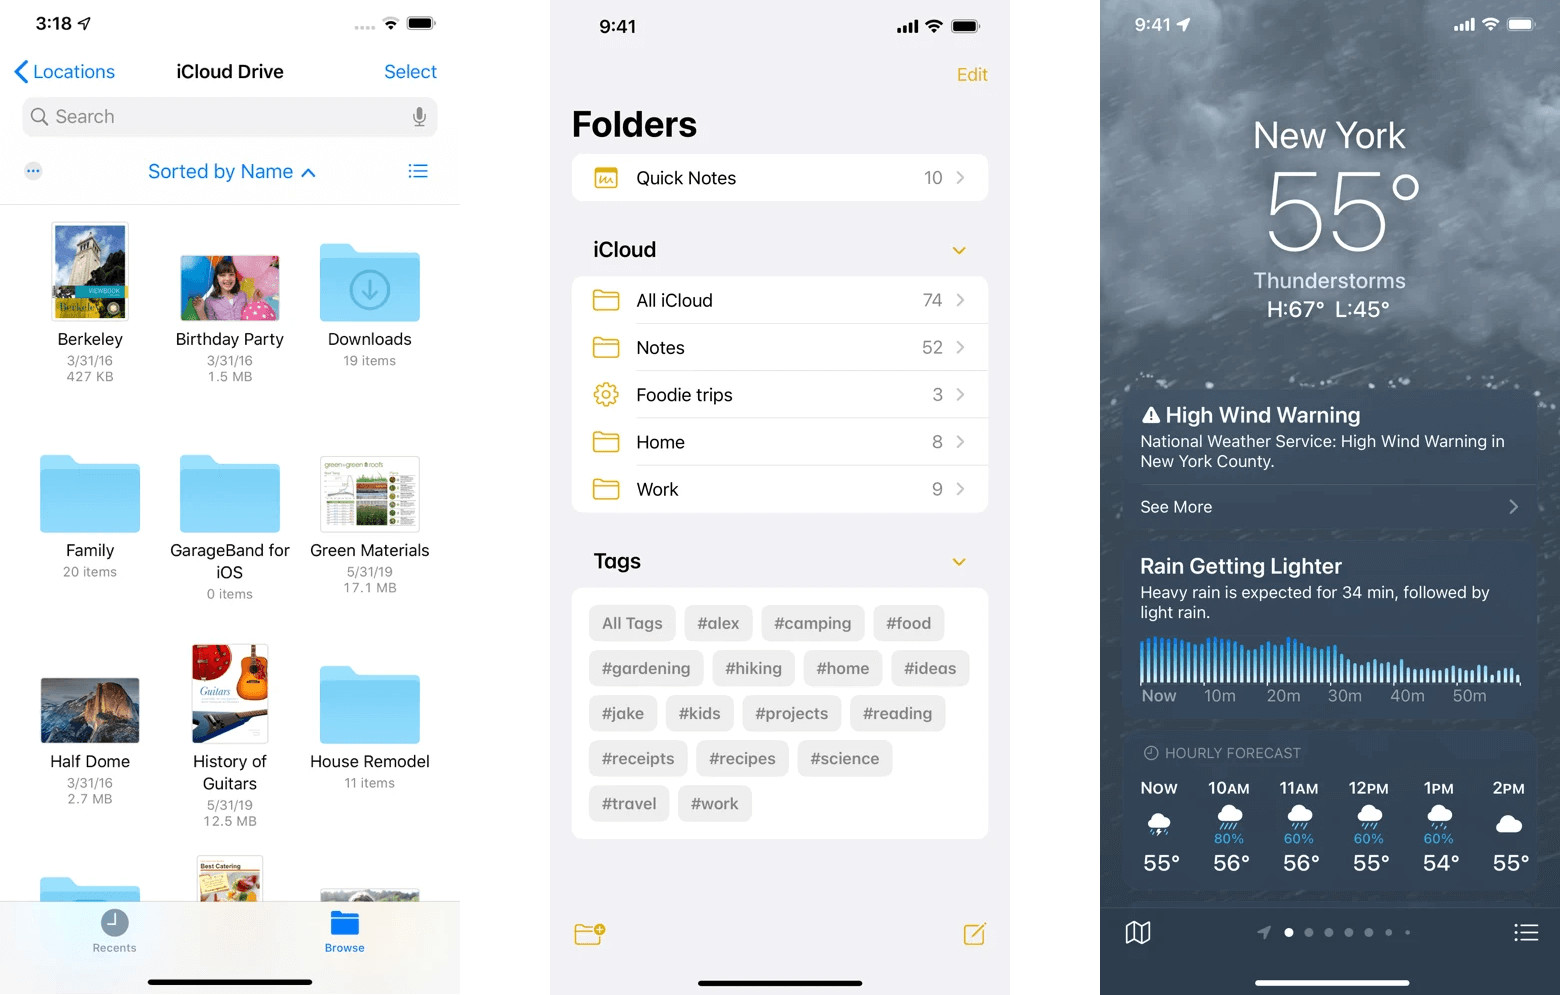
Here is an example where images are tinted to match the appearance of an app.

There are several ways to change a color of an image in iOS. We will learn two of them in this article.
Image with template rendering mode and tint color
You can specify how you want an image to be rendered in iOS by setting renderingMode. Set rendering mode to .alwaysTemplate tell the system that you want to use it as an image mask which you can apply any color you want.
Set image rendering mode to always template
let image = UIImage(named: "Swift")?.withRenderingMode(.alwaysTemplate)To apply a color to a template image, you set a property called tintColor on a view that uses the image. Since tintColor is a UIView property, most views that you can set an image support this out of the box. Even a view that is not a subclass of an UIView also supports tint color, e.g., UIBarButtonItem.
Change color by setting tintColor property
This is an example where we change an image color by change tint color of UIImageView.
let image = UIImage(named: "Swift")?.withRenderingMode(.alwaysTemplate)
let imageView = UIImageView(image: image)
imageView.tintColor = .systemPink
You can easily support sarunw.com by checking out this sponsor.

Translate your app In 1 click: Simplifies app localization and helps you reach more users.
Tinted UIImage directly
The first method relies on a destination view to set our image color. But sometimes, we want to change color to the image itself, so it stays in that color wherever it shows.
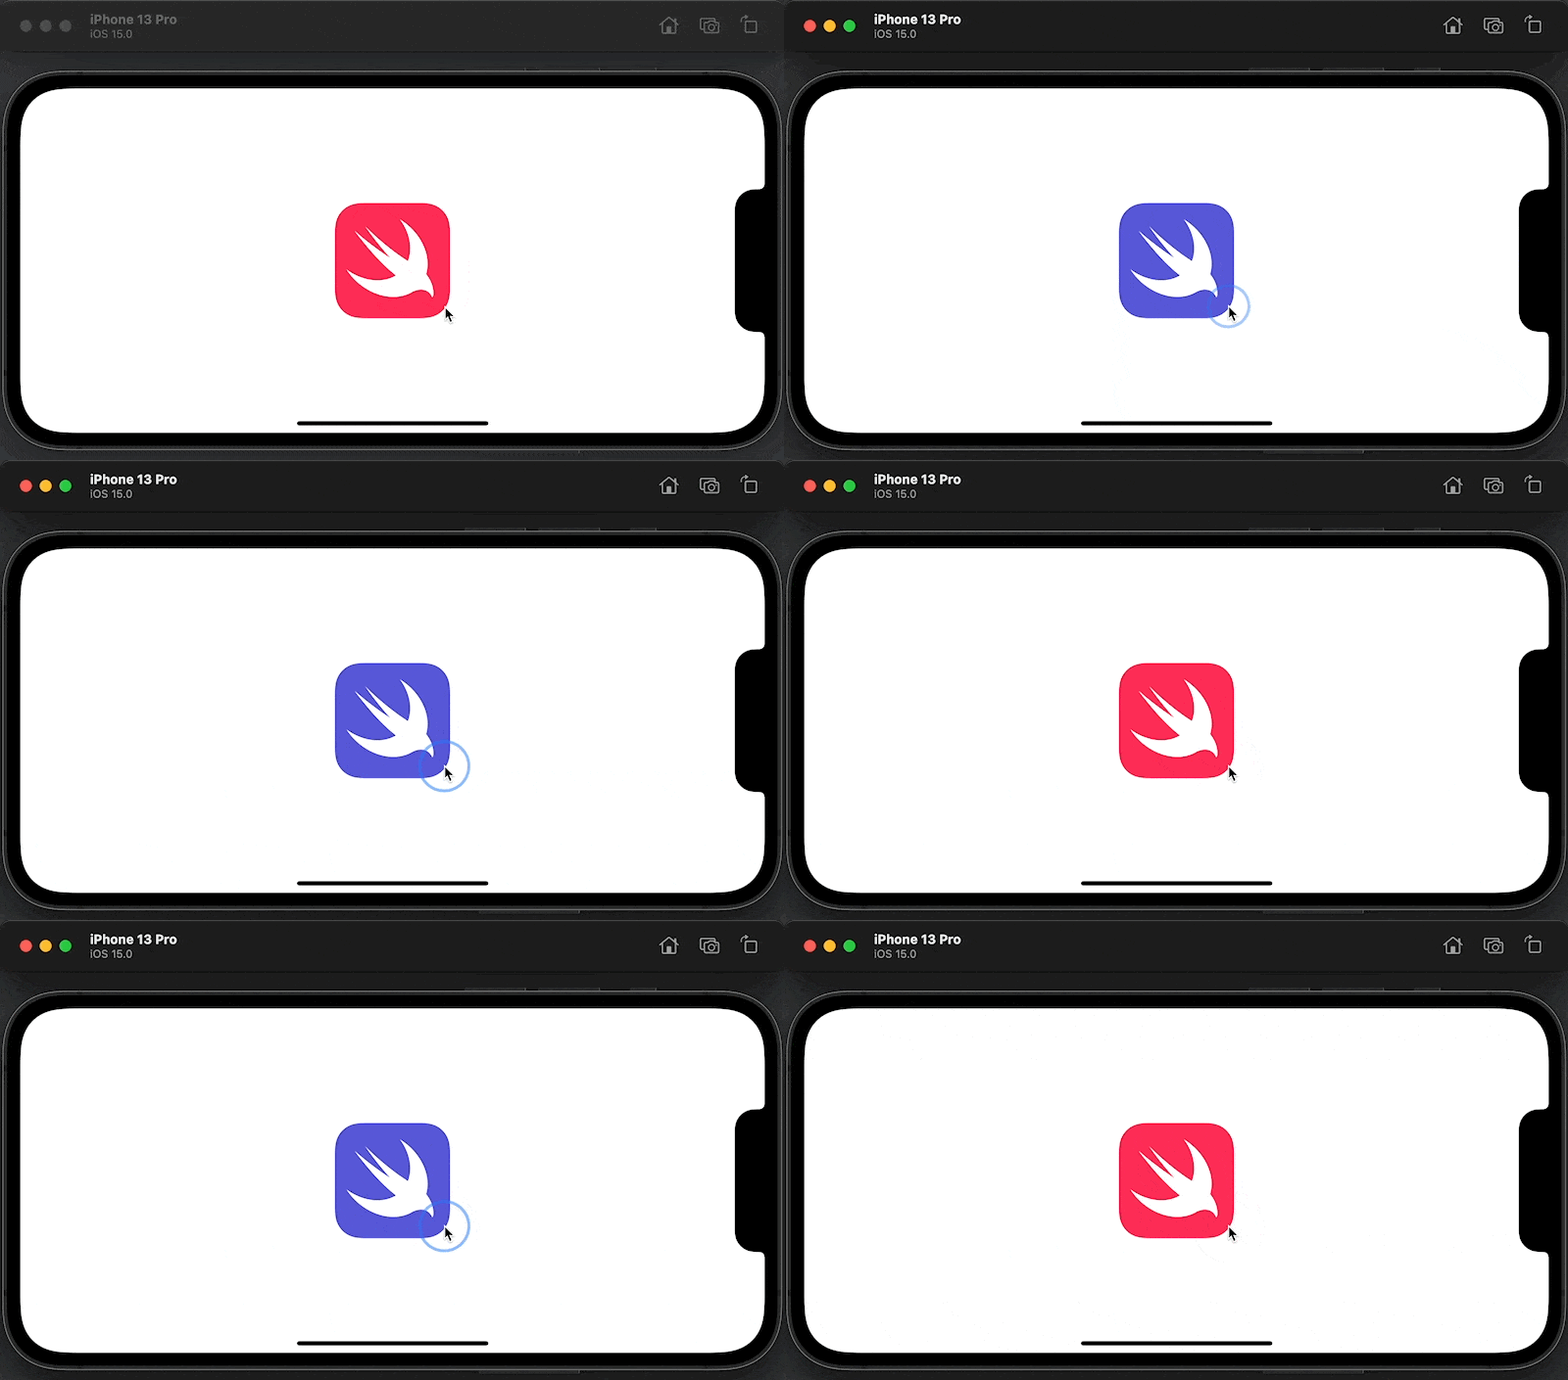
For example, I want a button with different image colors depending on the button state. A normal state would show an image in pink and indigo in highlighted state.

You can't accomplish this with the first method since you can't set tint color for each state of a button. We have to change the color of an image and set it for each state.
If your app supports a minimum iOS version of 13, you're in luck. You can change the color of an image with just one line of code.
iOS 13+
In iOS 13, UIImage got two new instance methods that return a new version of the image with a tint color that you specified.
The only difference between these two methods in the first one will return an image with a specified rendering mode, whereas the latter returns an image with the same rendering mode as the original image.
The following code will returns a new version of the image with a pink color that uses .alwaysOriginal rendering mode.
let image = UIImage(named: "Swift")?.withTintColor(.systemPink, renderingMode: .alwaysOriginal)Here is how we set an image with different colors for a normal and a highlighted state of a button.
// 1
let image = UIImage(named: "Swift")?.withTintColor(.systemPink, renderingMode: .alwaysOriginal)
// 2
let highlightedImage = UIImage(named: "Swift")?.withTintColor(.systemIndigo, renderingMode: .alwaysOriginal)

let button = UIButton(type: .custom)
// 3
button.setImage(image, for: .normal)
// 4
button.setImage(highlightedImage, for: .highlighted)
1 Create a new image with a pink color. We will use this image in a button's normal state.
2 Create another image with indigo color. We will use this image in a highlighted state.
3, 4 Set each image to each state.
Pre iOS 13
If you support iOS older than iOS 13, you have to do the painting yourself. There are many ways to accomplish this. I will show you one of them as a reference.
extension UIImage {
    func withColor(_ color: UIColor) -> UIImage? {
        UIGraphicsBeginImageContextWithOptions(size, false, scale)
        // 1
        let drawRect = CGRect(x: 0,y: 0,width: size.width,height: size.height)
        // 2
        color.setFill()
        UIRectFill(drawRect)
        // 3
        draw(in: drawRect, blendMode: .destinationIn, alpha: 1)

        let tintedImage = UIGraphicsGetImageFromCurrentImageContext()
        UIGraphicsEndImageContext()
        return tintedImage!
    }
}
1 We create a rectangle equal to the size of the image.
2 We set a color and fill the whole space with that color.
3 We draw an image over the space with a blend mode of .destinationIn, which is a mode that treats the image as an image mask.
Then we can use it like this.
let image = UIImage(named: "Swift")?.withColor(.systemPink)
let highlightedImage = UIImage(named: "Swift")?.withColor(.systemIndigo)

let button = UIButton(type: .custom)
button.setImage(image, for: .normal)
button.setImage(highlightedImage, for: .highlighted)Read more article about UIKit, Image, tintColor, or see all available topic
Enjoy the read?
If you enjoy this article, you can subscribe to the weekly newsletter.
Every Friday, you'll get a quick recap of all articles and tips posted on this site. No strings attached. Unsubscribe anytime.
Feel free to follow me on Twitter and ask your questions related to this post. Thanks for reading and see you next time.
If you enjoy my writing, please check out my Patreon https://www.patreon.com/sarunw and become my supporter. Sharing the article is also greatly appreciated.
Become a patron Buy me a coffee Tweet ShareHow to make custom XCTest assertions show an error at the call site
Learn how to write custom XCTest assertions that match the behavior of the built-in ones.
How to generate code coverage reports in Xcode
Xcode has a feature to generate code coverage since version 7. Let's see how to enable it and what you can expect from this feature.