How to make AppBar/Navigation Bar transparent in Flutter
Table of Contents
You can make UINavigationBar (aka AppBar in Flutter) transparent by changing two AppBar's properties, backgroundColor and elevation.
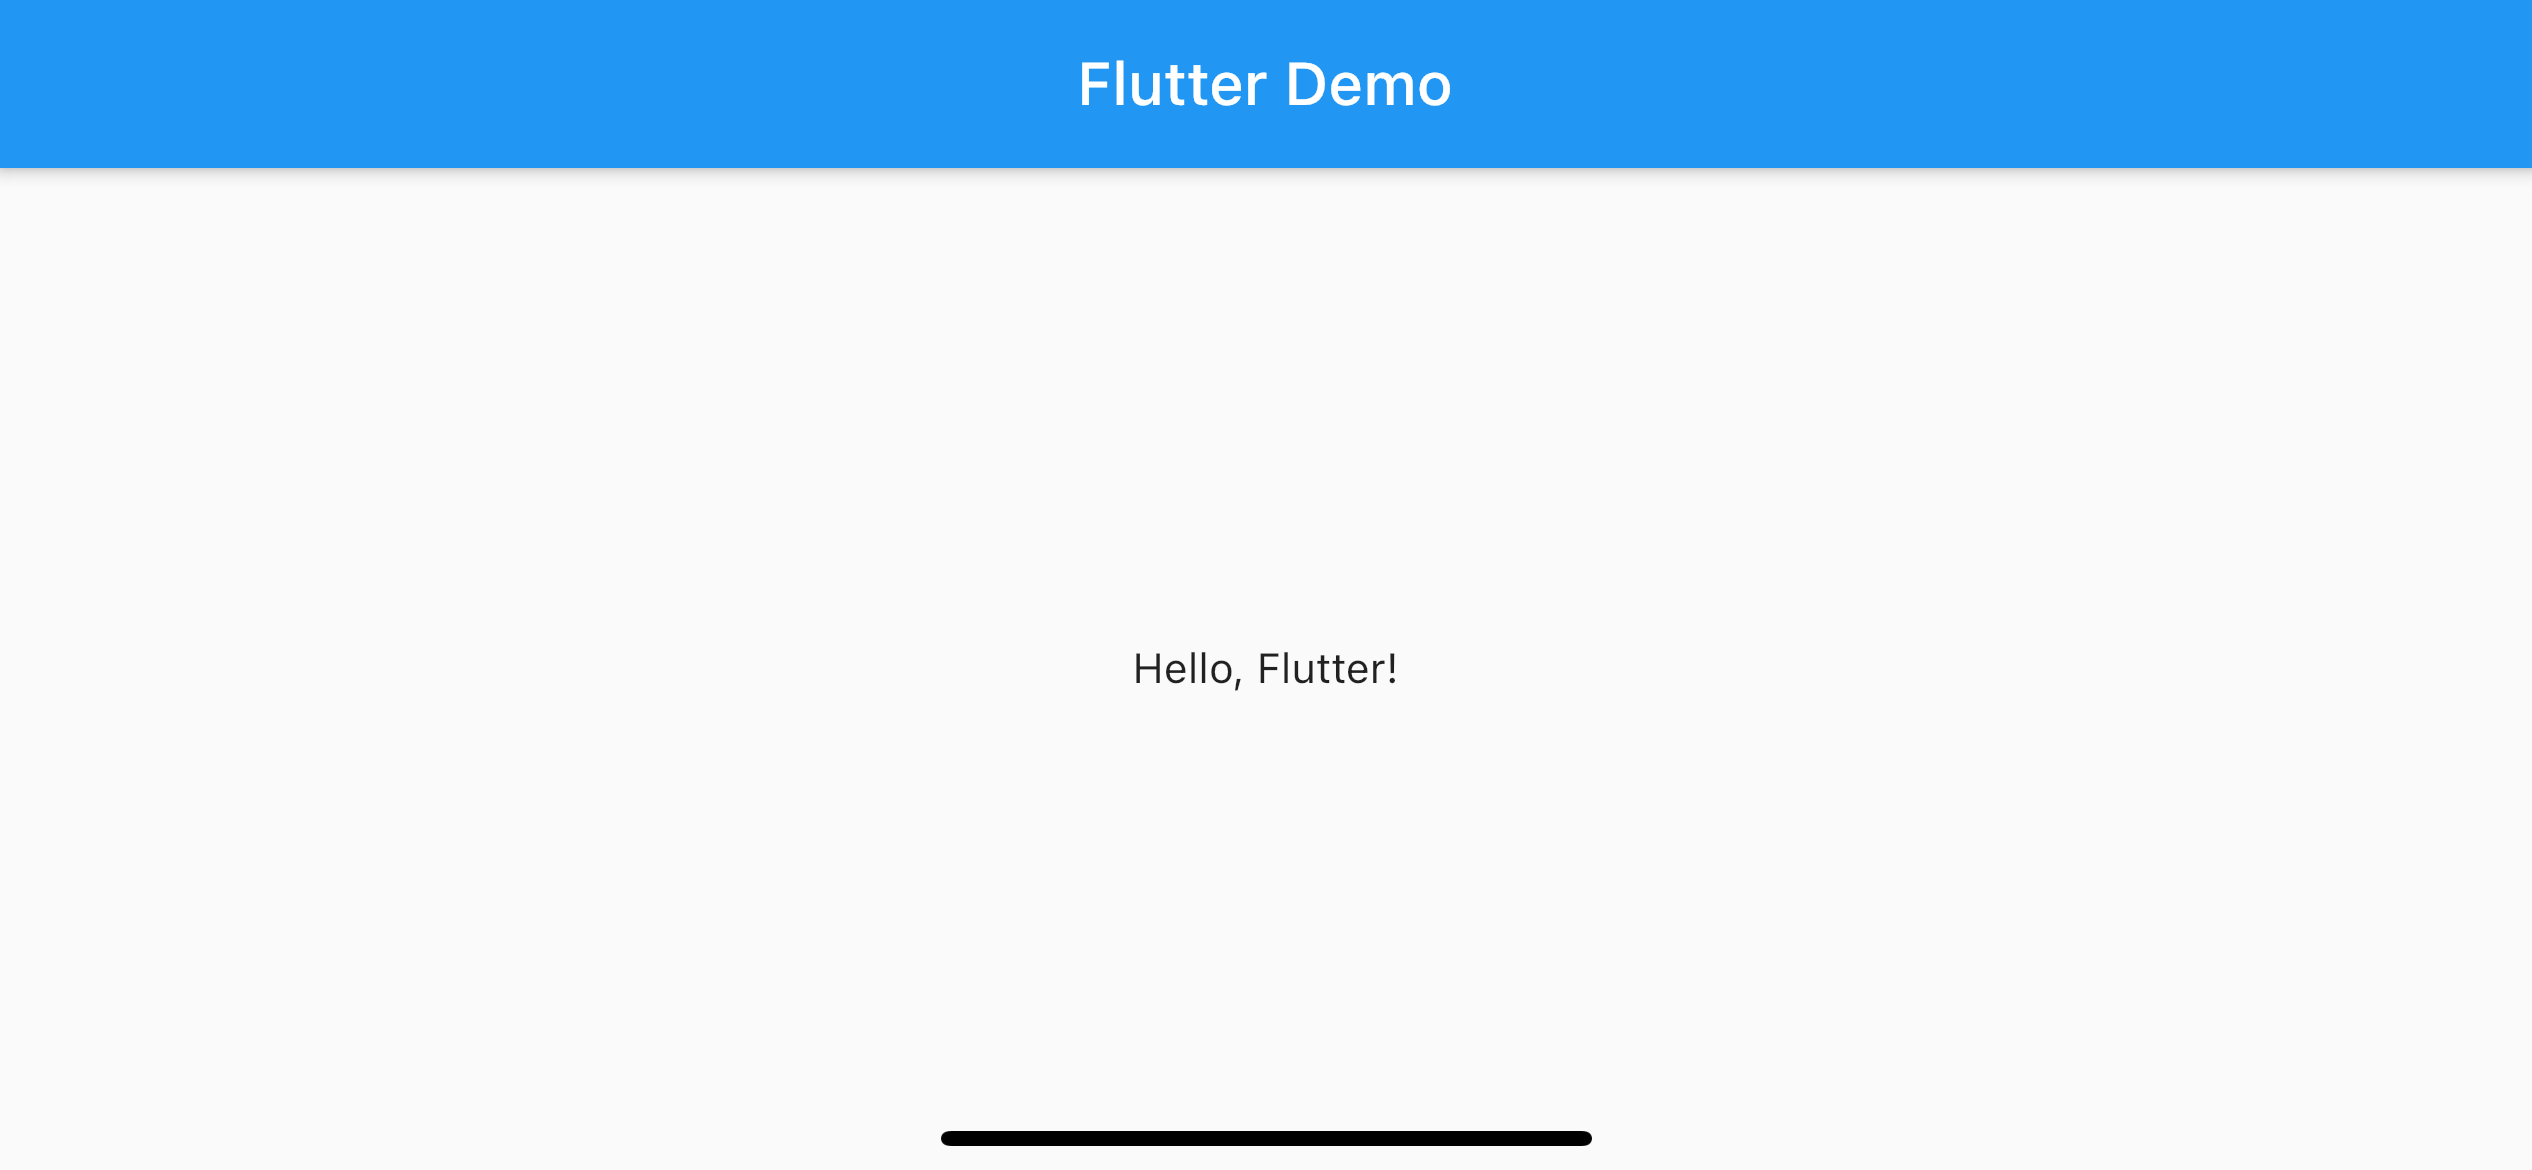
The default AppBar's appearance will show solid background color with drop shadow.
class MyApp extends StatelessWidget {
Widget build(BuildContext context) {
return MaterialApp(
home: Scaffold(
appBar: AppBar(
title: Text(
'Flutter Demo',
),
),
body: Center(
child: Text('Hello, Flutter!'),
),
),
debugShowCheckedModeBanner: false,
);
}
}
To make the AppBar transparent, we need to change backgroundColor and elevation properties.
Background Color
You can change the background color of the AppBar by modifying the backgroundColor property. In the following example, we set it to transparent (Colors.transparent).
class MyApp extends StatelessWidget {
Widget build(BuildContext context) {
return MaterialApp(
home: Scaffold(
appBar: AppBar(
backgroundColor: Colors.transparent, // 1
title: Text(
'Flutter Demo',
),
),
body: Center(
child: Text('Hello, Flutter!'),
),
),
debugShowCheckedModeBanner: false,
);
}
}<1> Set backgroundColor to transparent.
As you can see, the default blue background color is gone, but we still see gray color.
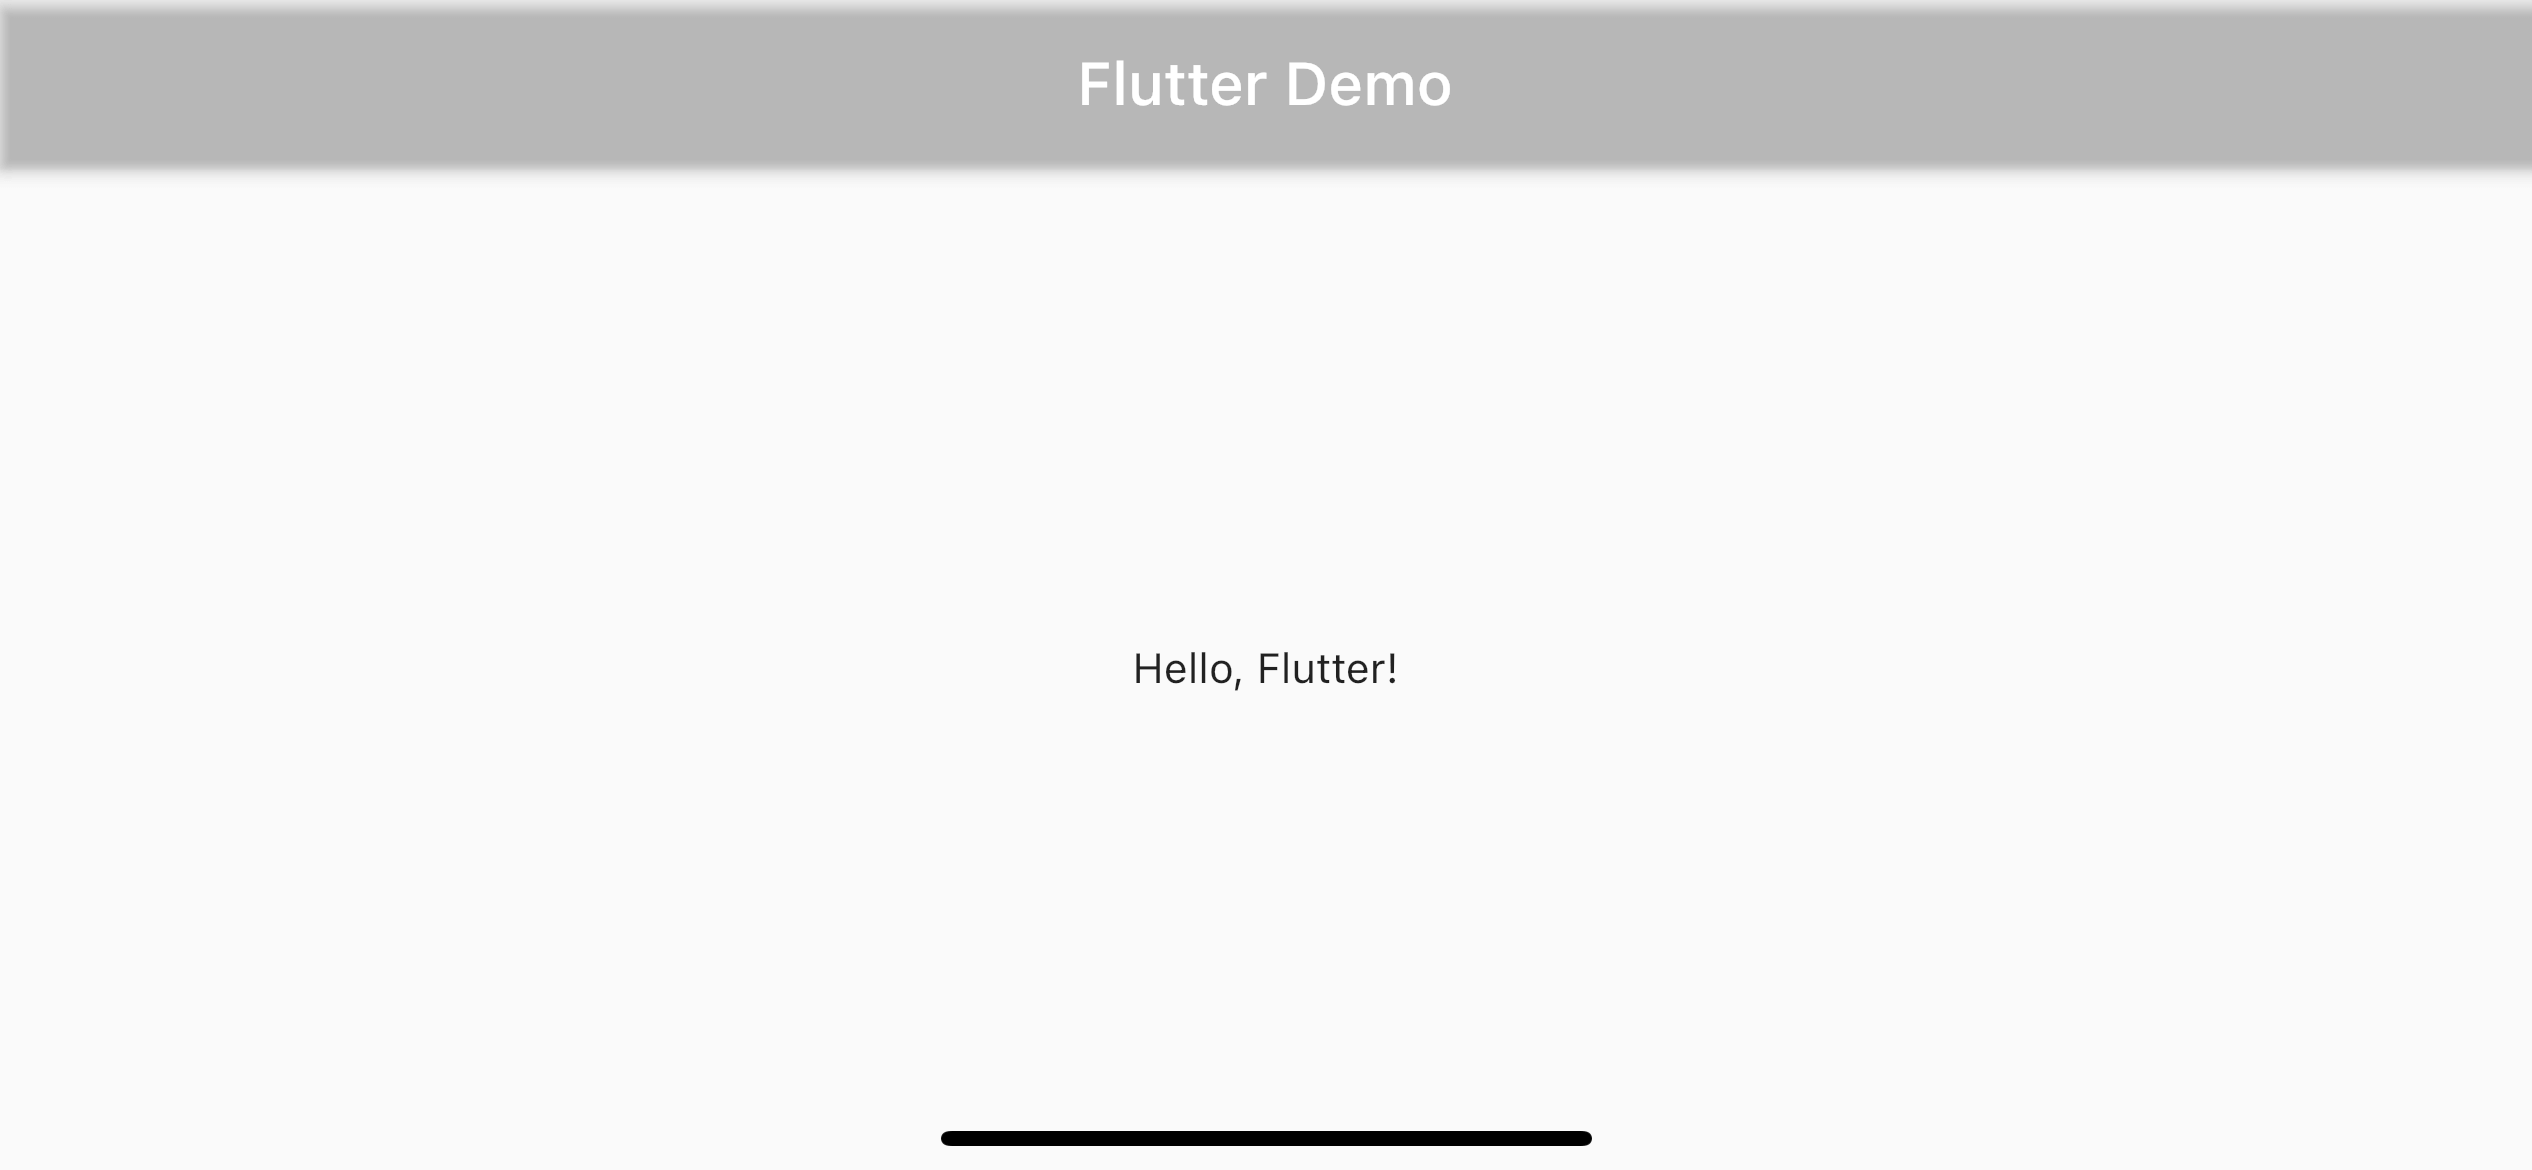
The gray color is the color of shadow, which reveal after we remove the background color. Flutter uses the Material design principle, and elevation is one of its concepts. Material design use elevation to show that two elements are not on the same surface. This conveys a sense of view hierarchy.
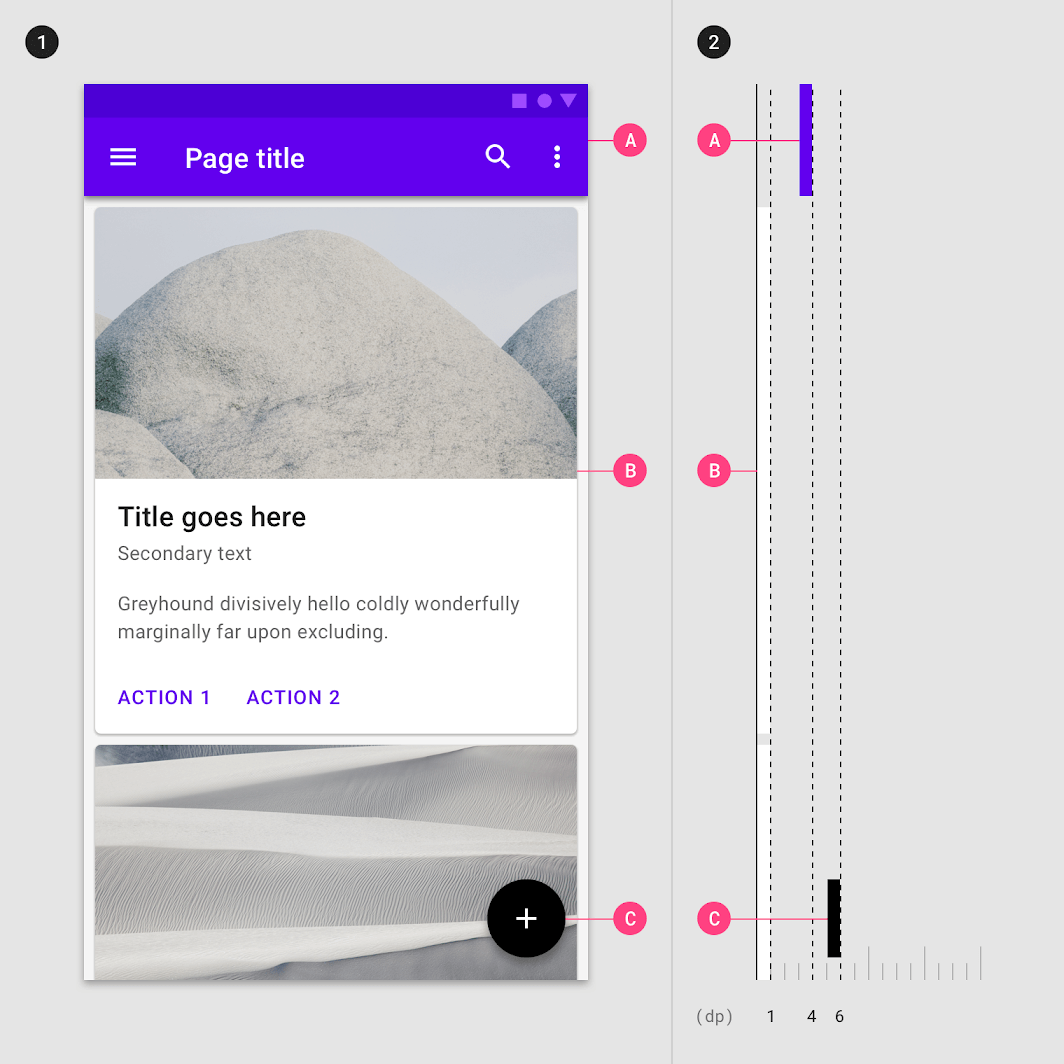
Here is an example from material.io.
- App bar (A), cards (B), and a floating action button (C), as viewed from the front
- The same components, as viewed from the side
The app bar is placing 4dp (density-independent pixels) over the main view, depicted using a shadow in this case.
You can easily support sarunw.com by checking out this sponsor.
Localization Buddy: Easiest way to localize and update App Store metadata.
Elevation
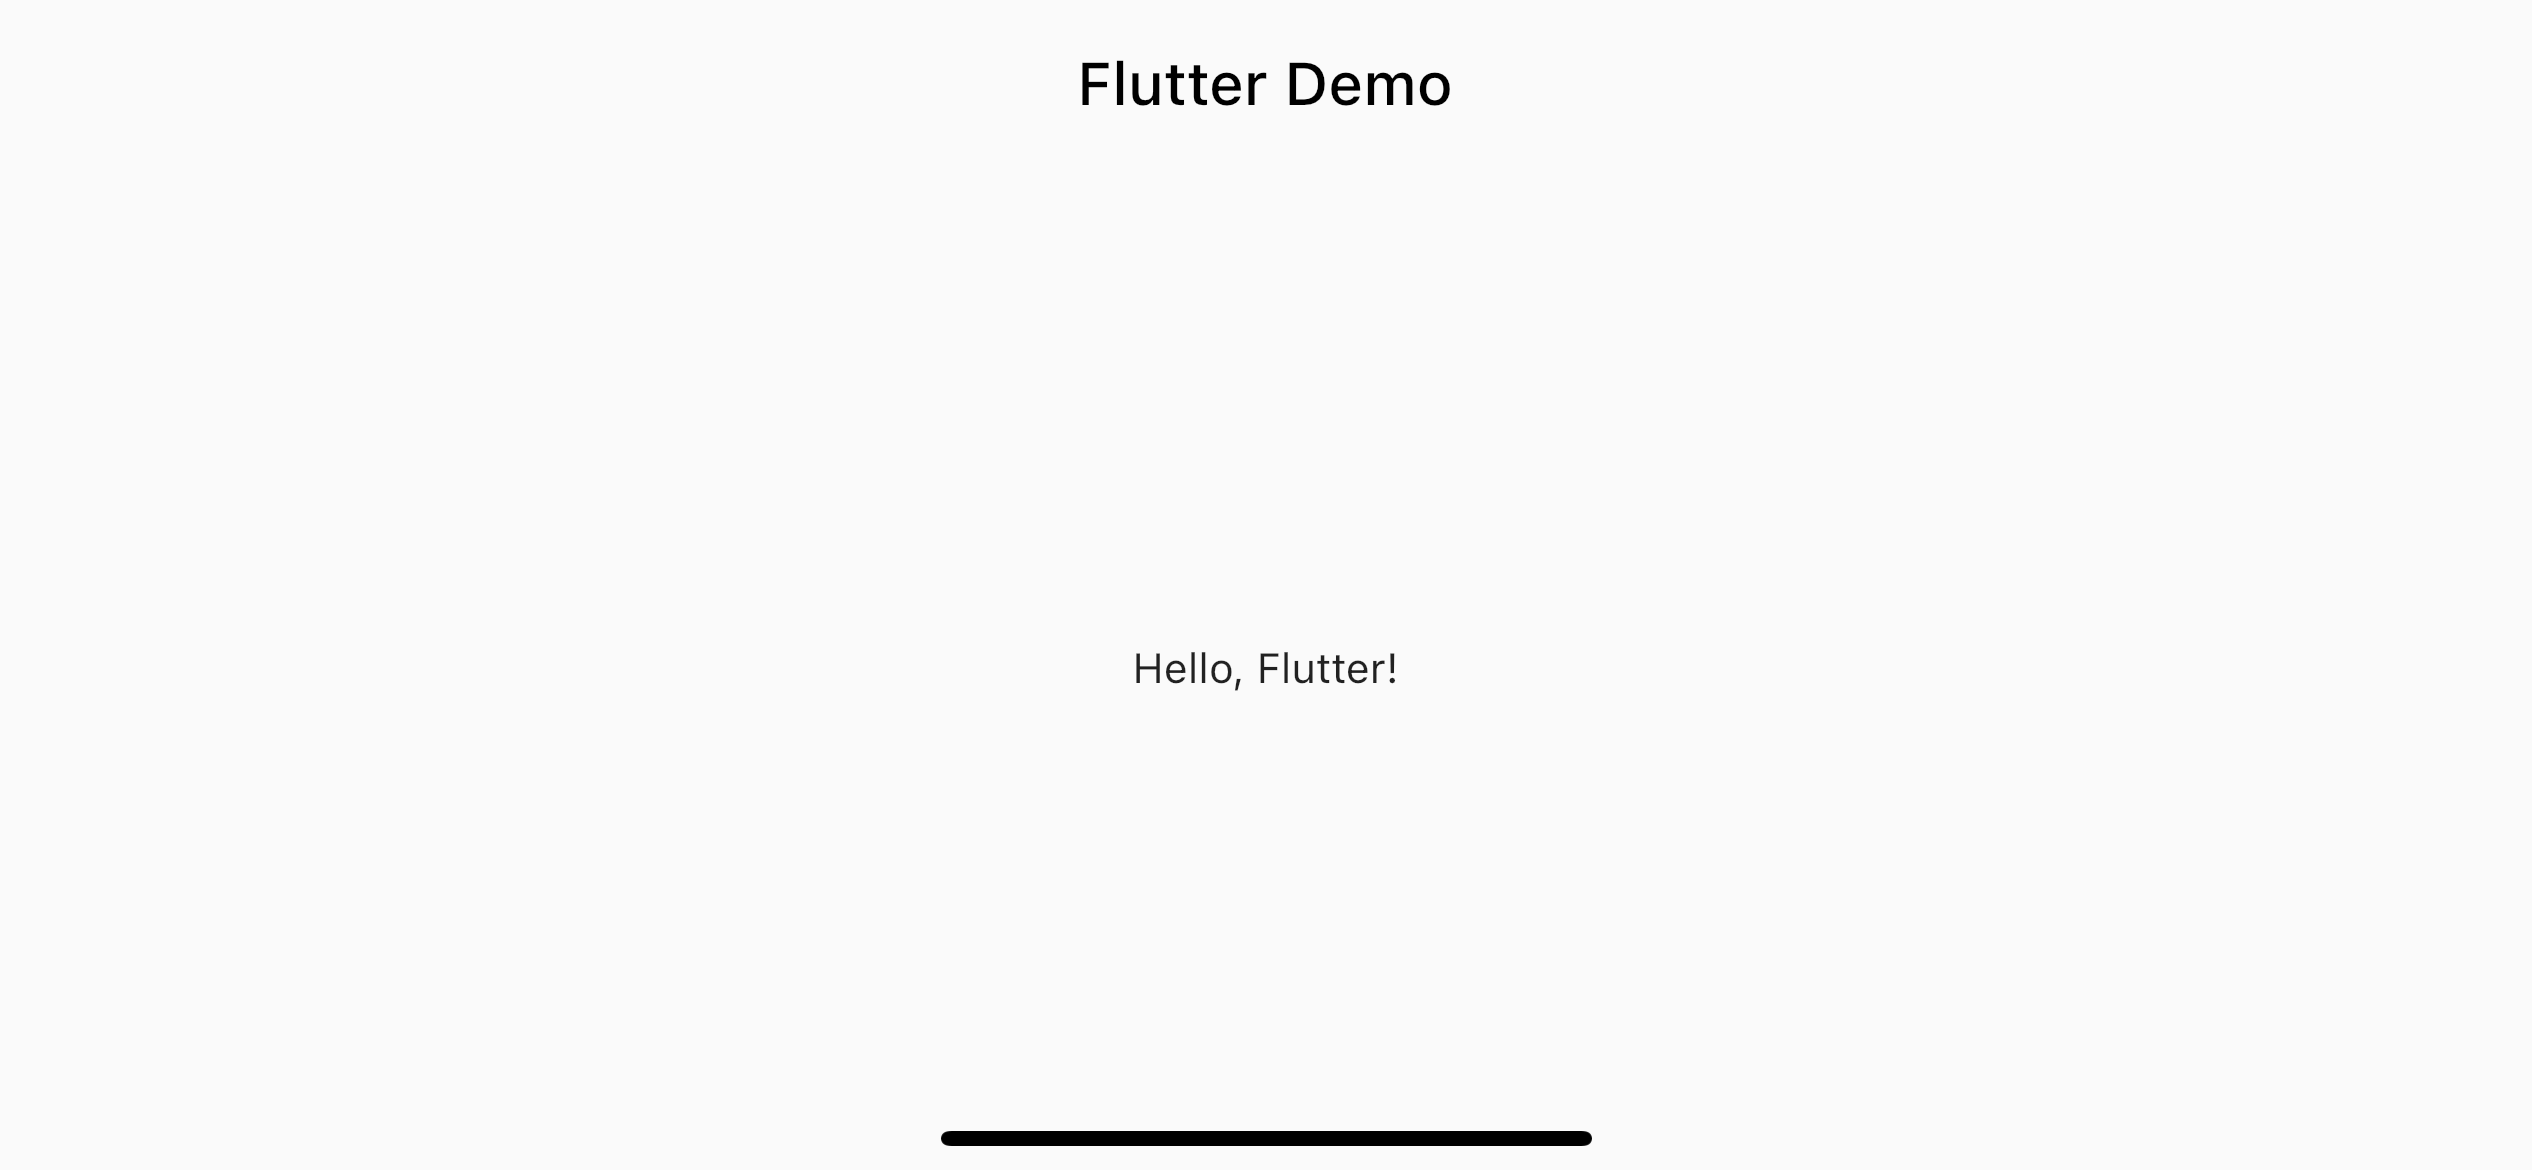
We can control the elevation distance with the elevation property. We set it to zero to place the app bar on the same plain as our body view, making it cast no shadow over the body view.
class MyApp extends StatelessWidget {
Widget build(BuildContext context) {
return MaterialApp(
home: Scaffold(
appBar: AppBar(
backgroundColor: Colors.transparent,
elevation: 0, // 1
title: Text(
'Flutter Demo',
style: TextStyle(
color: Colors.black, // 2
),
),
),
body: Center(
child: Text('Hello, Flutter!'),
),
),
debugShowCheckedModeBanner: false,
);
}
}<1> Set elevation to zero.
<2> Set title color to black. Otherwise, you won't be able to see the white title on the white background.
You can easily support sarunw.com by checking out this sponsor.
Localization Buddy: Easiest way to localize and update App Store metadata.
Solution
In summary, we can make a transparent app bar by set backgroundColor to Colors.transparent (1), elevation to 0 (2), and title color to anything different from background color (3).
class MyApp extends StatelessWidget {
Widget build(BuildContext context) {
return MaterialApp(
home: Scaffold(
appBar: AppBar(
backgroundColor: Colors.transparent, // 1
elevation: 0, // 2
title: Text(
'Flutter Demo',
style: TextStyle(
color: Colors.black, // 3
),
),
),
body: Center(
child: Text('Hello, Flutter!'),
),
),
debugShowCheckedModeBanner: false,
);
}
}Read more article about Flutter or see all available topic
Enjoy the read?
If you enjoy this article, you can subscribe to the weekly newsletter.
Every Friday, you'll get a quick recap of all articles and tips posted on this site. No strings attached. Unsubscribe anytime.
Feel free to follow me on Twitter and ask your questions related to this post. Thanks for reading and see you next time.
If you enjoy my writing, please check out my Patreon https://www.patreon.com/sarunw and become my supporter. Sharing the article is also greatly appreciated.
Become a patron Buy me a coffee Tweet ShareHow to read App Name, Version, and Build Number from Info.plist
Learn an easy way to read the information in Info.plist.
How to change a back button color in Flutter
Learn different ways to change the back button color in Flutter.